So, you have to completely rebuild your vintage camper. It can be like pulling a thread on a sweater... The more you tear into it, the further you have to go. I know from experience! Sometimes you just don't know the extent of your project until you start the demolition process.
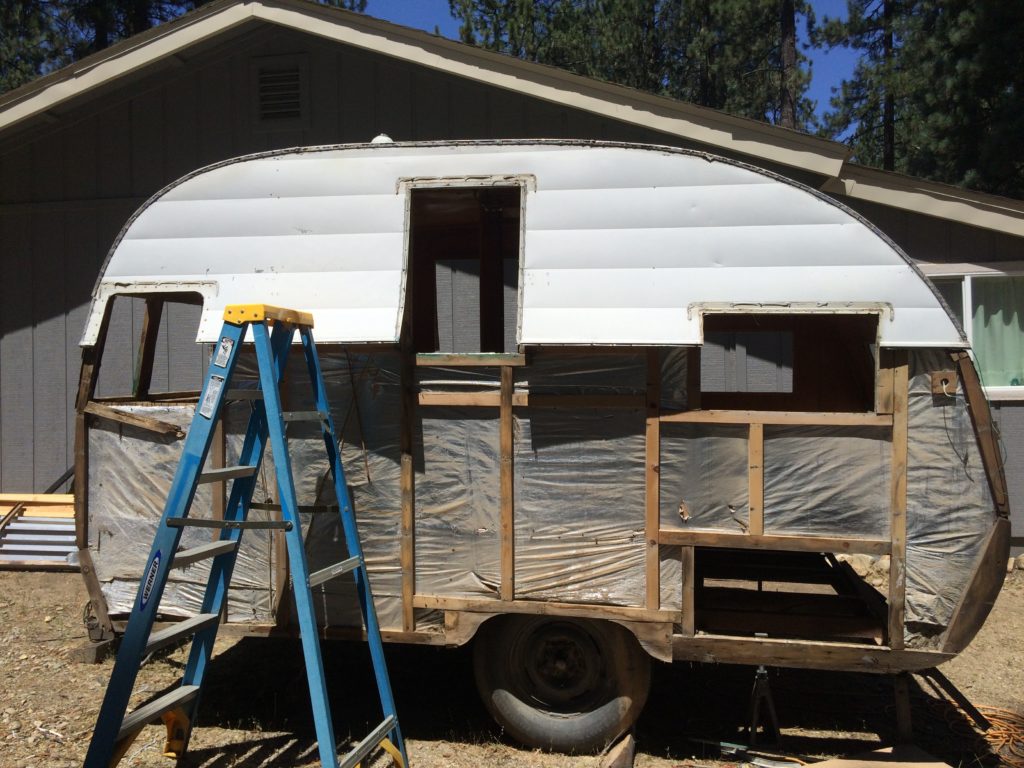
I found out quickly that I was in for a total rebuild when I started the demo process of my vintage 1956 Shasta camper.
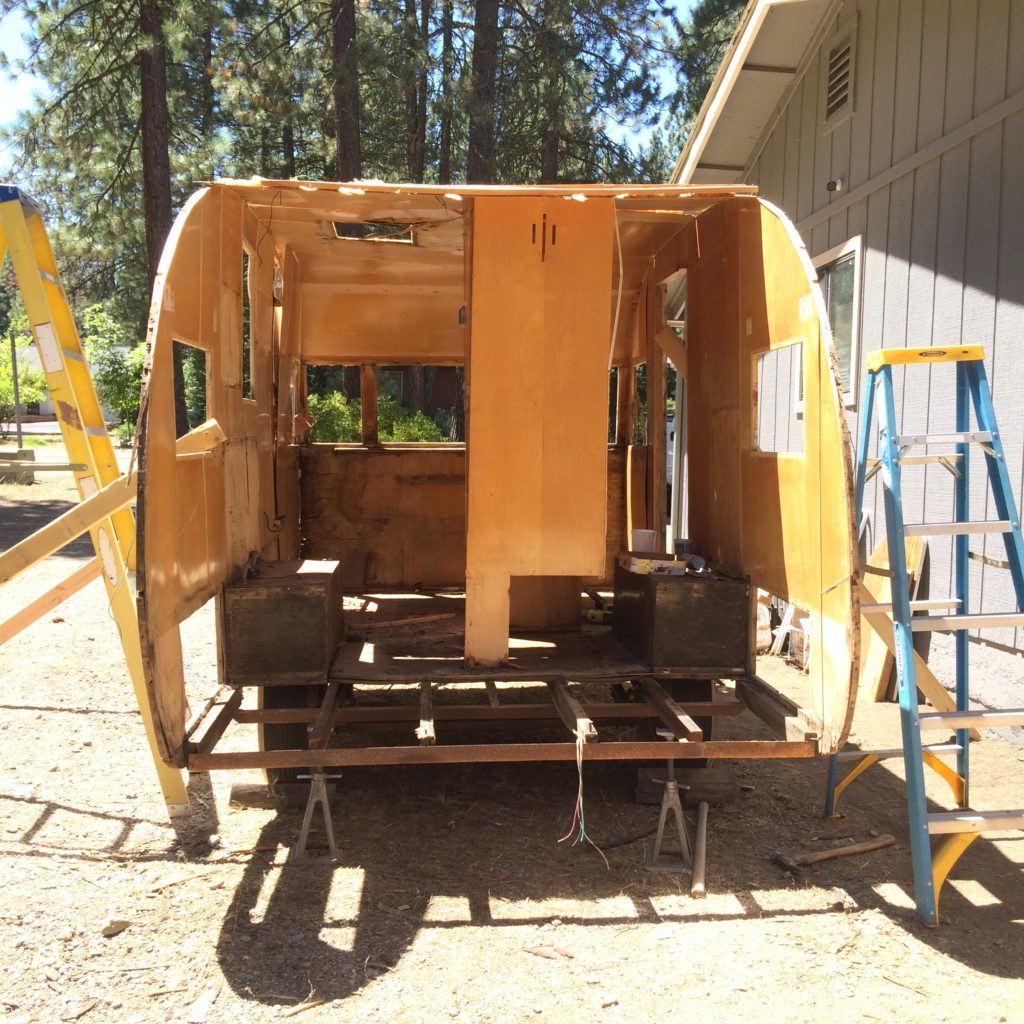
I thought I was going to be able to replace some of the sub-floor and the interior paneling. What I wound up doing was tearing the whole thing apart...down to the trailer frame. The further I dug, the worse she looked, so I went for it!
Here's how I did it;
1. My first bit of advice is to document your project. It's extremely important to take photos. Take lots and LOTS of photos. Take them at every stage of demolition and from every angle.
2. Keep all the parts and pieces for use as templates. The old pieces will also help you to reassemble your camper later. I referred to my camper parts many many times over the course of the project.
Here you can see that I marked where each rib was located. This will make it easier when reassembling.
3. Carefully number and label your parts. I stored all my parts and templates in one place and as I rebuilt the camper I would move the old parts and templates to a separate location.
It took over a week to dismantle my camper and I used a variety of tools.
Safety Equipment
Eye protection
Gloves
Respirator
Hand tools
hammer
screwdrivers
vice grips
pliers
wrenches
crowbar
Power tools
Impact drill
drill & drill bits
reciprocating saw
Products I used
PB Blaster
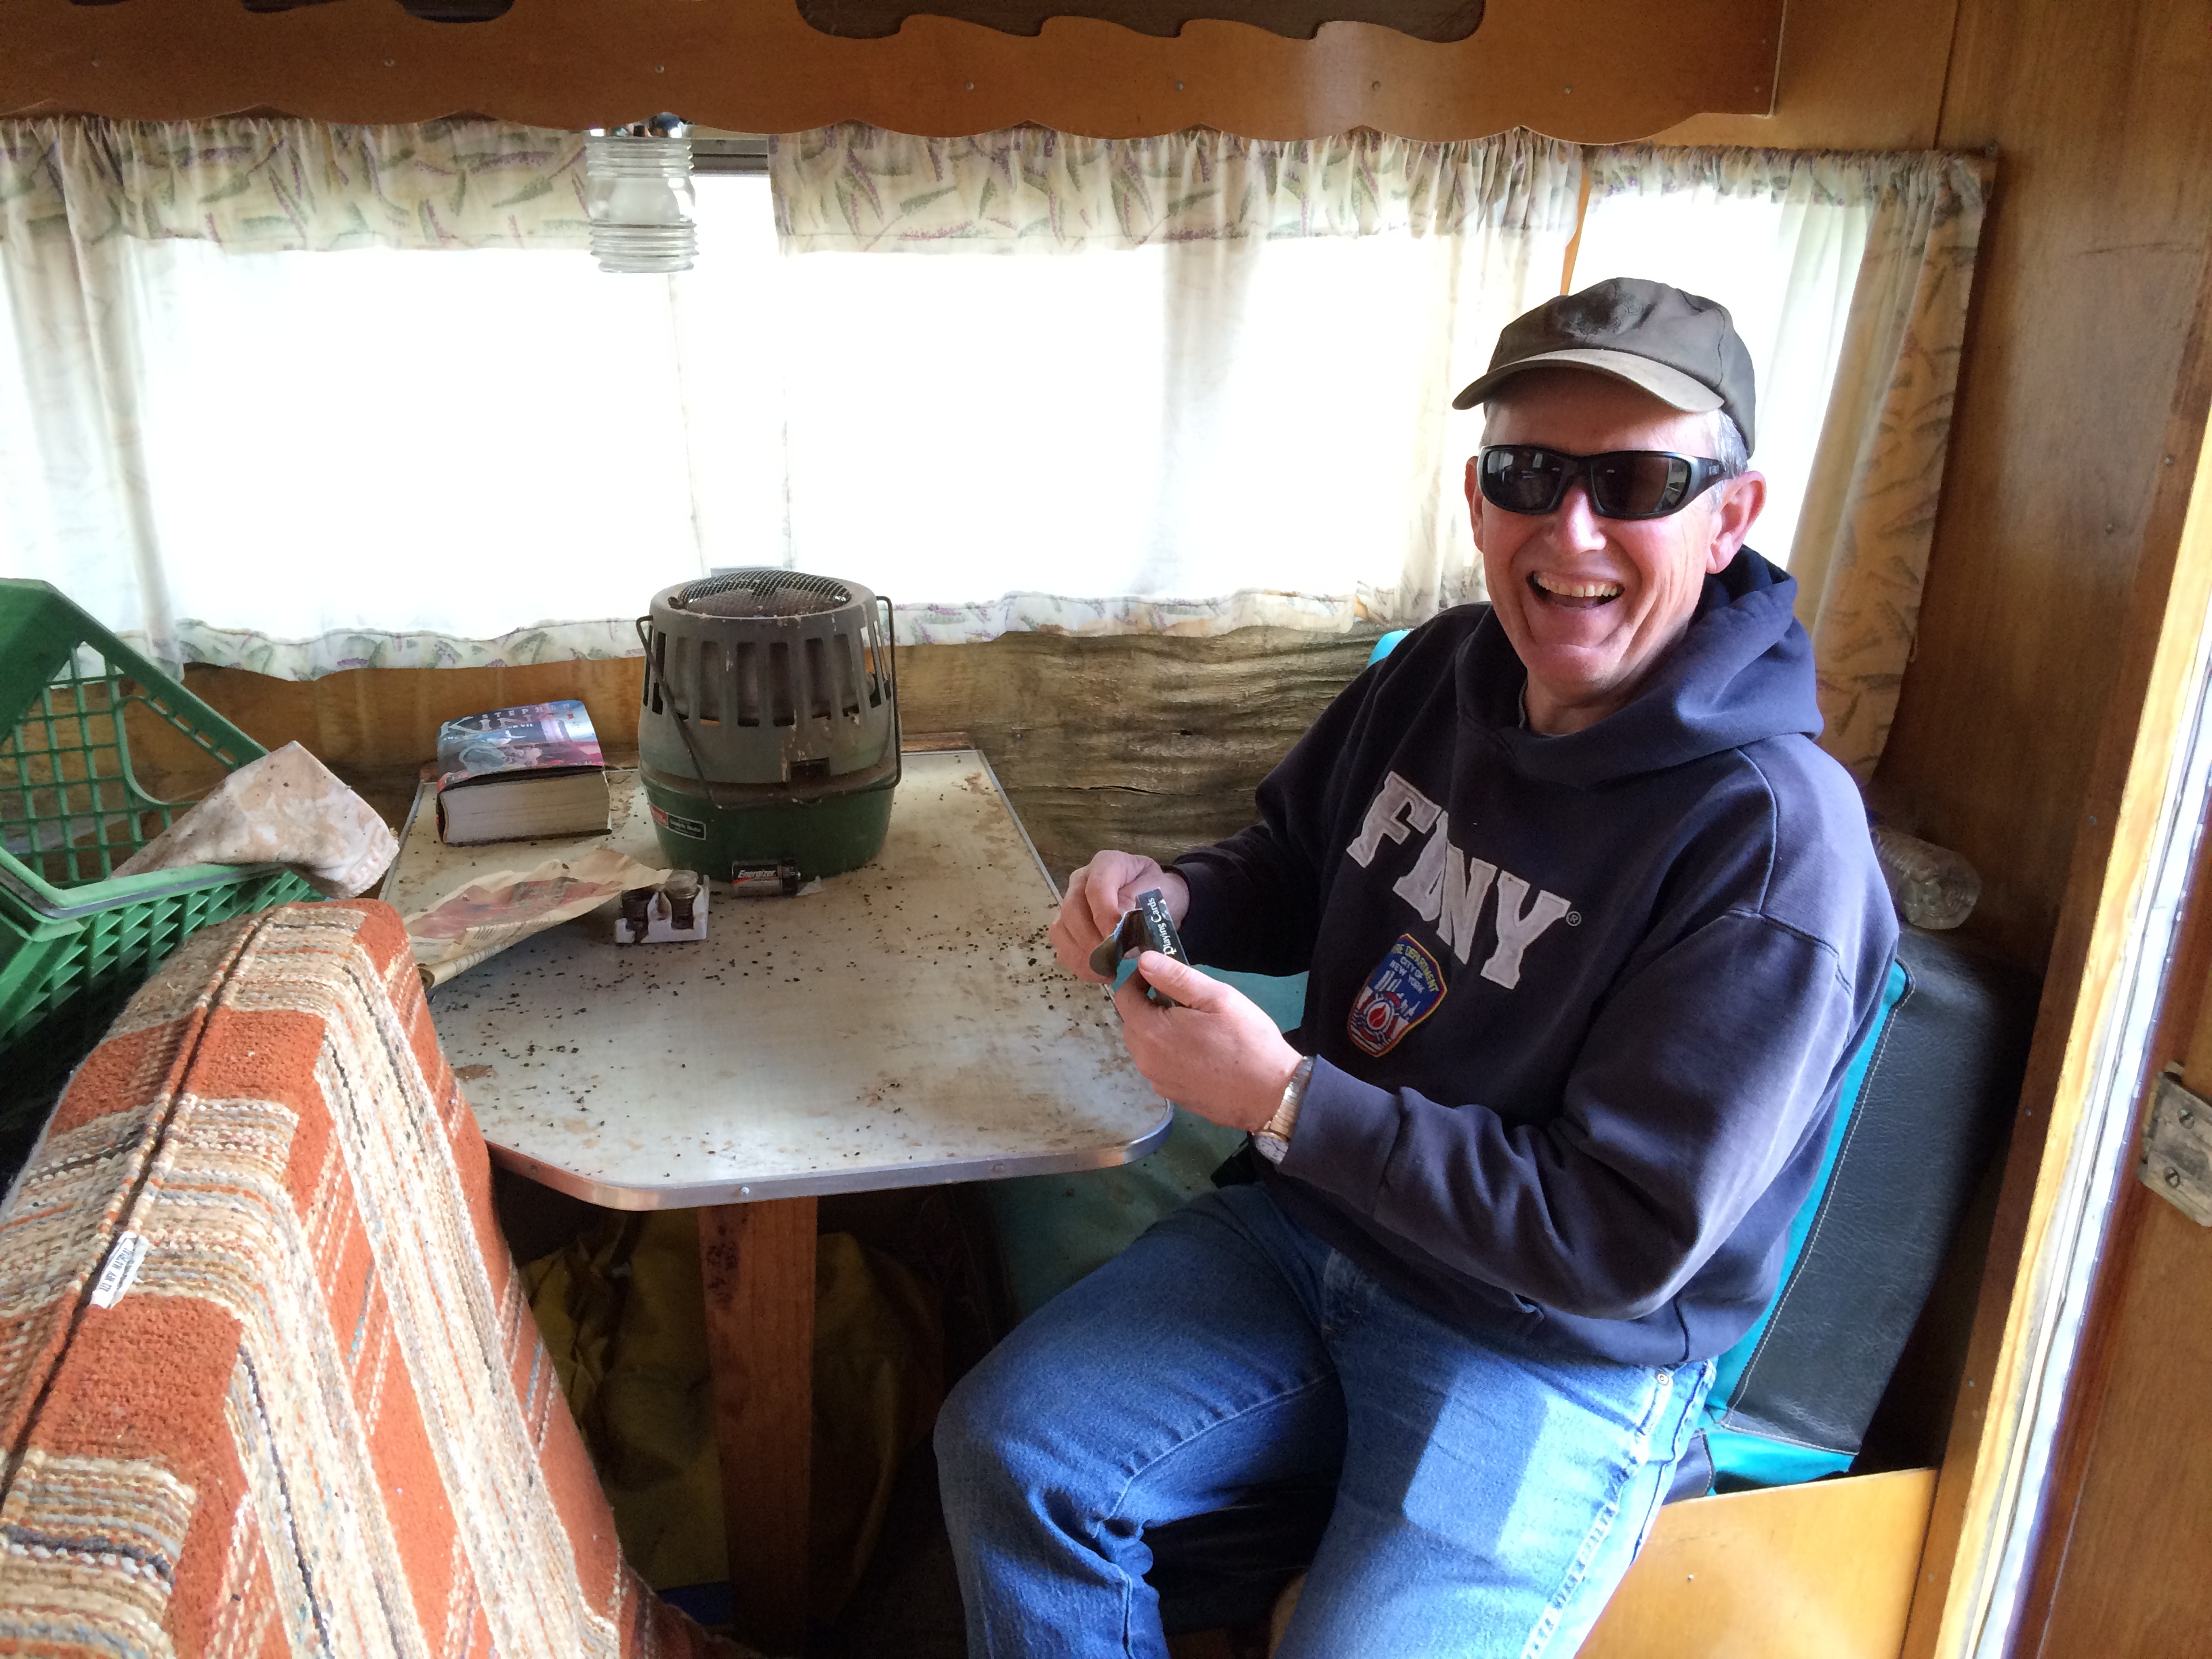
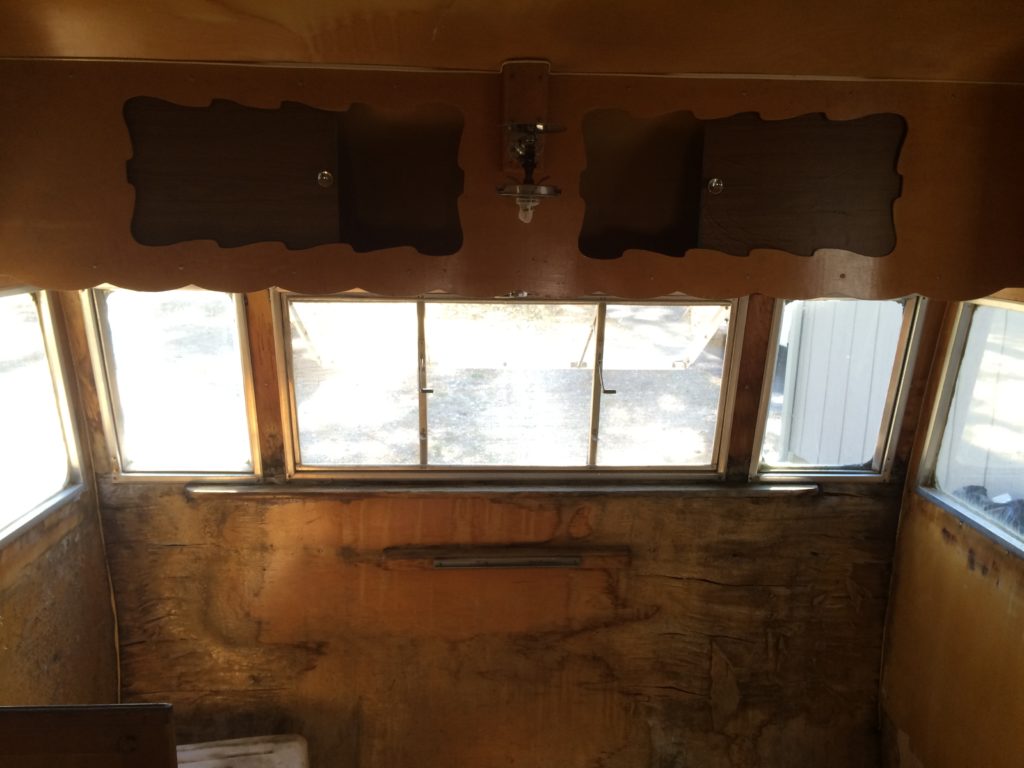
After I cleaned out the camper (see... "How to safely clean out your vintage trailer find."), I removed all of the curtains, rods, table, and seats.
-
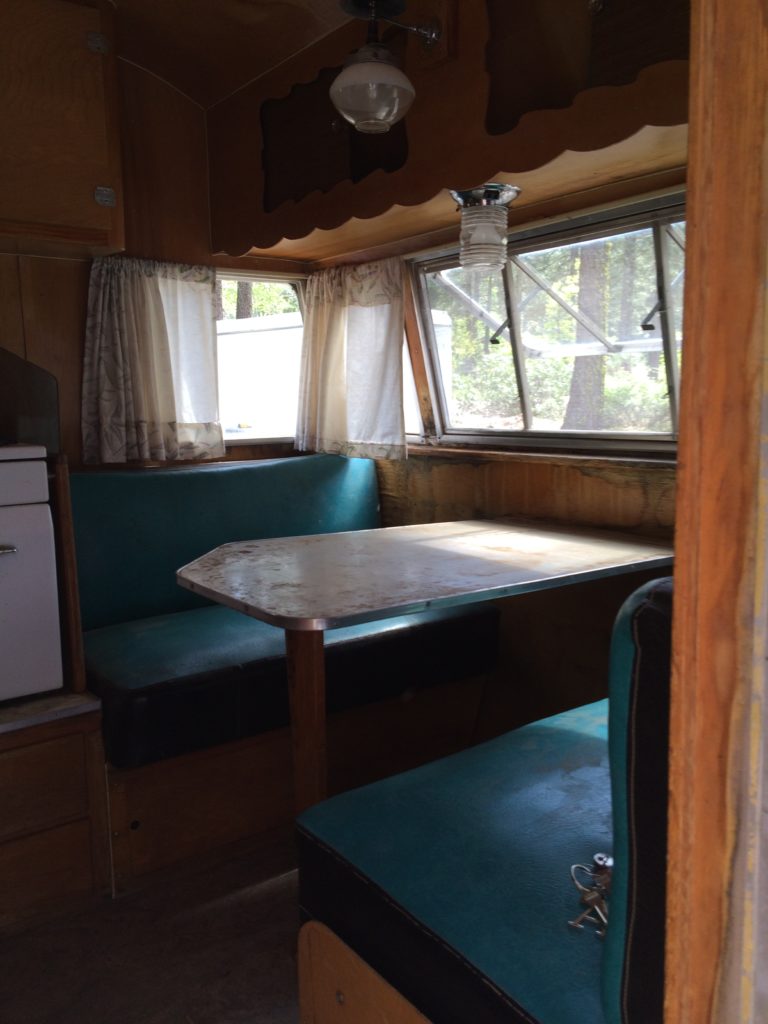
- Dinette Table
-
- remove the curtains
-
- remove the rods and hardware
-
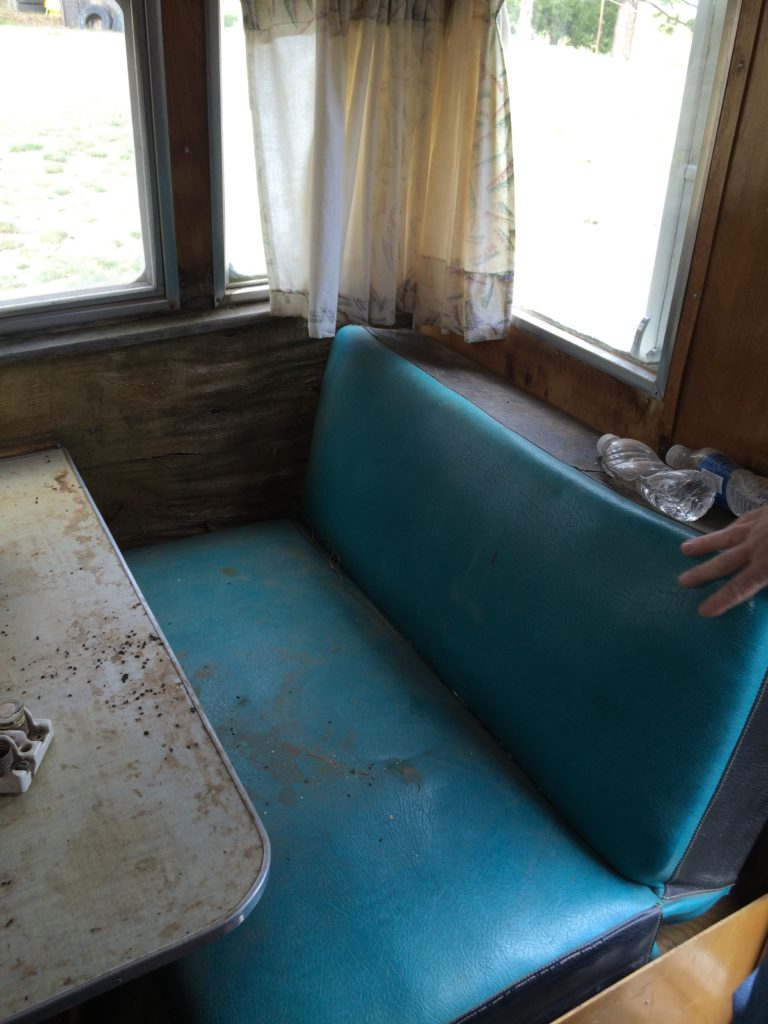
- take out the seats
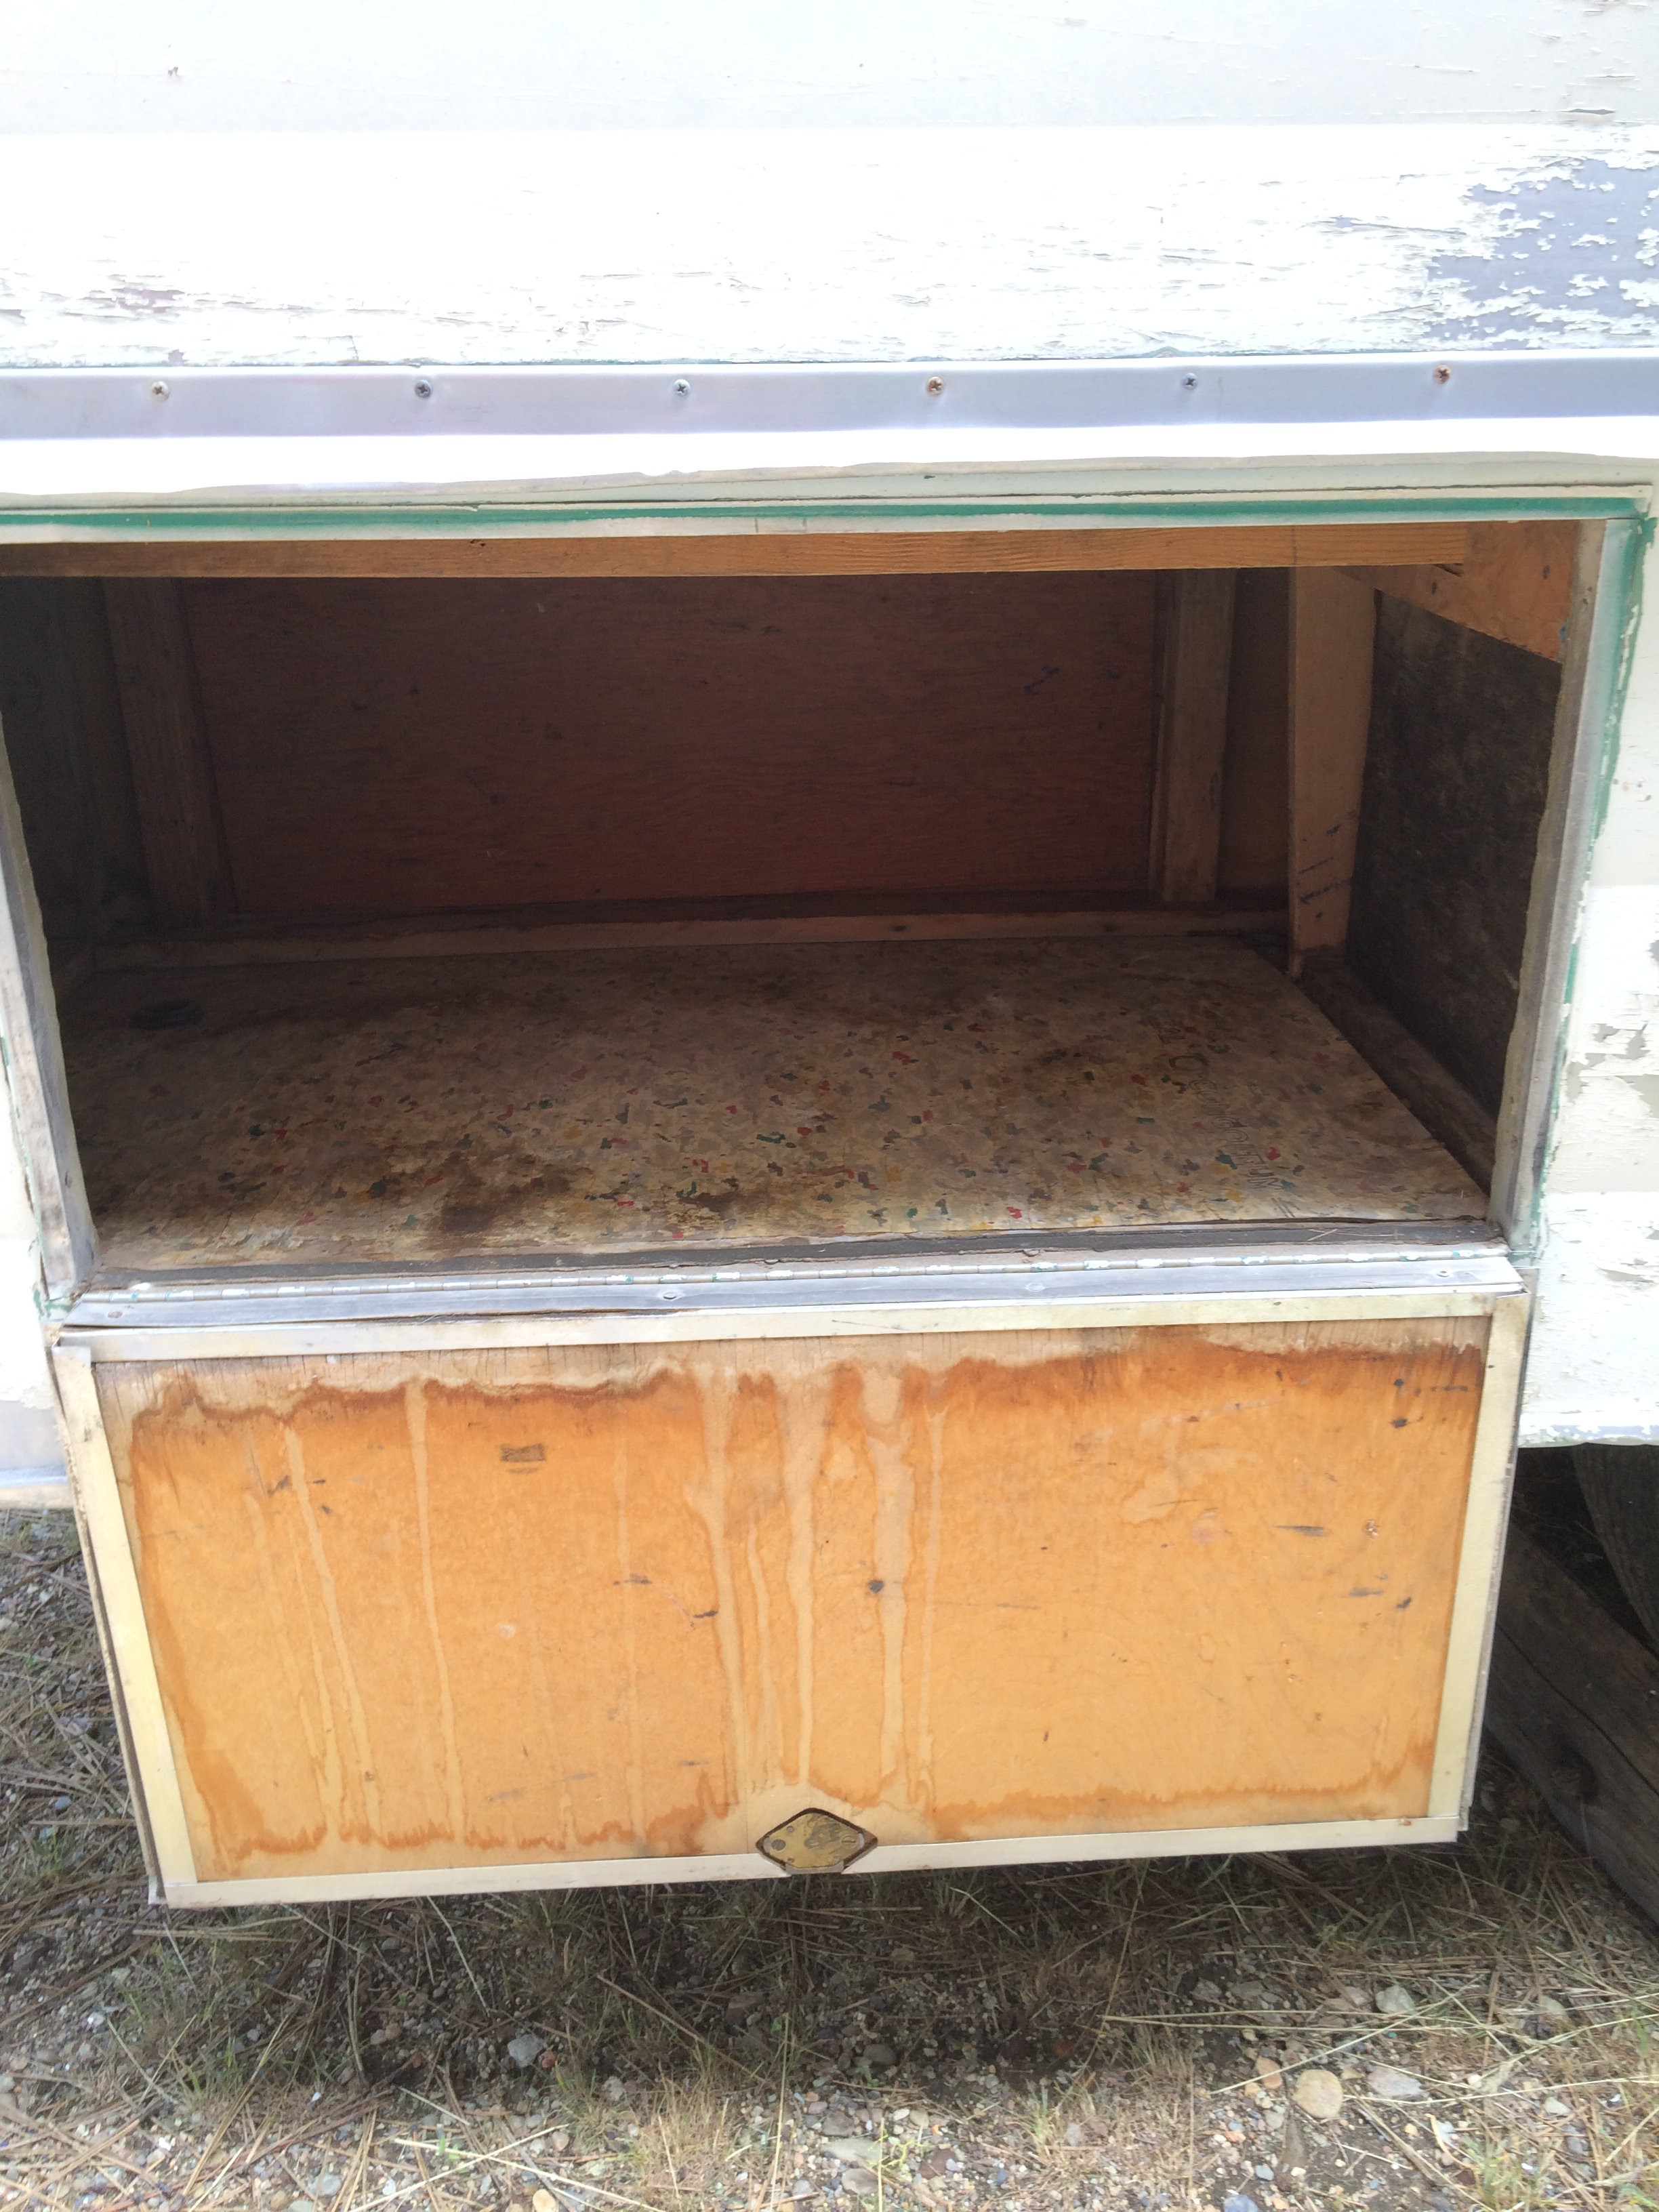
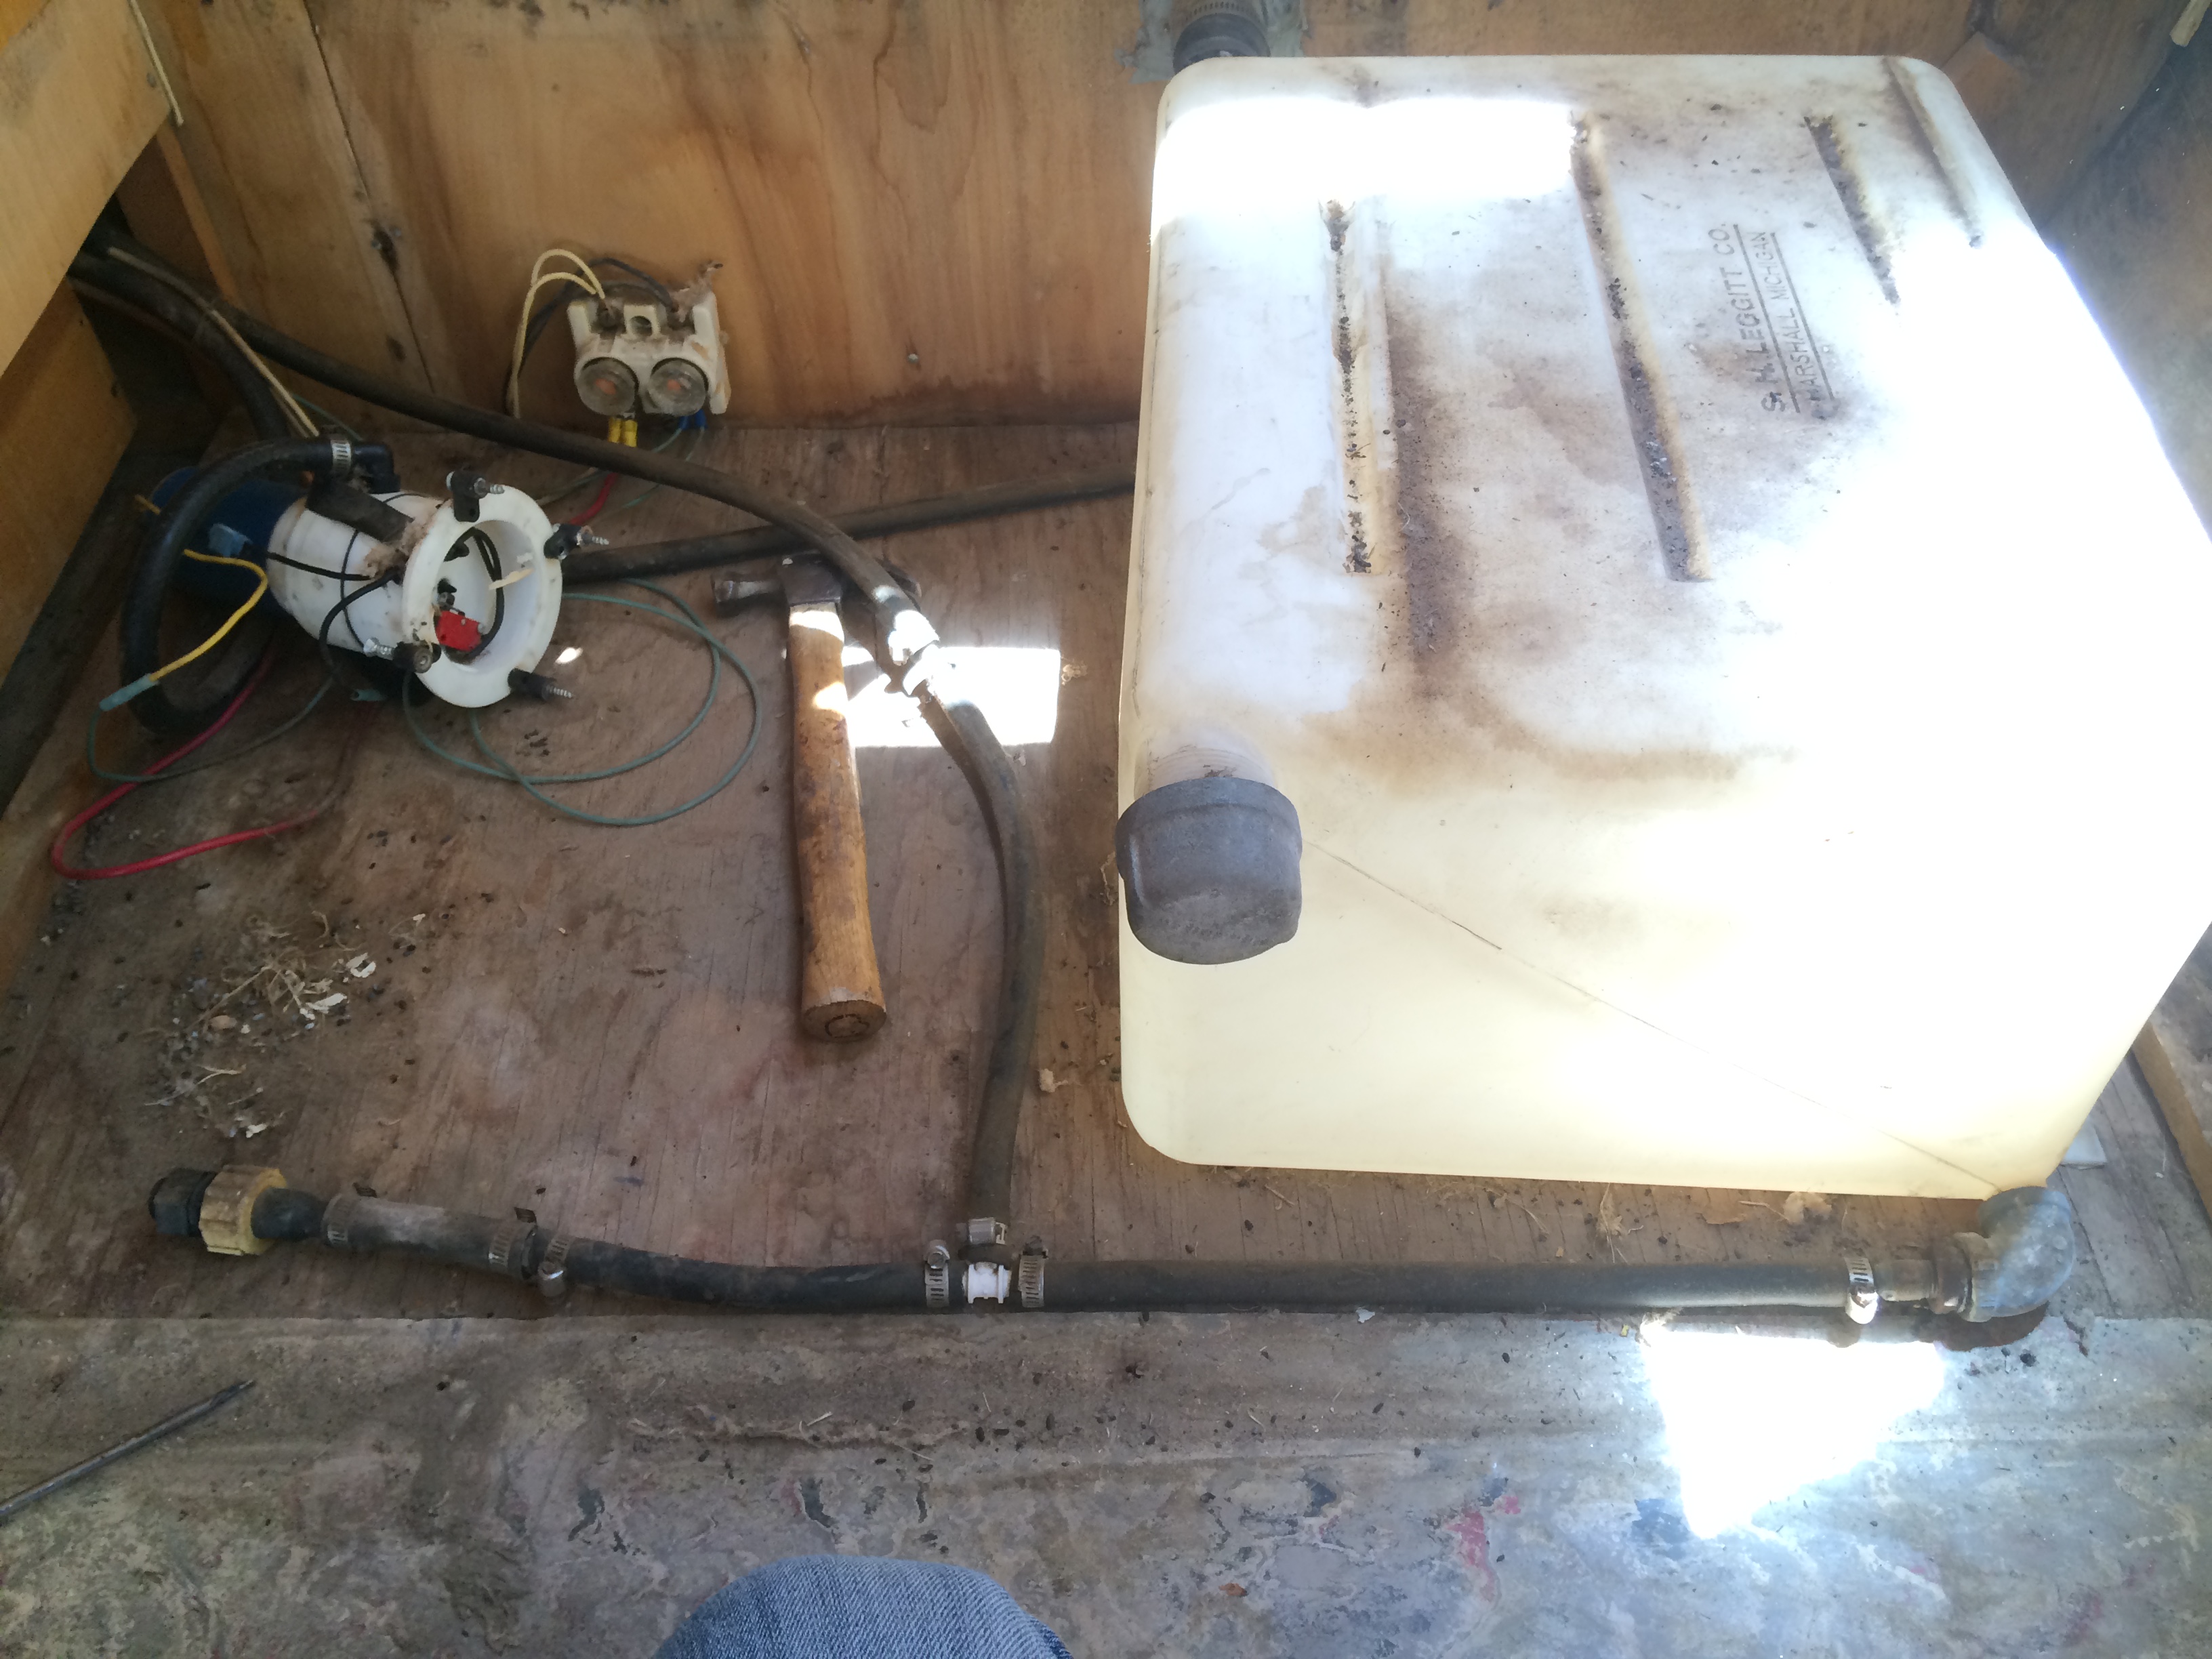
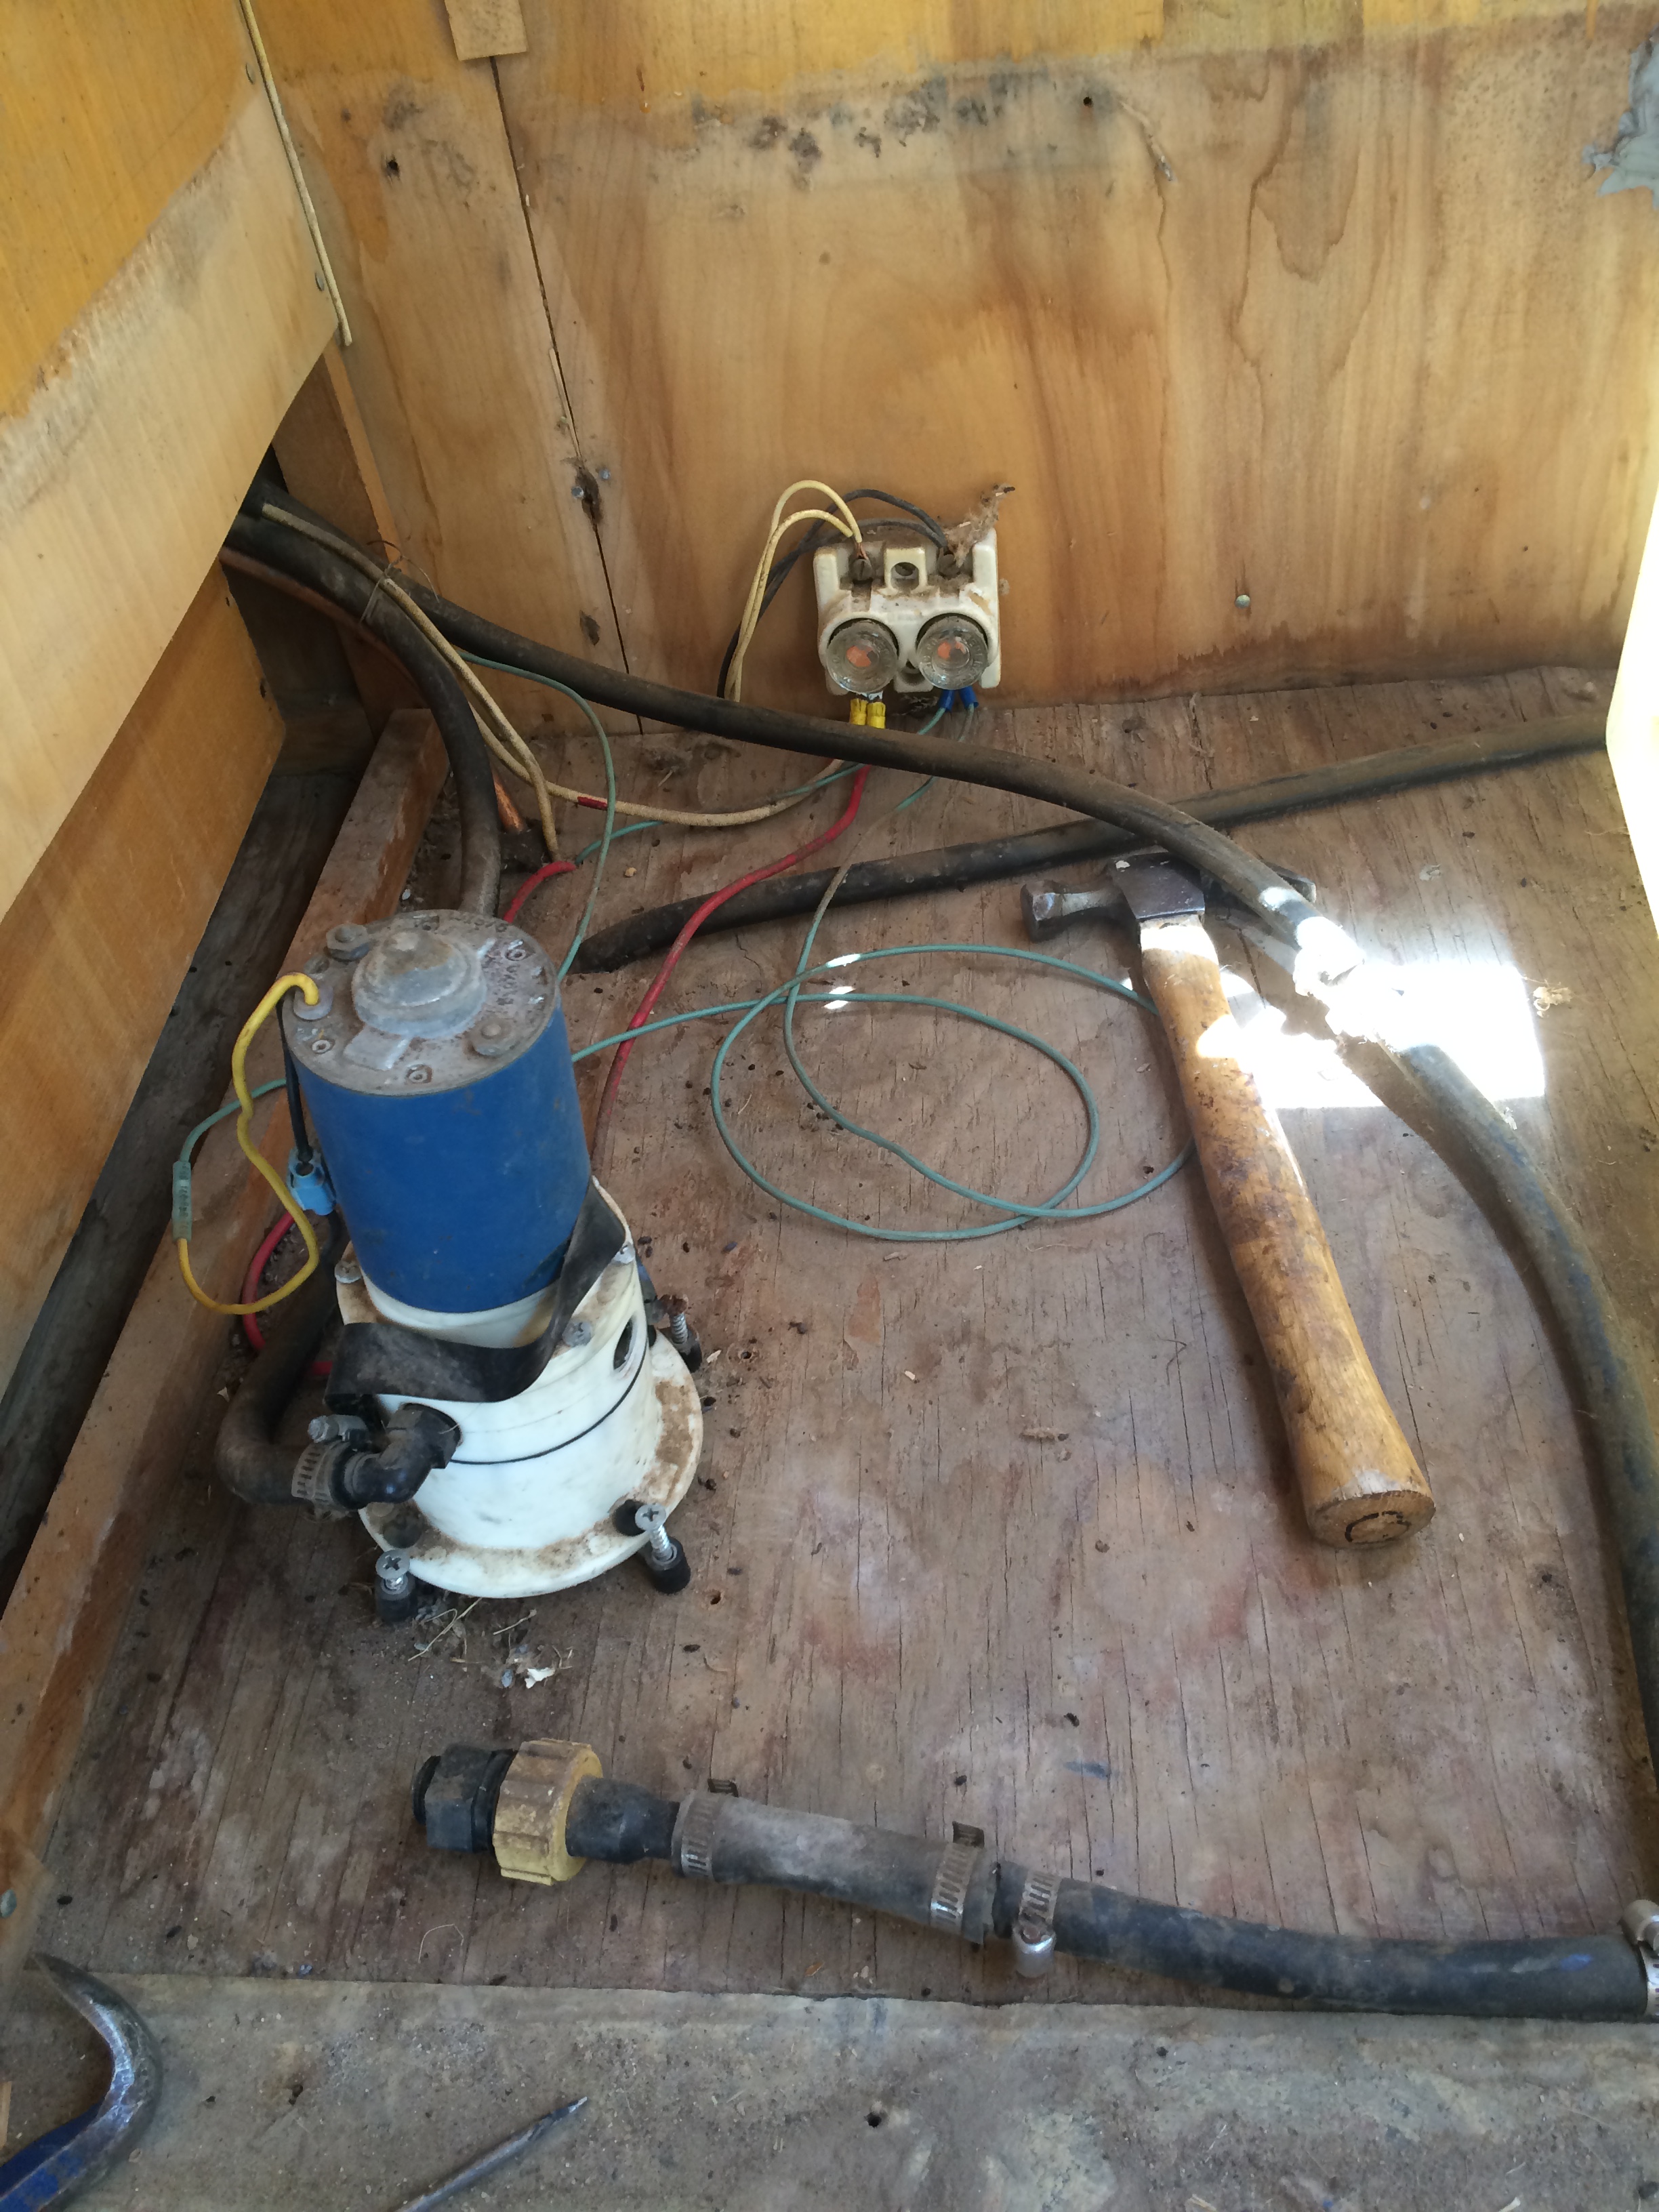
Then I removed the battery, pump, water tank, fuses, and propane tanks. I carefully removed all of the light fixtures, mirror, and exterior lights, wrapping them up for safekeeping. I was lucky enough to have a camper that was complete; all of the fixtures and appliances were intact.
-
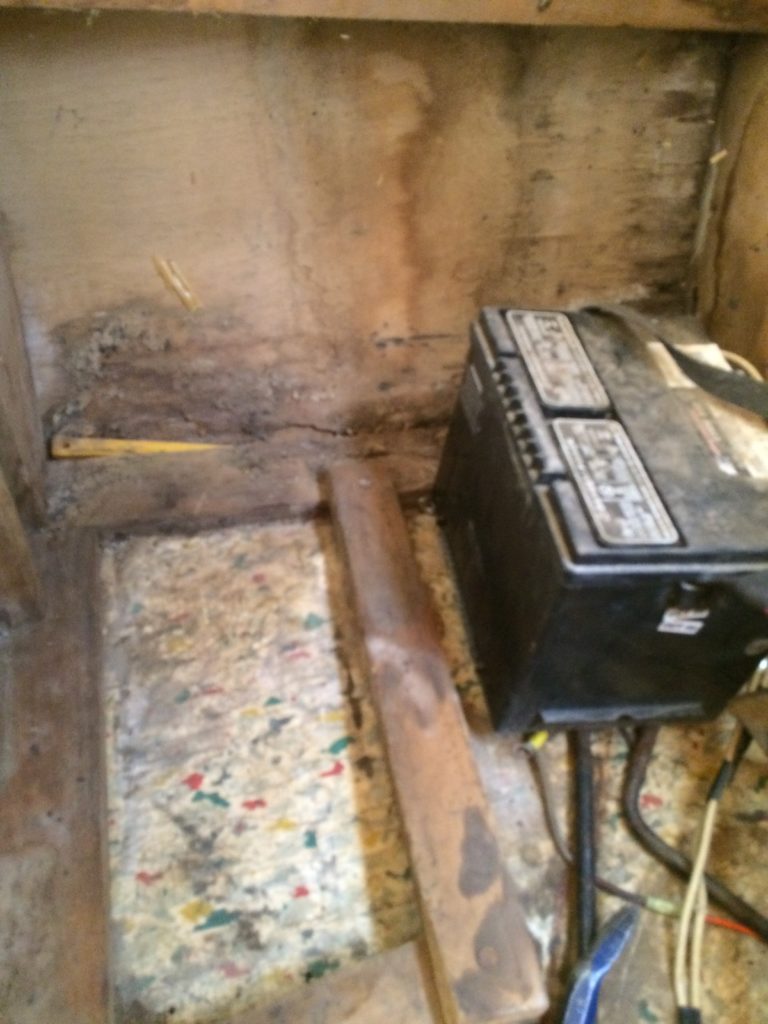
- The battery compartment. Rotten wood and mildew.
-

- Mice droppings were everywhere!
-

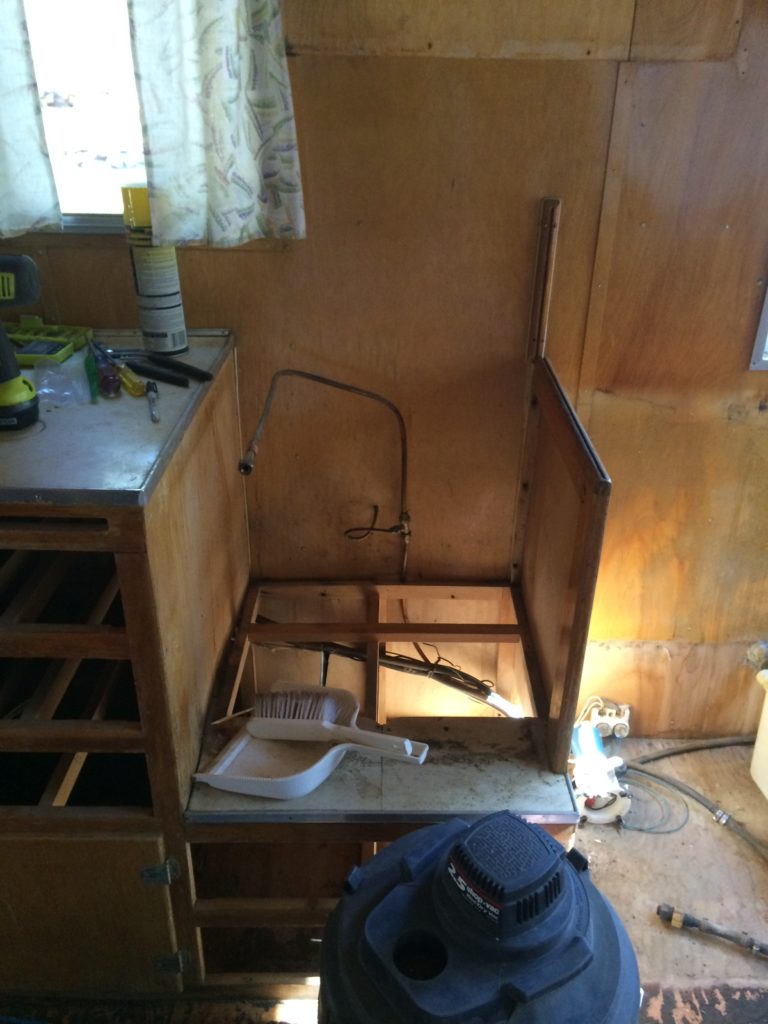
- Water pump and fuses. I’m going to need to upgrade that.
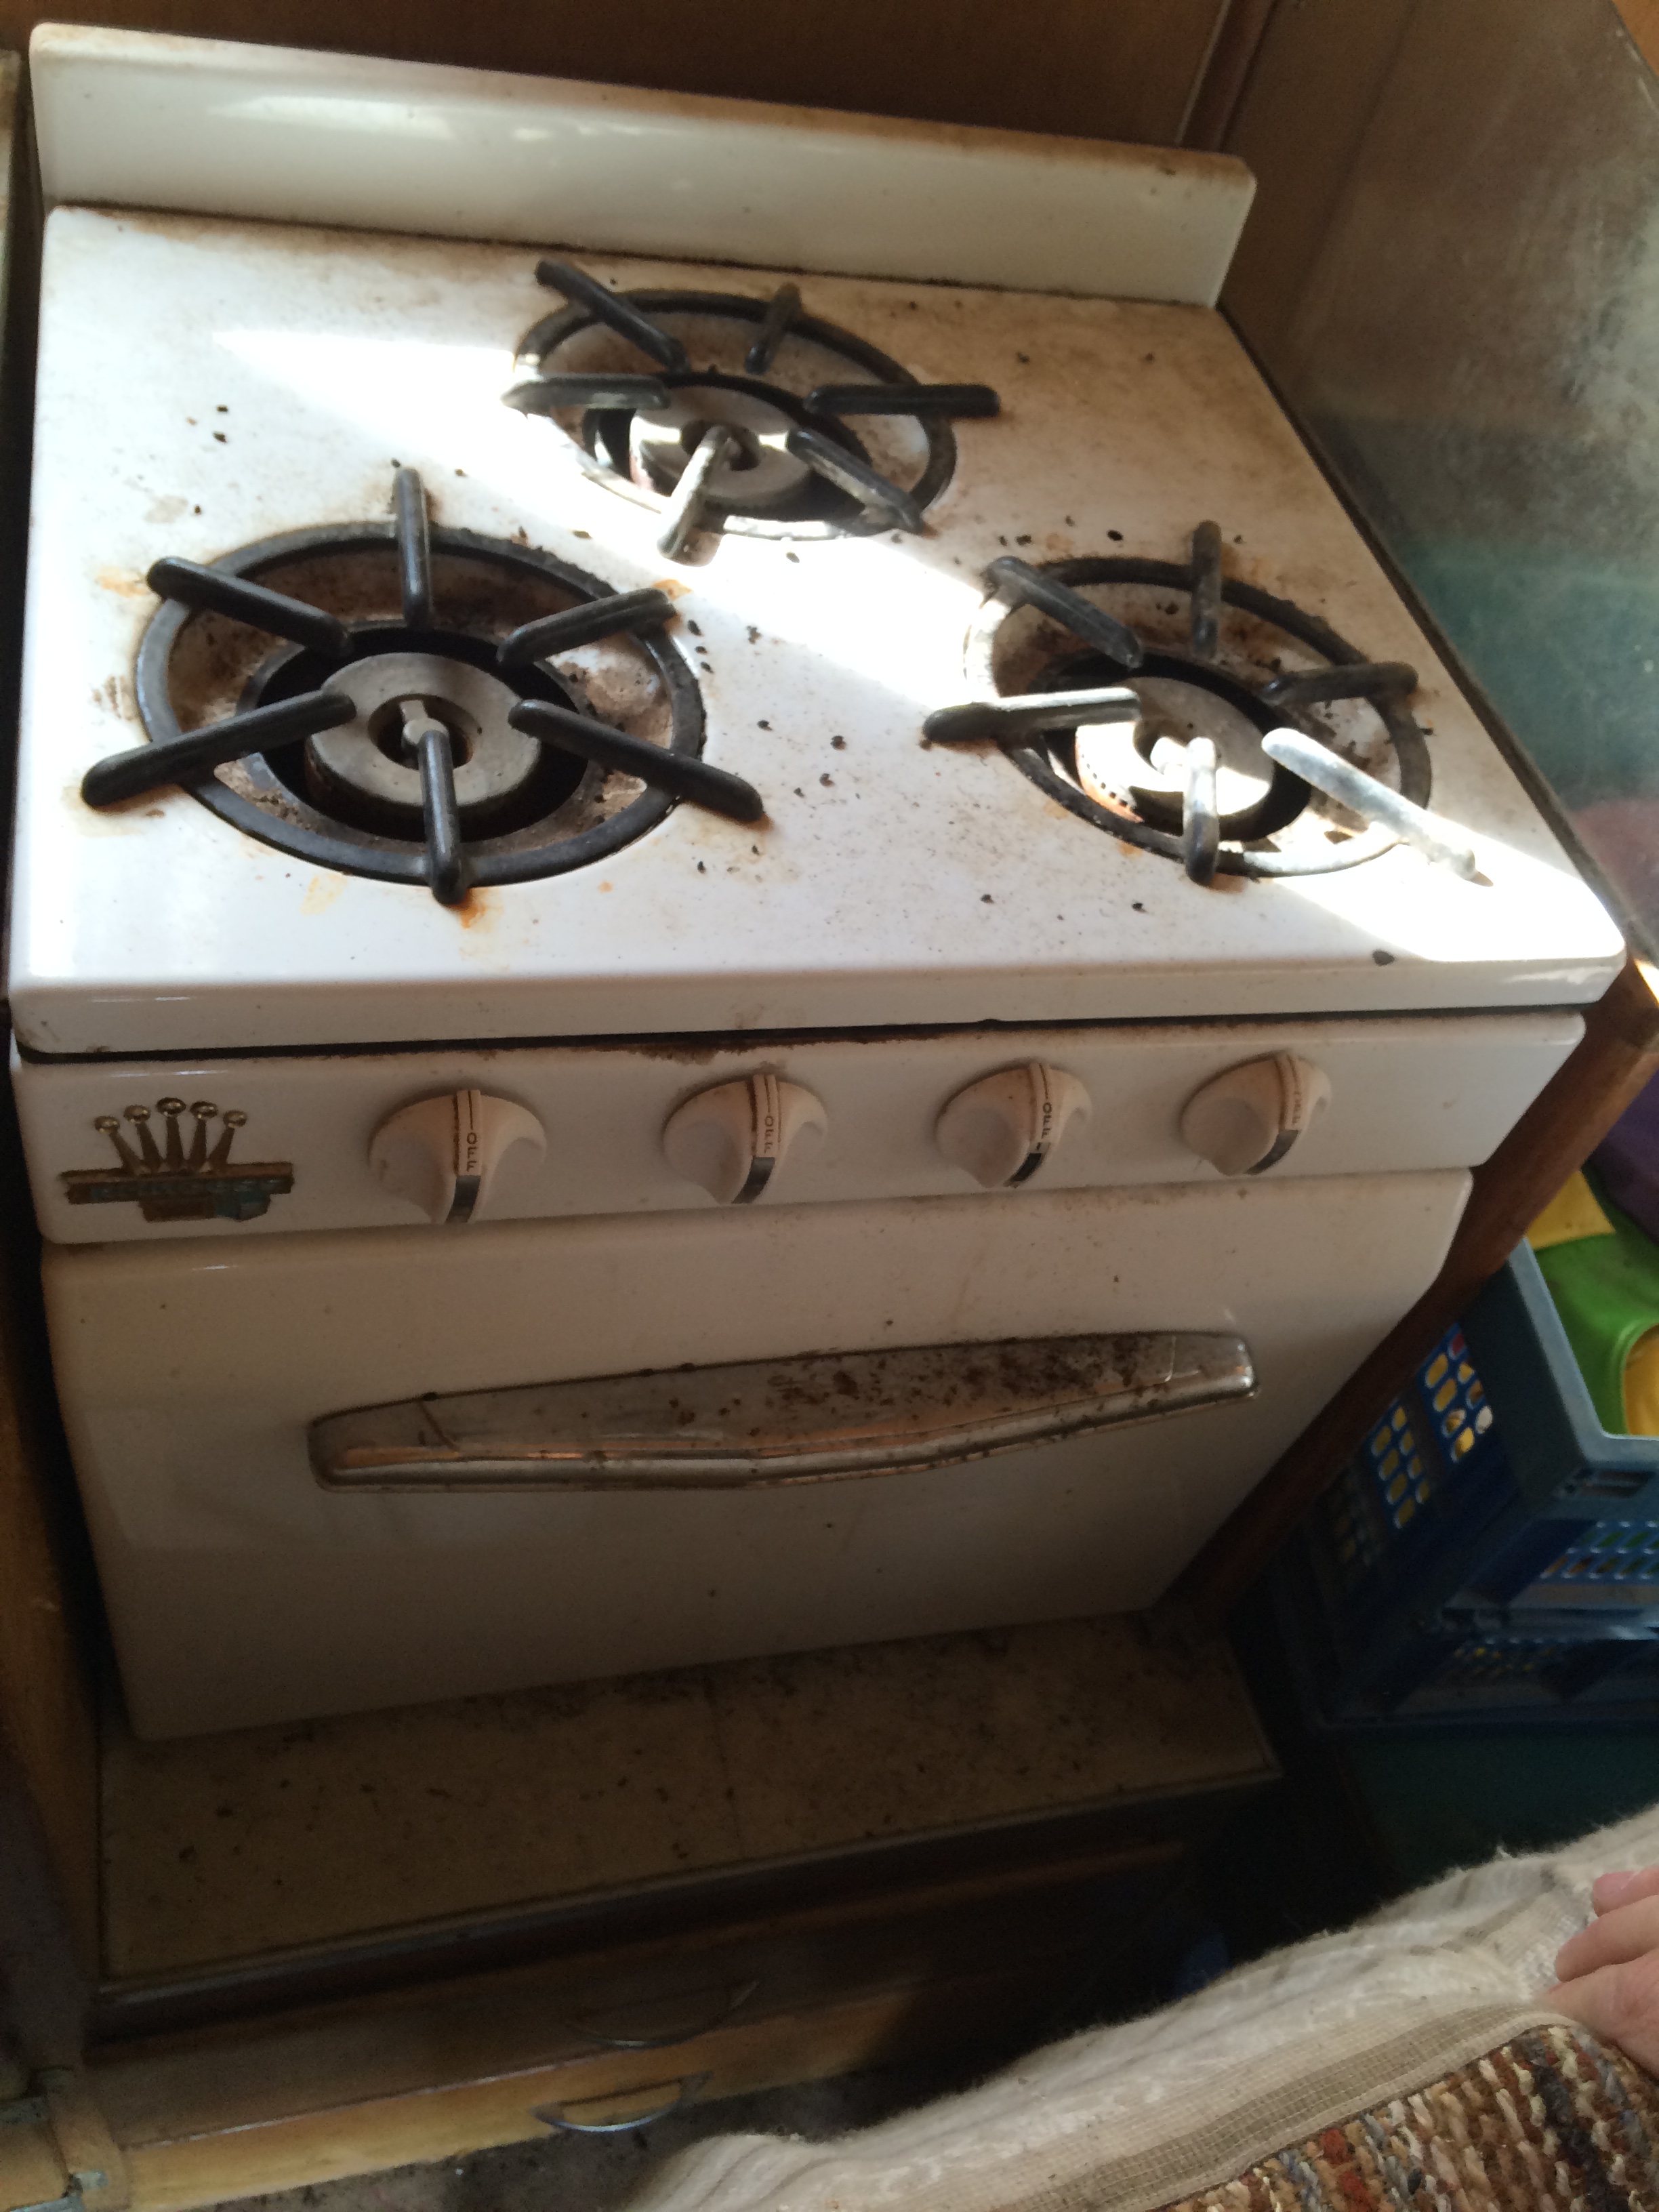
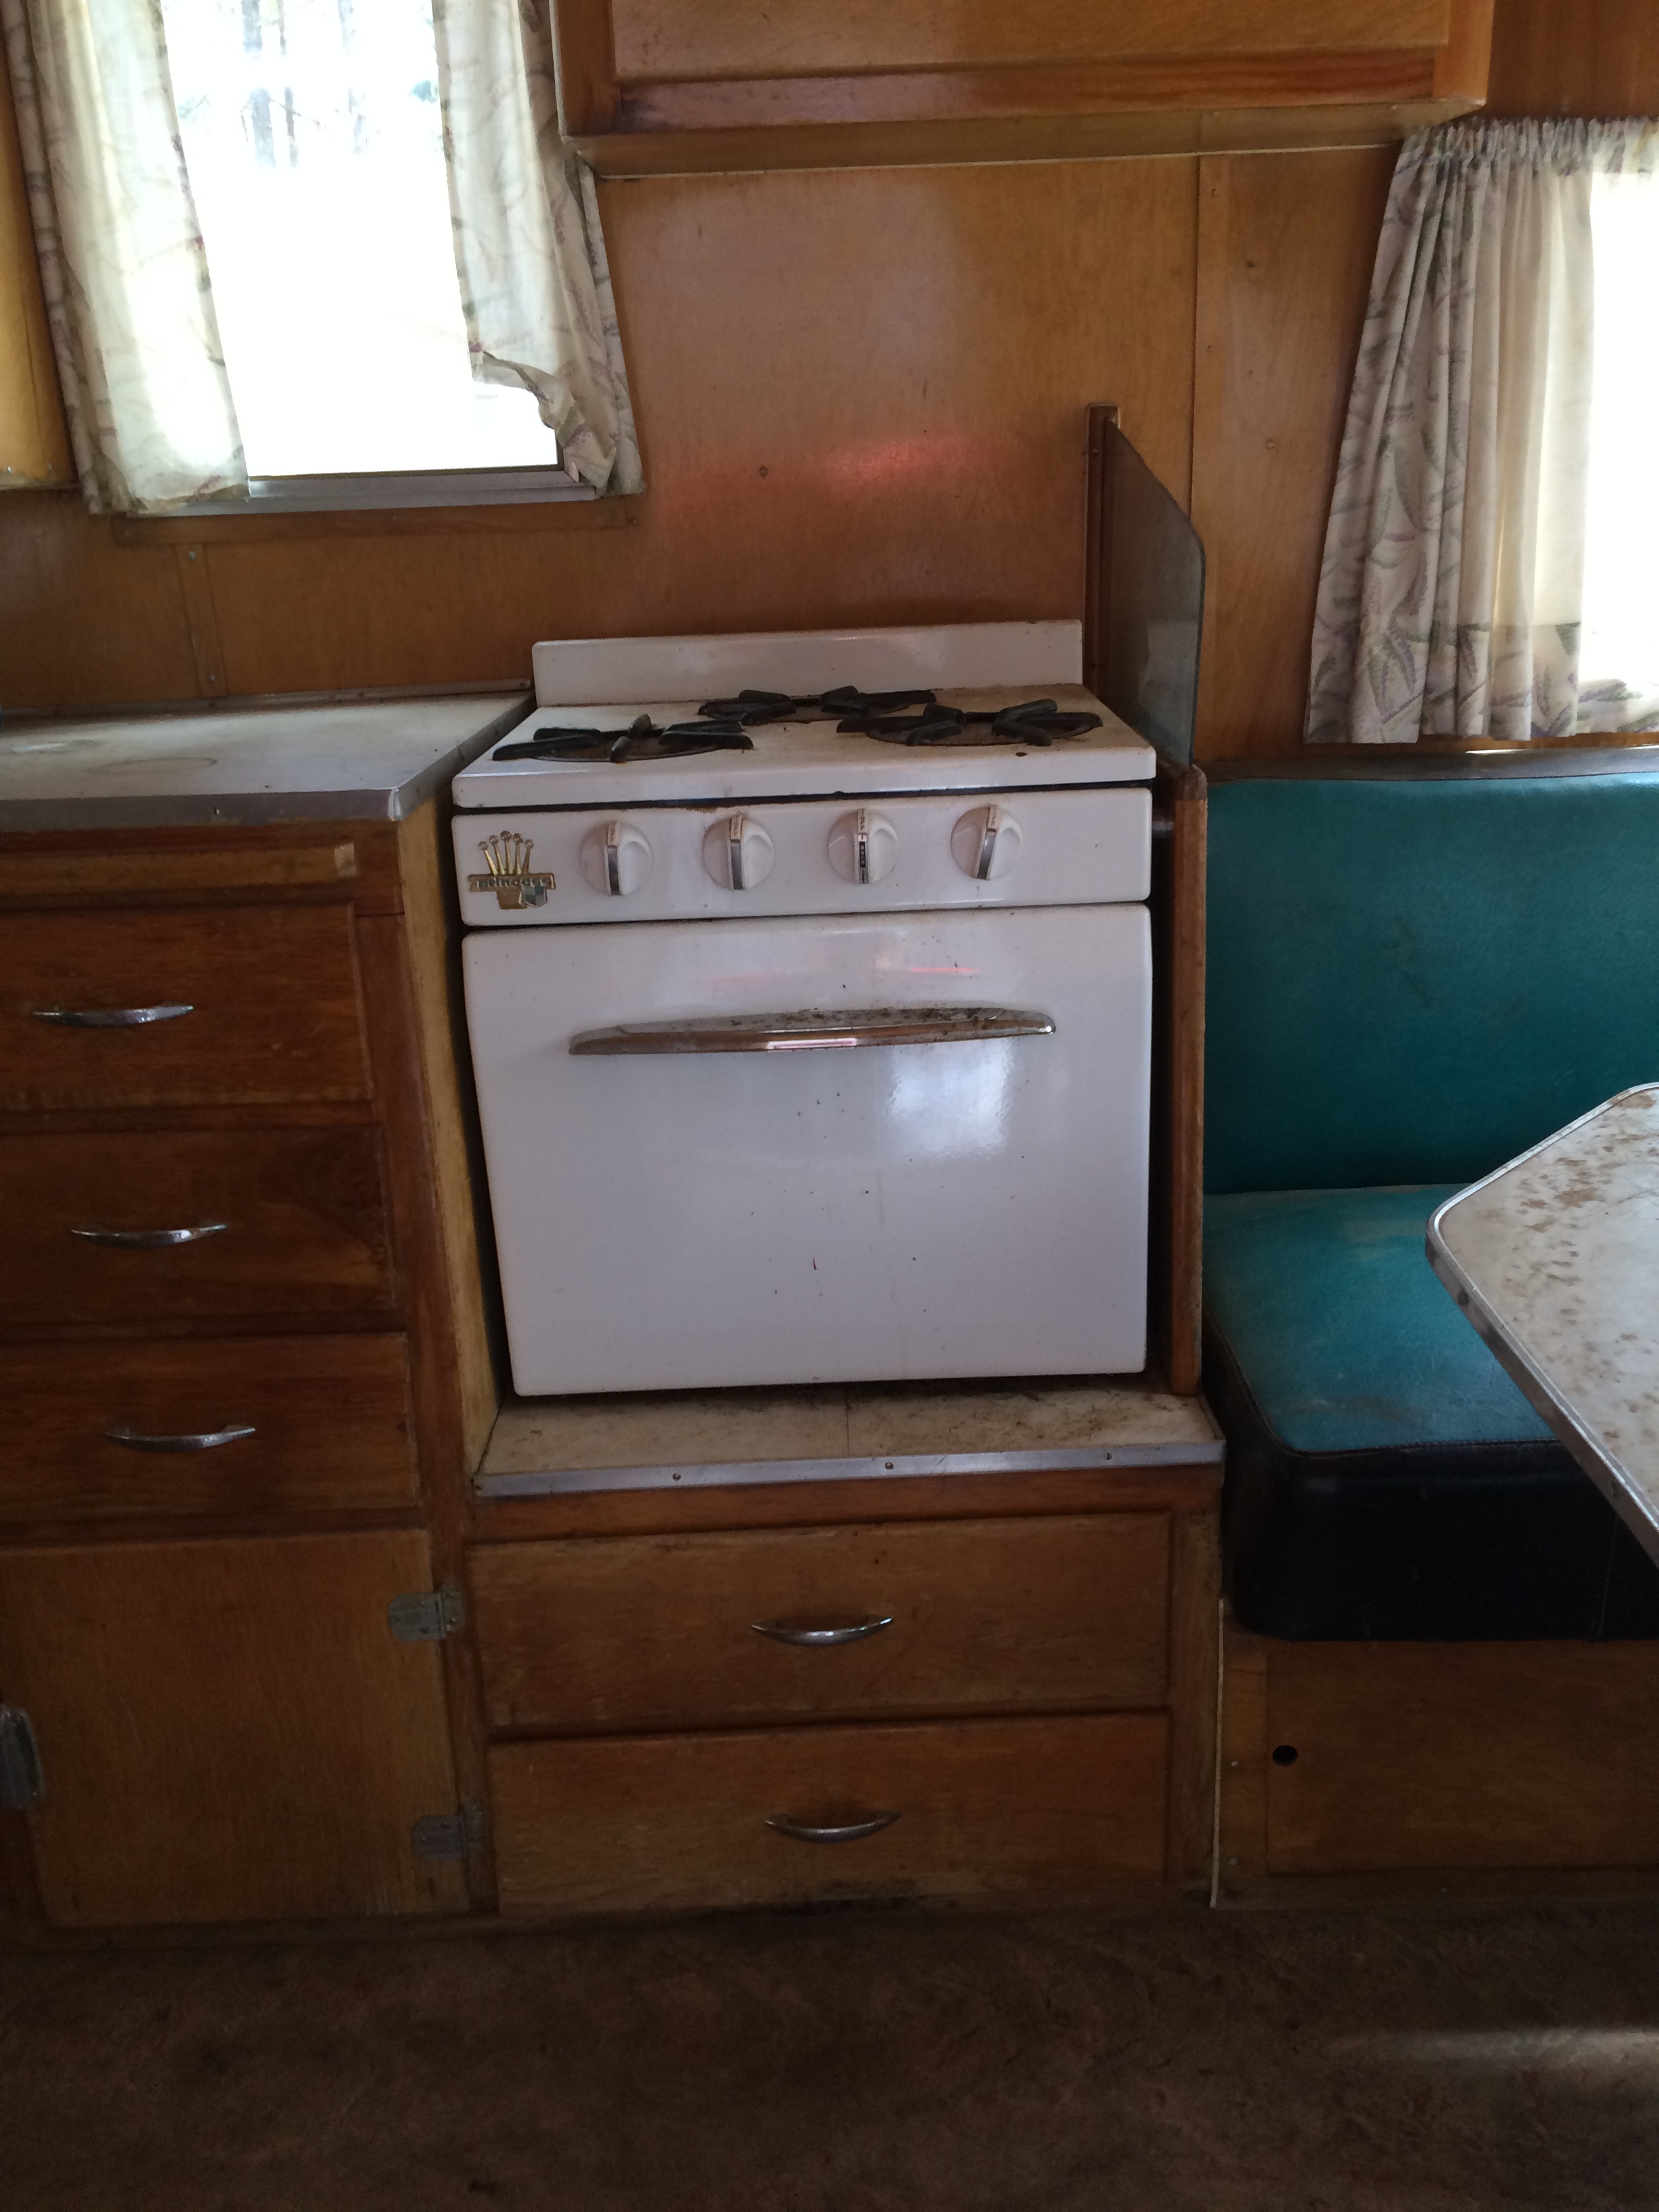
Next was the stove and icebox. The stove looked pretty good but the icebox had a giant mouse nest lodged between the top and the cabinet. GROSS! I had to use the reciprocating saw to cut the screws that held the icebox in place.
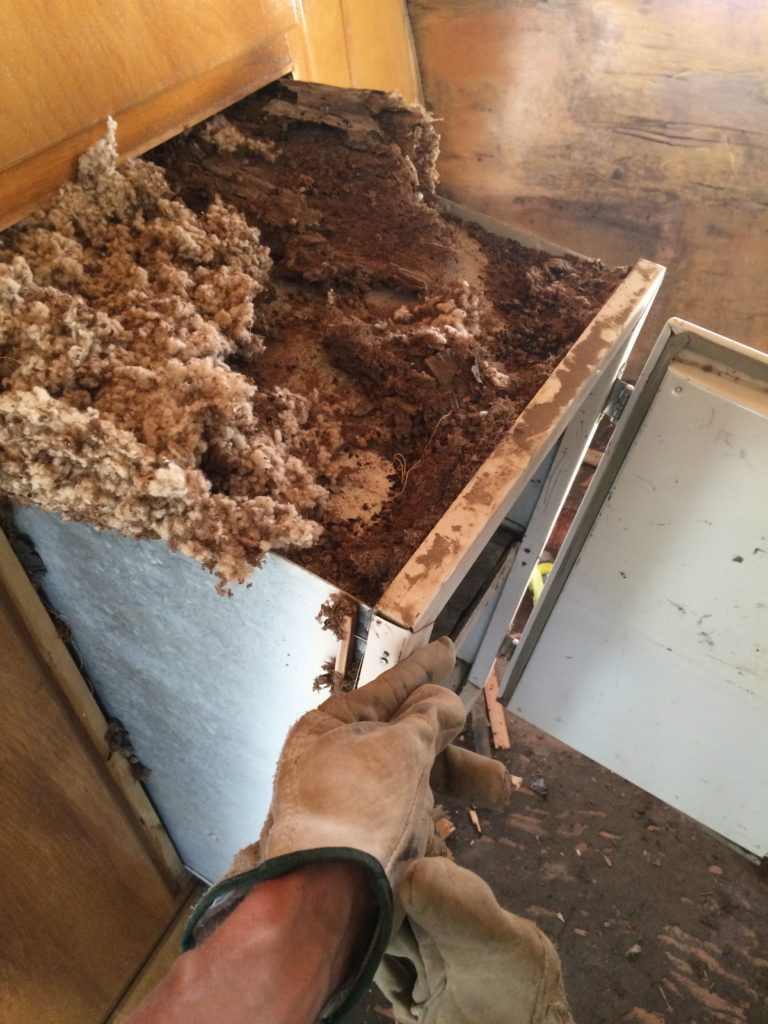
From there I began to unscrew all of the cabinetry. It was tougher than it sounds because in the 50s they used flat head screws. UGH!
-
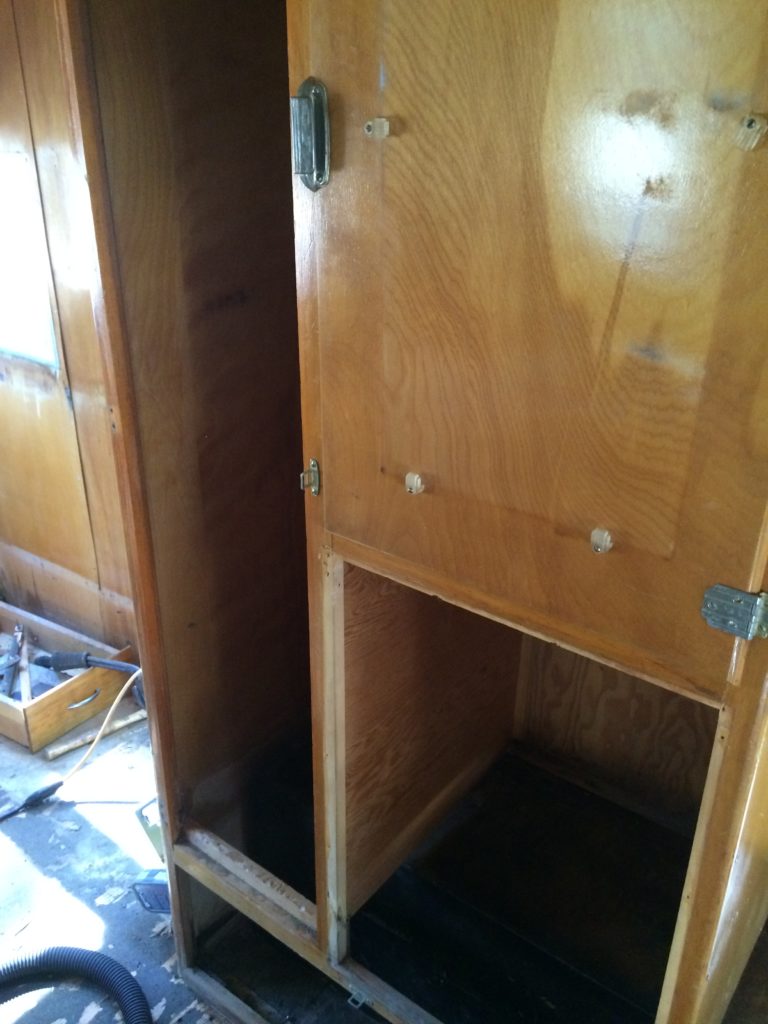
- wardrobe
-
- upper cabinet
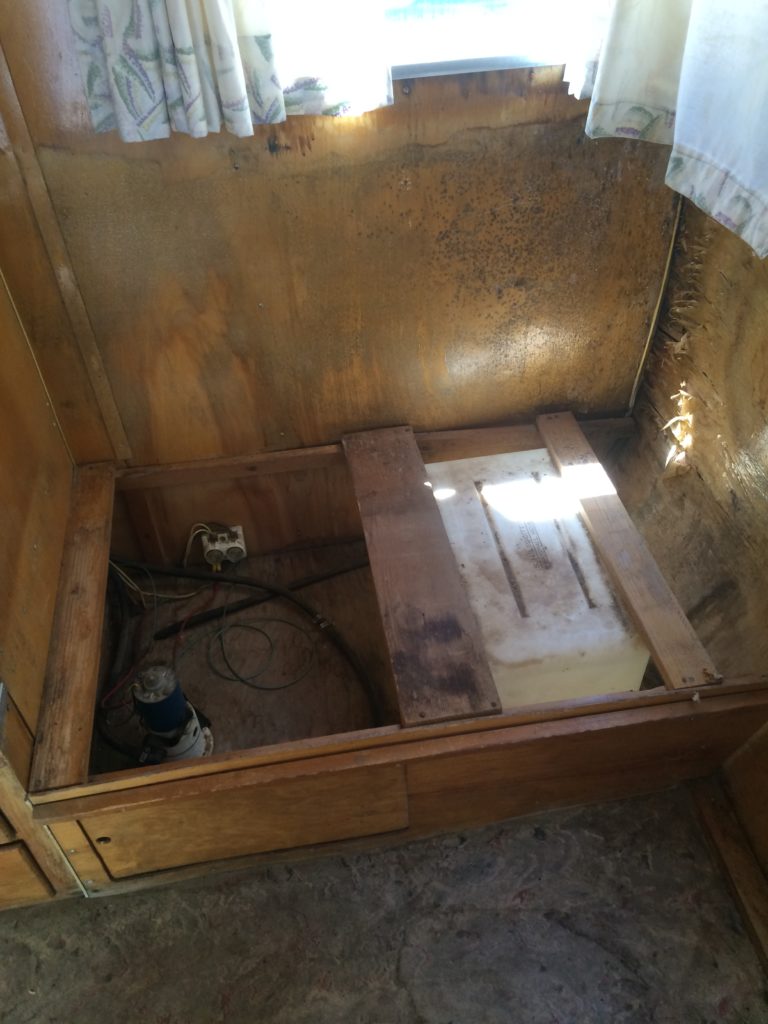
The dinette and bed bases were mostly built in place, so taking them apart meant that I had to be extremely careful about labeling them.
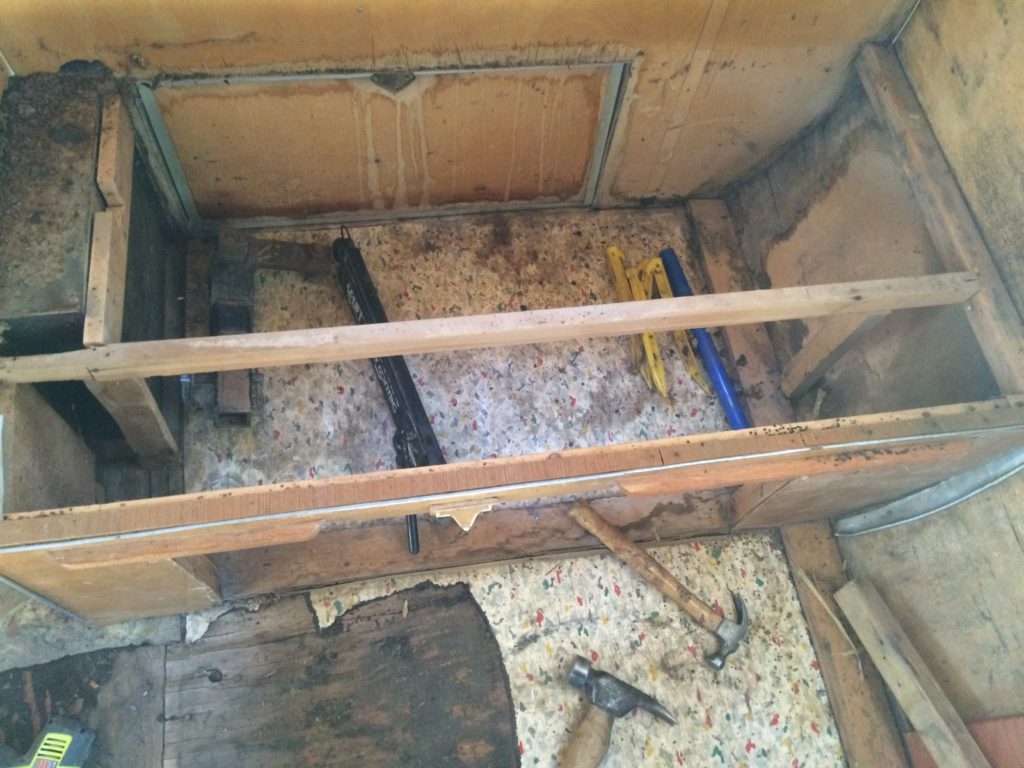
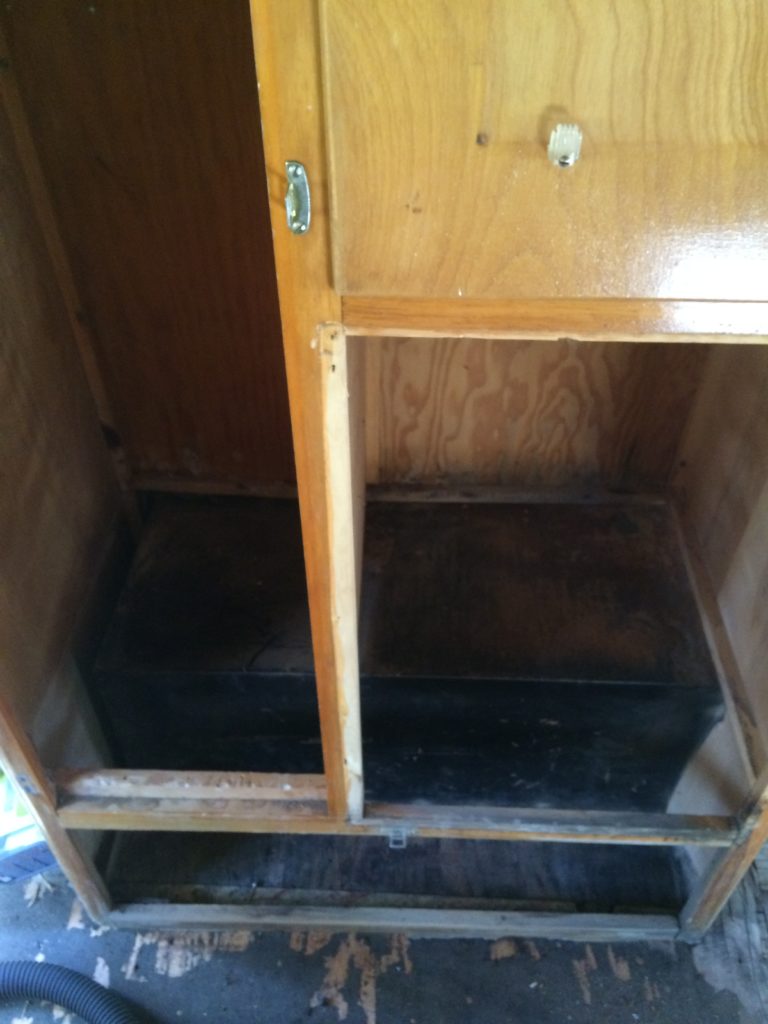
-
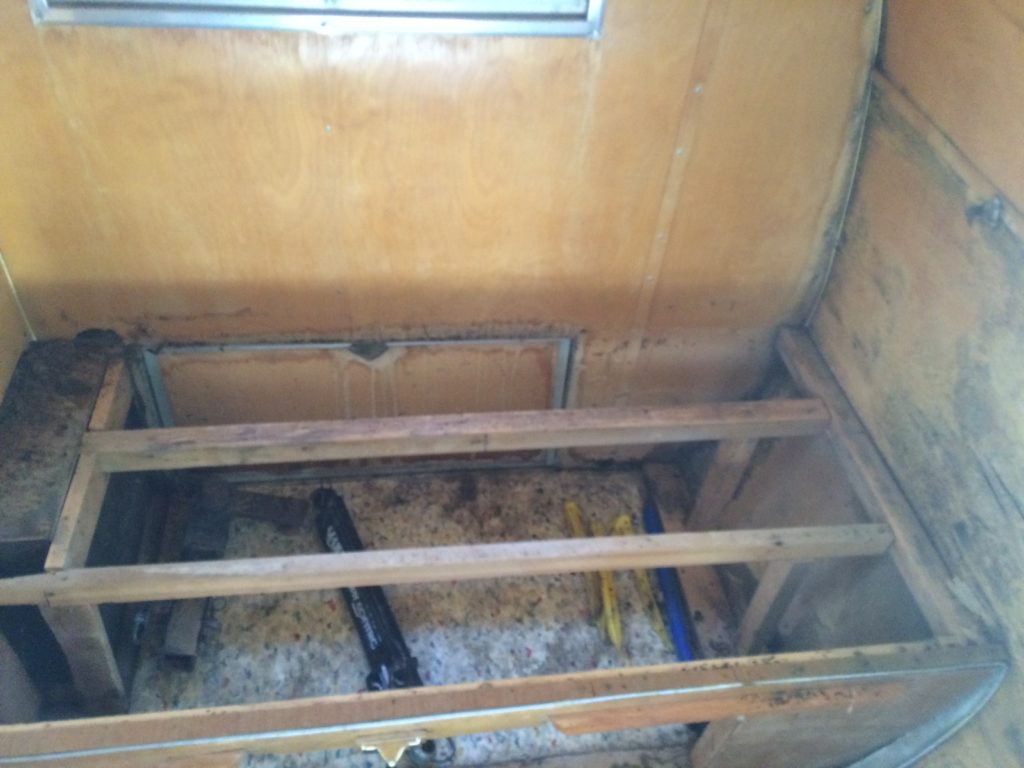
- Cargo area under the bed.
-
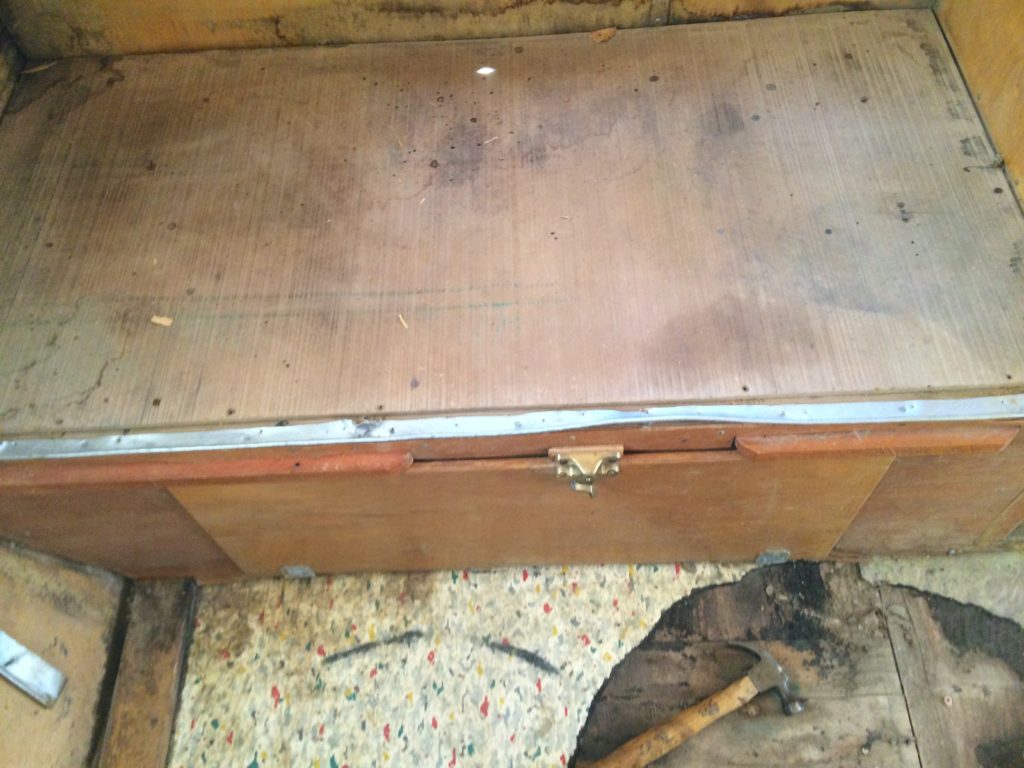
- Latch and cover over the battery
Tip: When labeling your parts and pieces use the terms "curbside" and "roadside". Example; "curbside dinette seat base" or "roadside cargo door." If you use the terms right and left you'll be easily confused...right and left can mean different things depending on which end of the camper you are standing in and which direction you are facing. (I learned this quickly. lol)
The sink base was next. All of the water lines and pump were removed as well as the drain line. I was able to get the sink base cabinet out of the narrow door.

Unfortunately, that isn't the case for the wardrobe cabinet. It has to be removed by taking it out the rear of the camper...which means you have to remove the siding and framing. Remember that the wardrobe is structural so I don't recommend taking it out until you can brace the walls.
So on the exterior.....
Trim pieces were removed. (hundreds of stainless screws!!!) I ordered new screws from my local Ace Hardware. I wound up going through at least 8 boxes of 100.

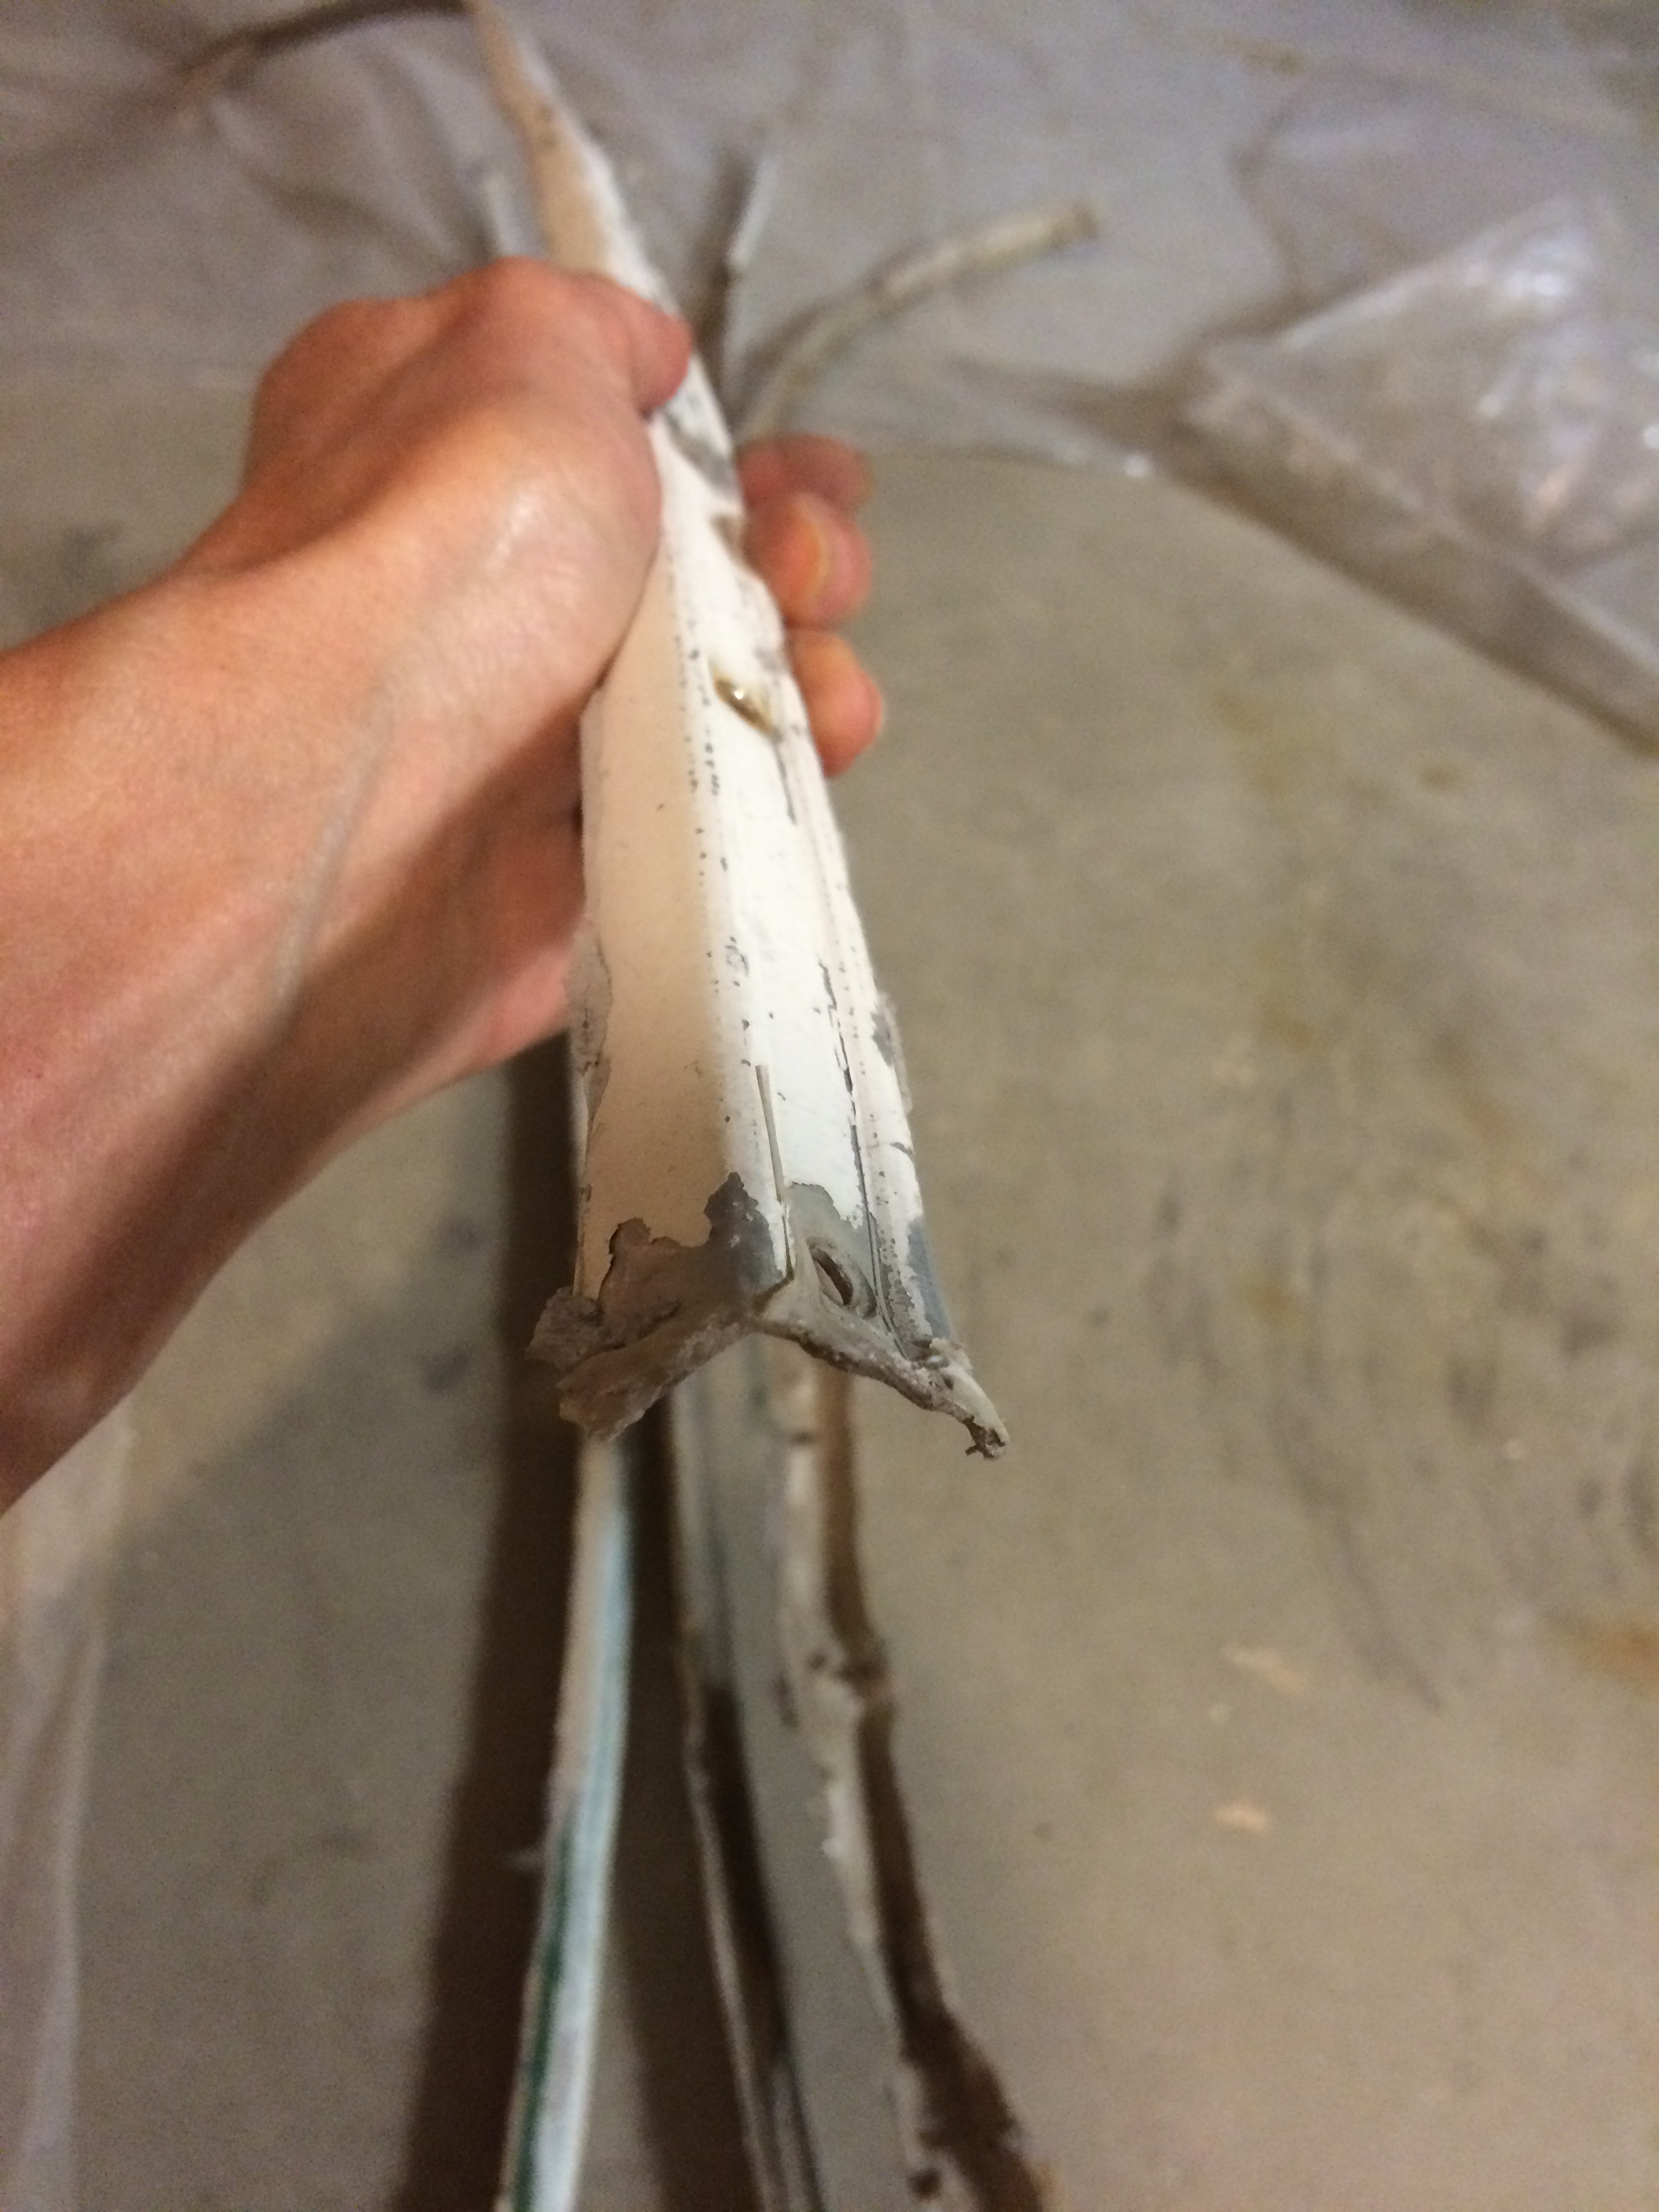
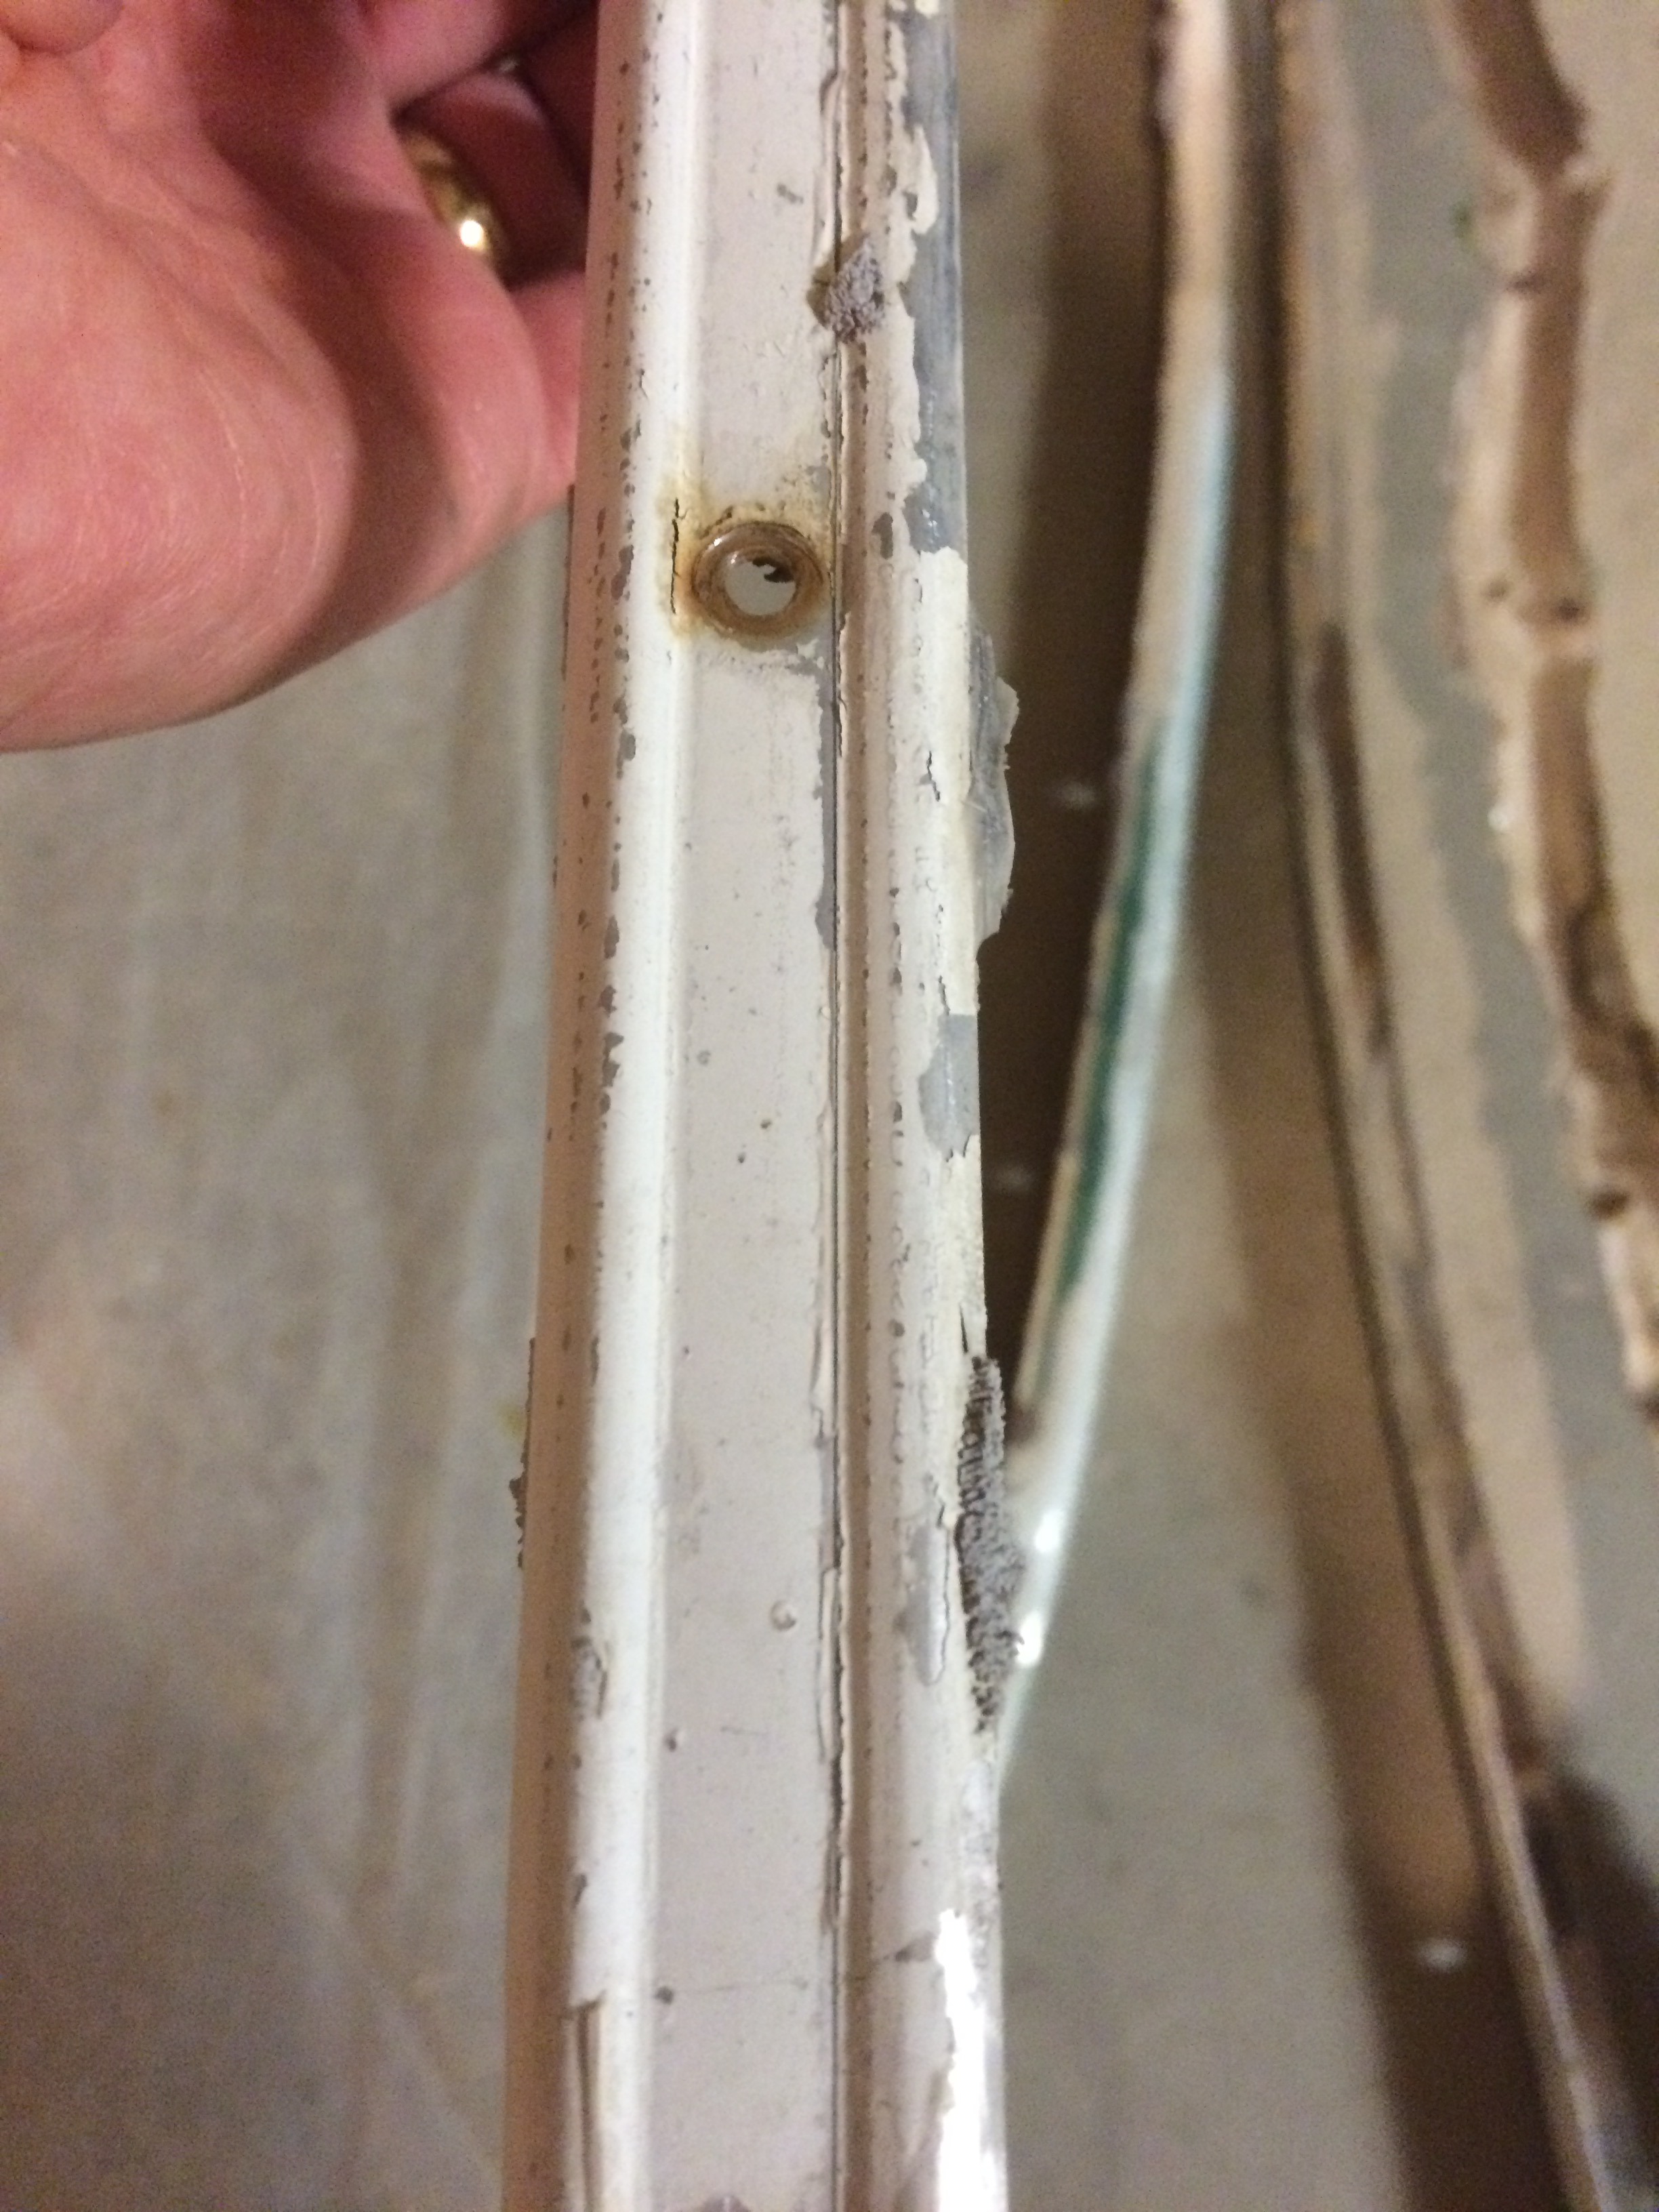
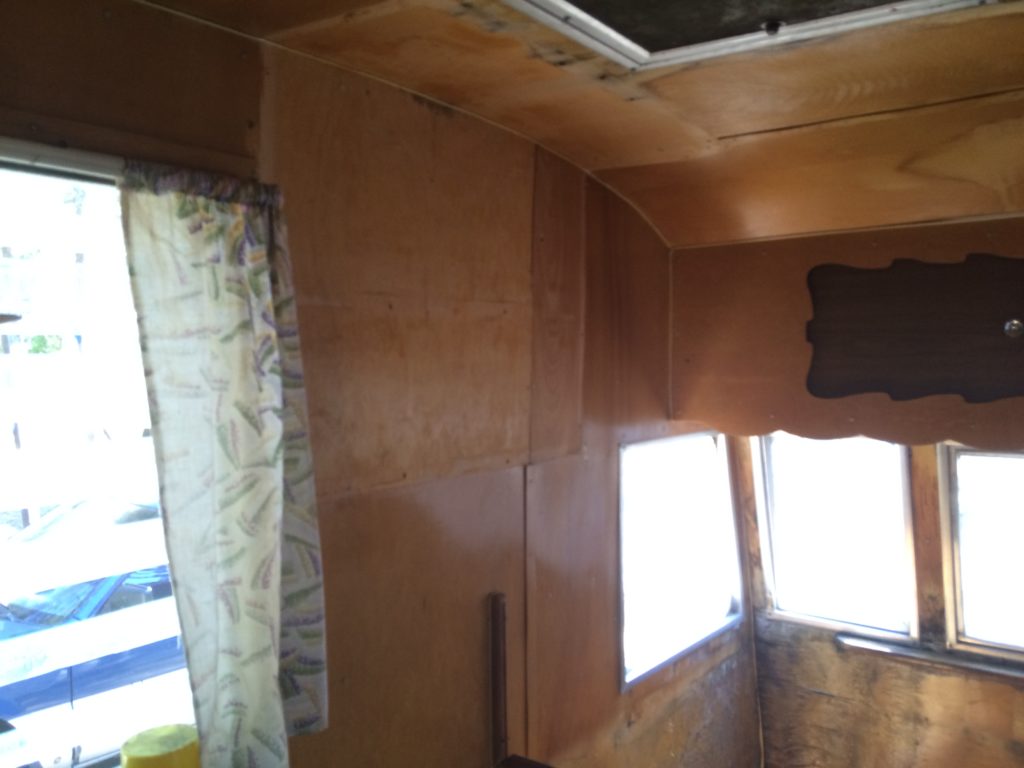
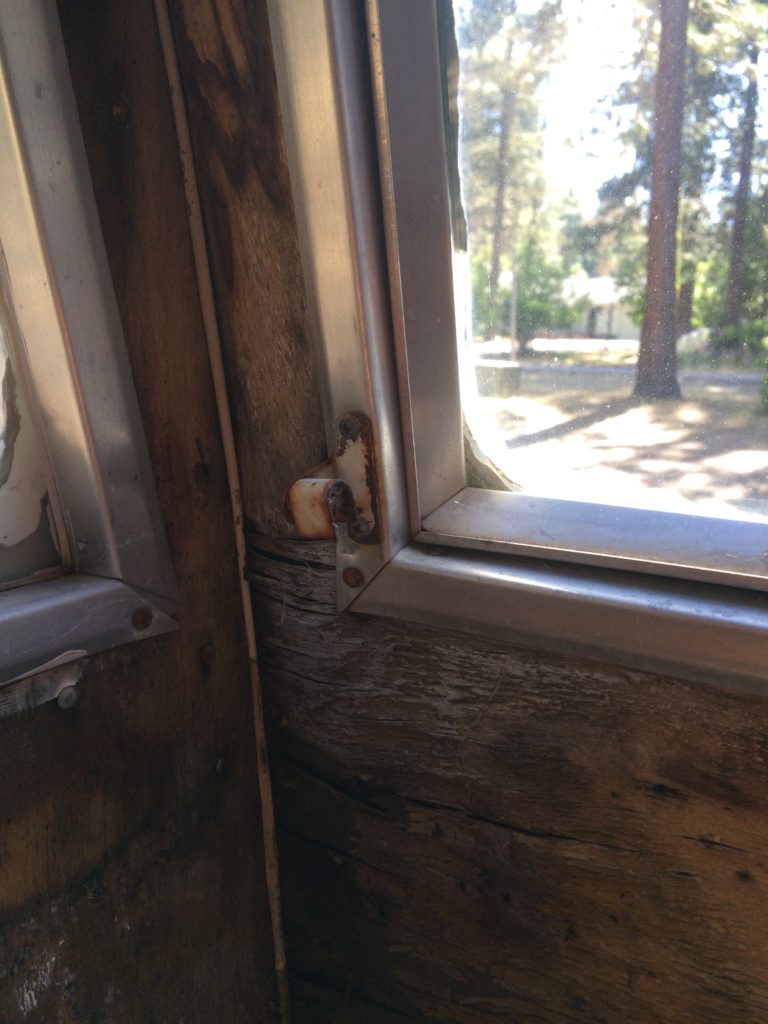
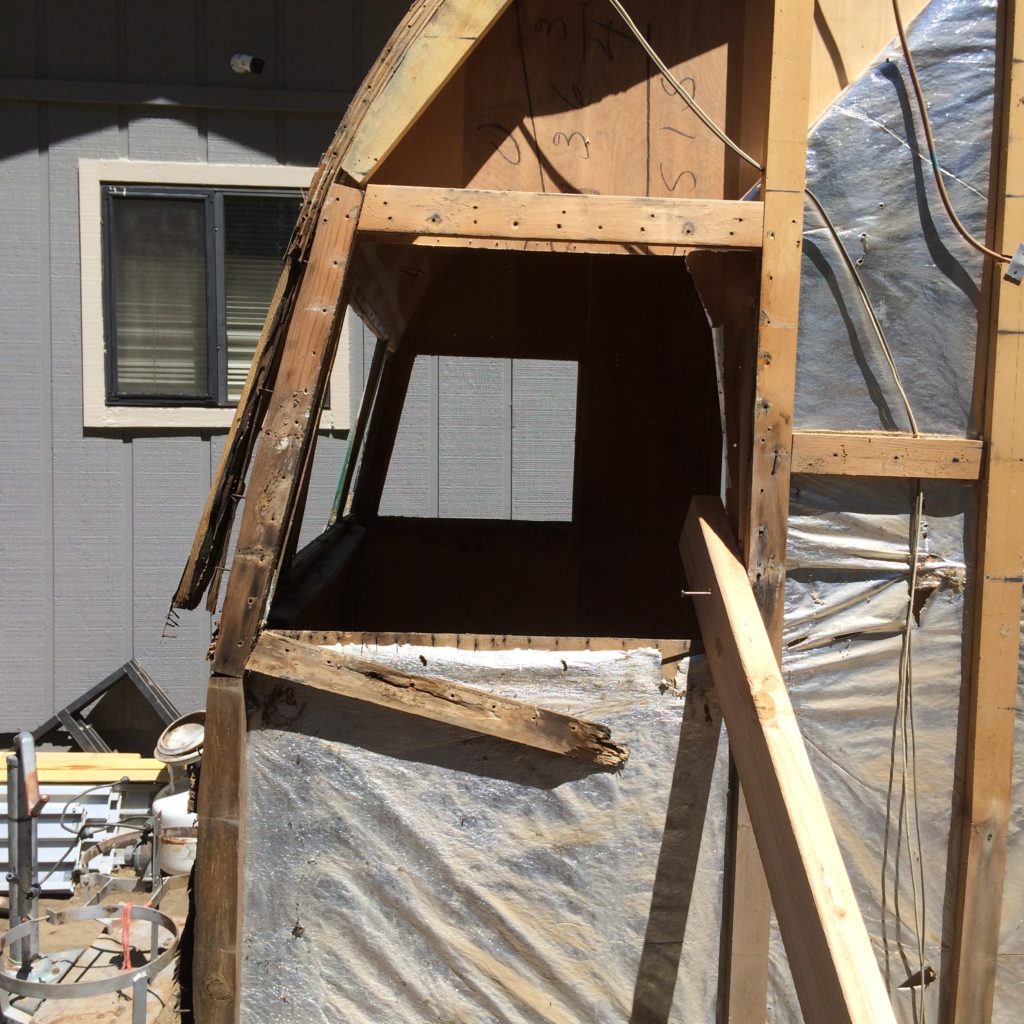
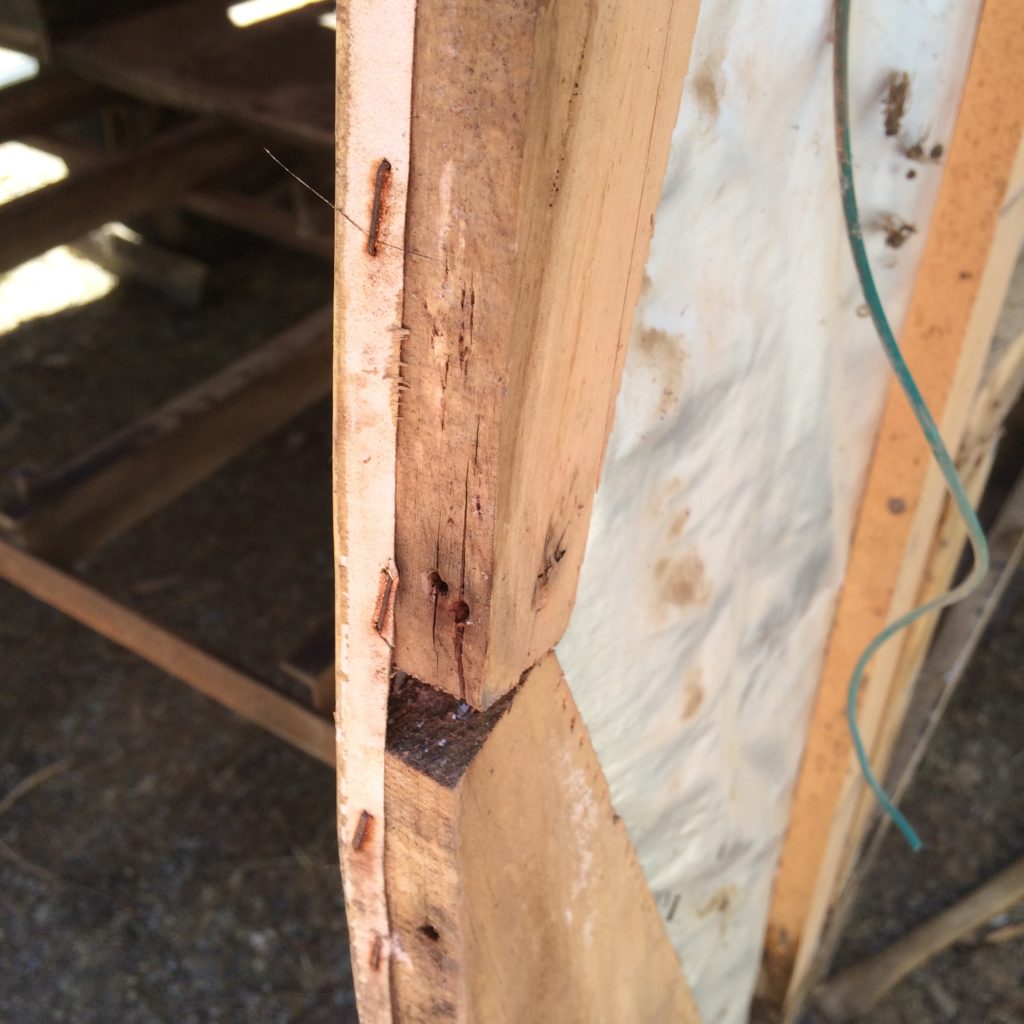
The windows had an interior frame that was screw-nailed in place as well as an exterior frame and glass that was screwed on. Firing strips were used to shim each window frame. All of that wood was rotten.
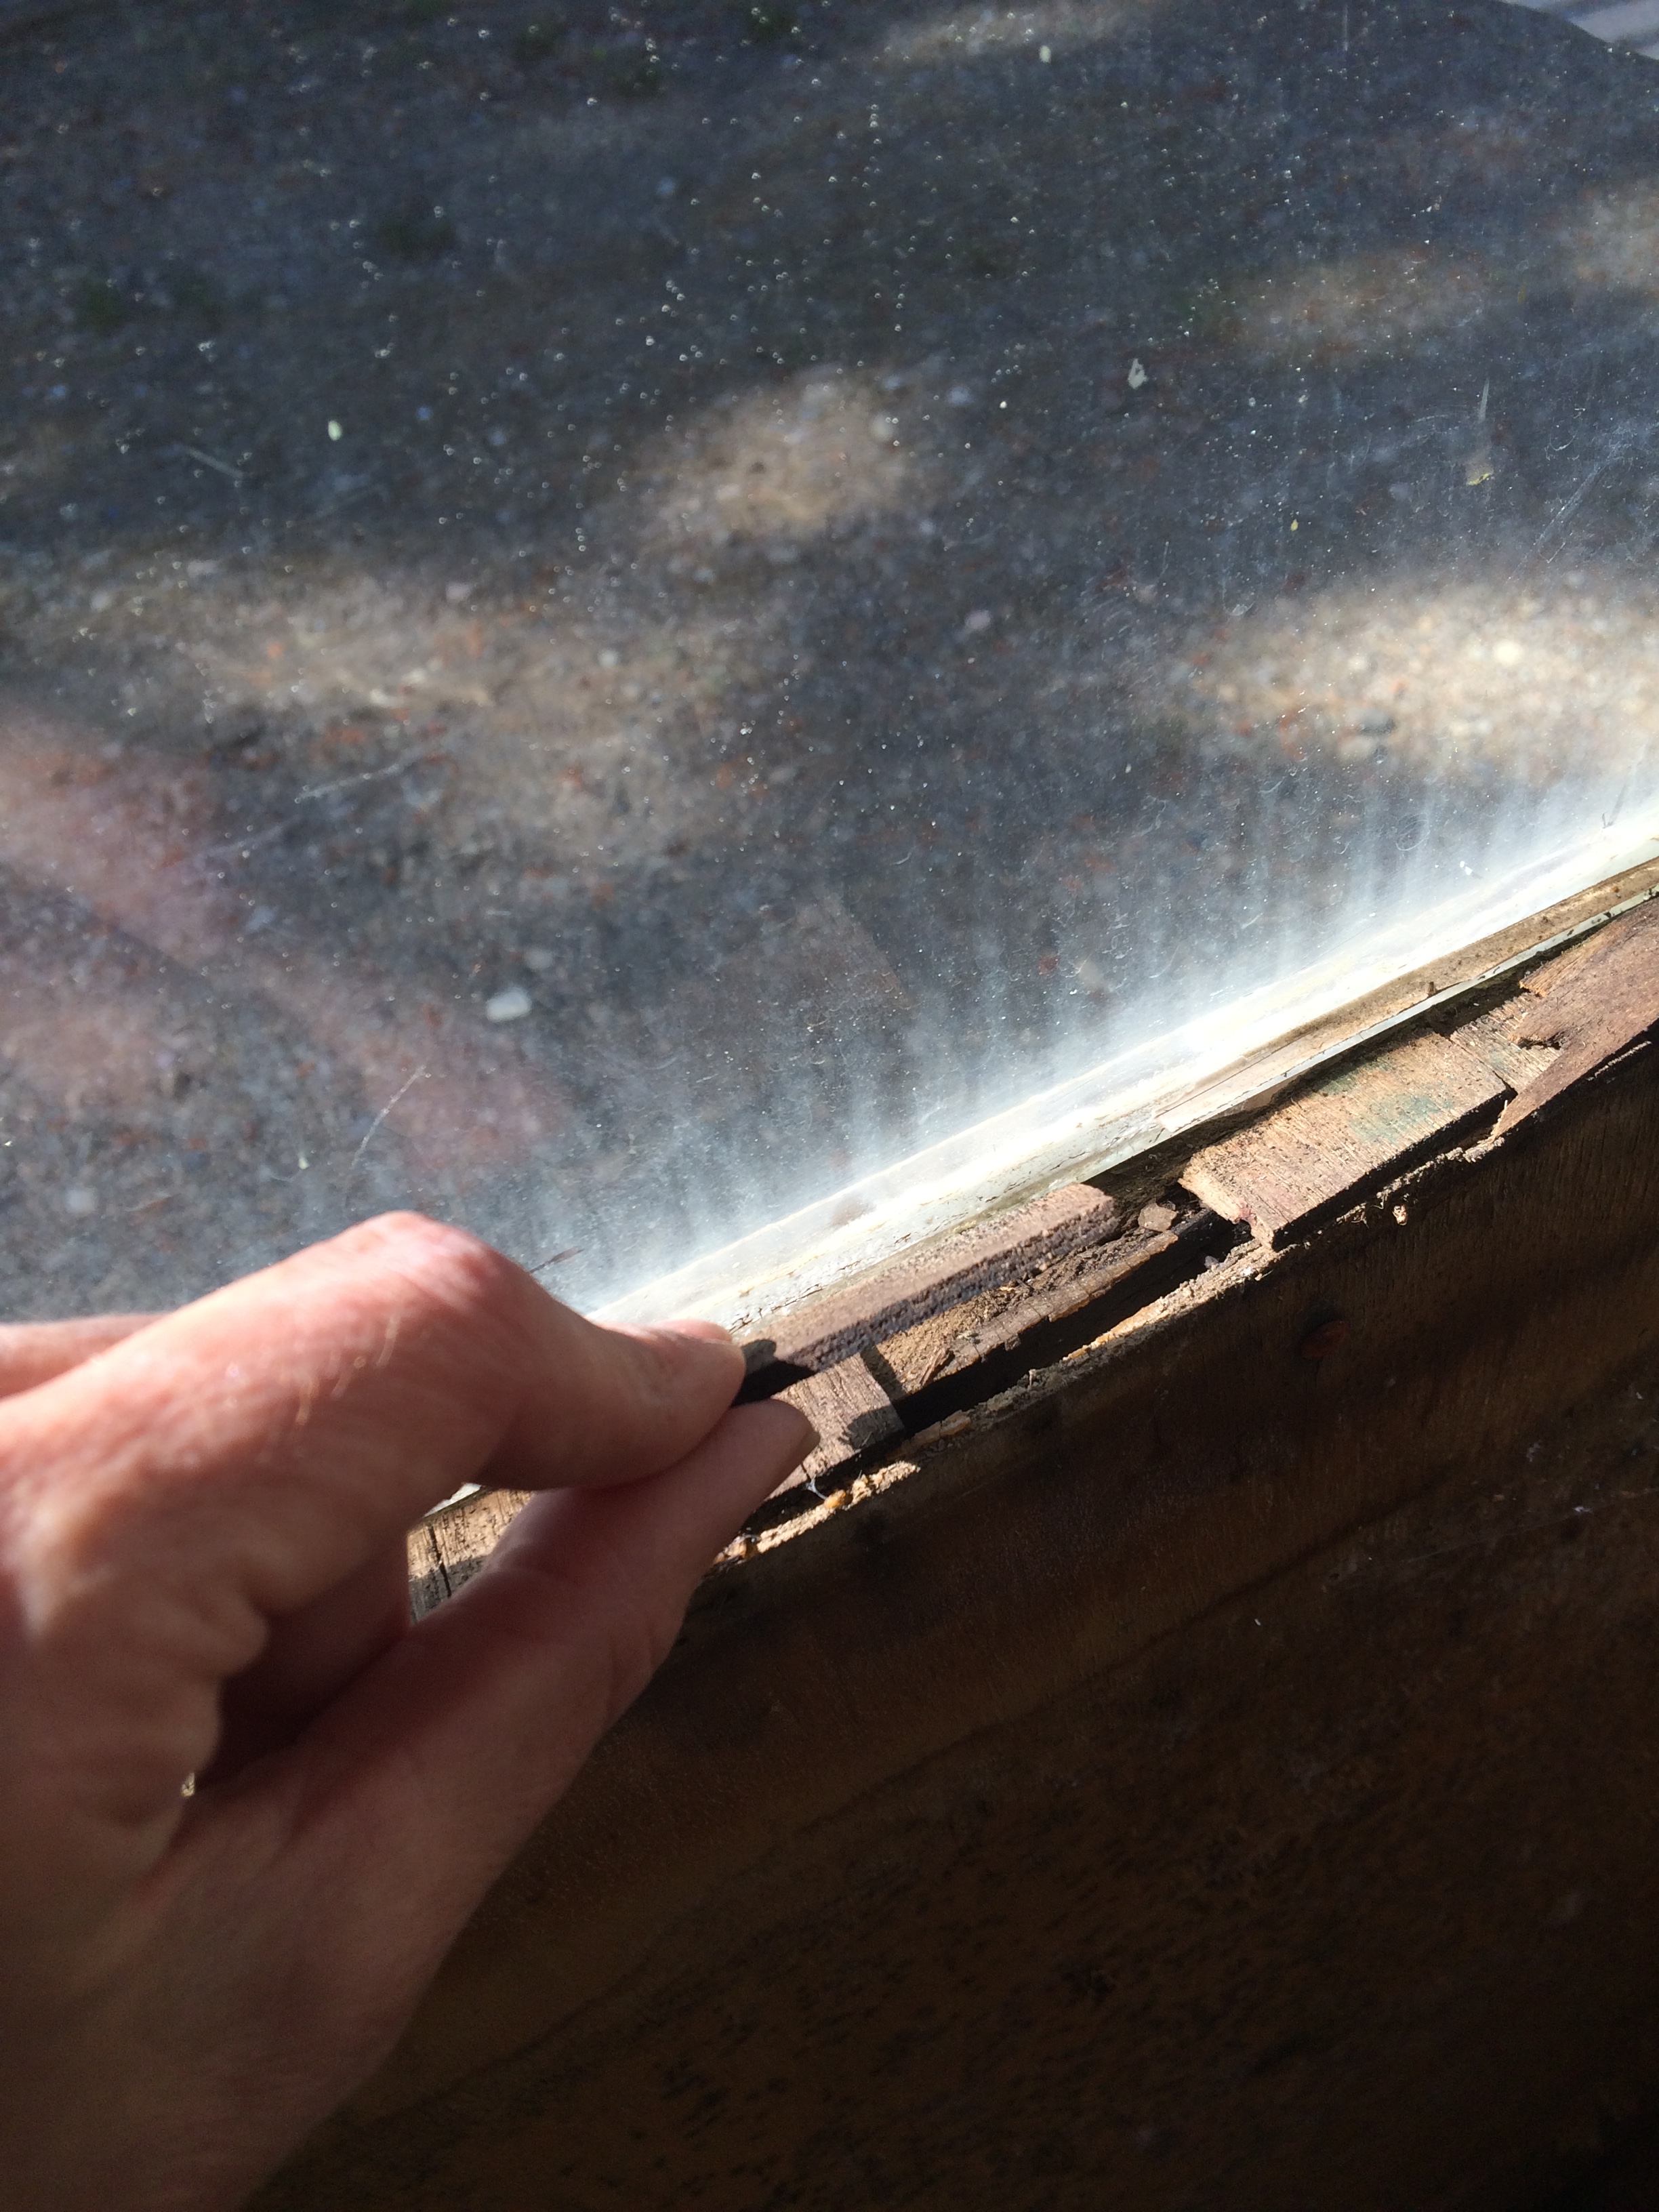
The exception is the front/side windows. These had the interior aluminum frame but were held in place with wood trim pieces and silicone caulking. It was as if they were "glued" in place. Terrible design! They were destined to leak! I will add a gasket to these when I rebuild!
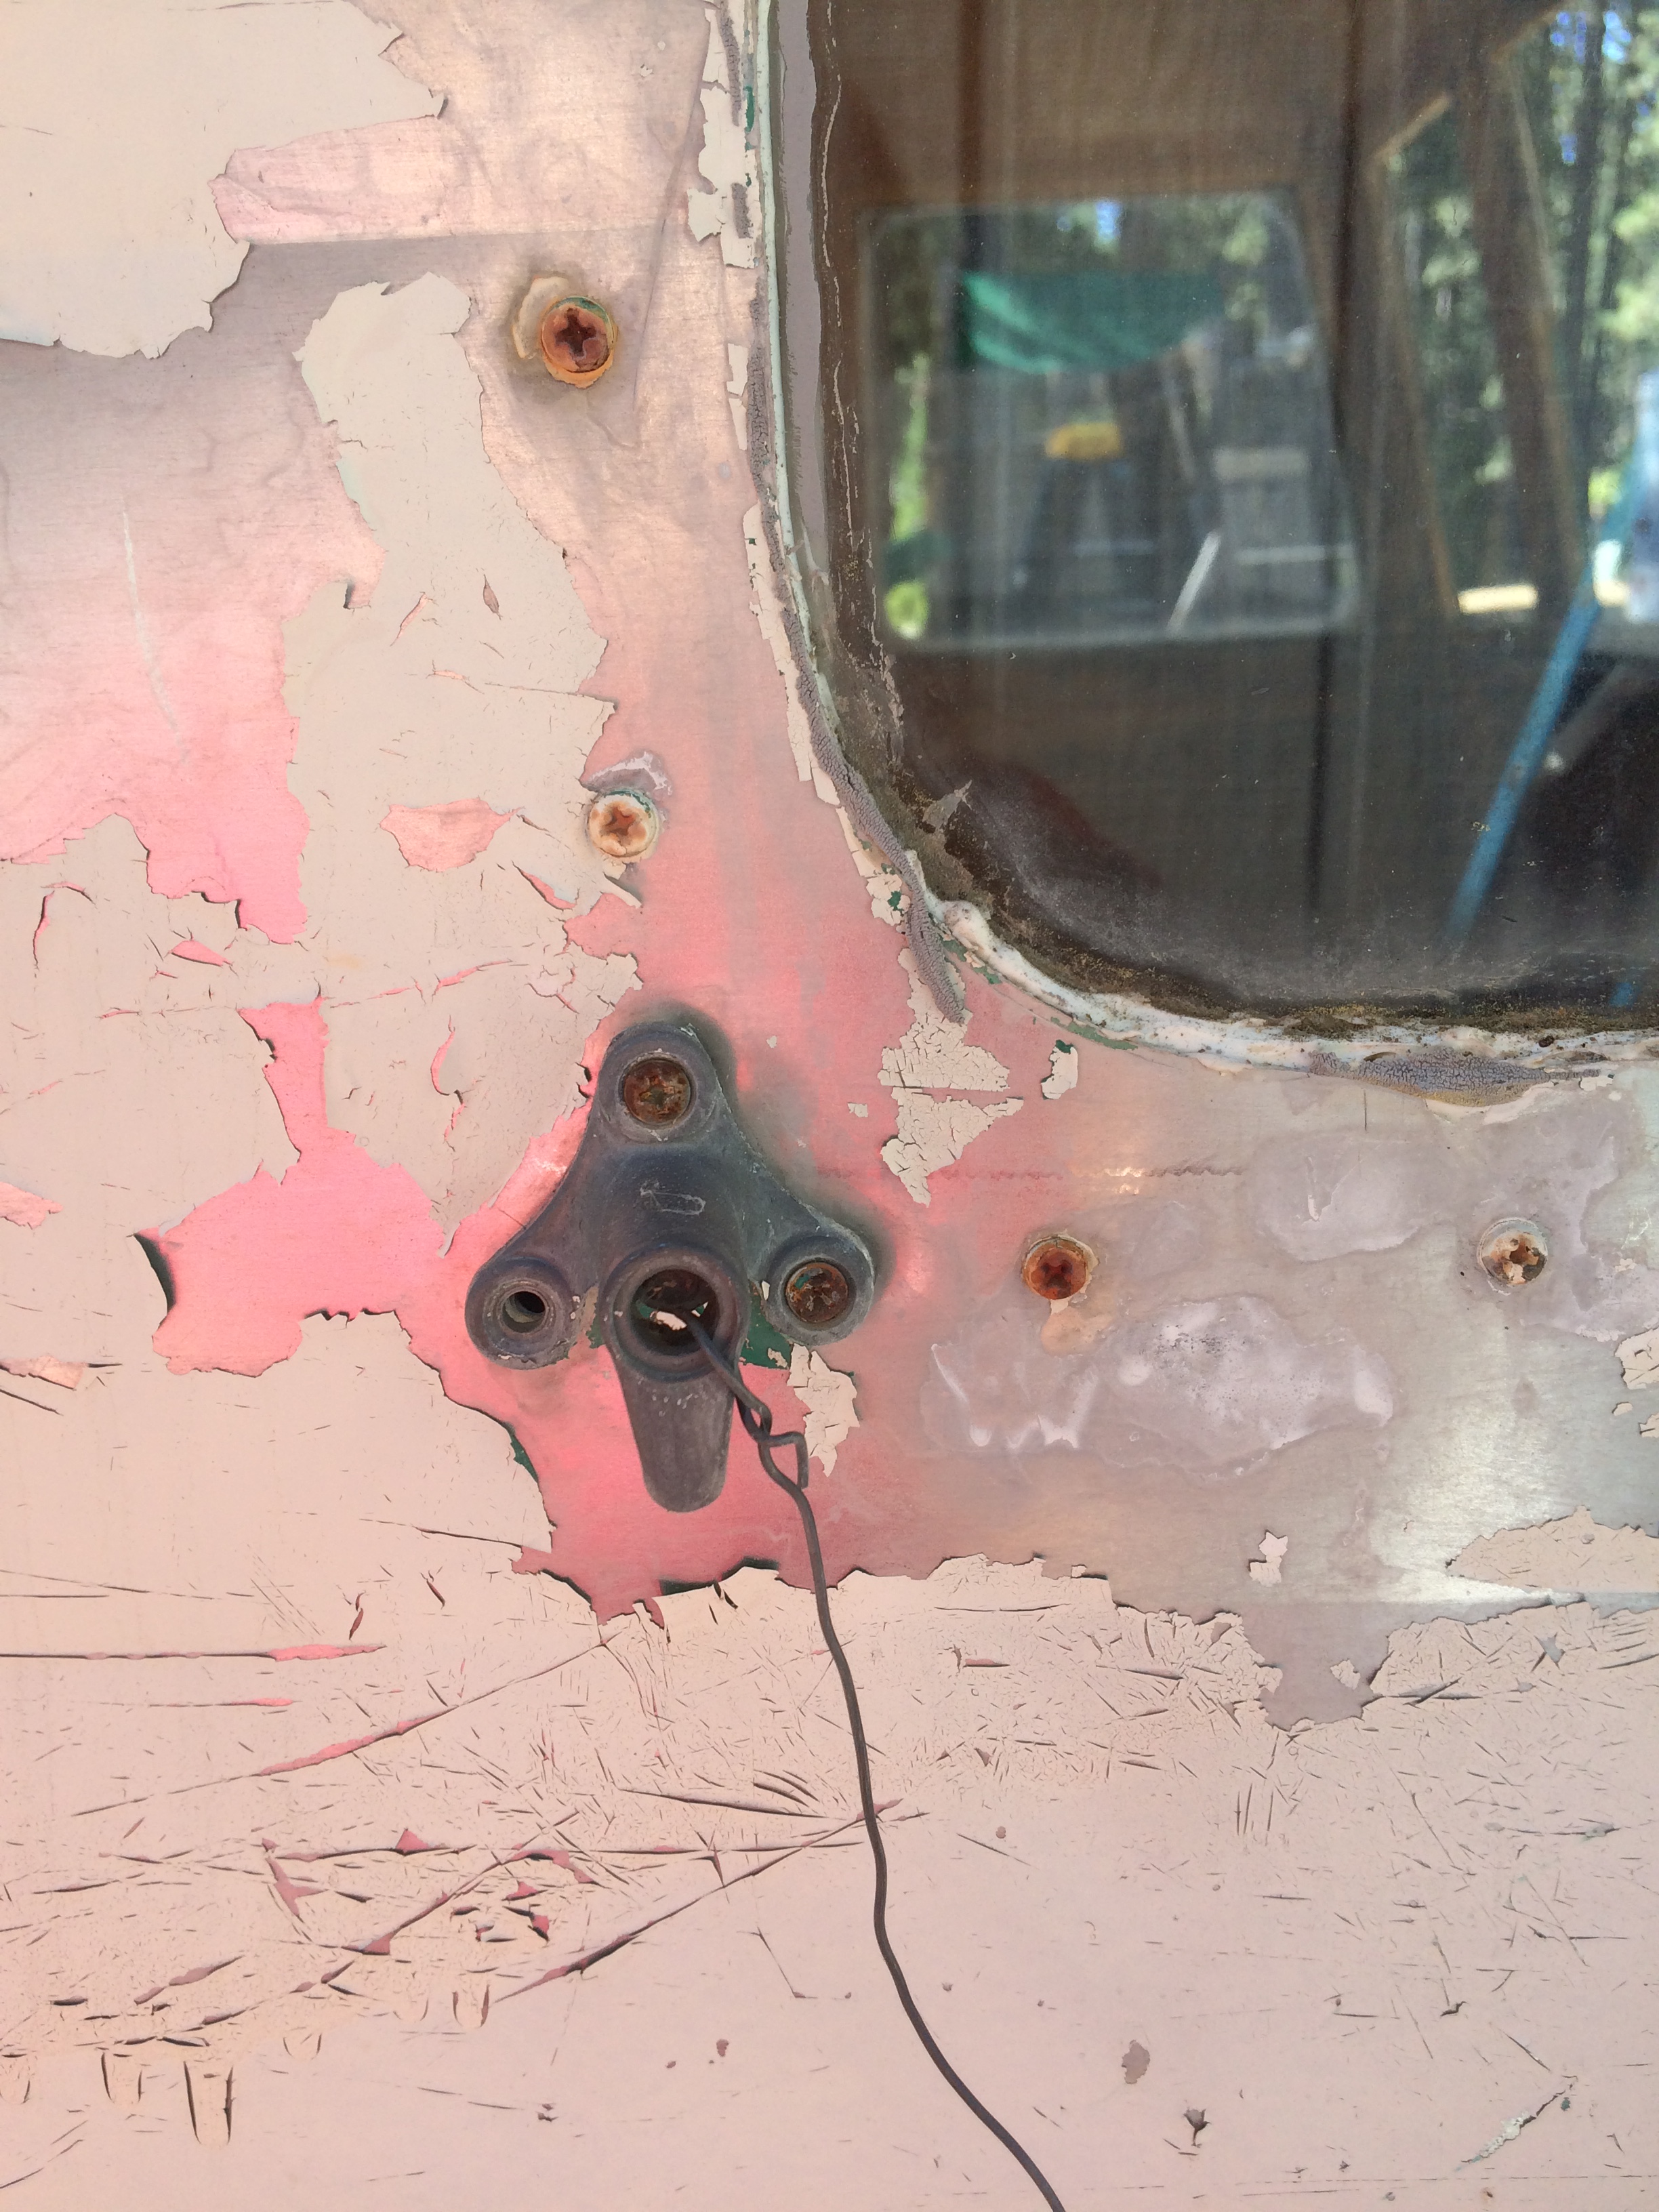
No gasket was present on the front/side windows.
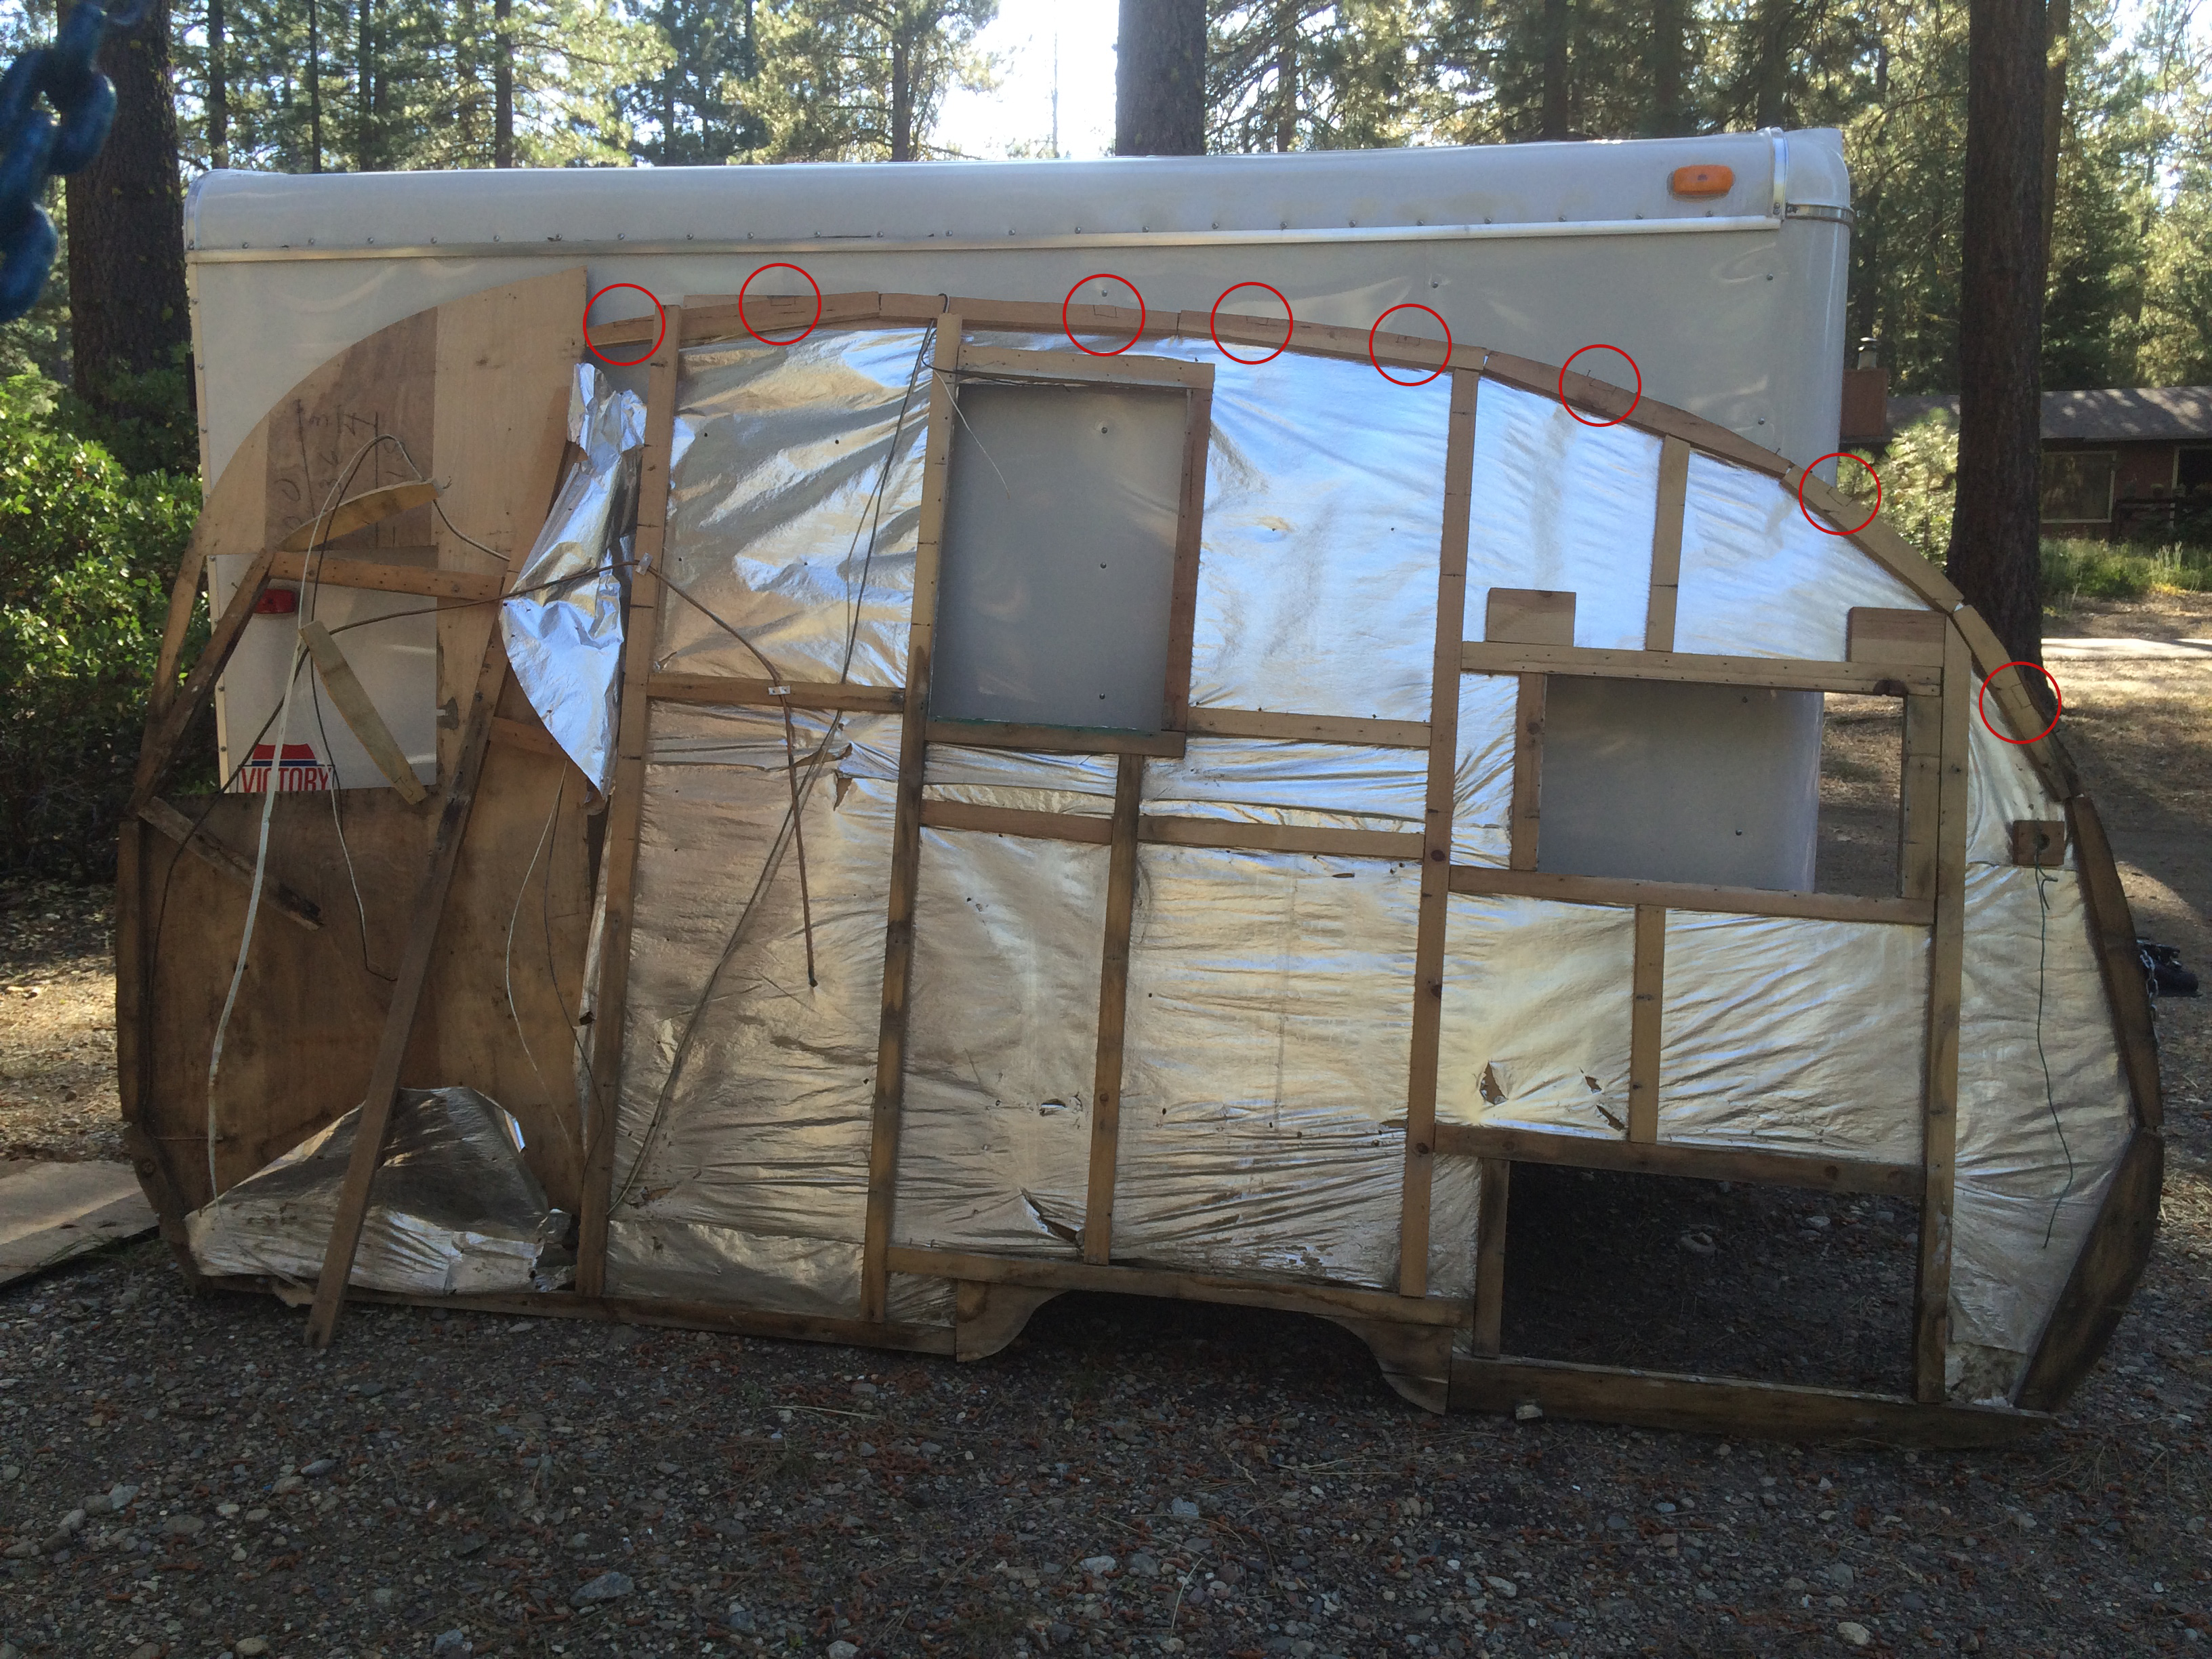
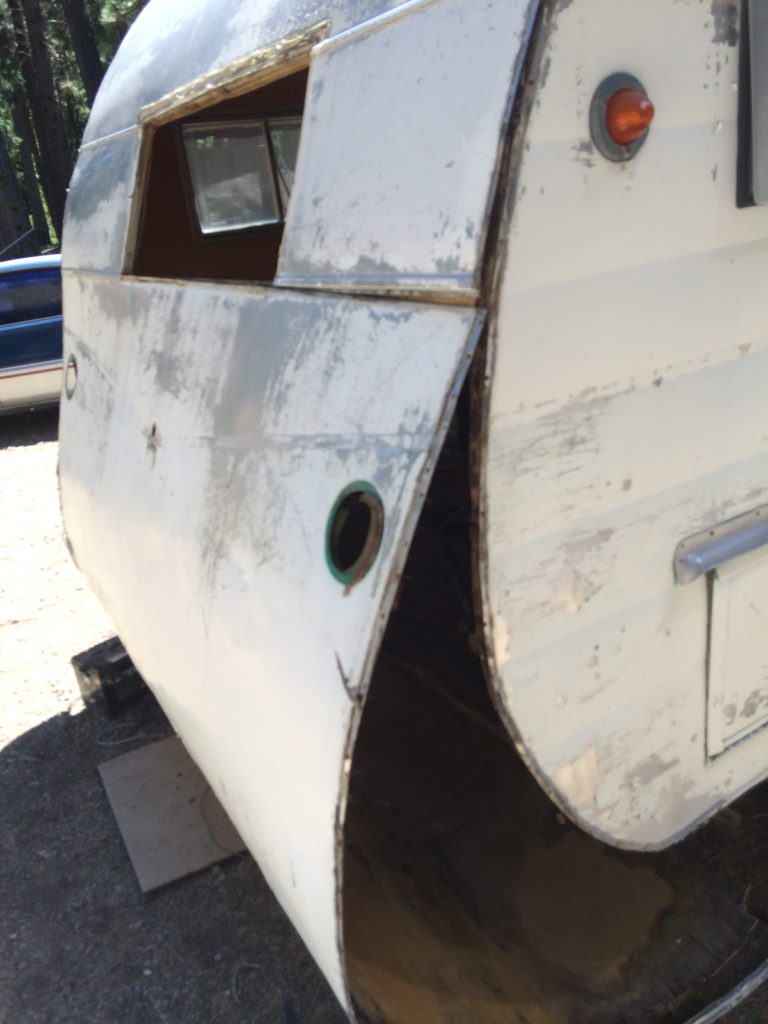
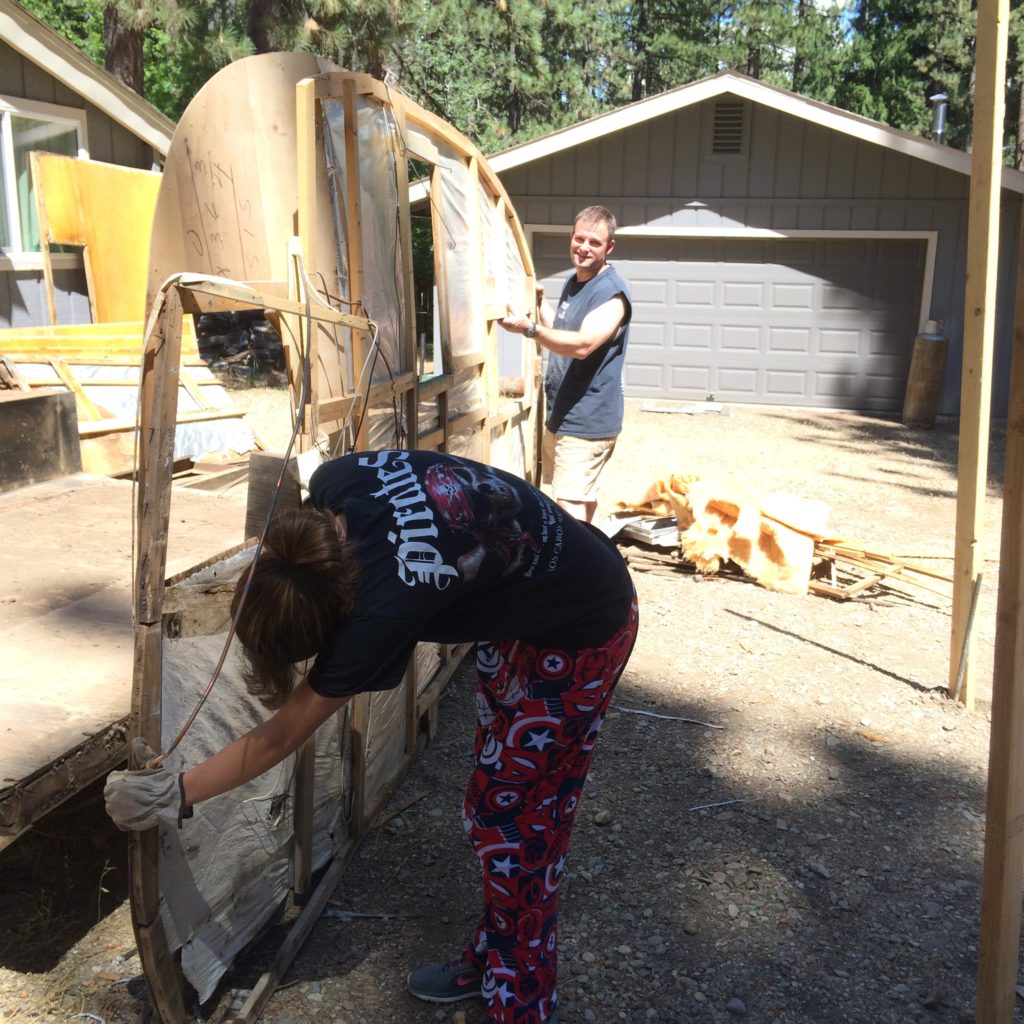
After the windows are out I moved on to the aluminum siding. I needed some help supporting the large flexible pieces as they came off. I didn't want to bend or crease them. The roof was the hardest. It was such a large piece that it took three of us to support it.
-
- rear panel
-
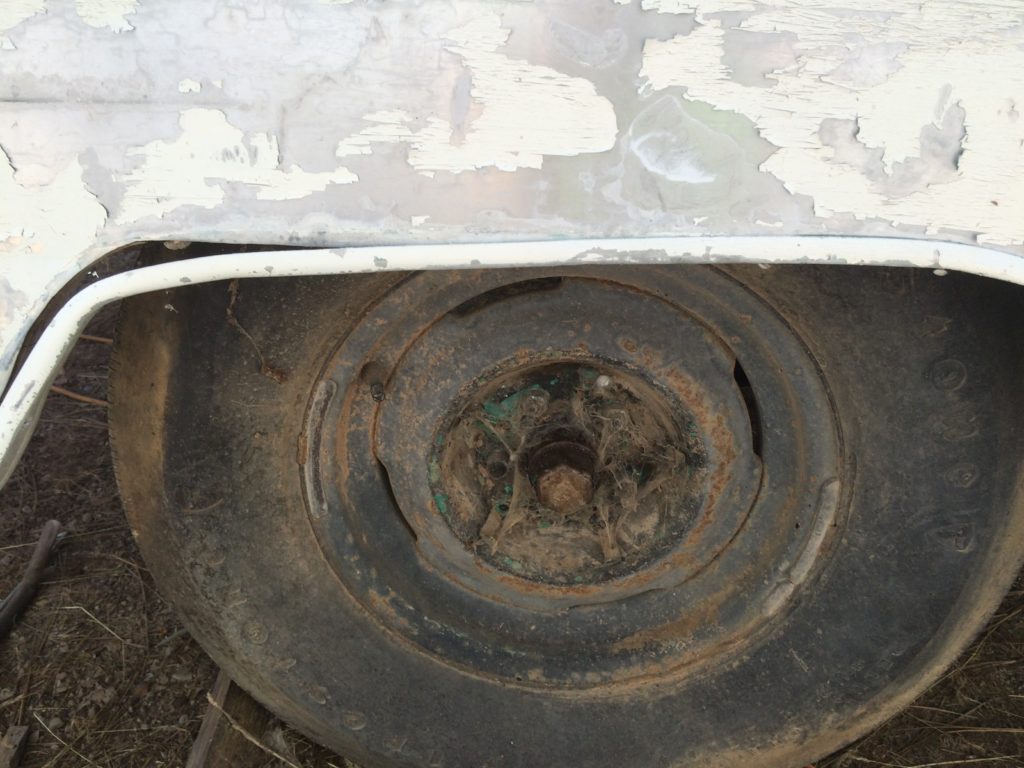
- wheel well trim
-
- rear end removal
-
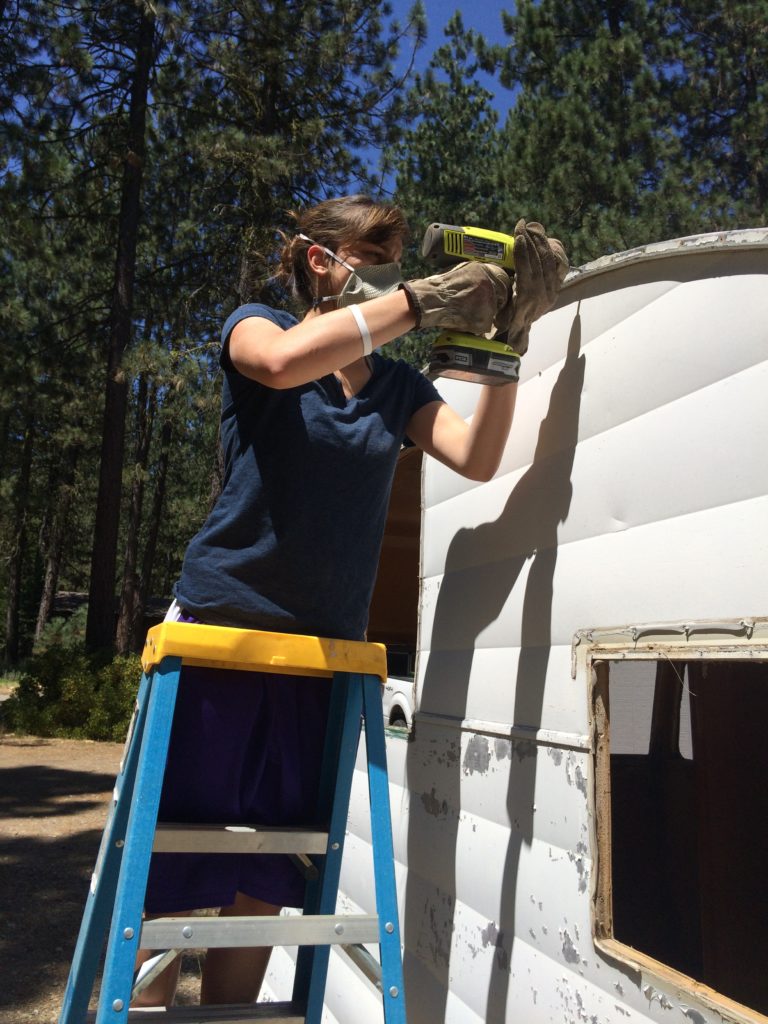
- trim removal. I got some help from my daughter.
-
- camper top aluminum
-
- siding removal
The sub-floor is attached to the trailer frame with large lag bolts. These were rusted and inaccessible with a reciprocating saw. I used a product called PB-blaster to loosen them. Just spray it on, (use goggles) and wait. Sometimes it takes a couple of hours to really penetrate.
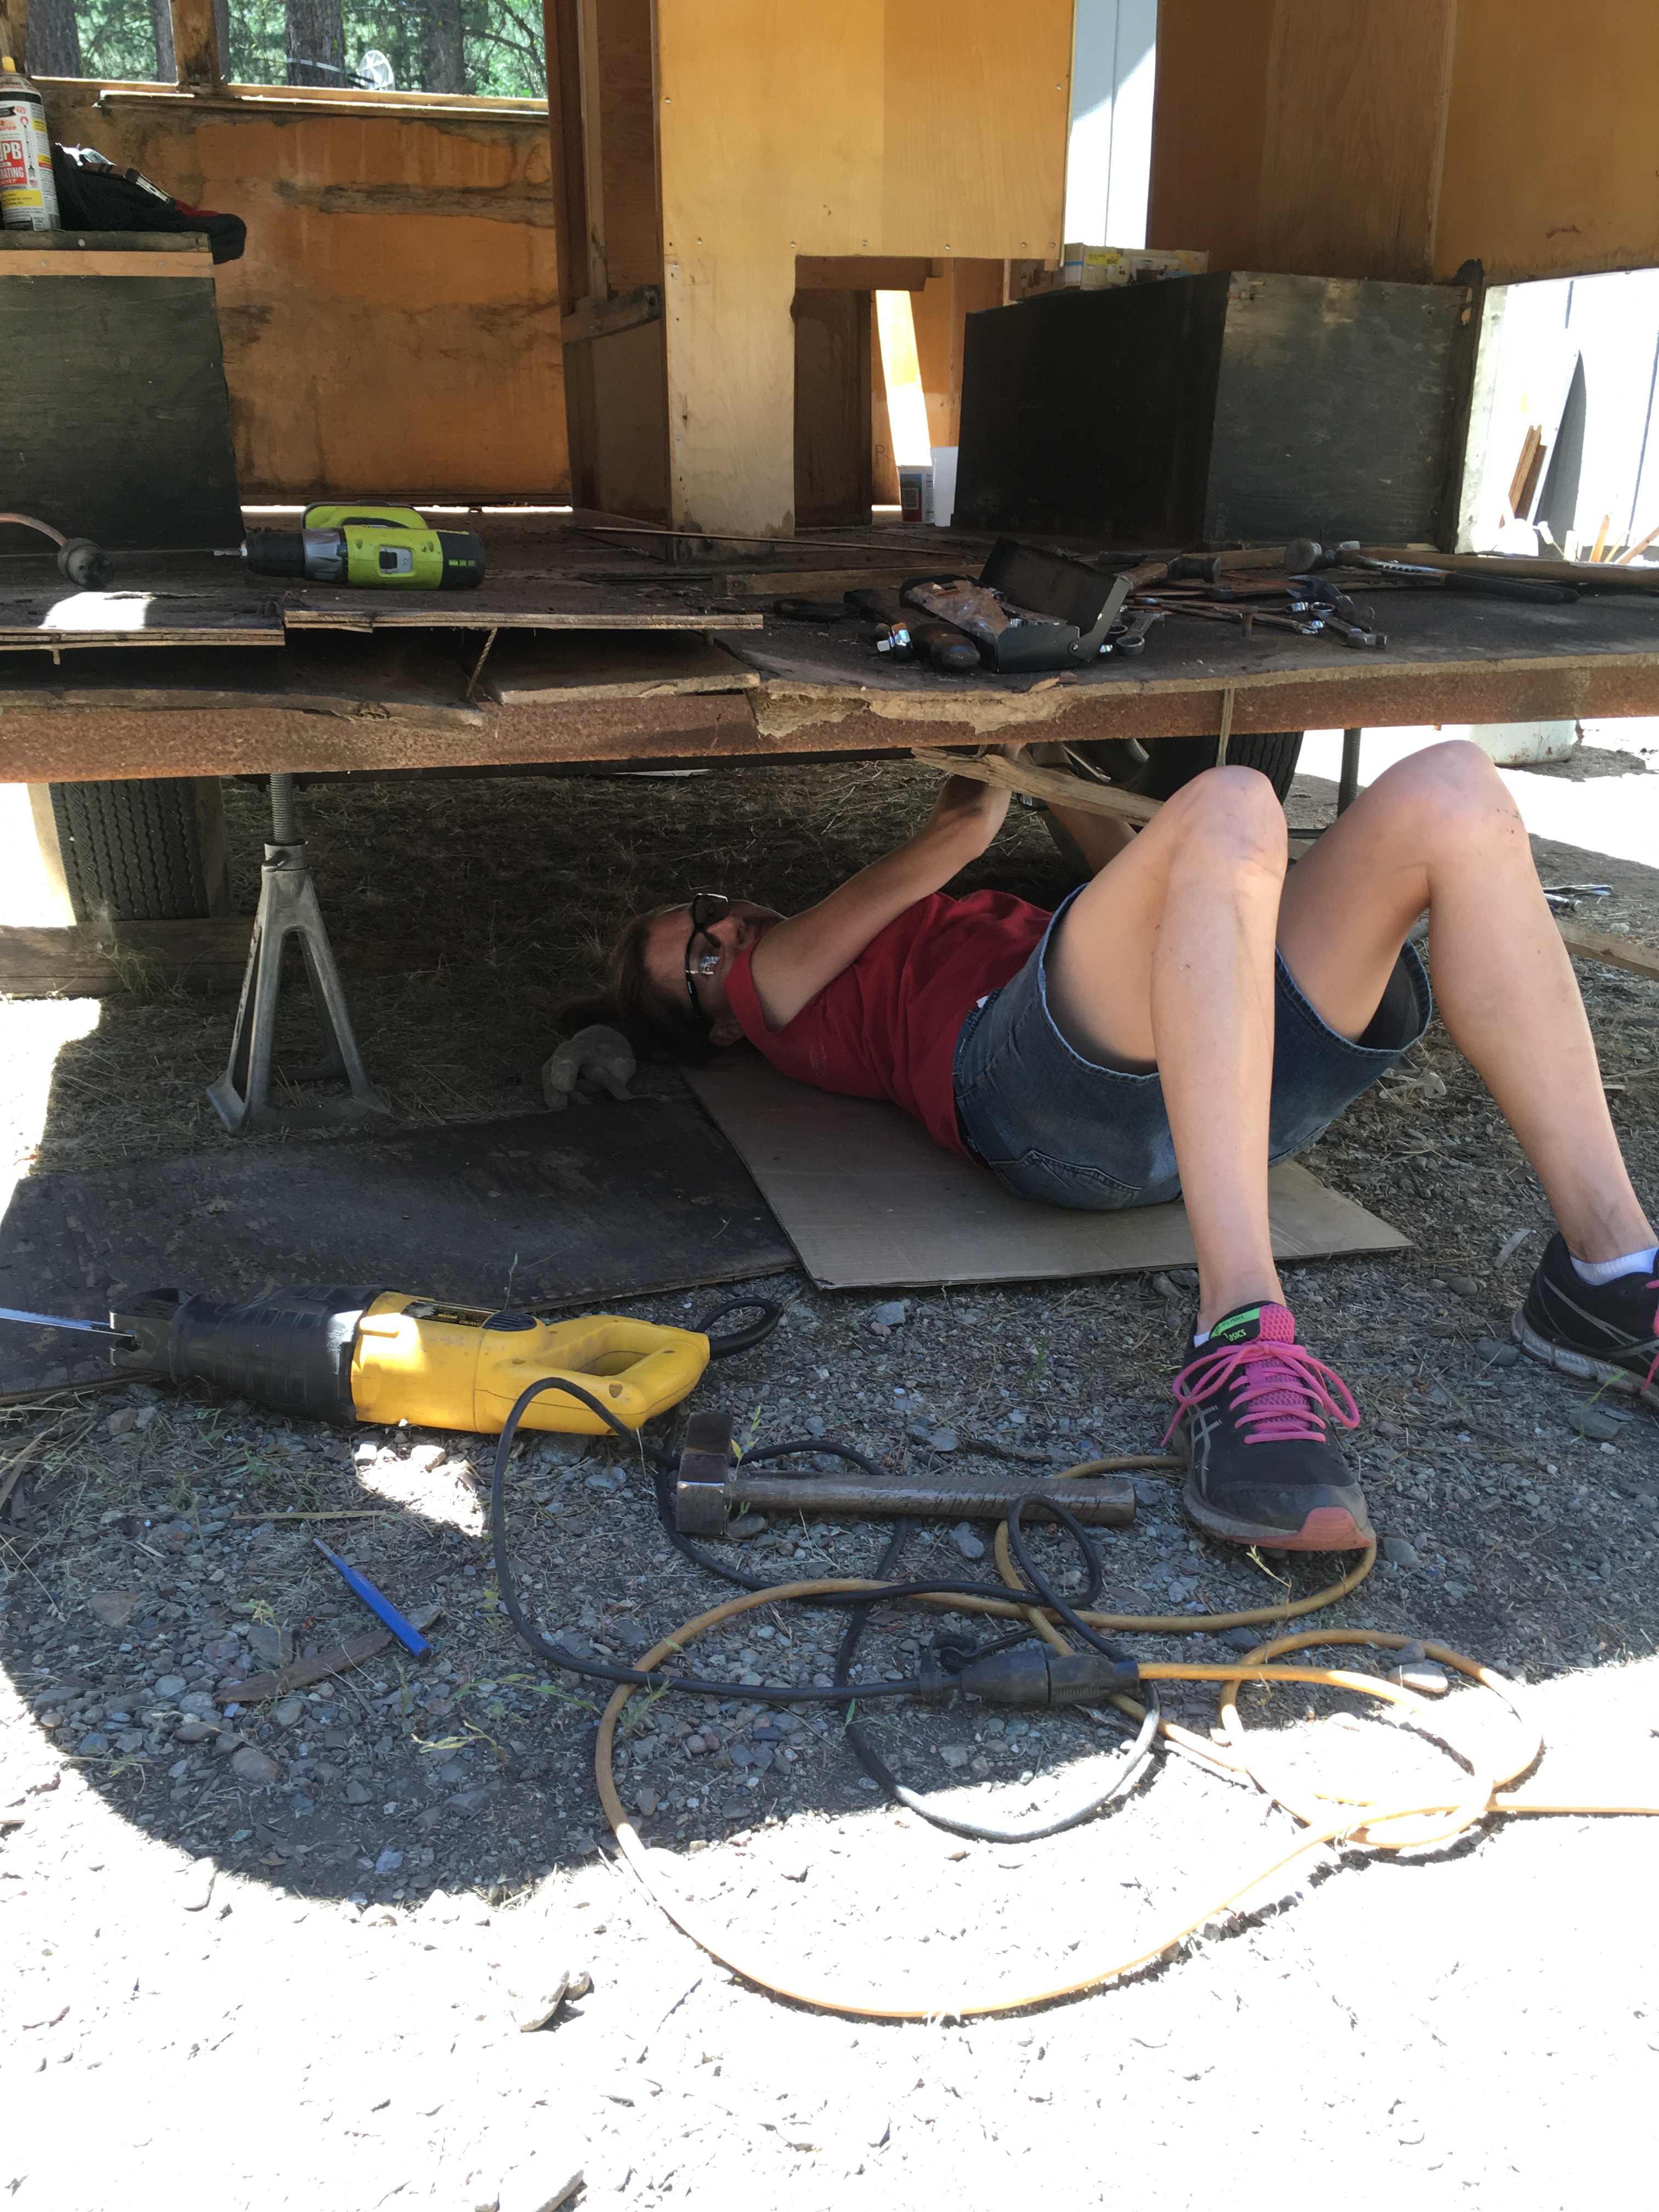
I'm under the trailer removing the sub-floor lag bolts
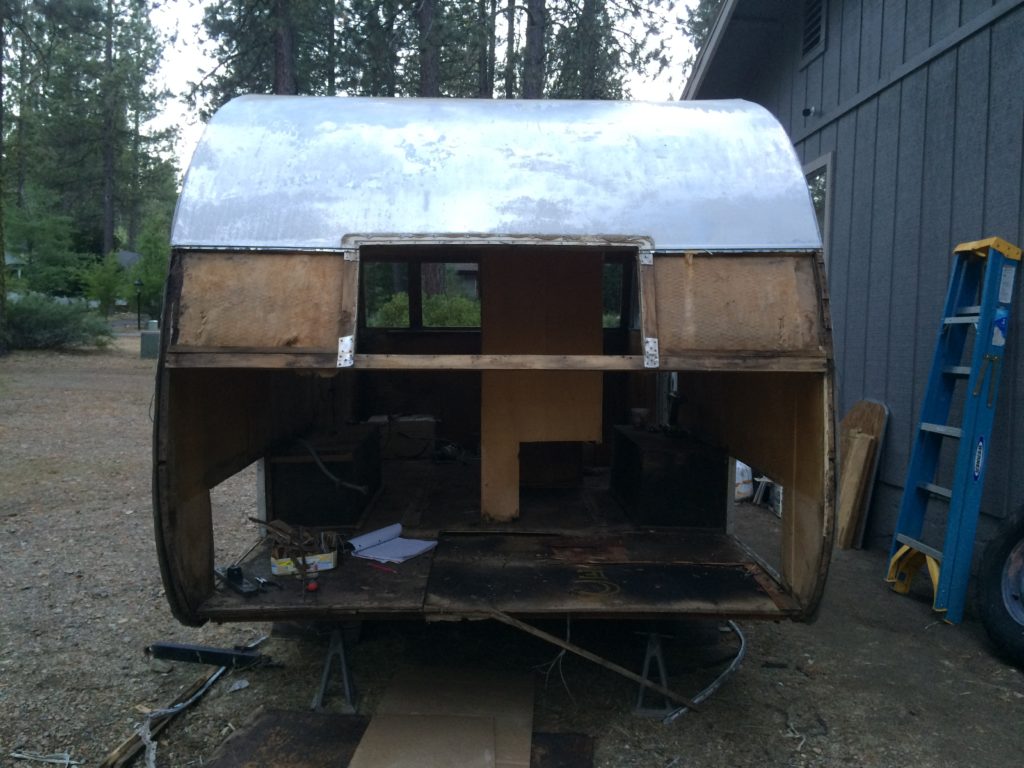
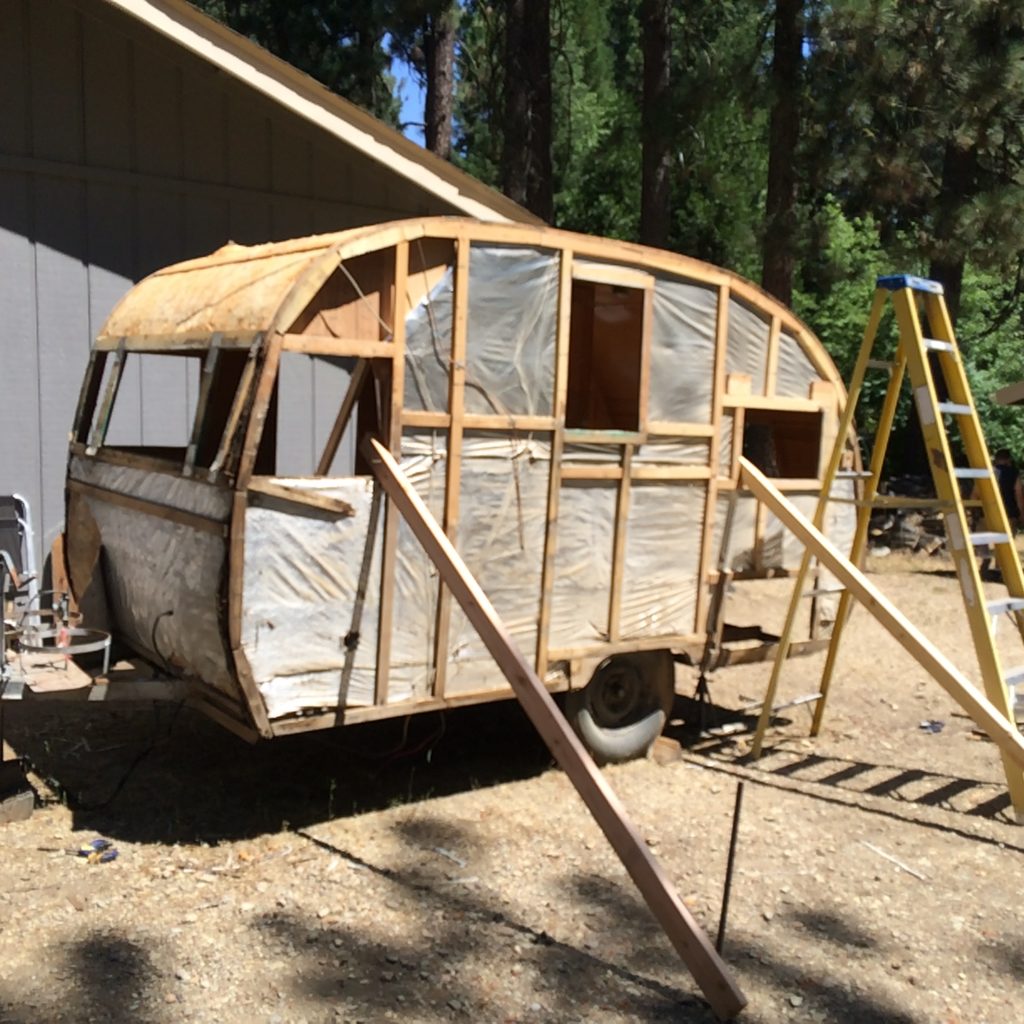
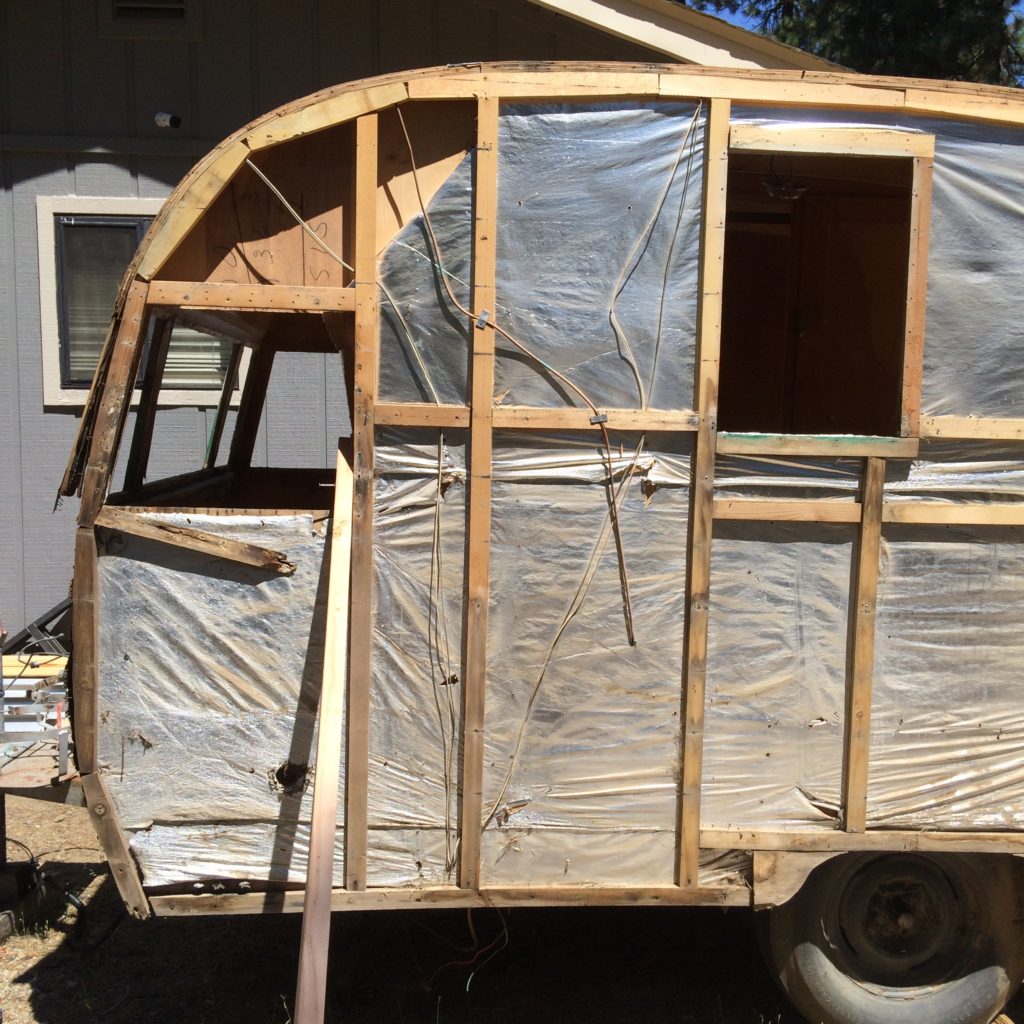
Now the trailer looks a bit NAKED! The side walls were braced with 2x4s and metal stakes. Then I began to remove the front and rear panels. Again, lots of screws and nails.
-
- side supports
-
- road side wiring and propane
-
- Road side front window
-
- all the siding off
-
- top without siding
-
- top of camper with wiring
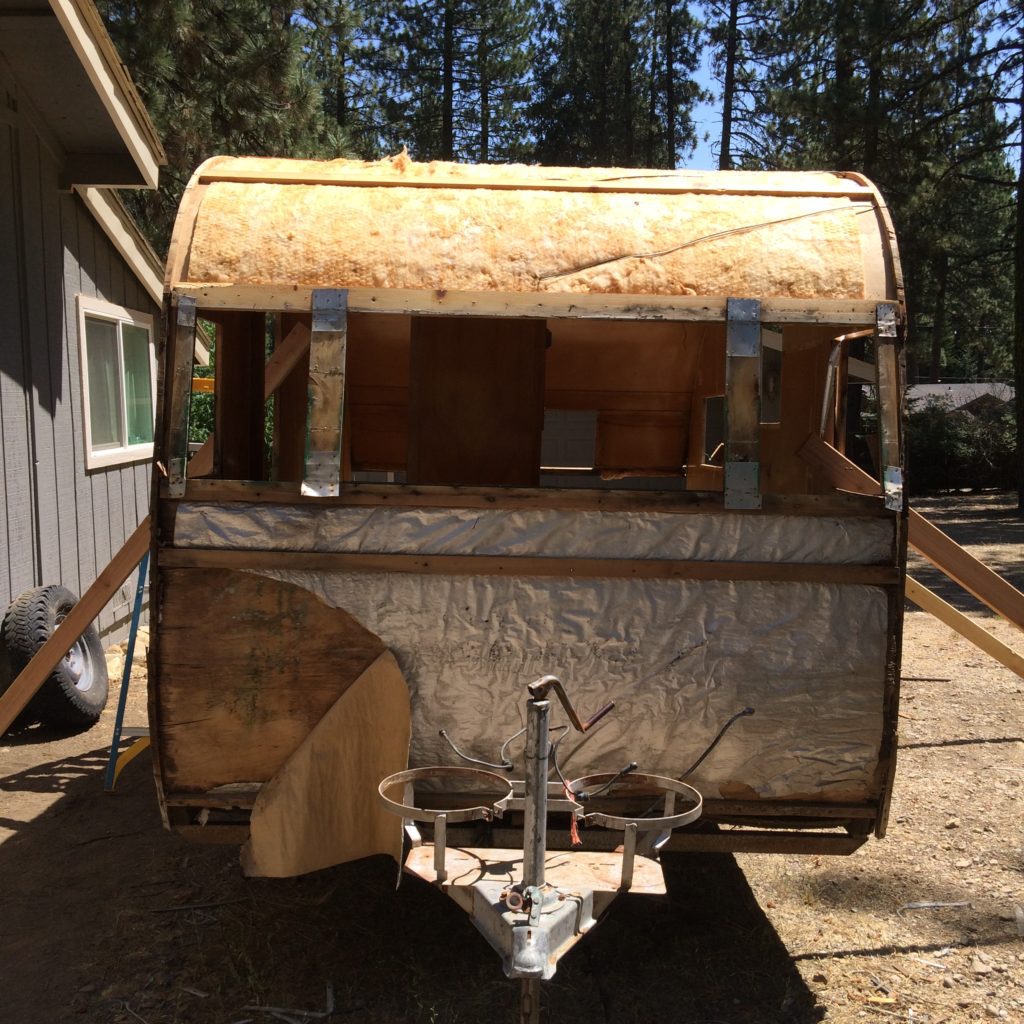
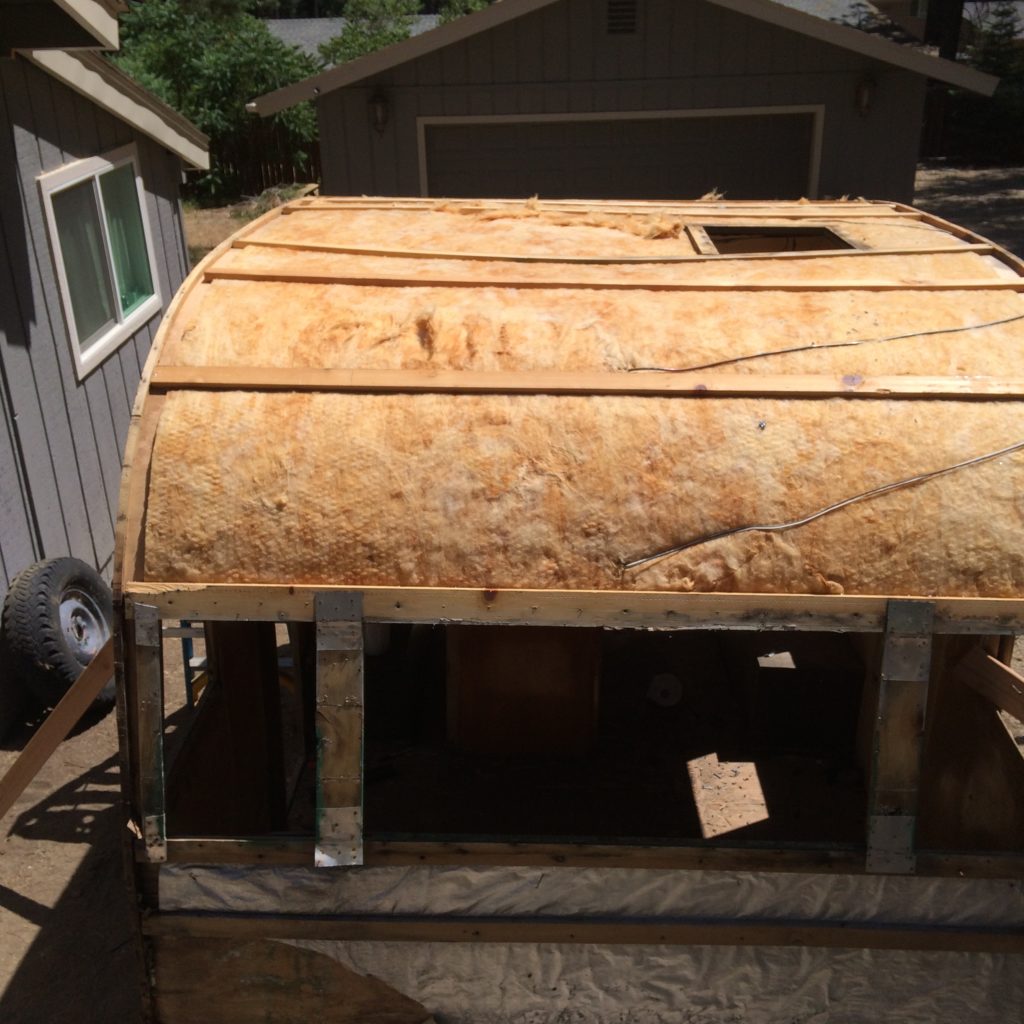
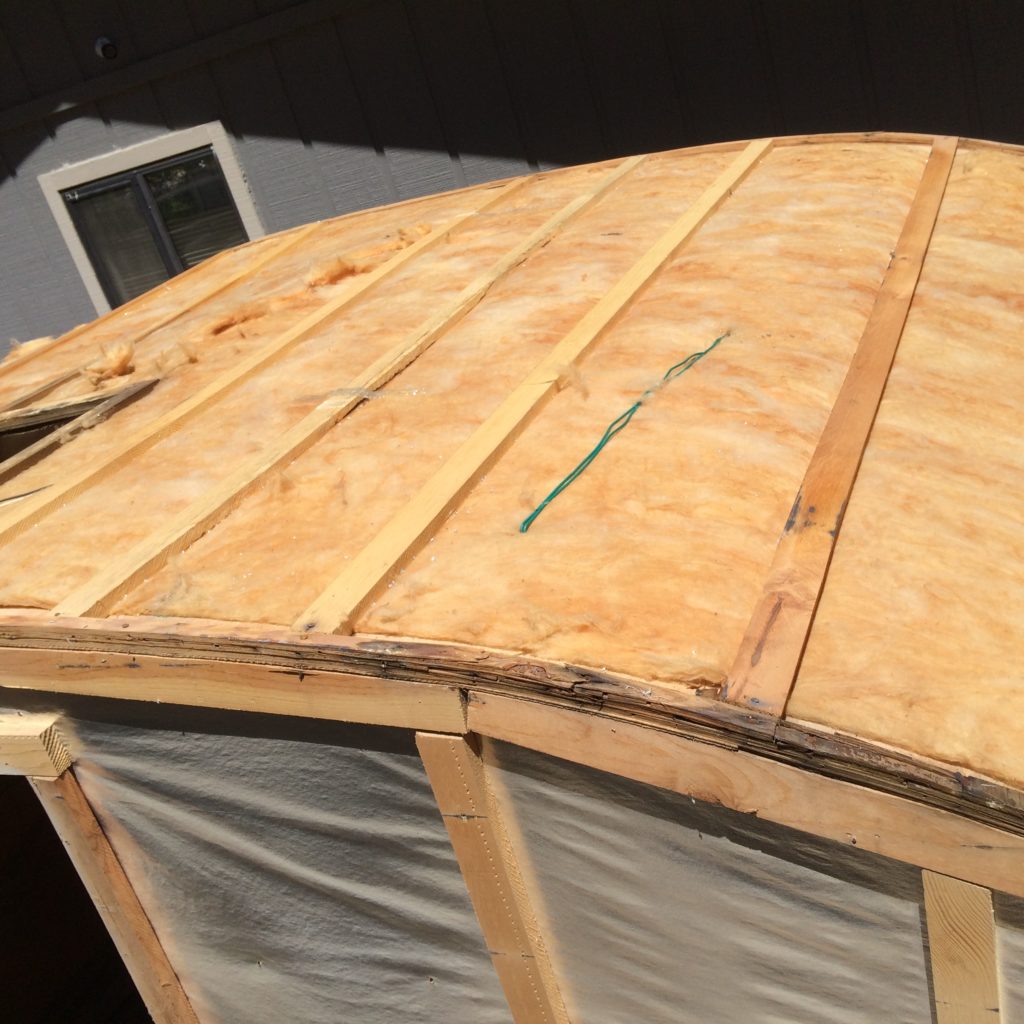
The top sections were taken off along with the insulation and wiring.
Finally, the sides were unscrewed and lifted off. This took a few extra hands as well.
-

- wiring and framing
-
- framing and piping
-
- back panel off
-

- propane lines, insulation and wiring
-
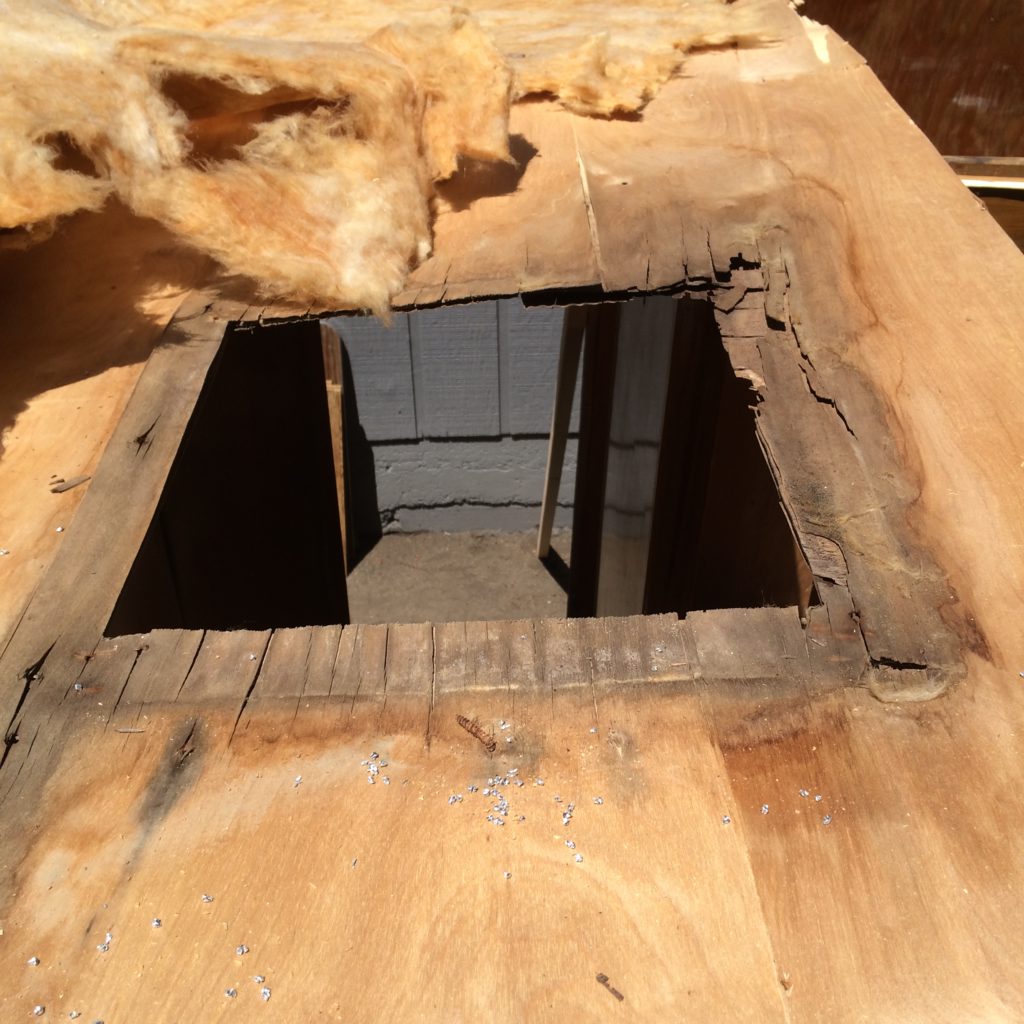
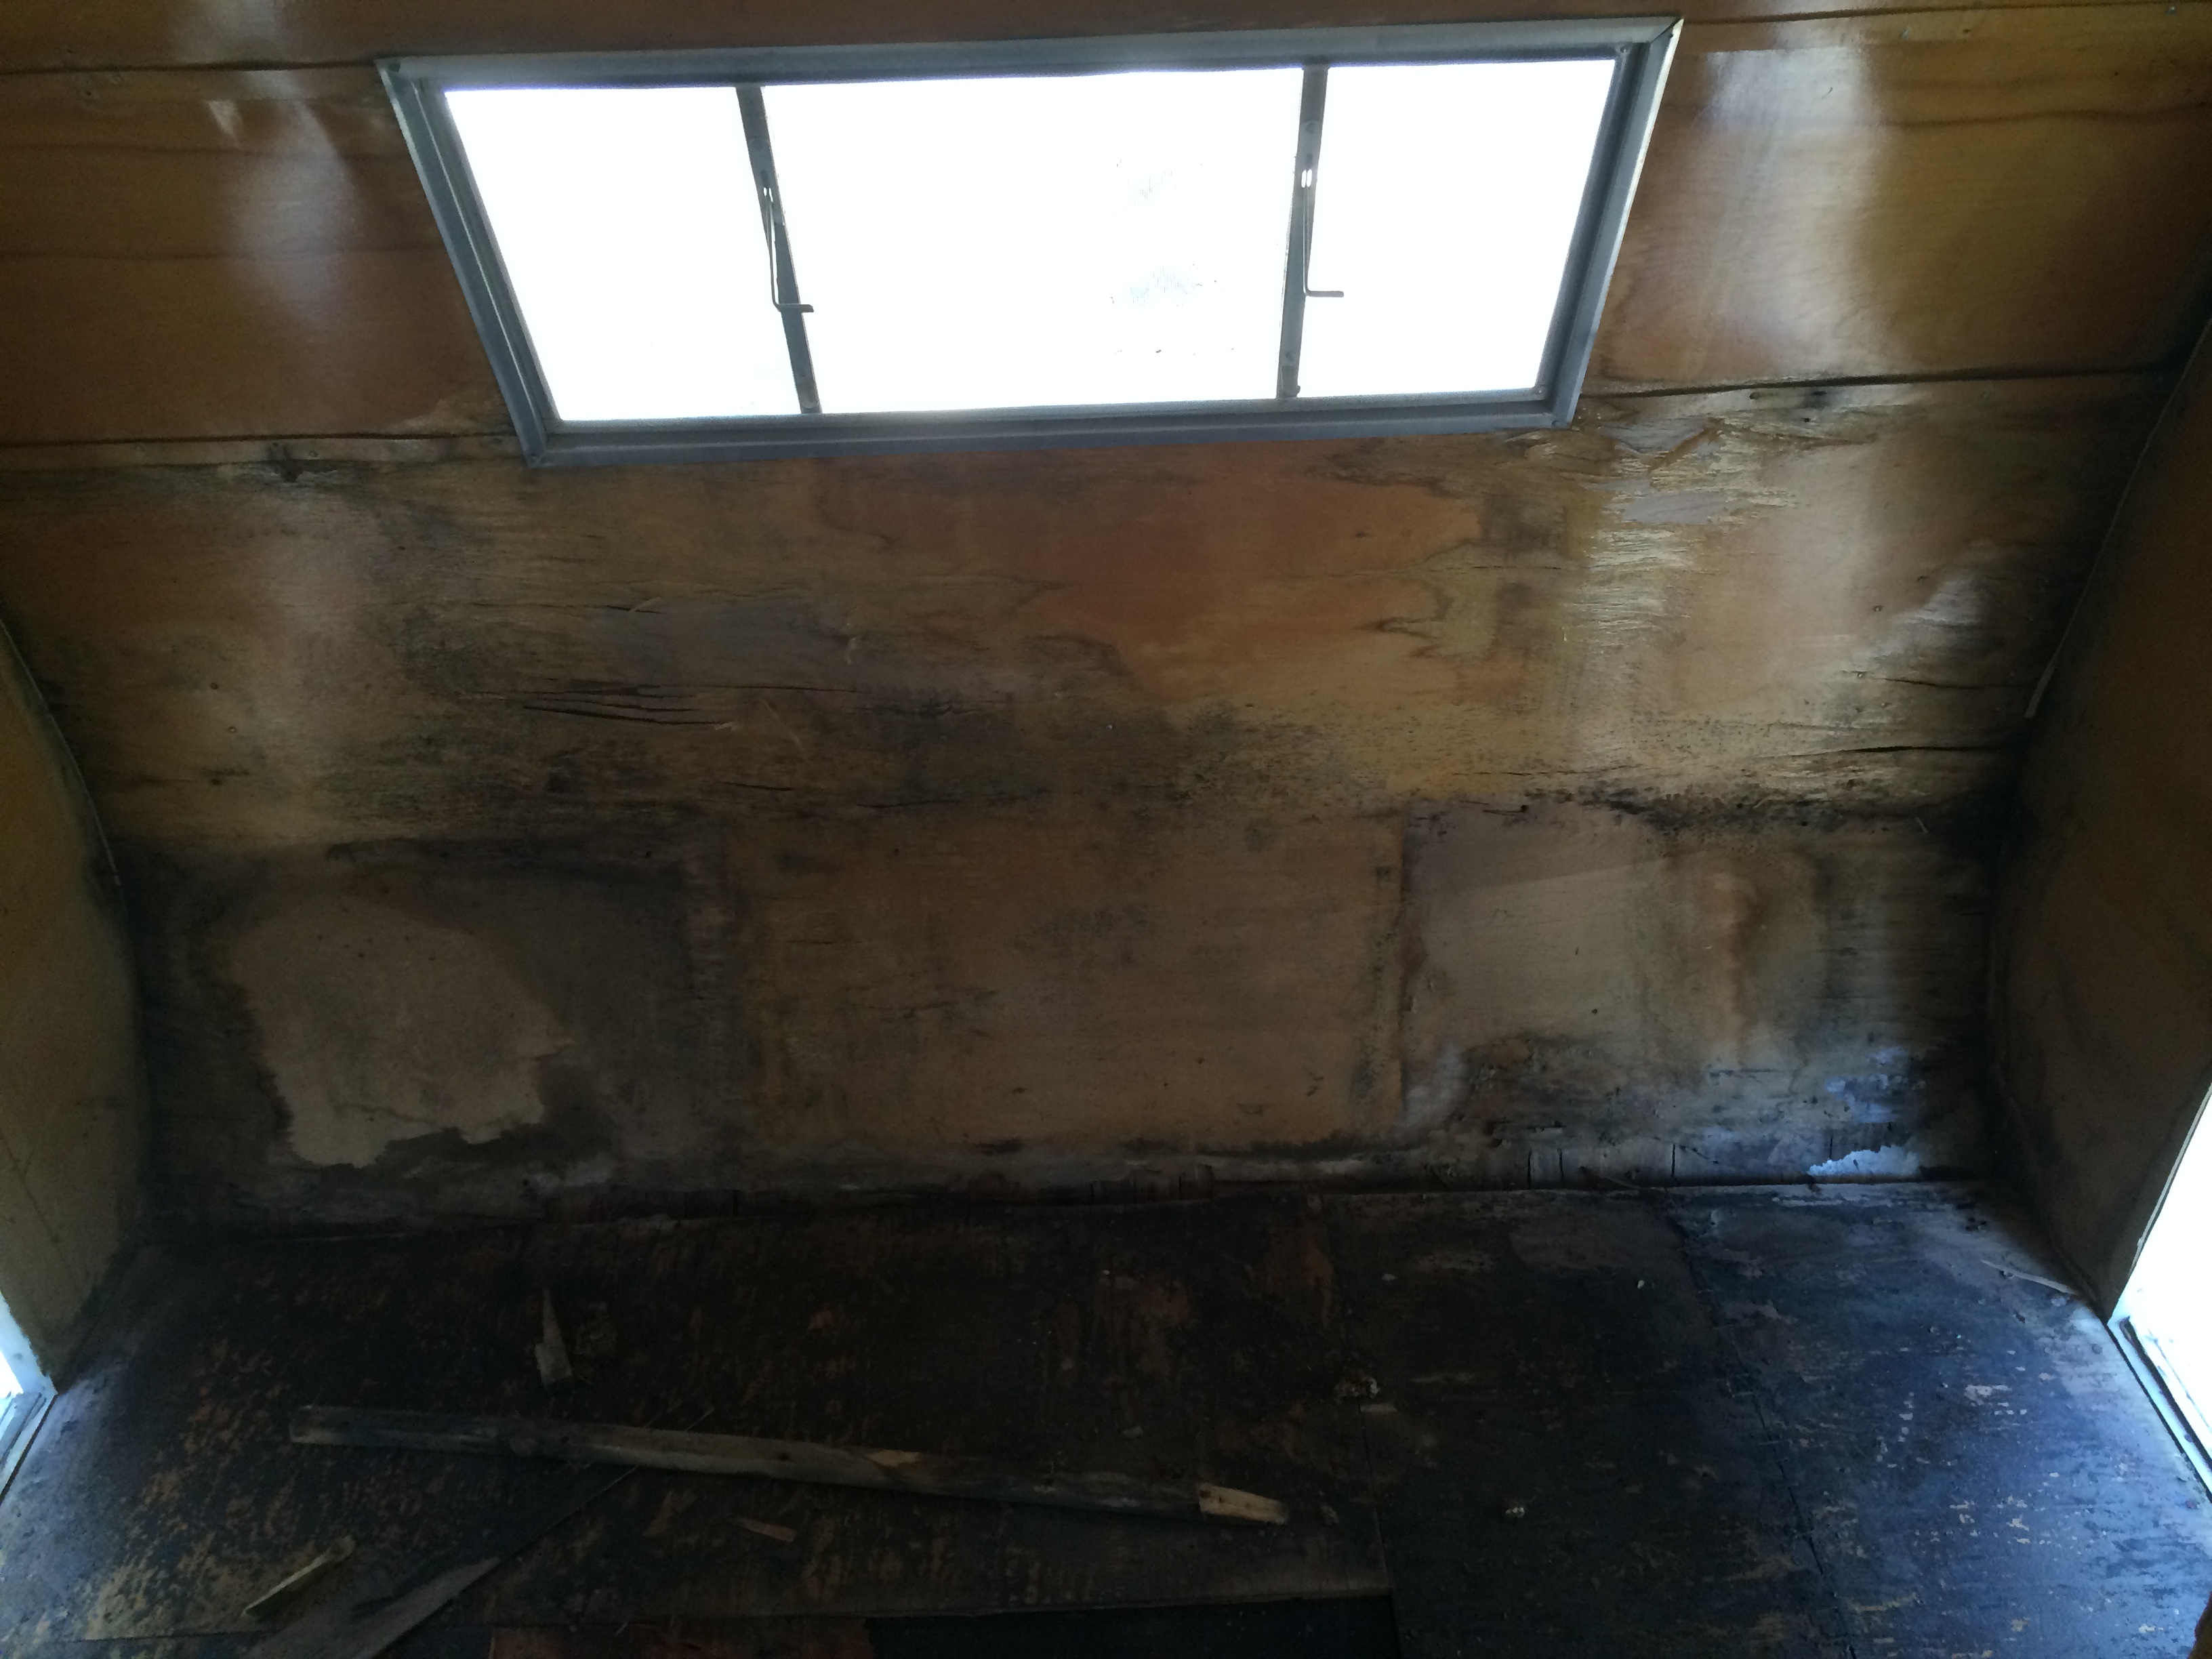
- You can see where the roof vent leaked
-
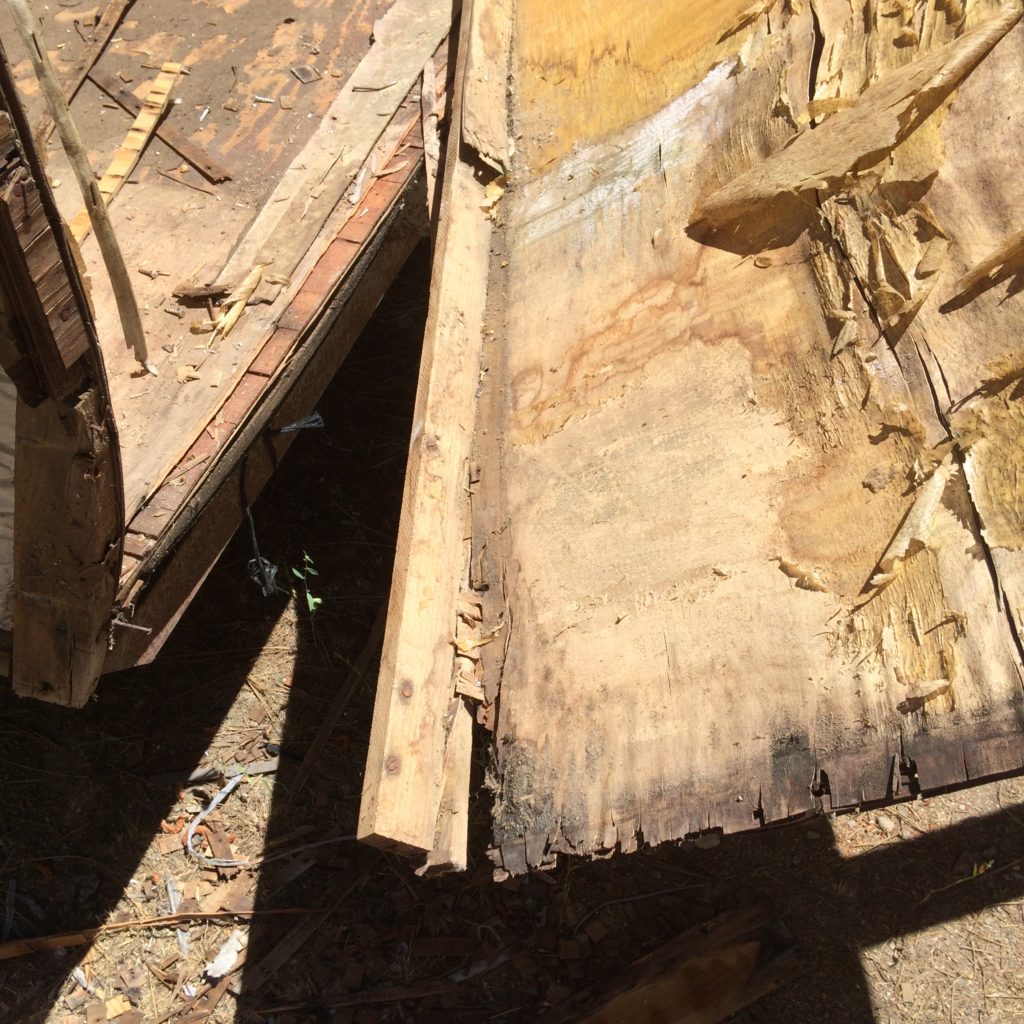
- The walls were just crumbling
-
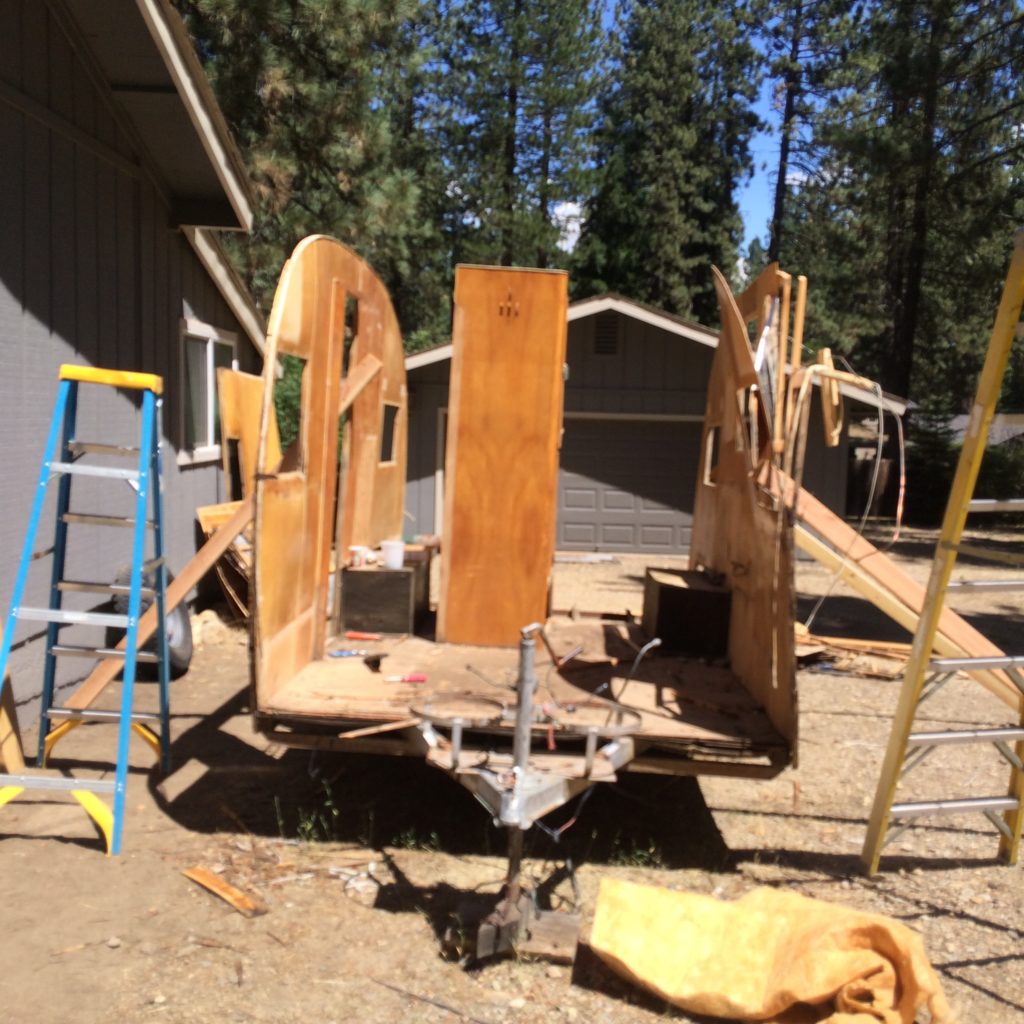
- The wardrobe was the last thing to remove.
-
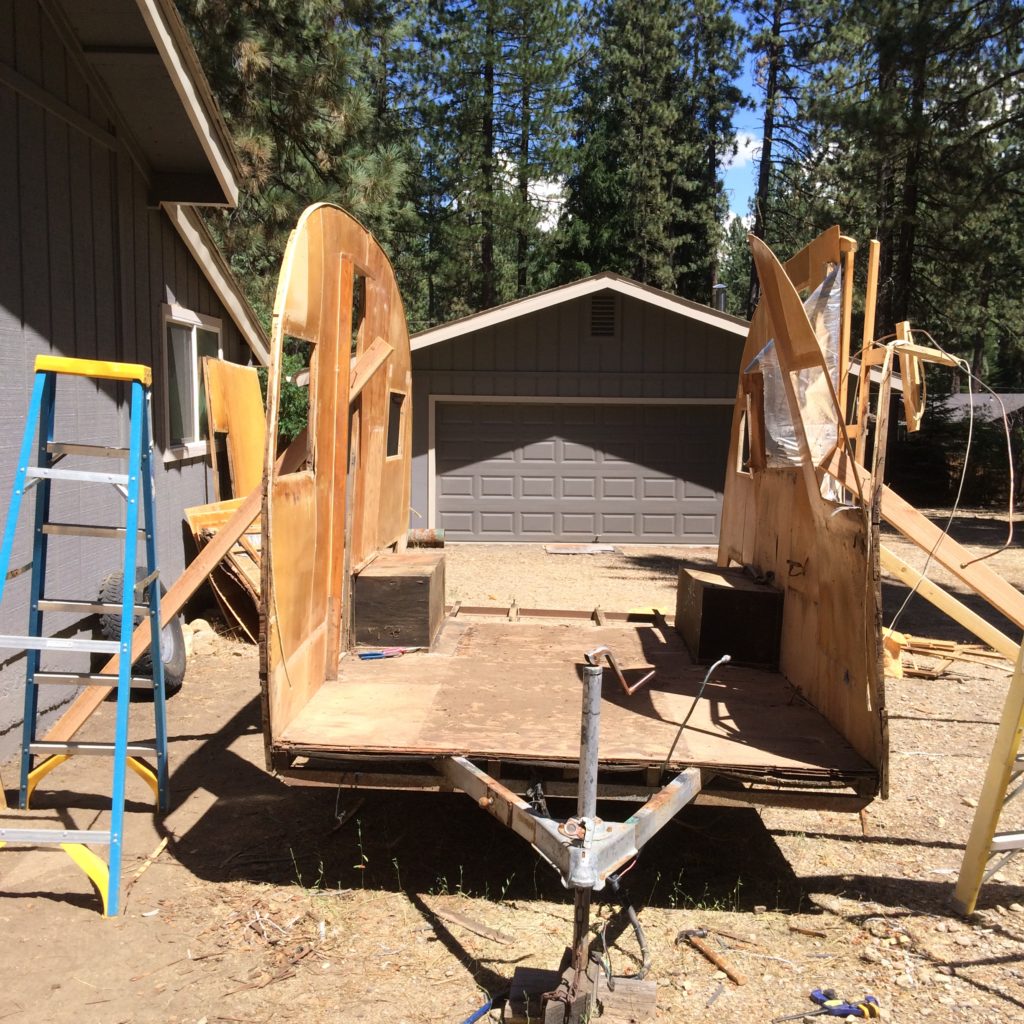
- Just the side walls are left
-
- Taking the walls off
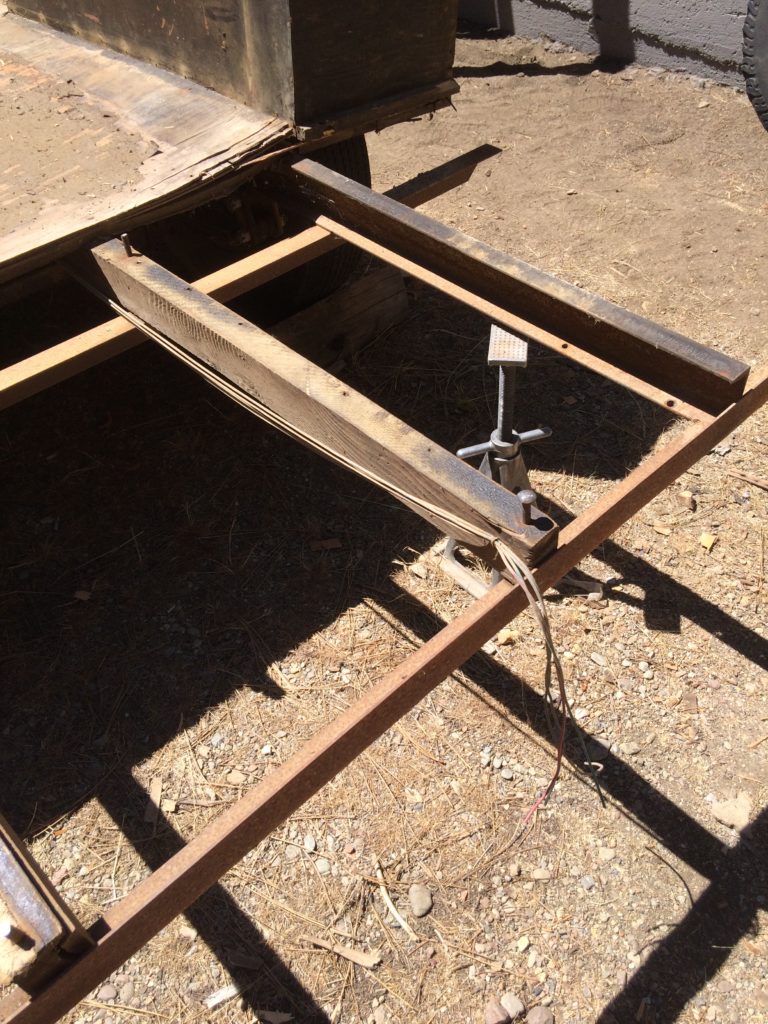
The sub-floor and wheel wells were dismantled and now all that's left is the metal trailer frame.
-
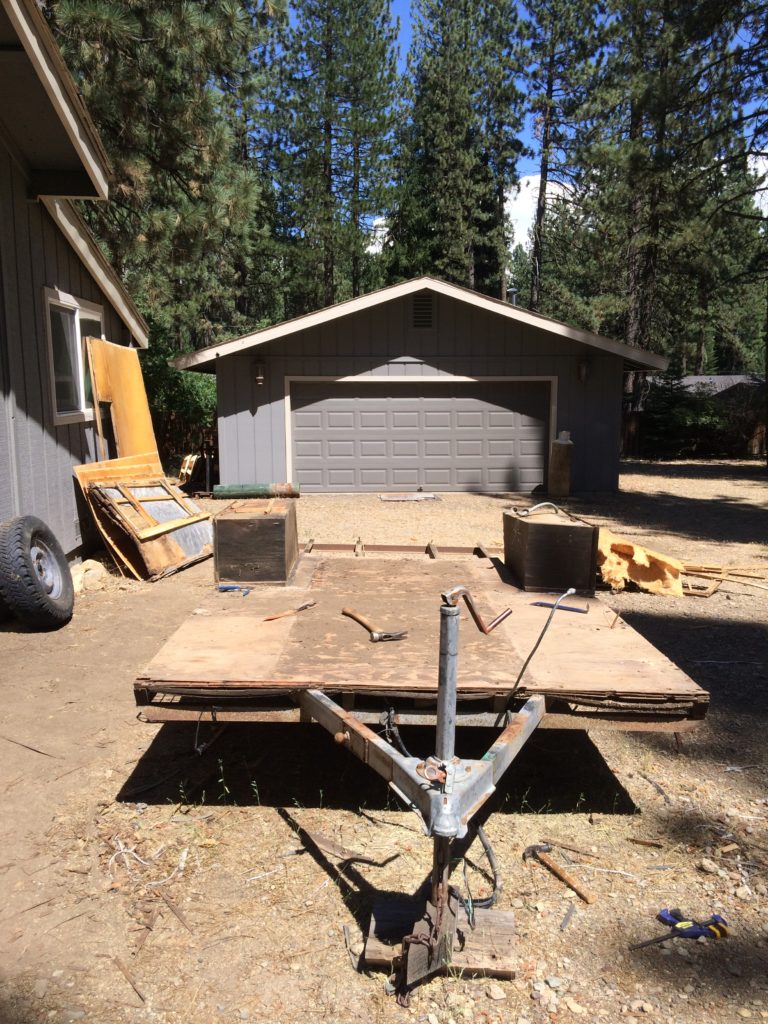
- trailer frame with sub floor and wheel wells
-
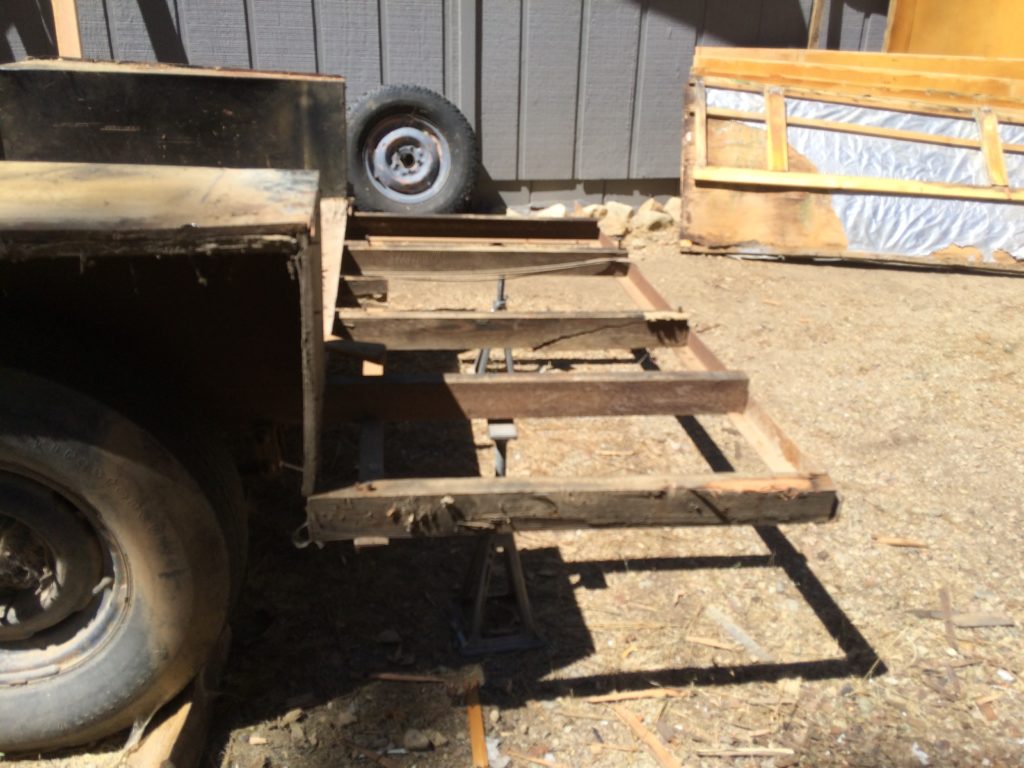
- trailer frame where bed will go
-
- Trailer frame with tail light wiring
The neighbors came out and asked where my camper had gone. I pointed to the flat trailer frame and said, "There it is!" Their eyes widened and I know they were thinking that I was crazy. I knew they were skeptical about my ability to rebuild it. I was a bit skeptical myself. lol.

Bare Trailer Frame
Deep breaths! Deep breaths! That's what I kept telling myself. One step at a time...You can do this!