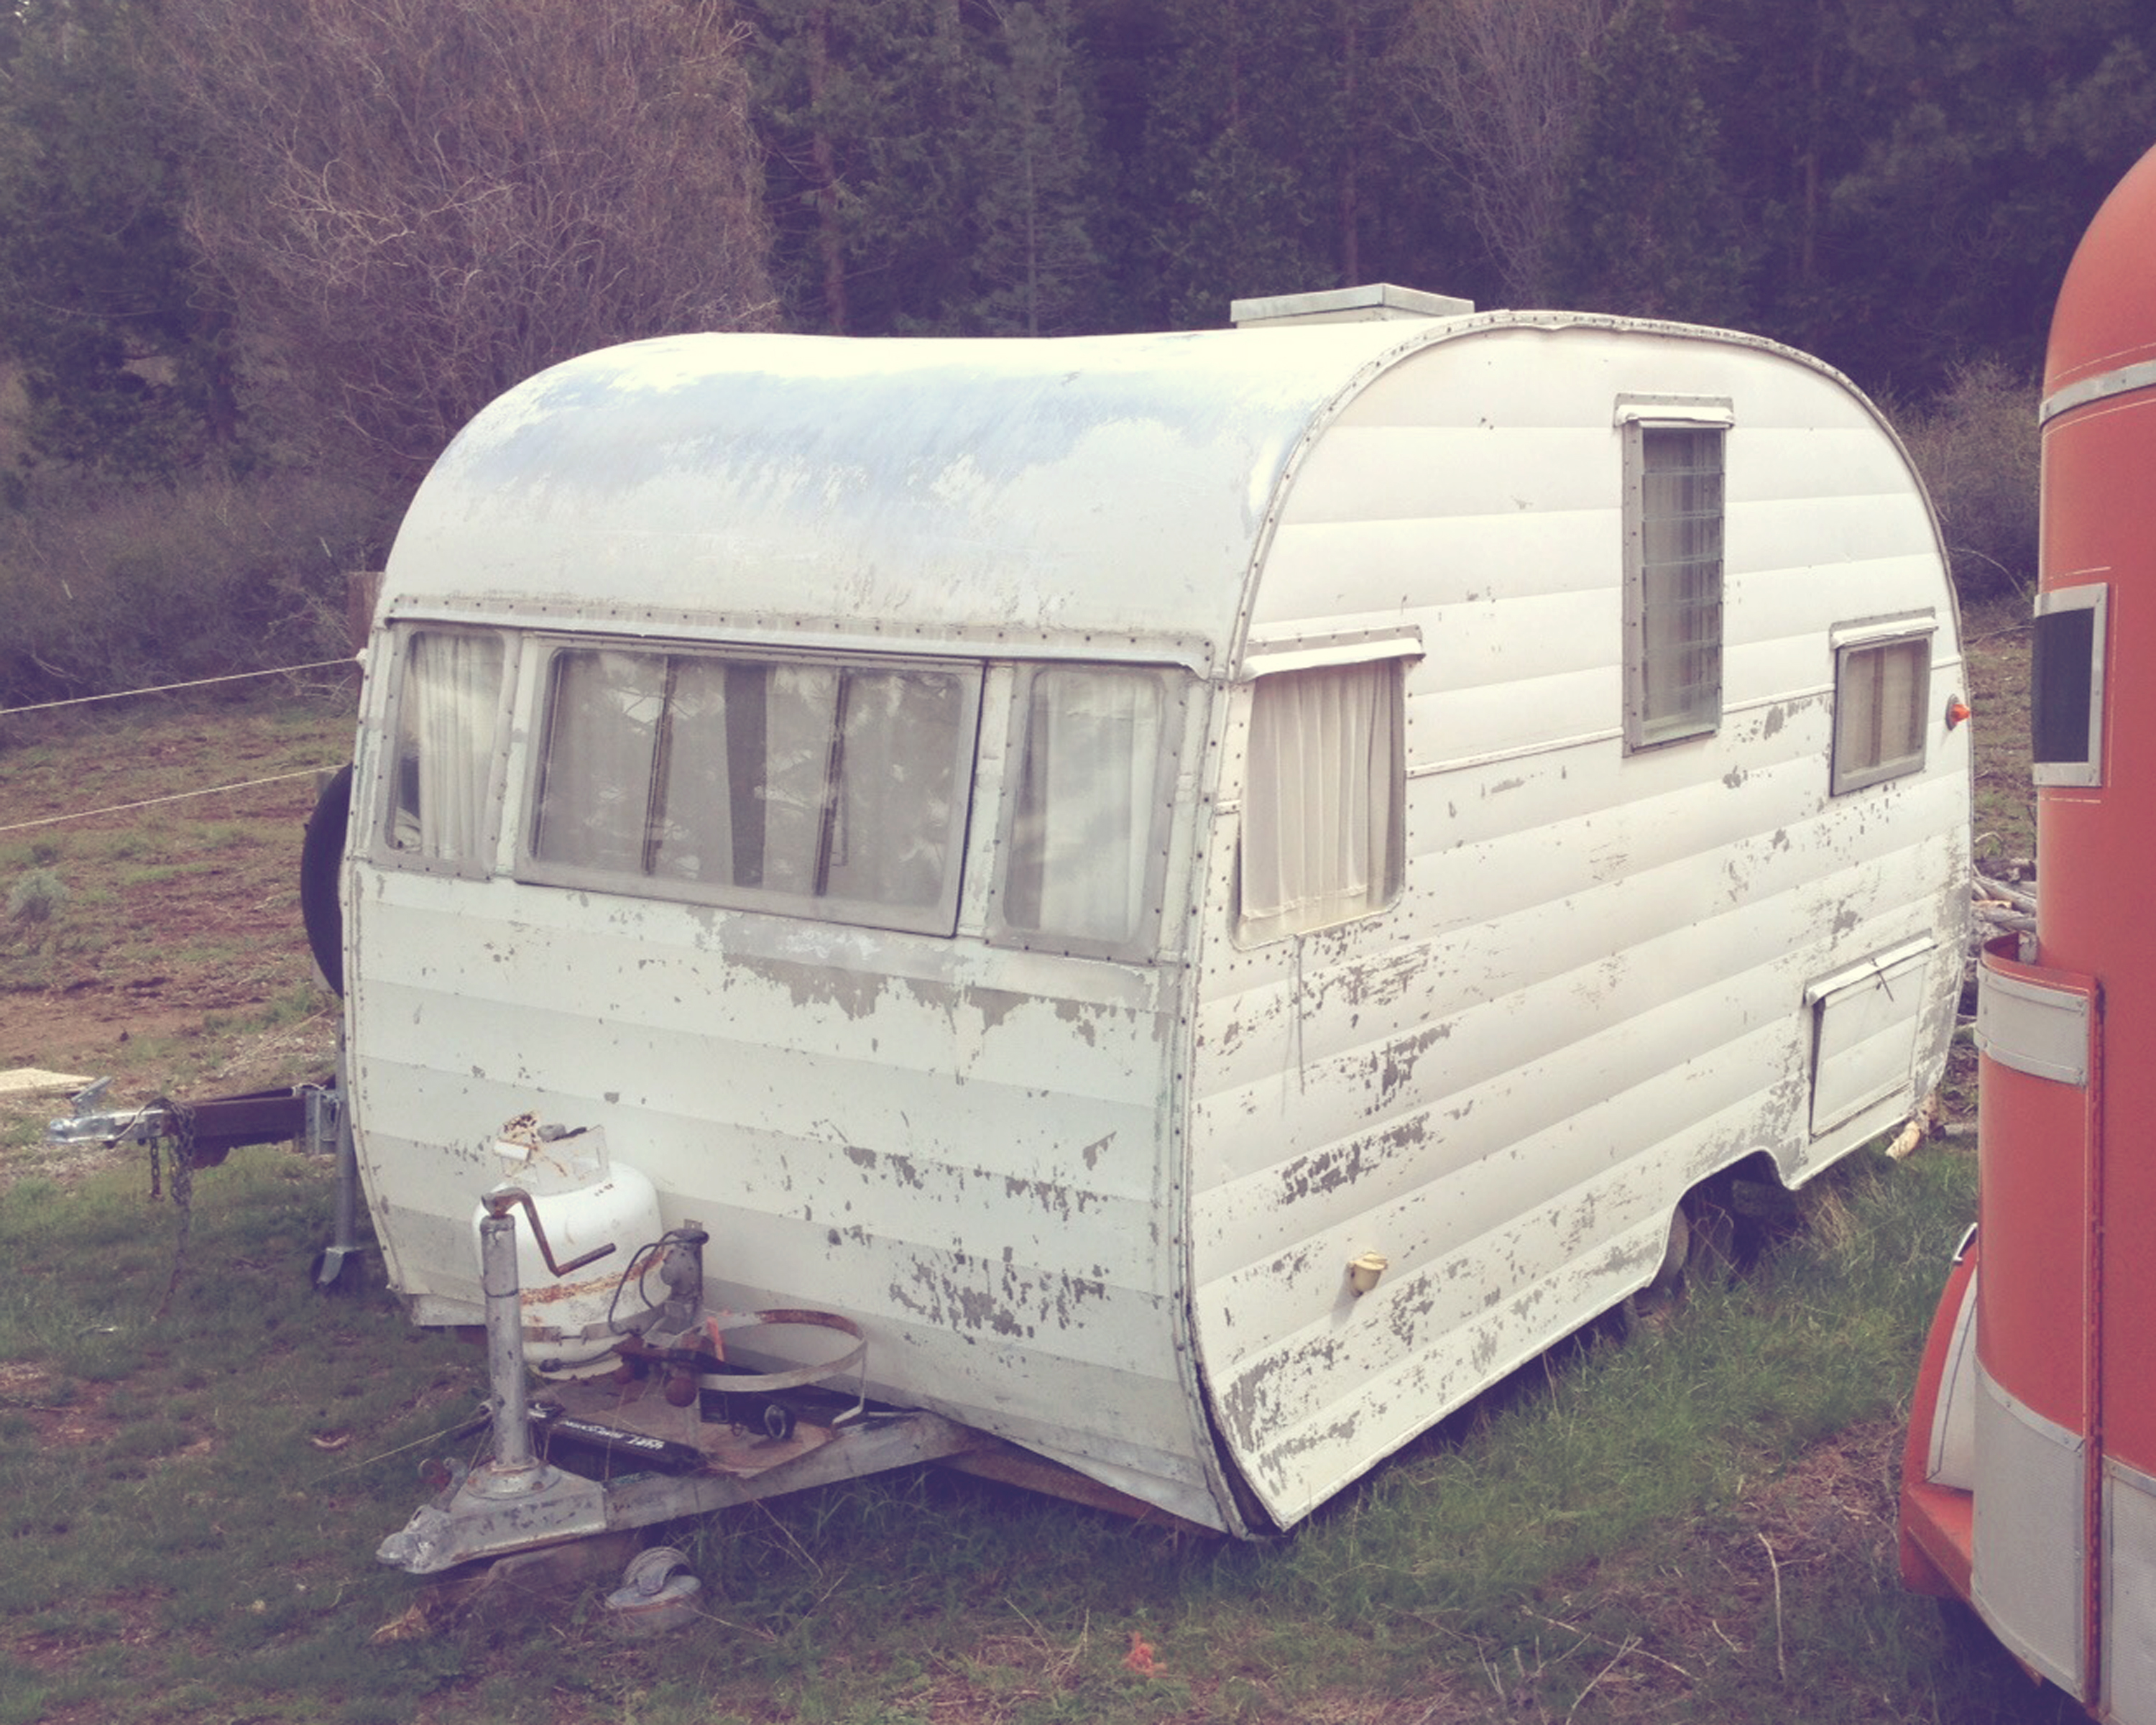
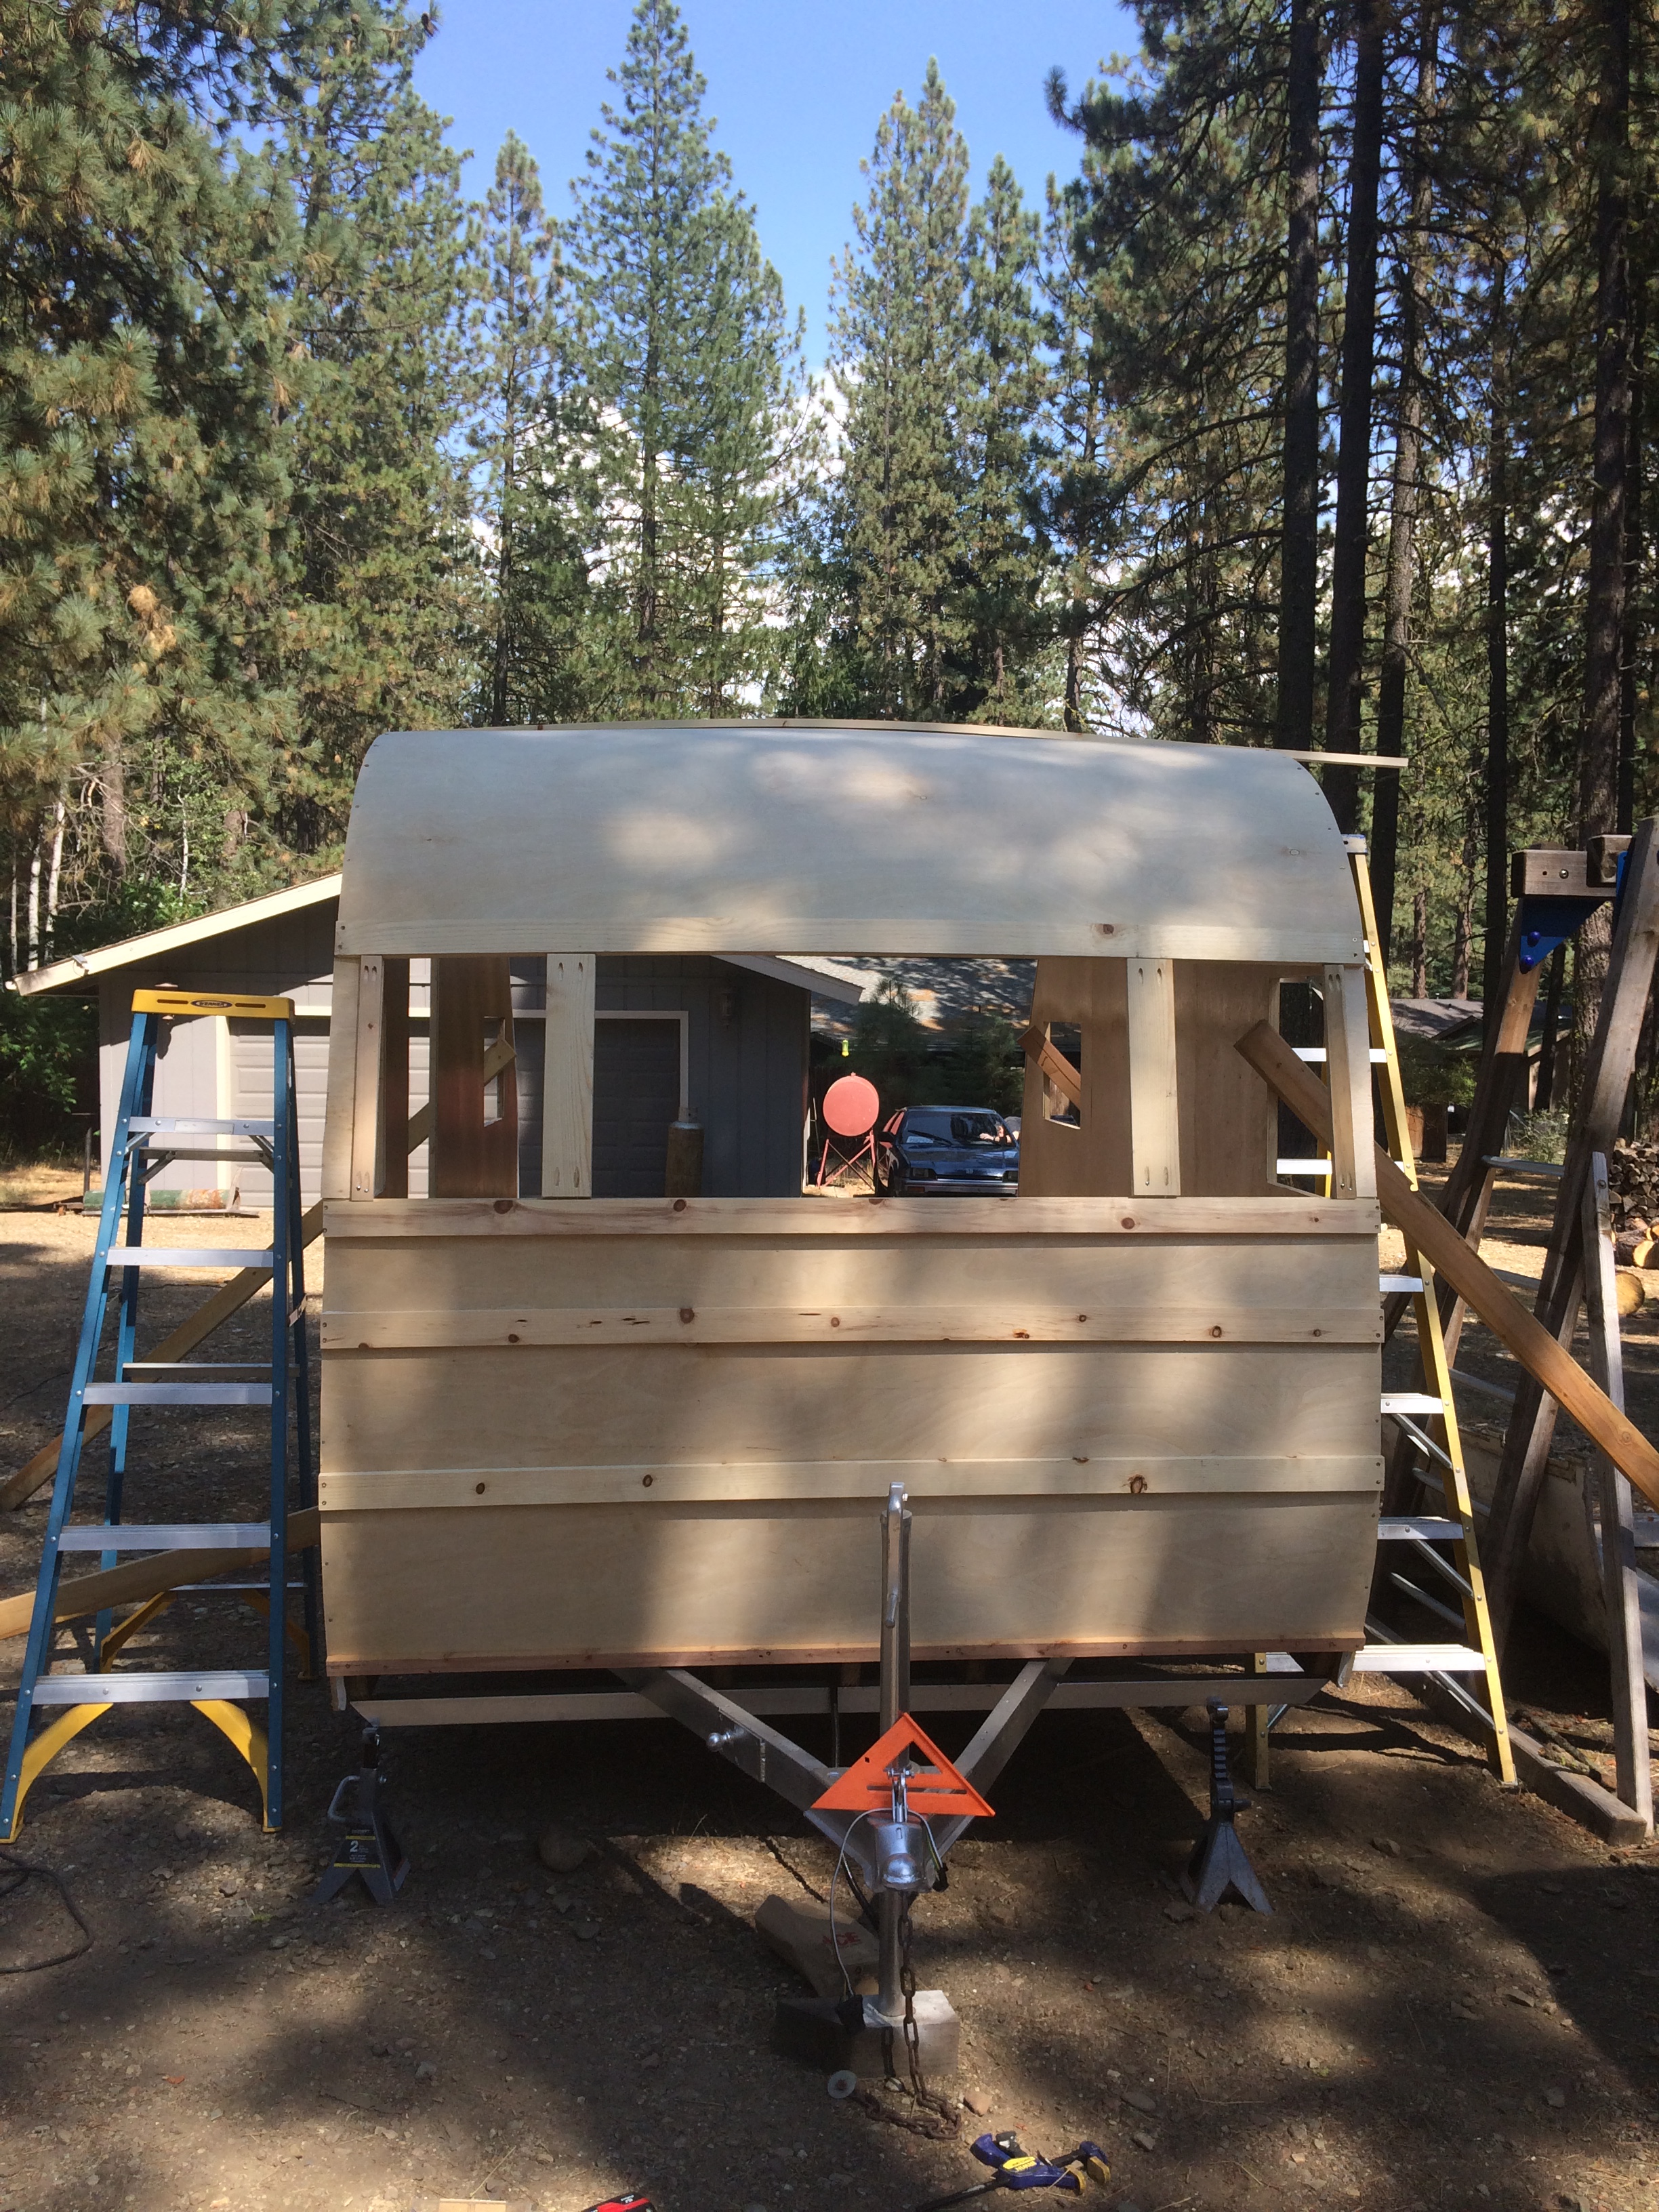
For the 1954 Airlight
")
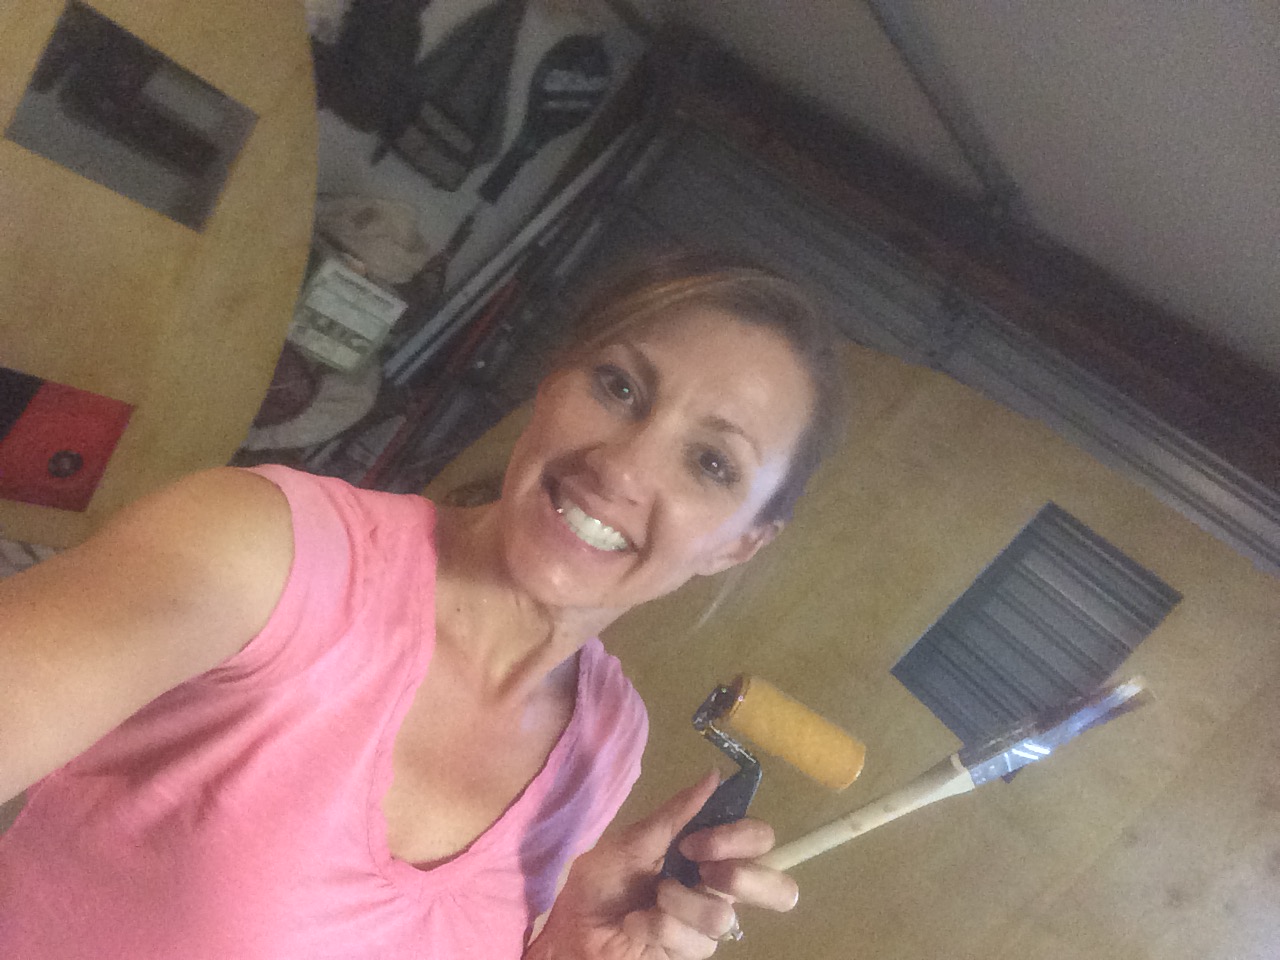
Isn't she cute! At this point in the restoration I have buffed the exterior twice. It still needs one more polishing to remove the "swirl" marks. Seriously though, the reflection on the garage it amazing!
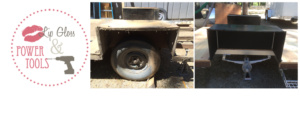
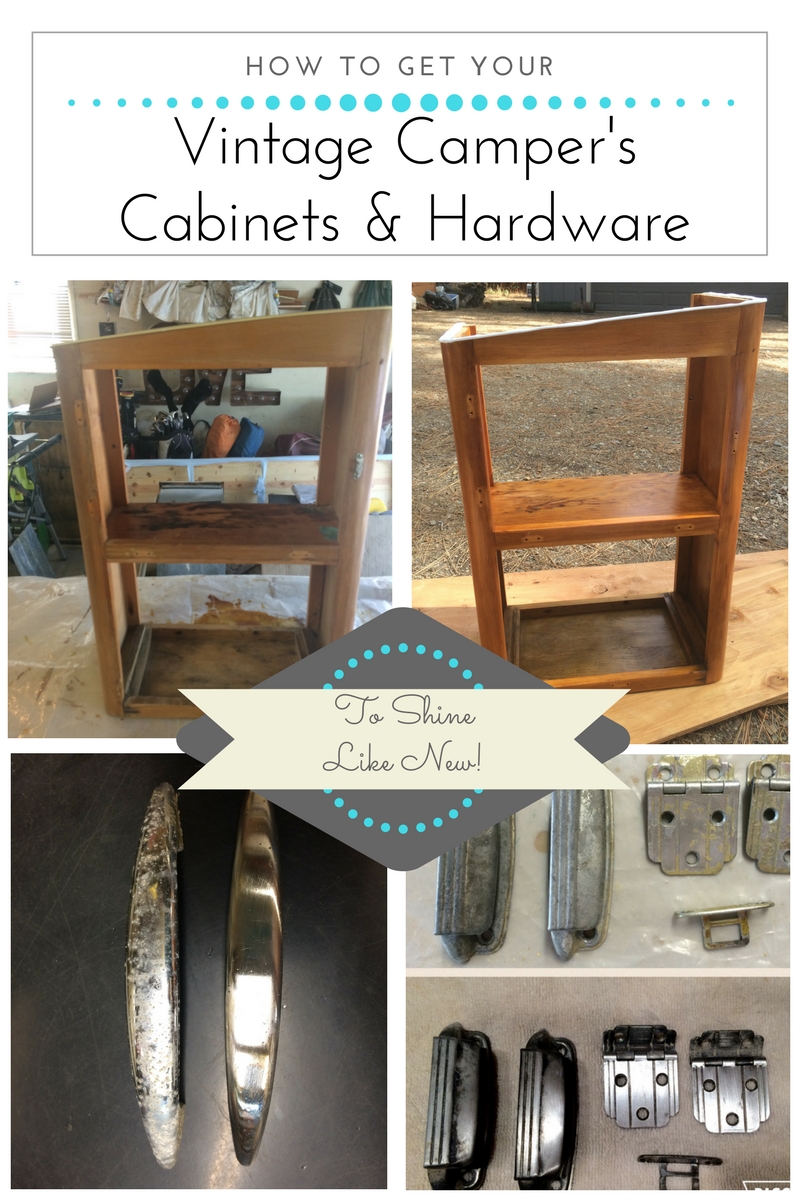
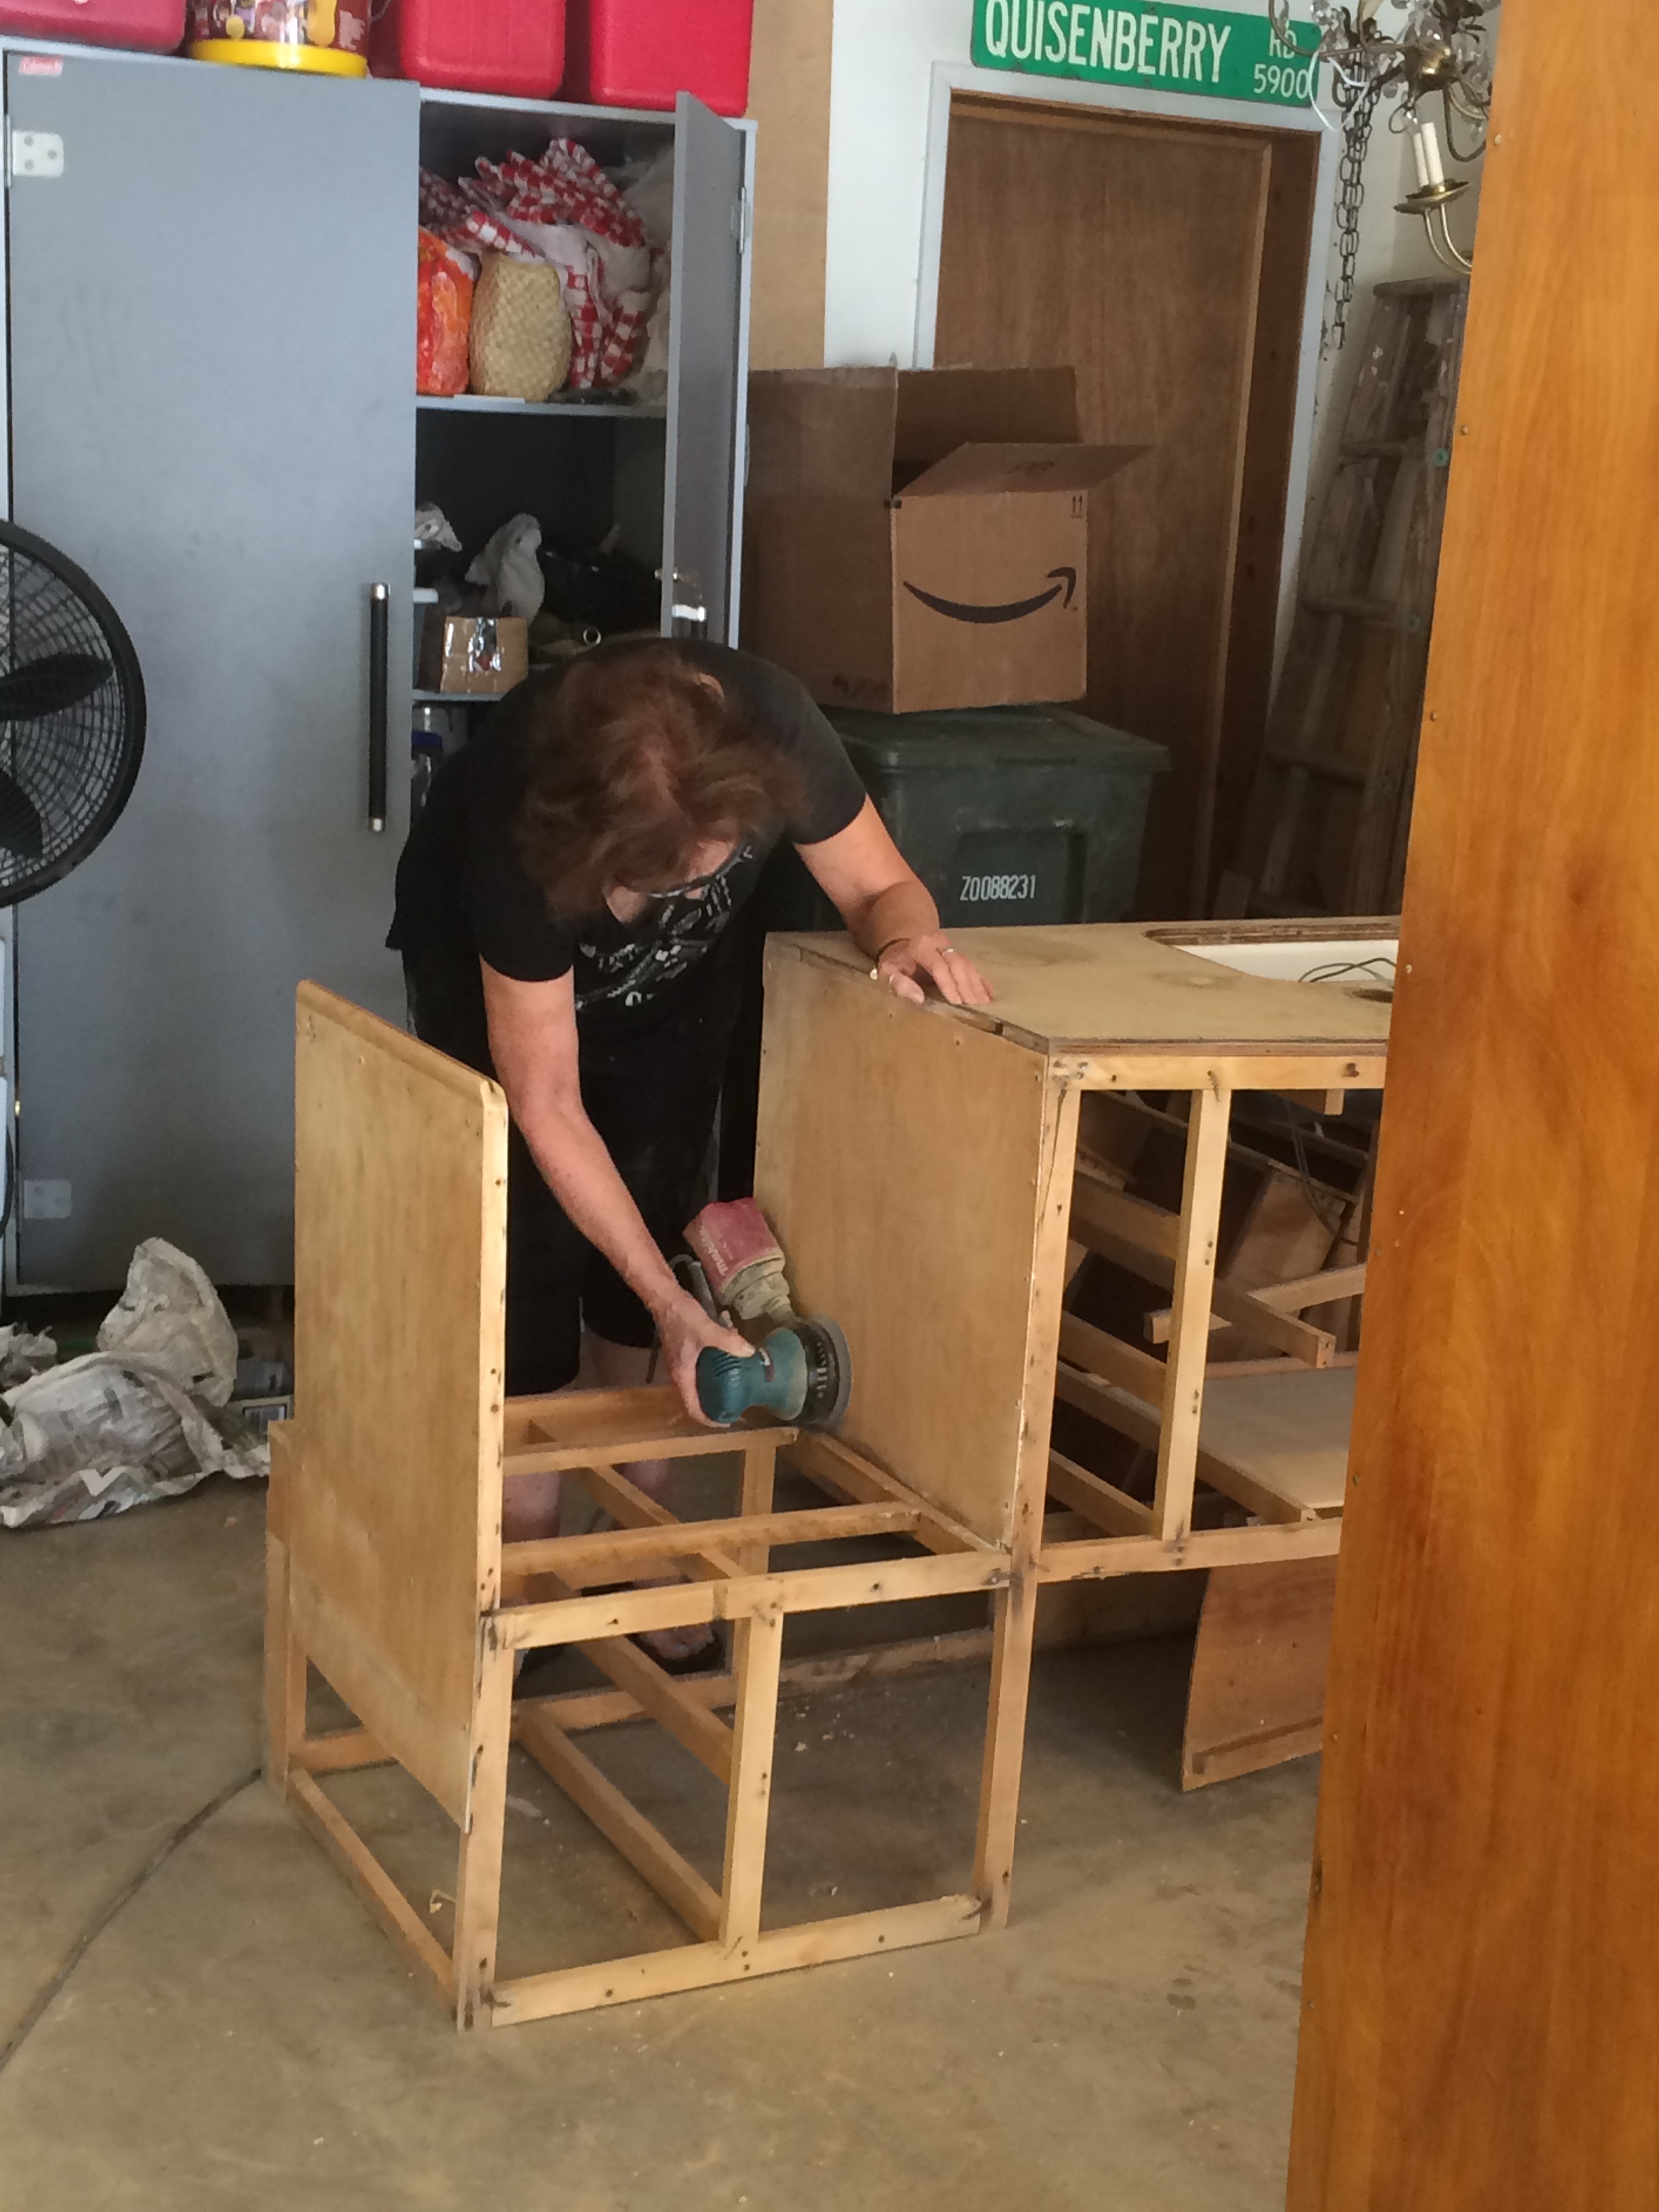
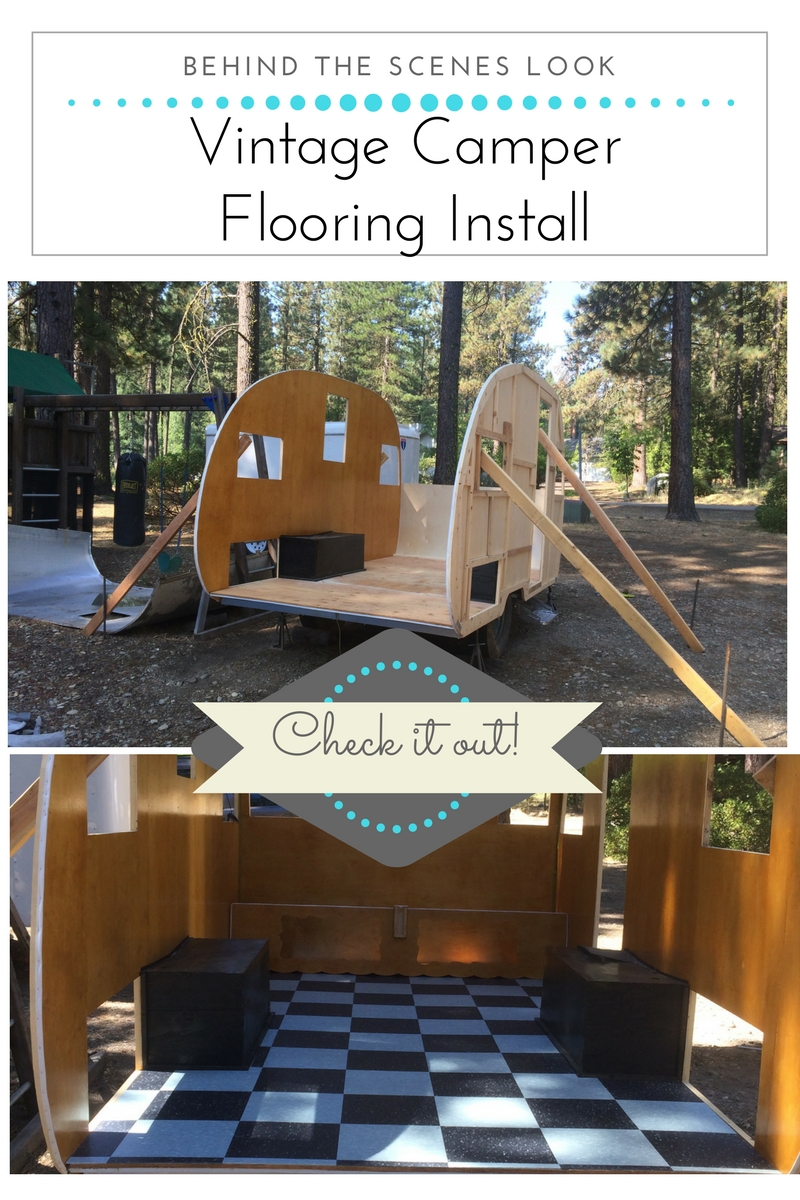
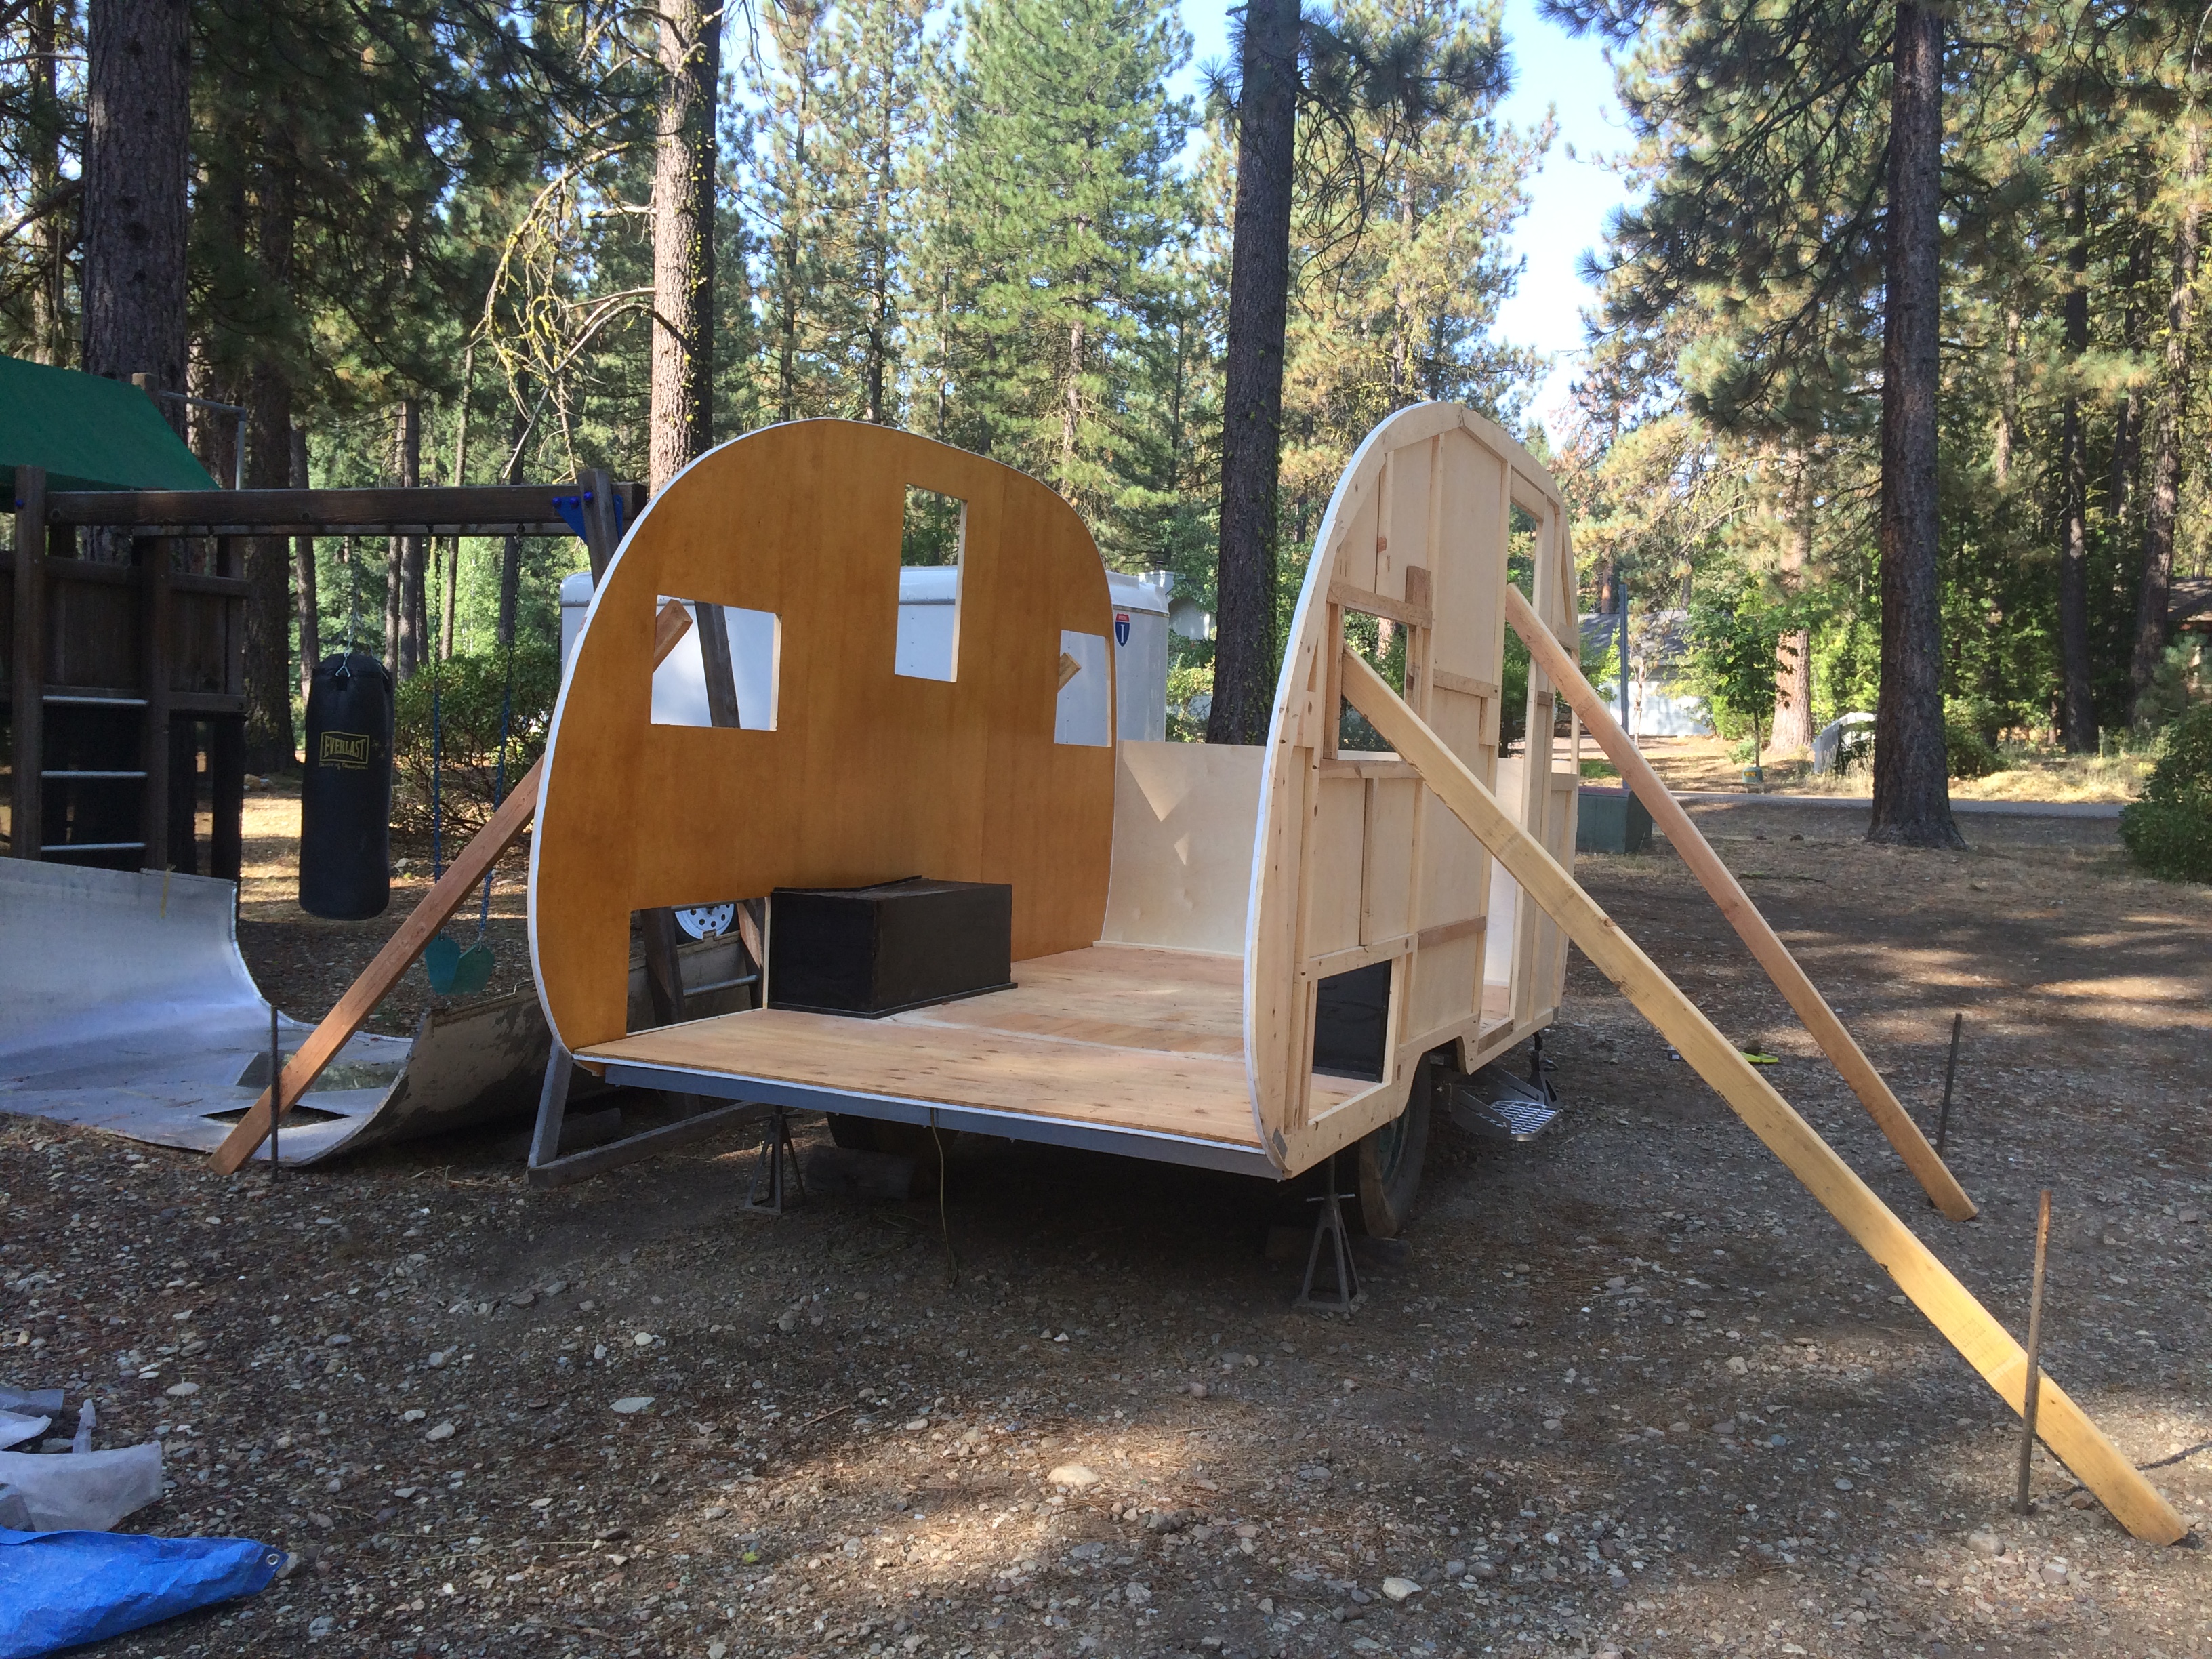
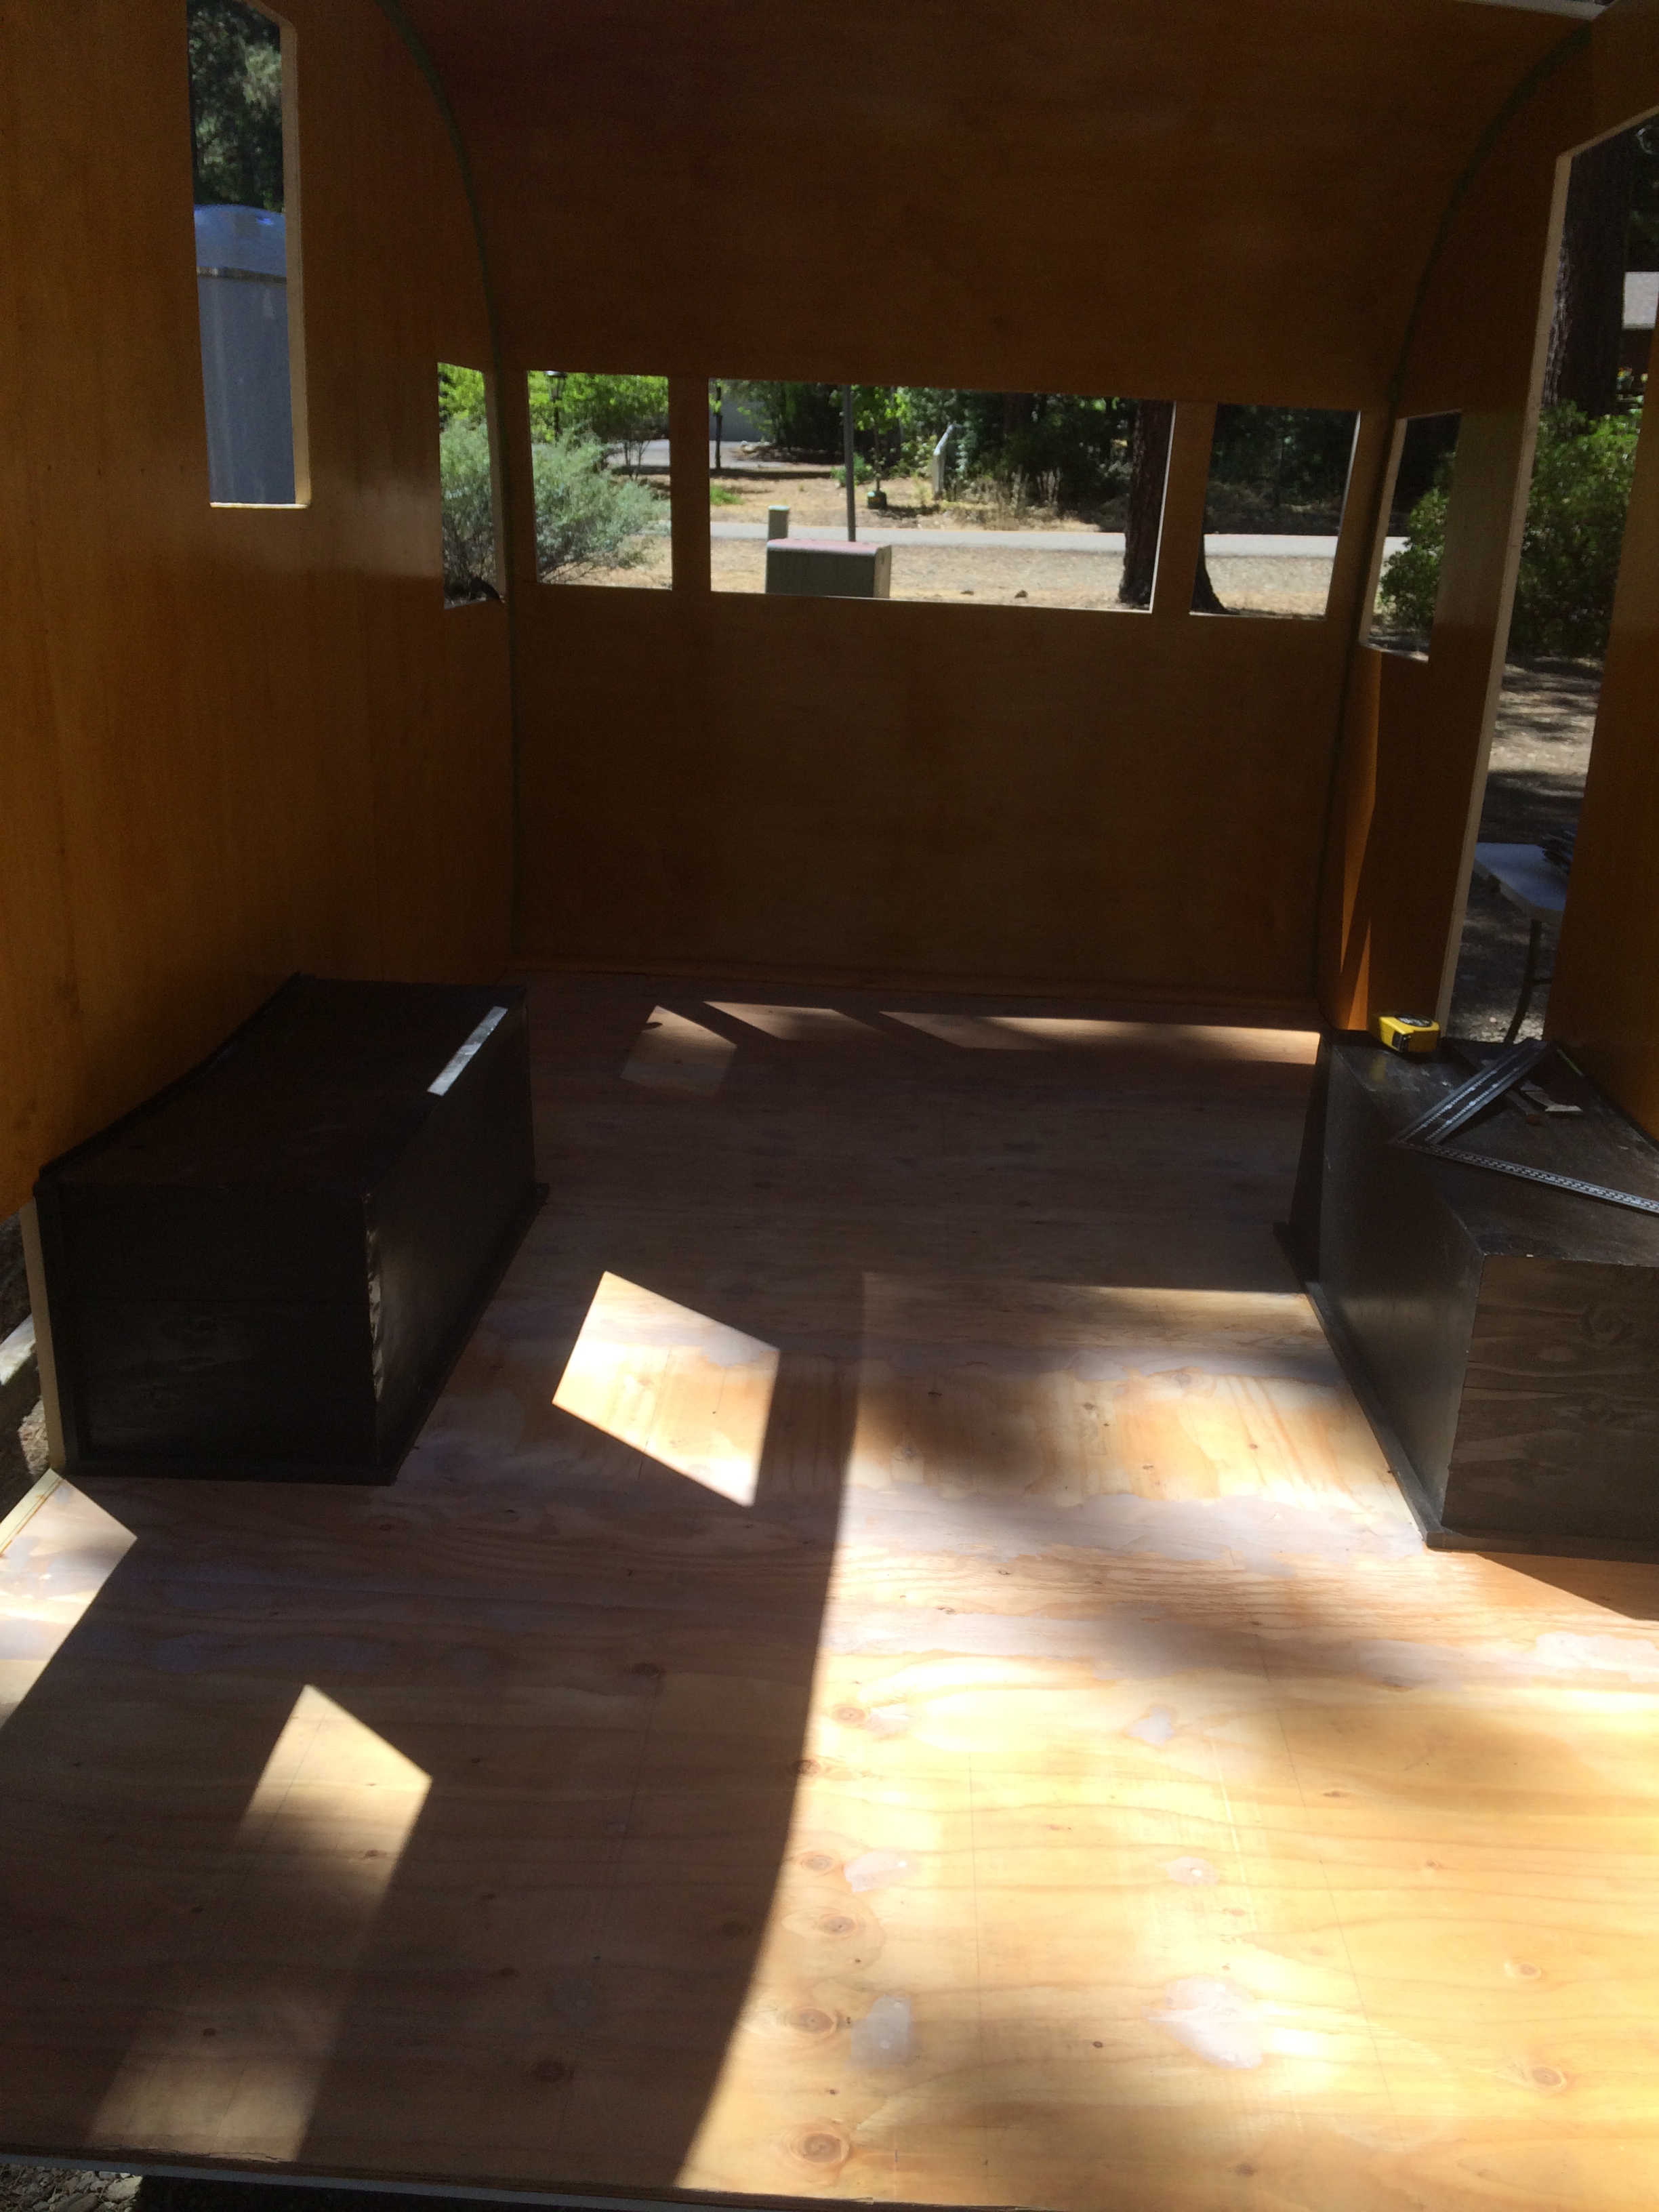
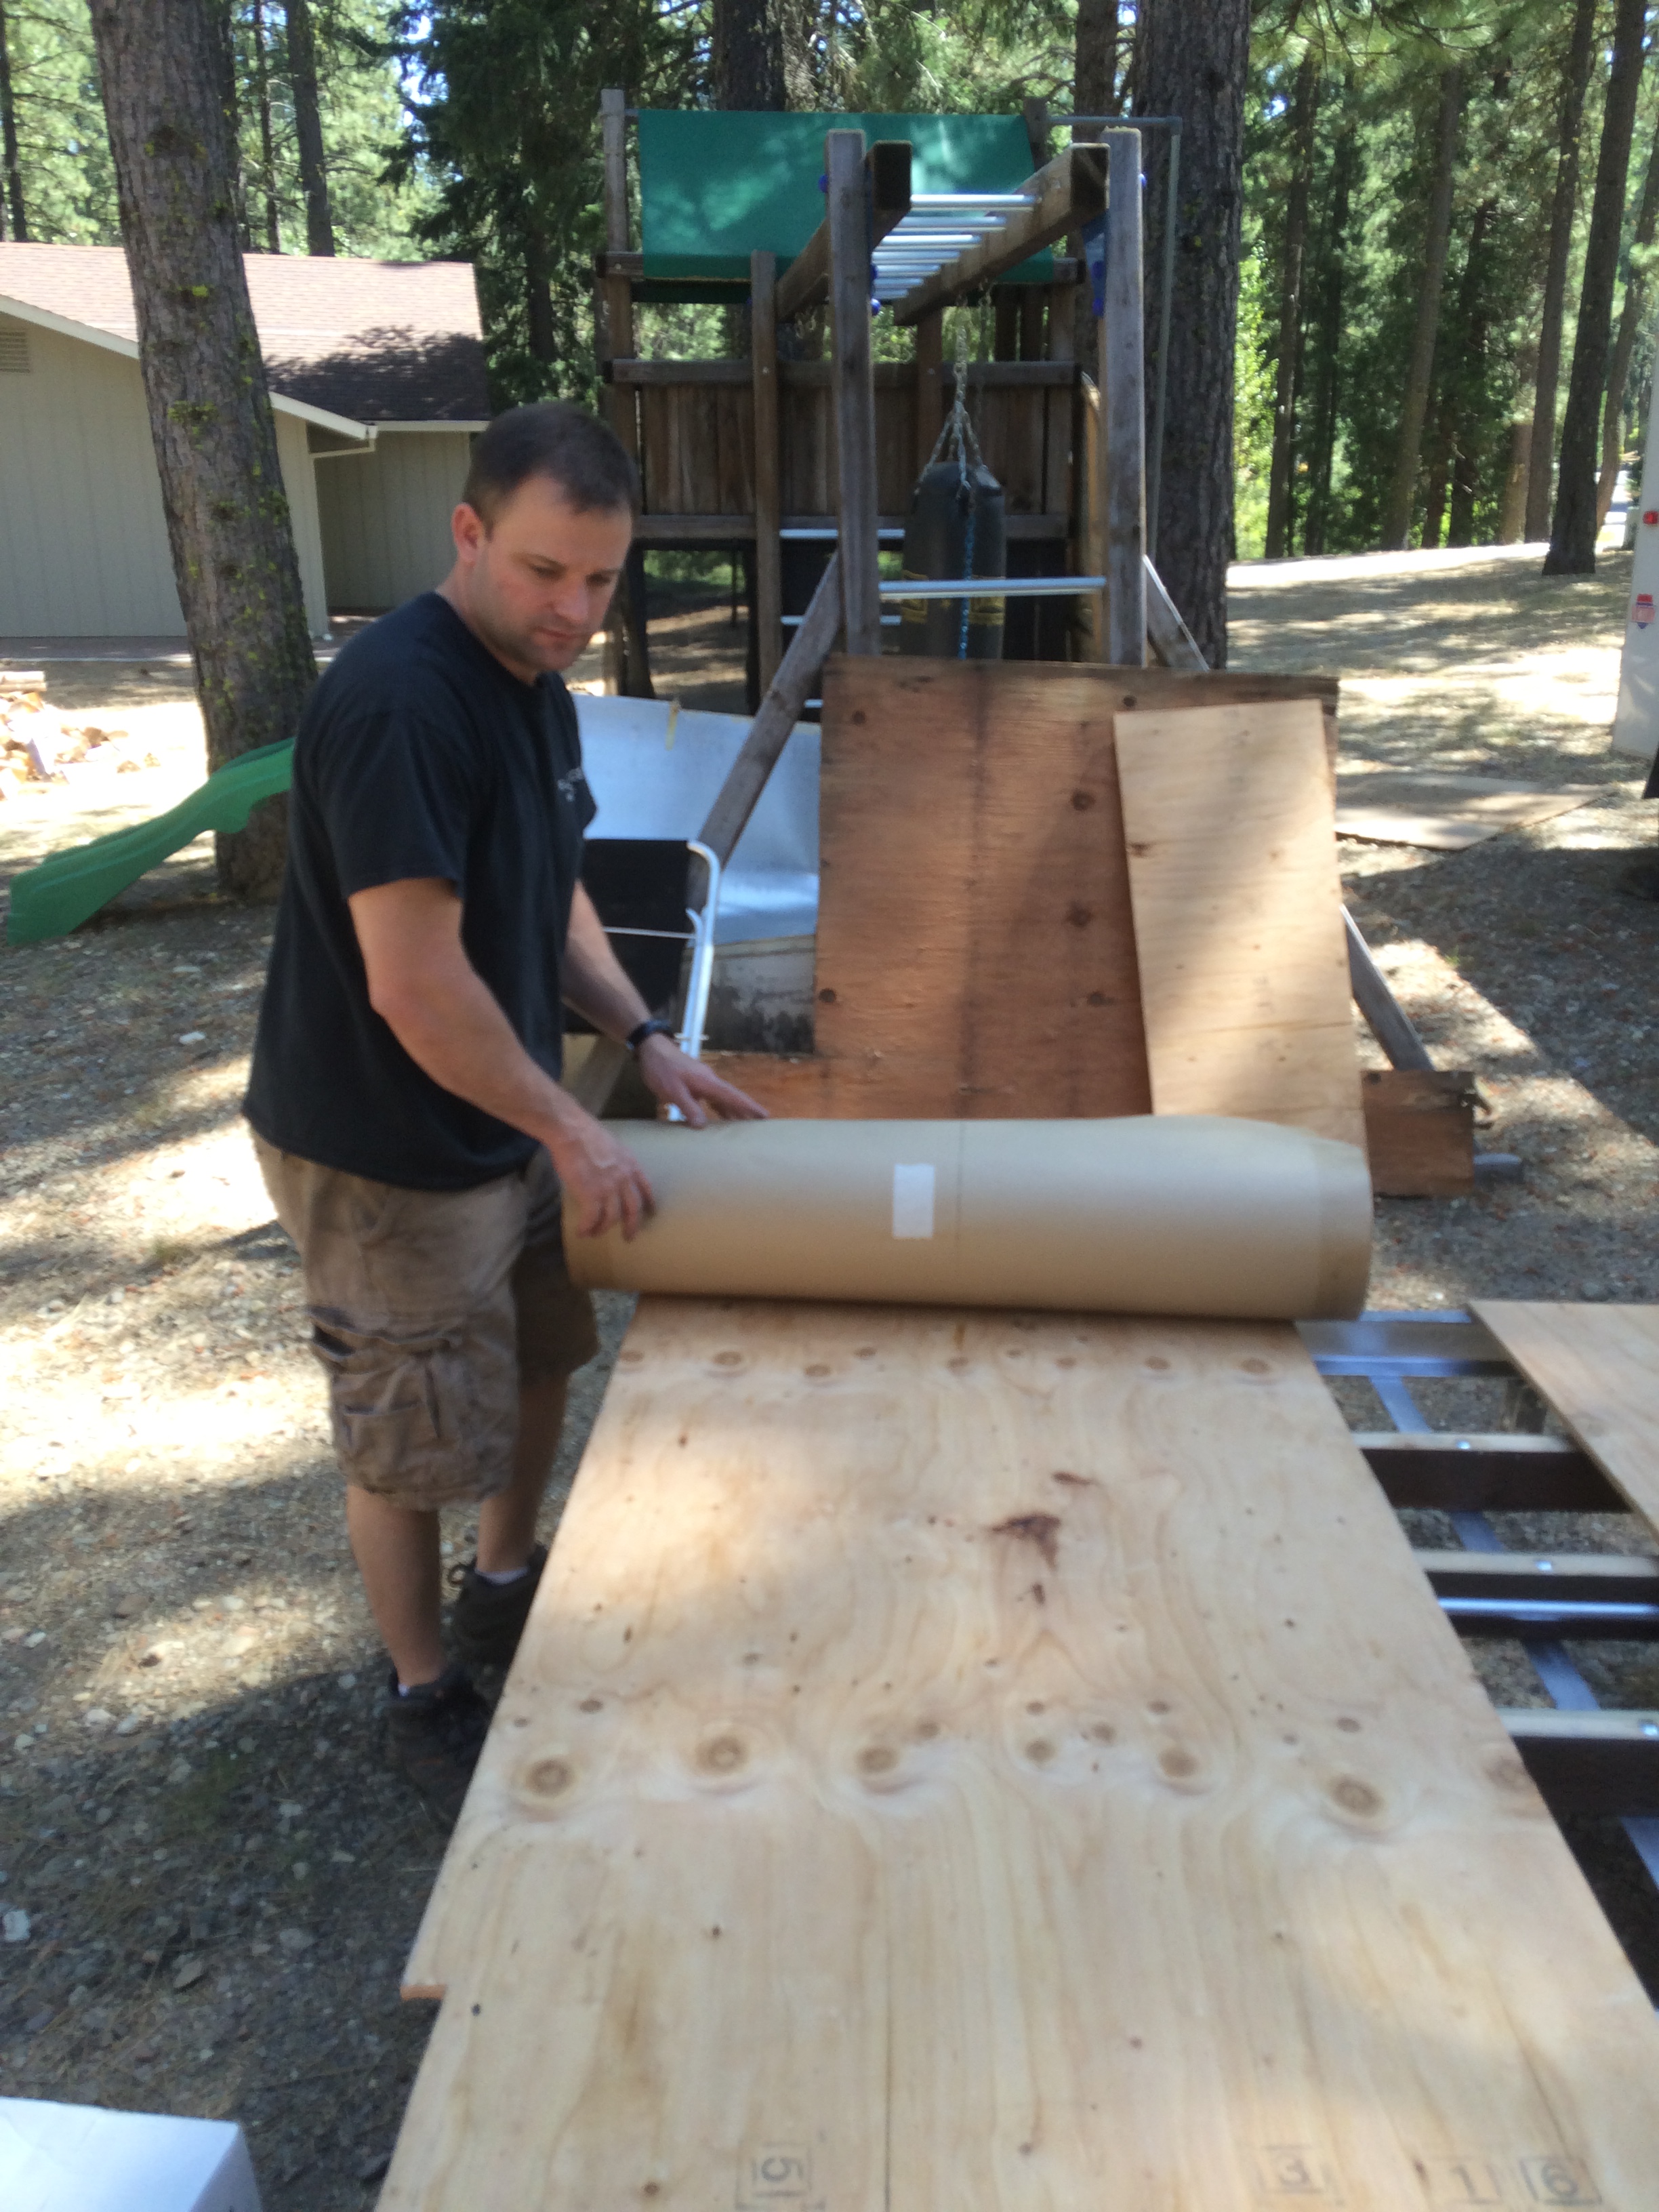
This is a project that I've been looking forward to. After I designed the cabinets for the 1954 Airlight bar trailer I had to decide on the countertop material. I decided to go with butcher block for the main countertops but wanted something different for the little customer-serving niche.
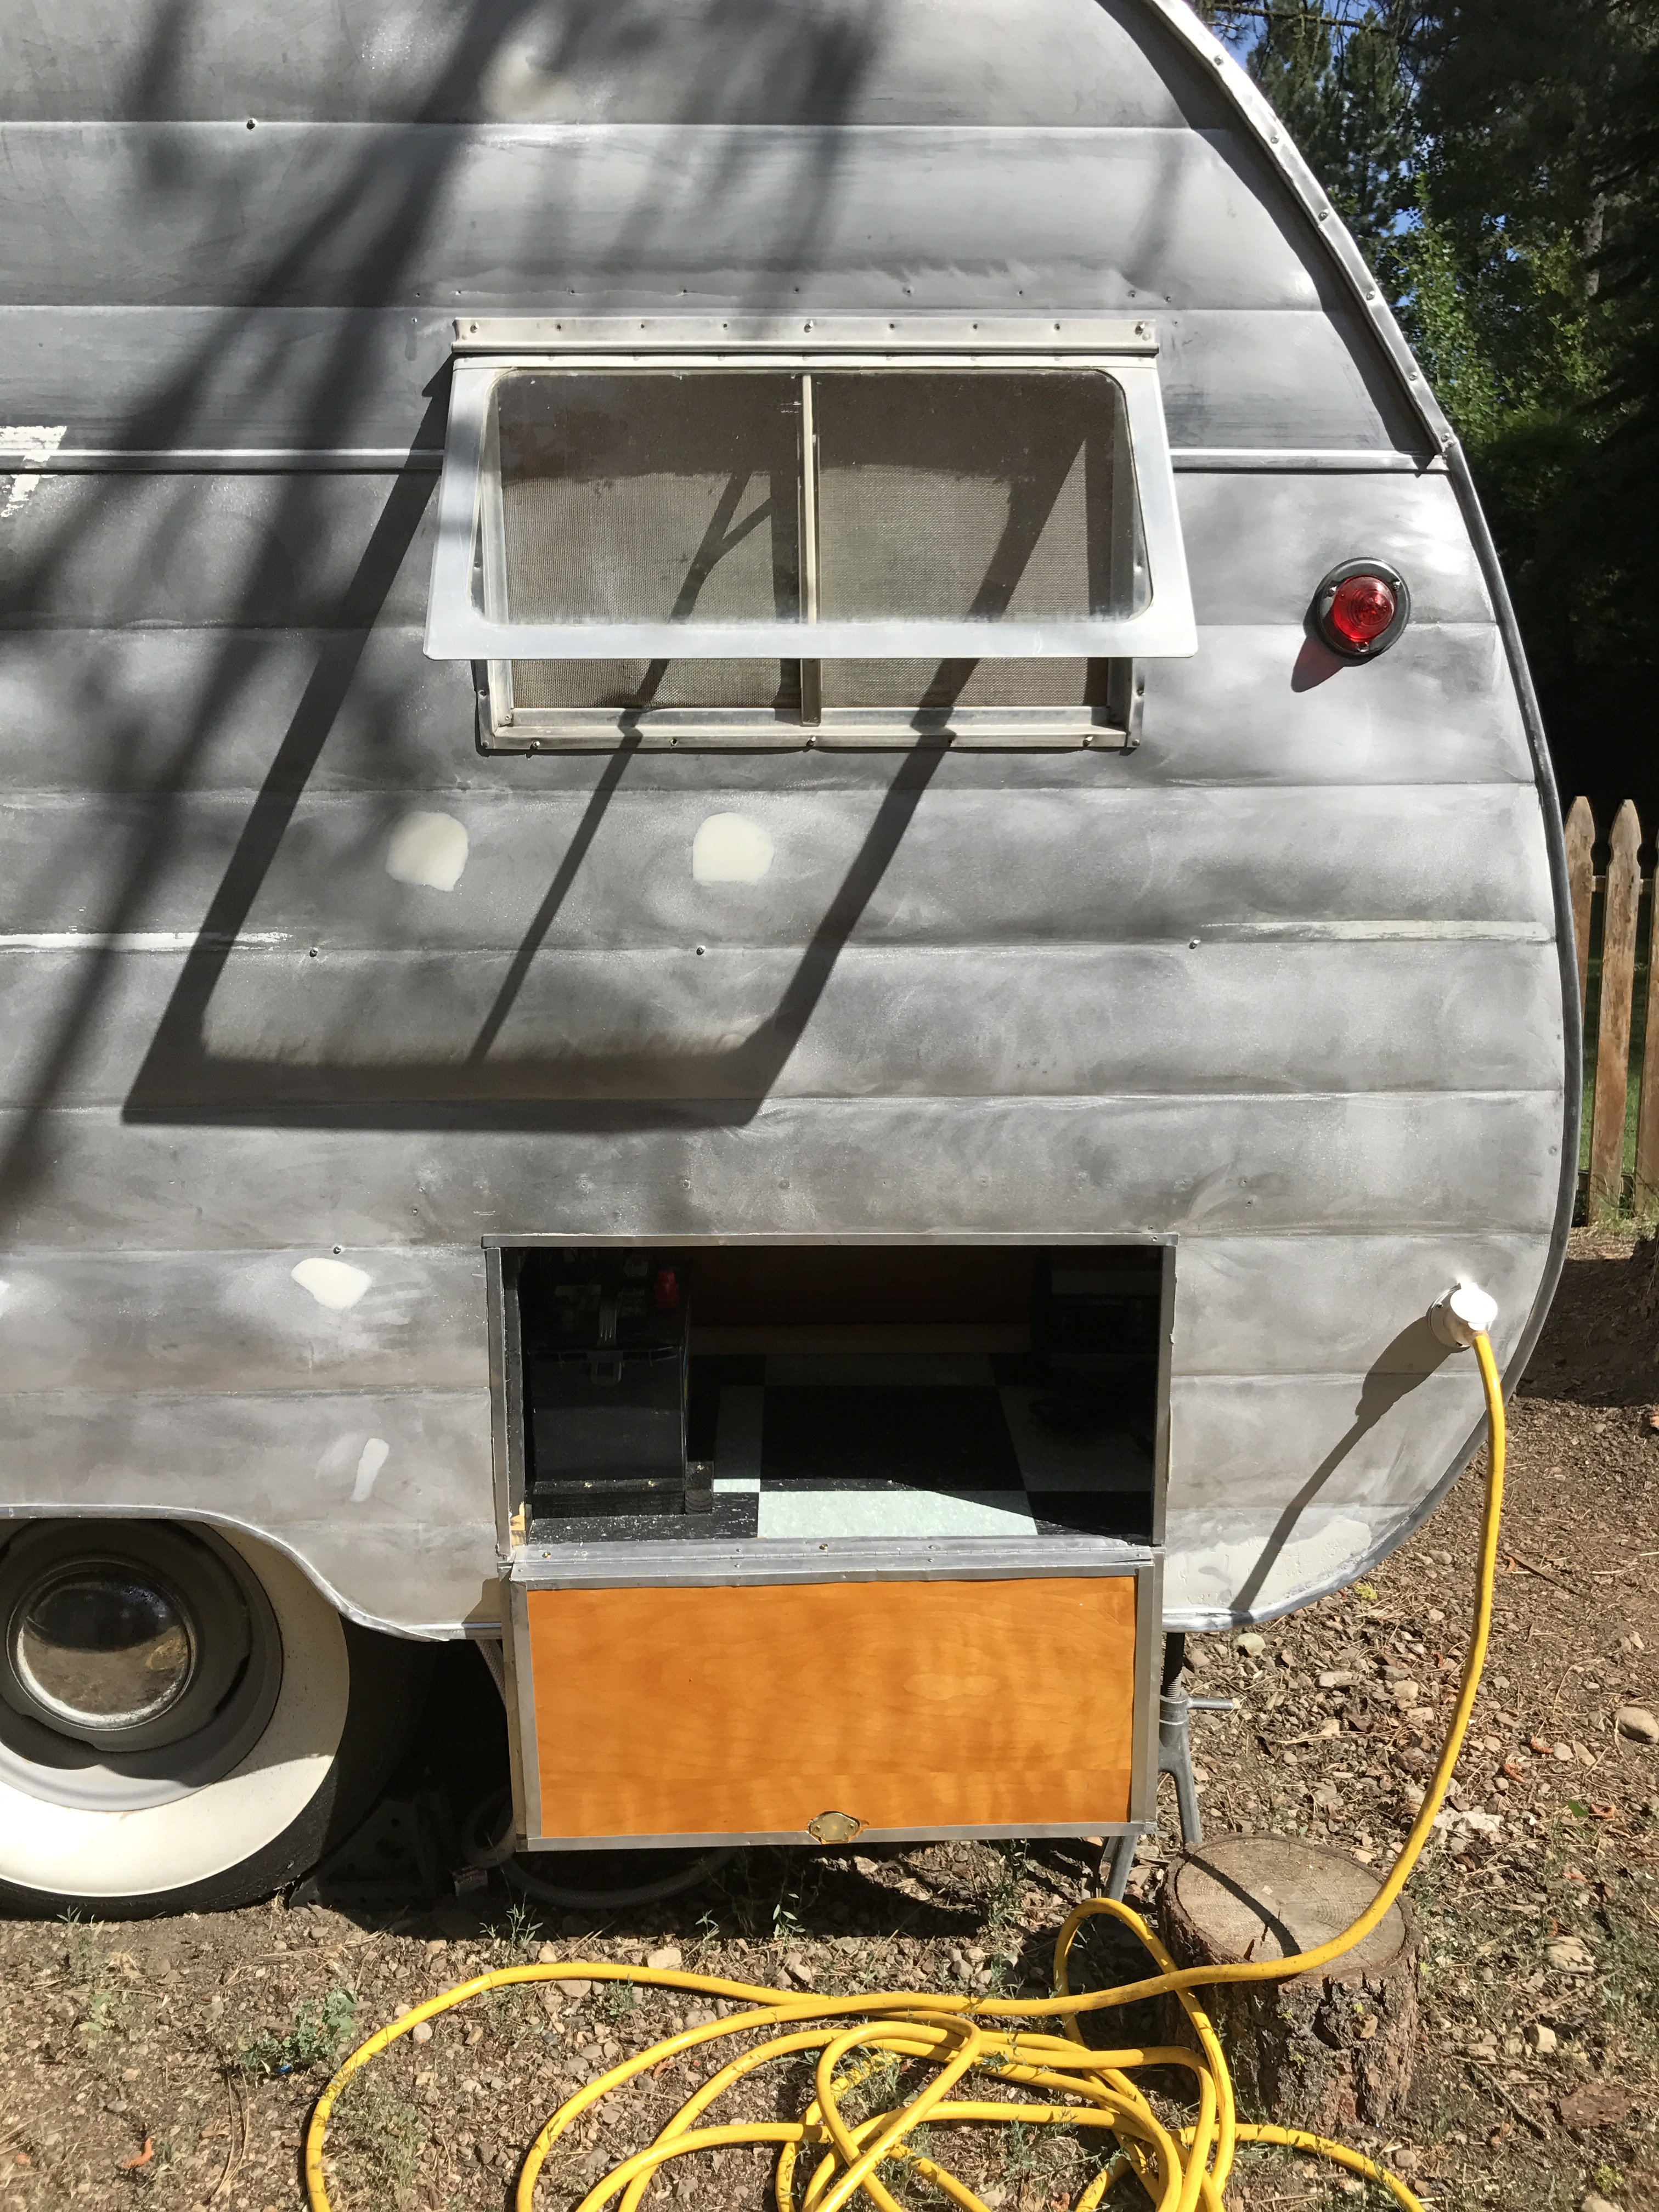
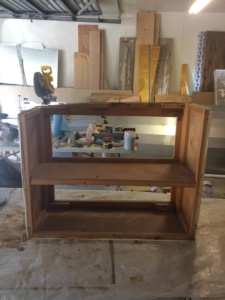
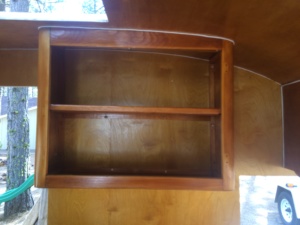
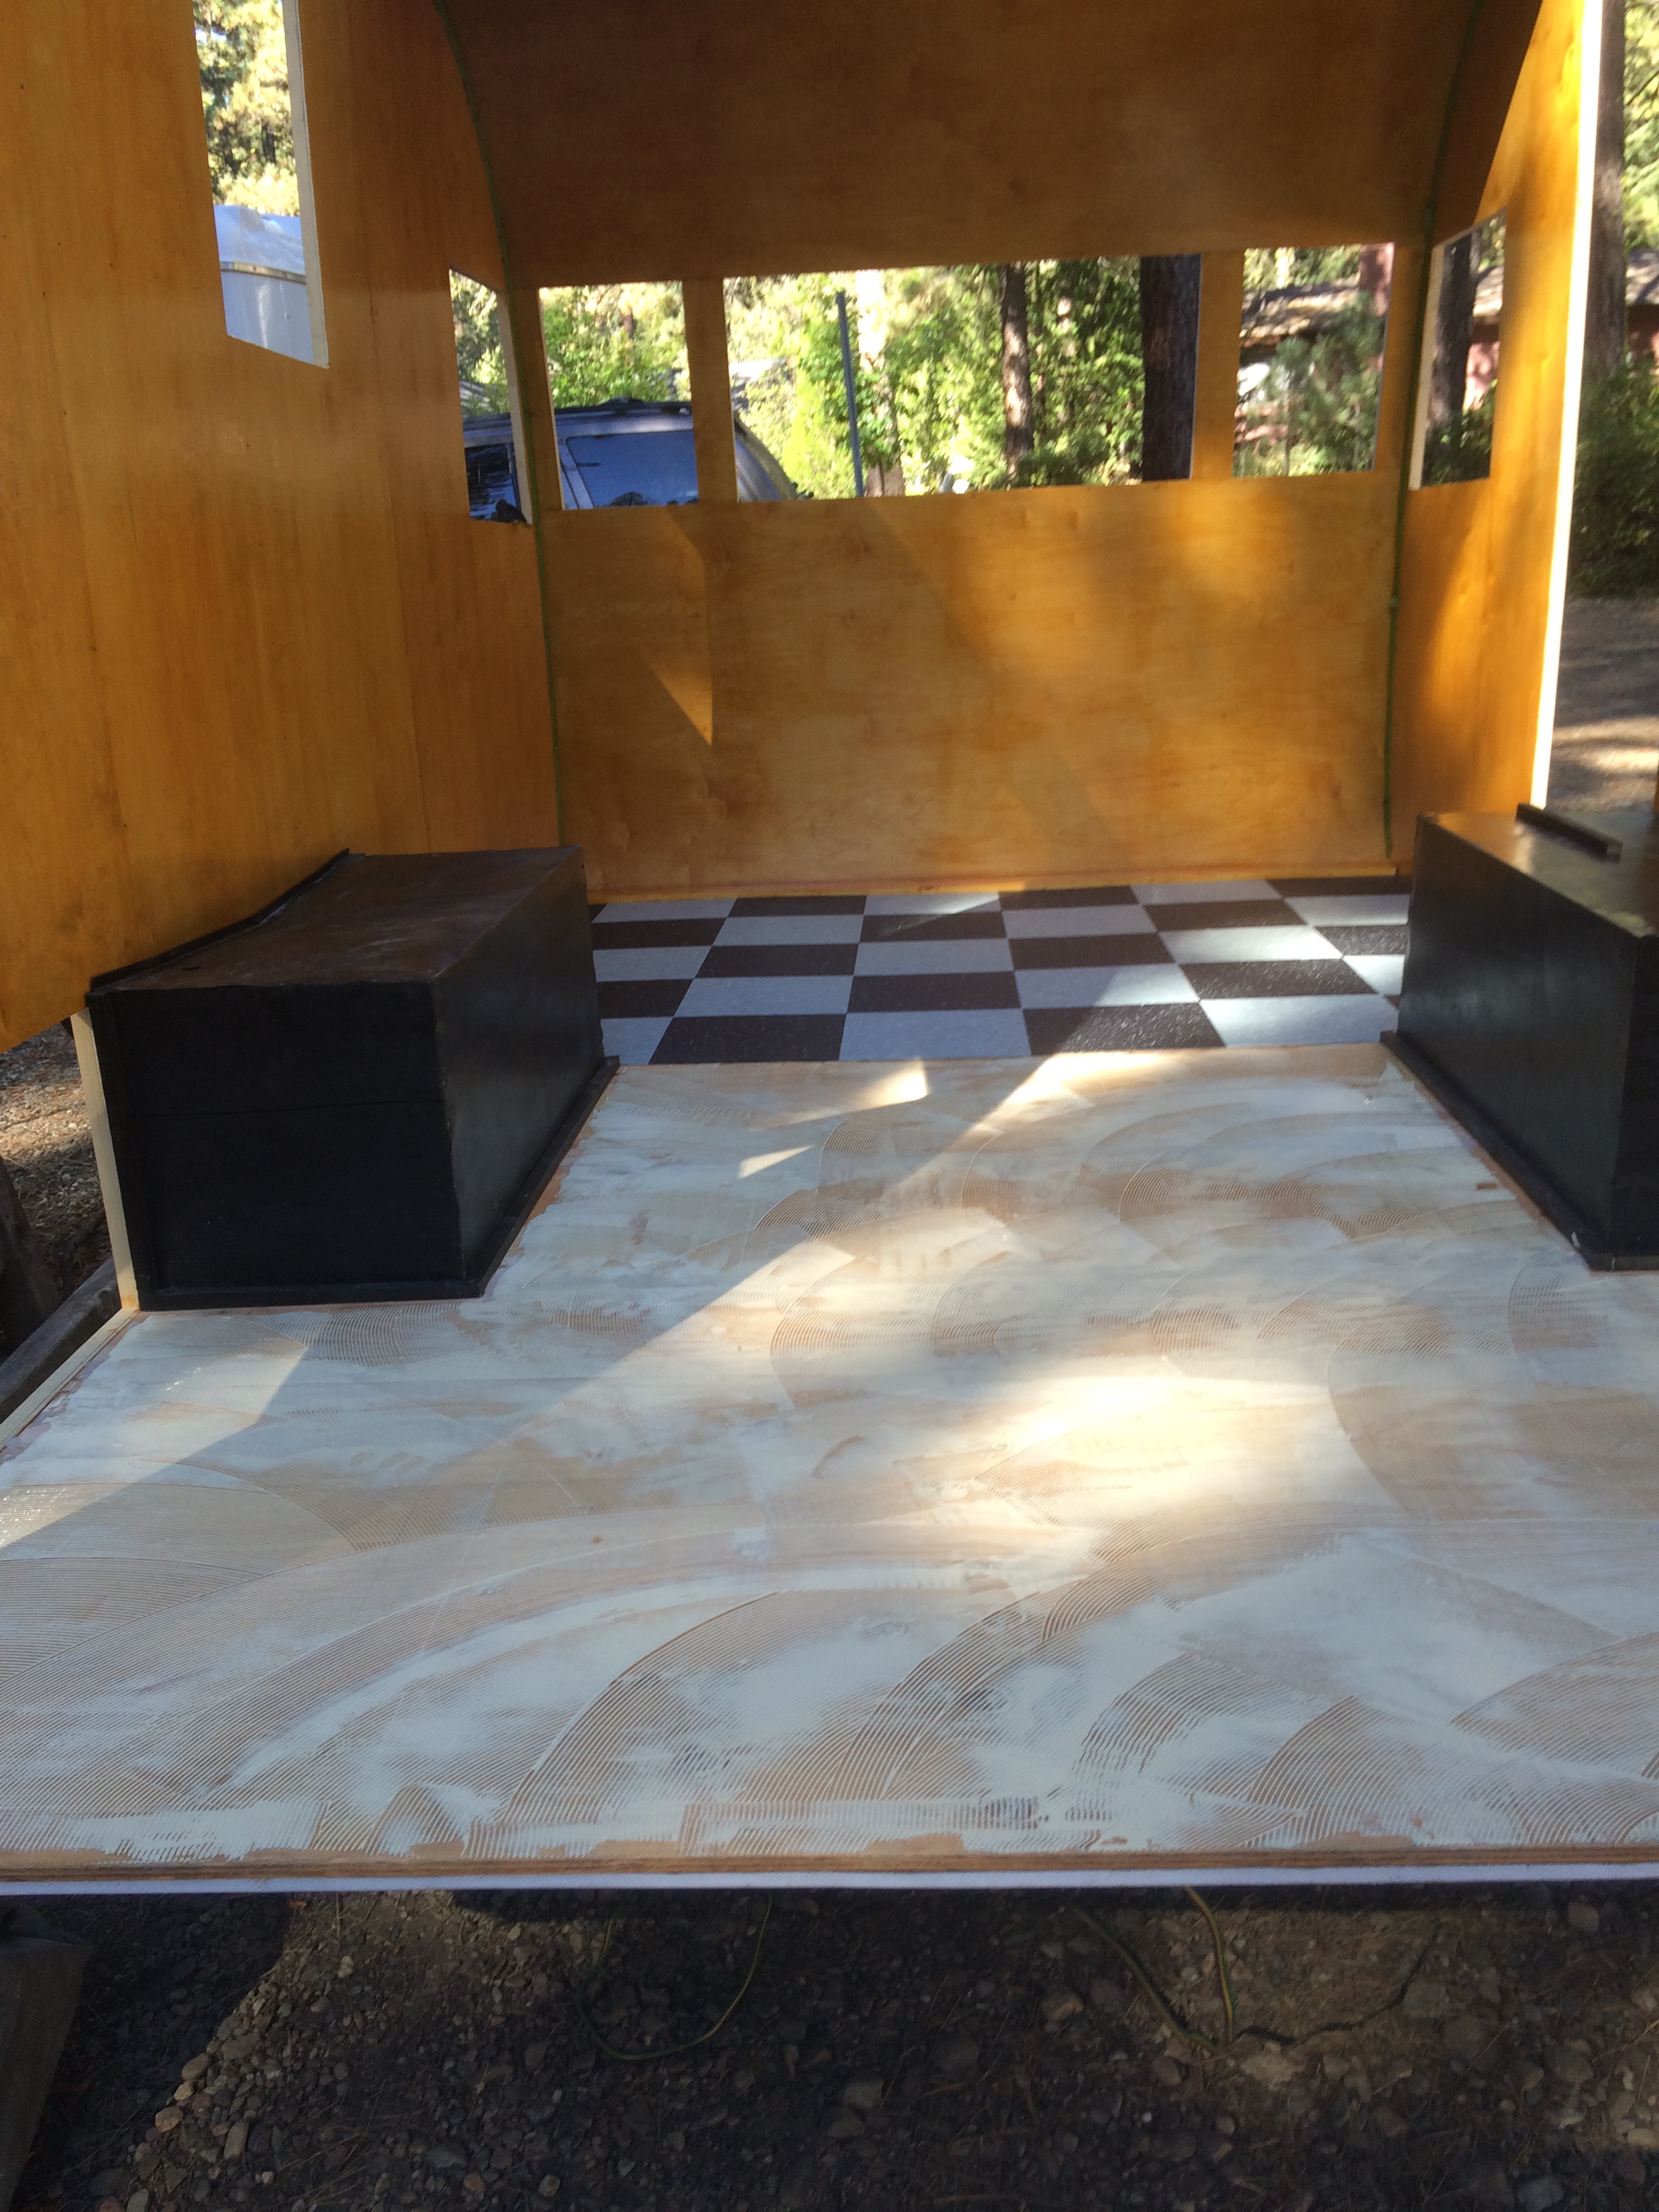
When designing the cabinets my goal was to make the bartender as comfortable as possible. Have you ever noticed that when you visit a food truck, the servers have to hunch over to hand you your food? I wanted the interior countertops to be standard height. The only problem with this is that the countertop would fall within the serving window.


So, to alleviate this problem, I decided to create this niche so that the customer would have a surface to set their drink or wallet on. It could also be used for decor, a drink menu, or business cards, etc.
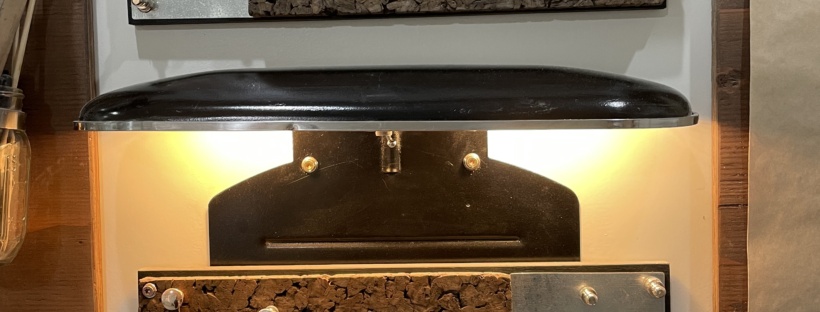
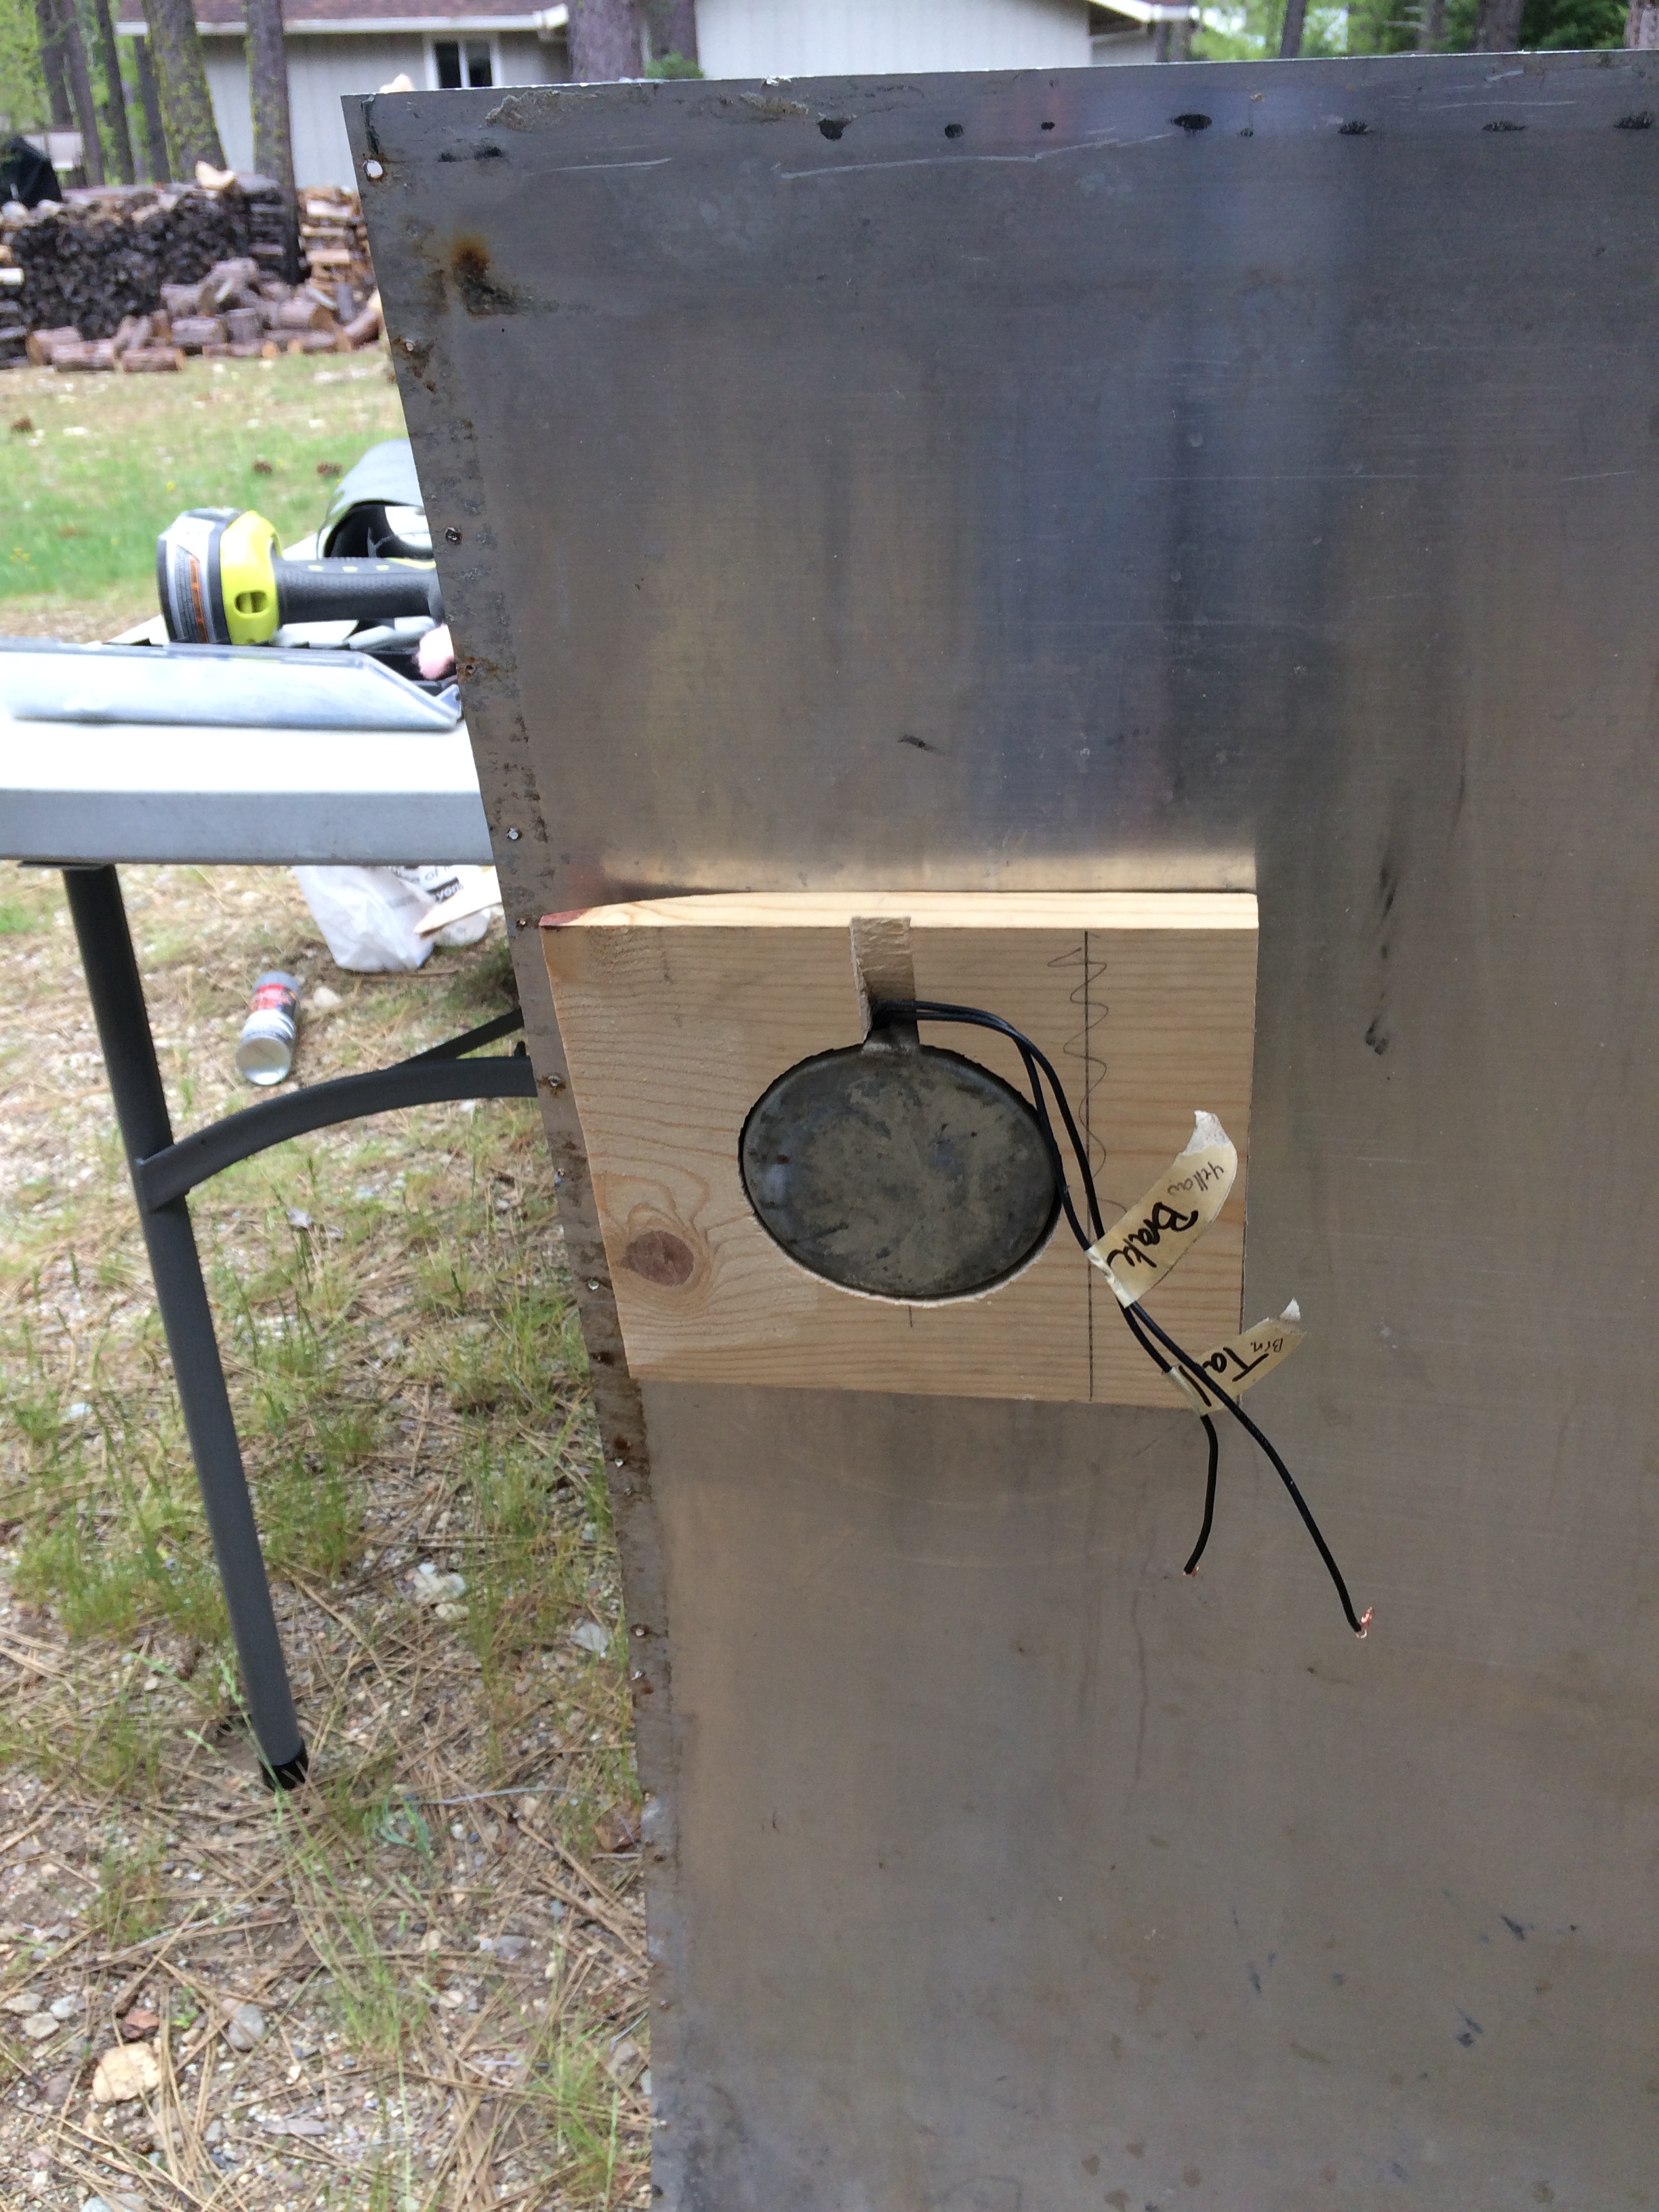
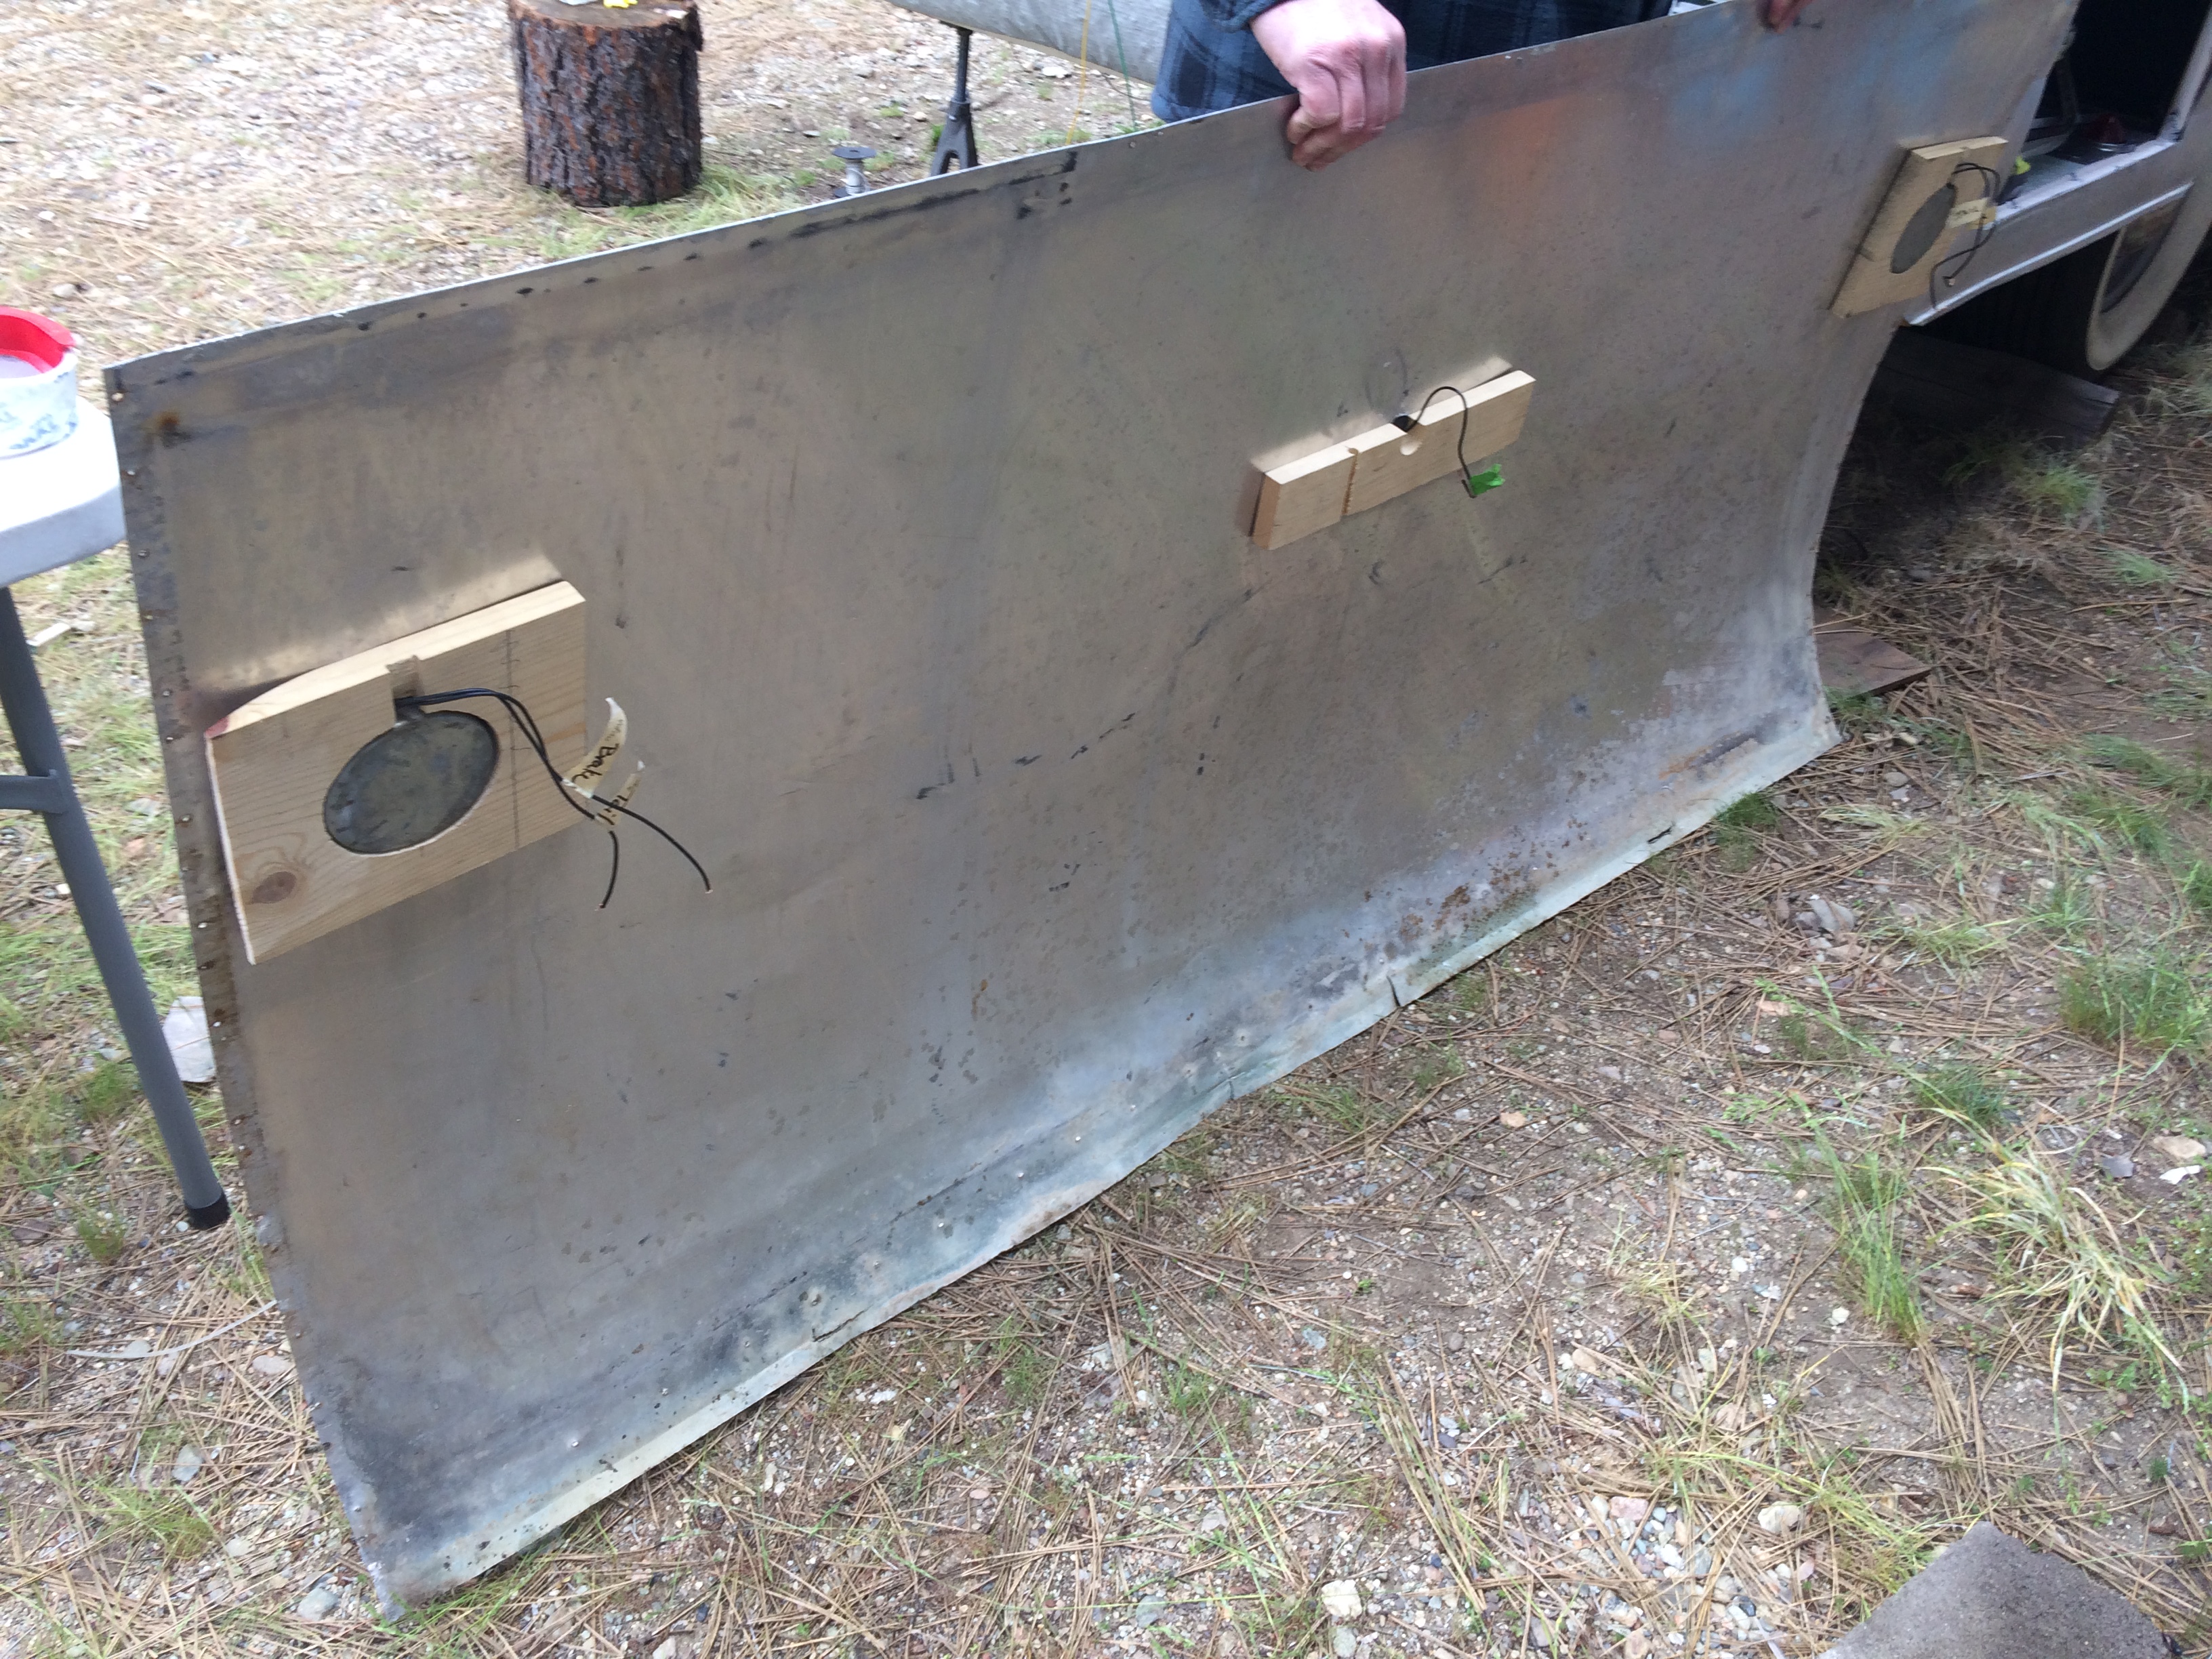
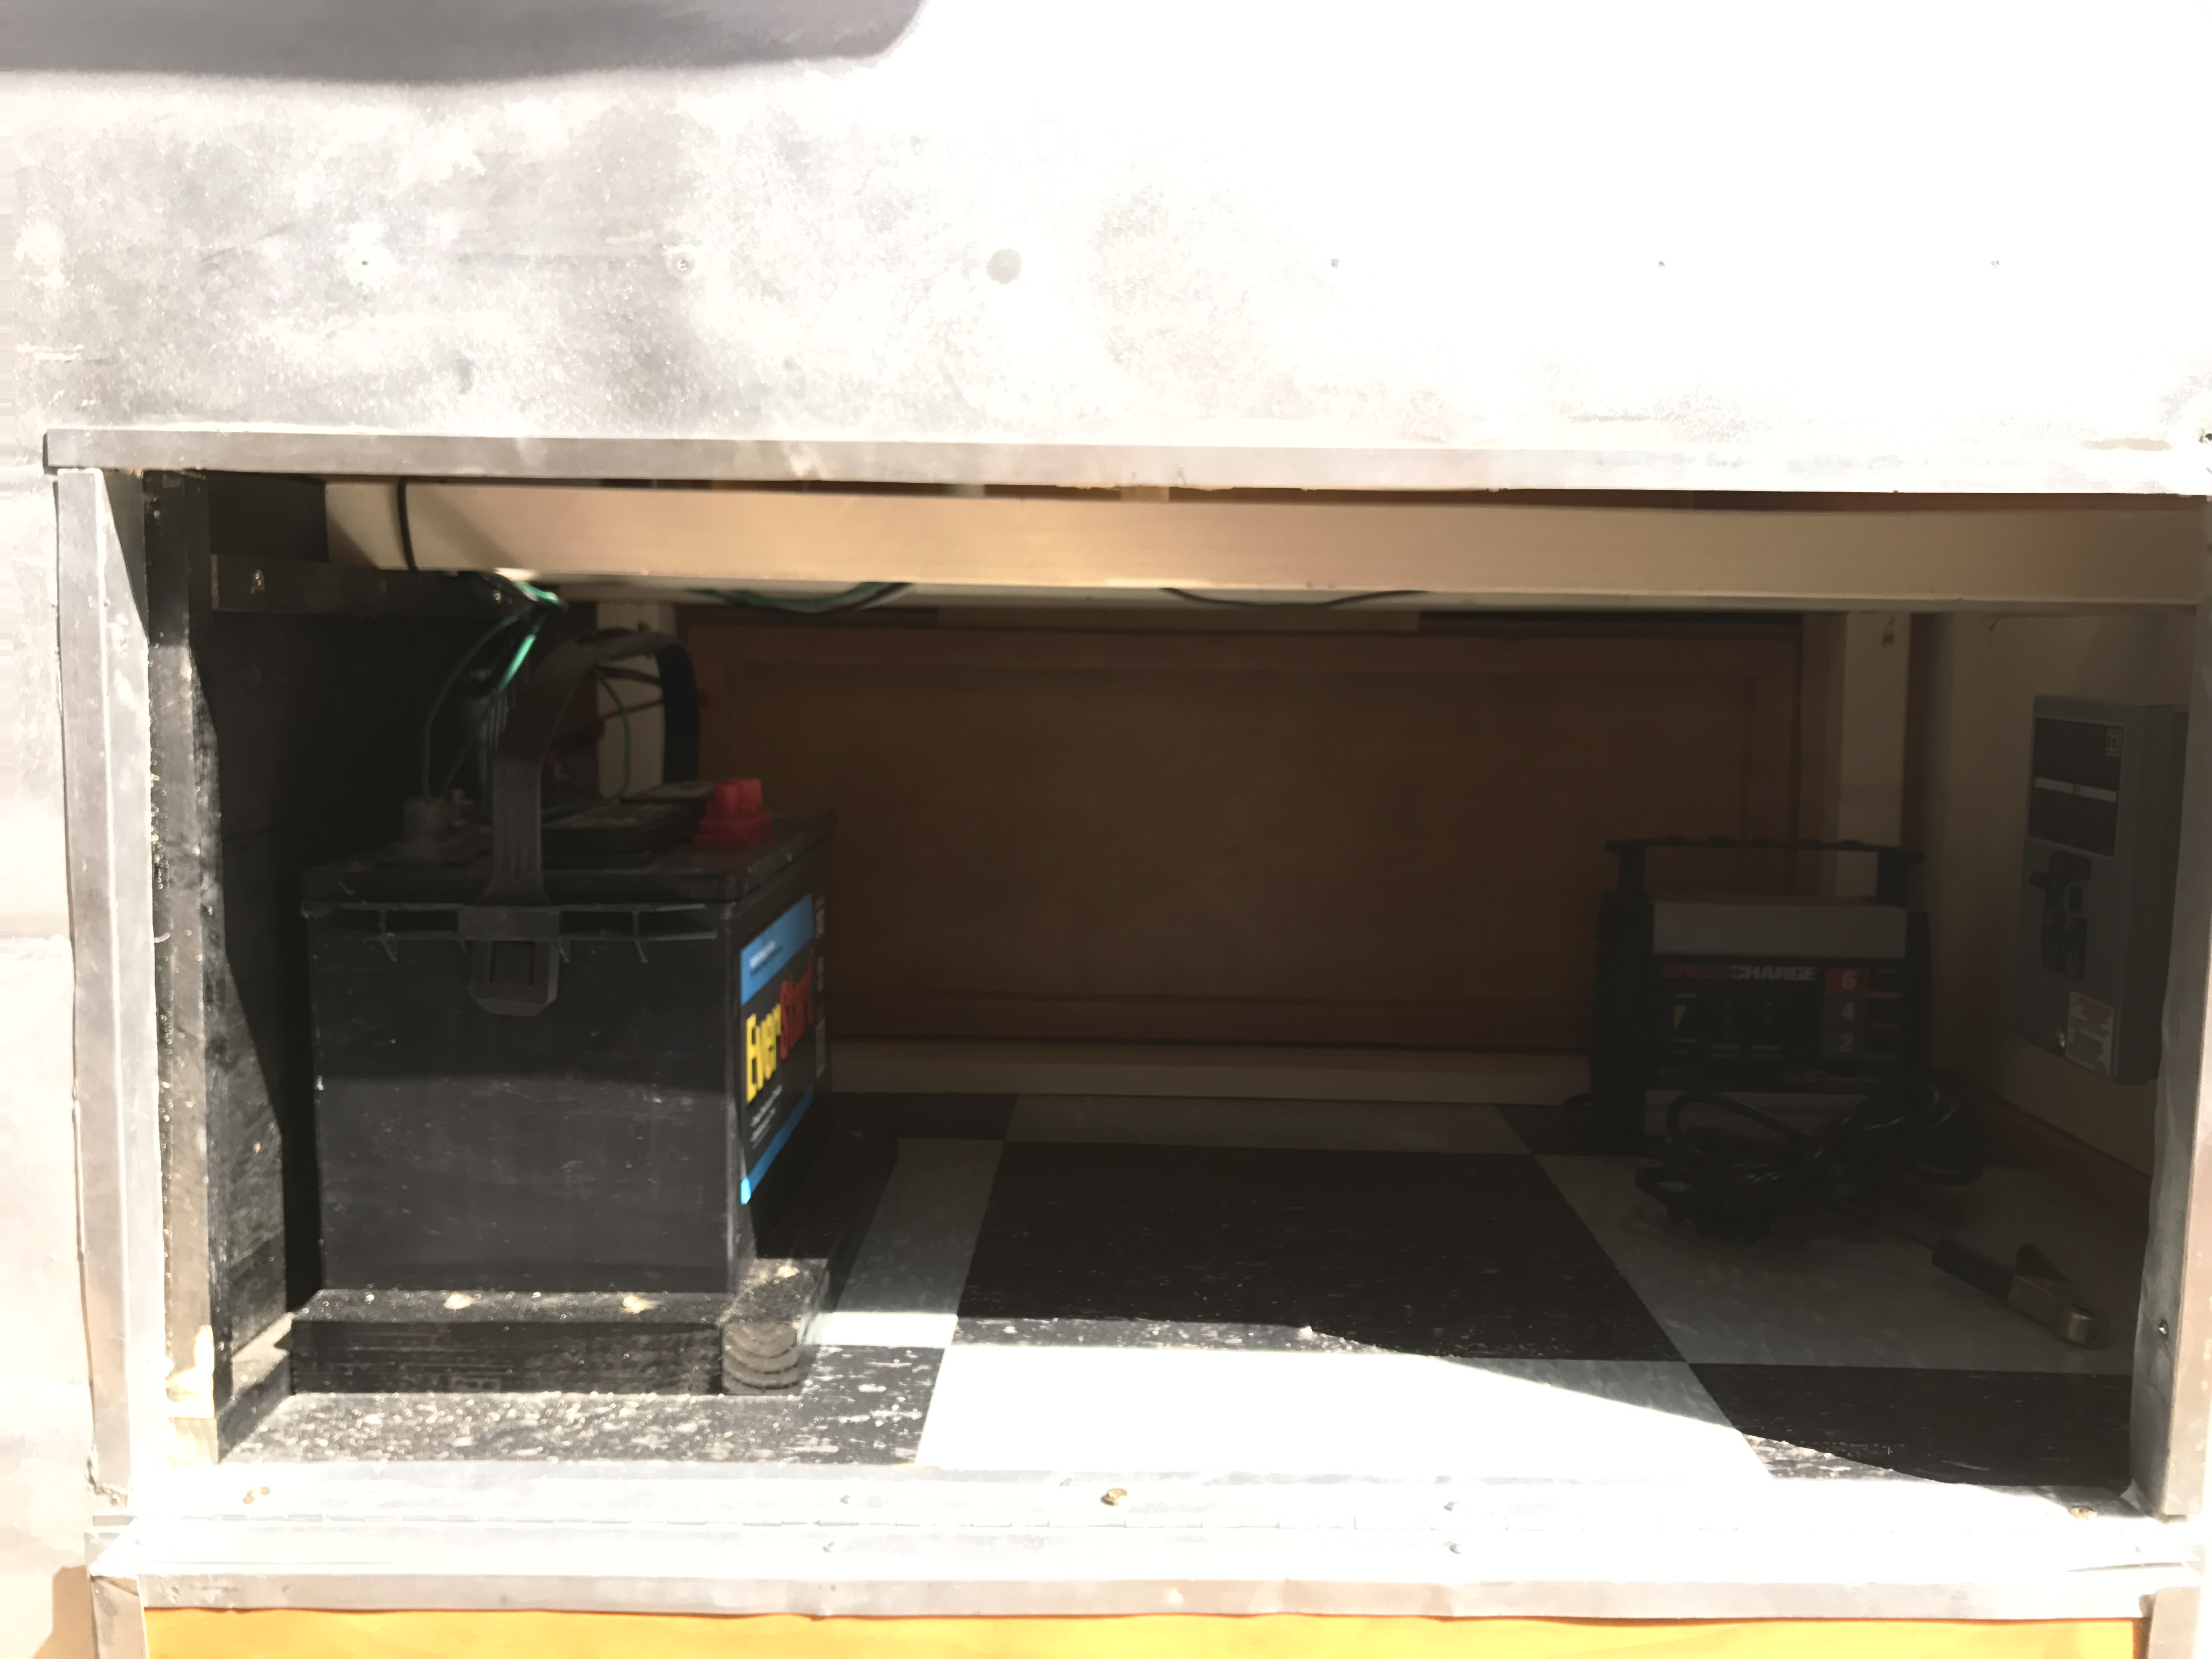
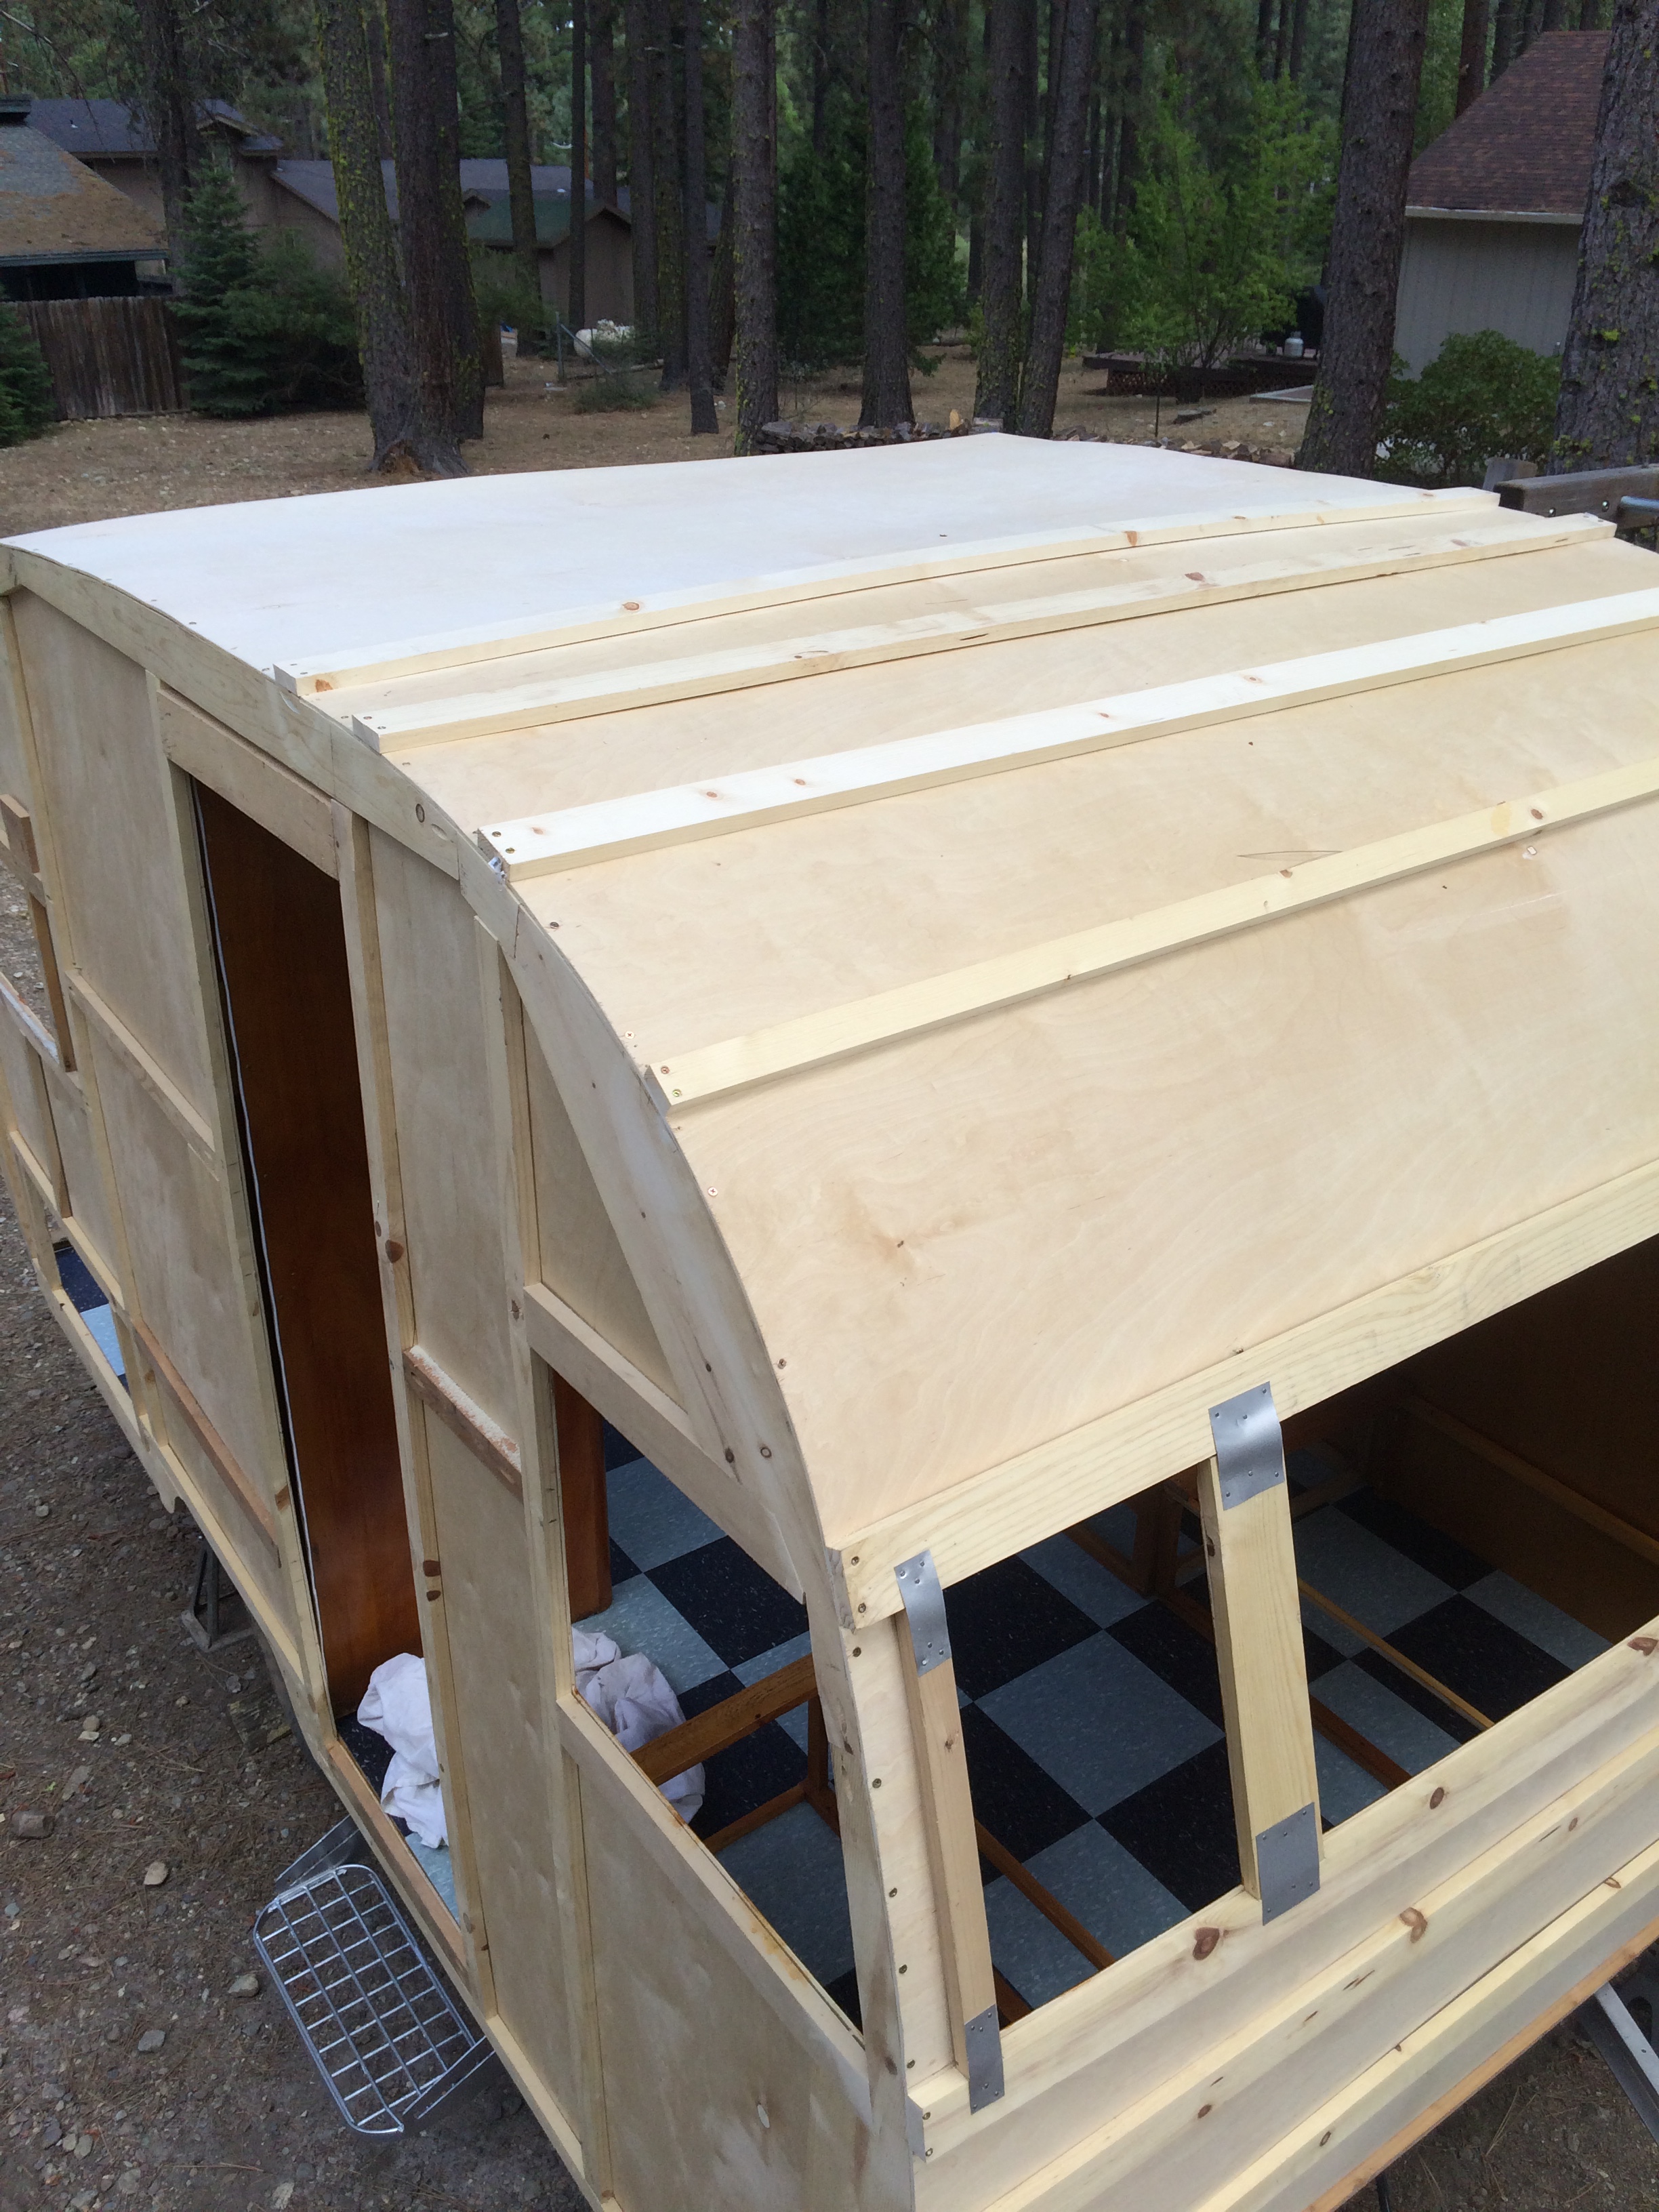
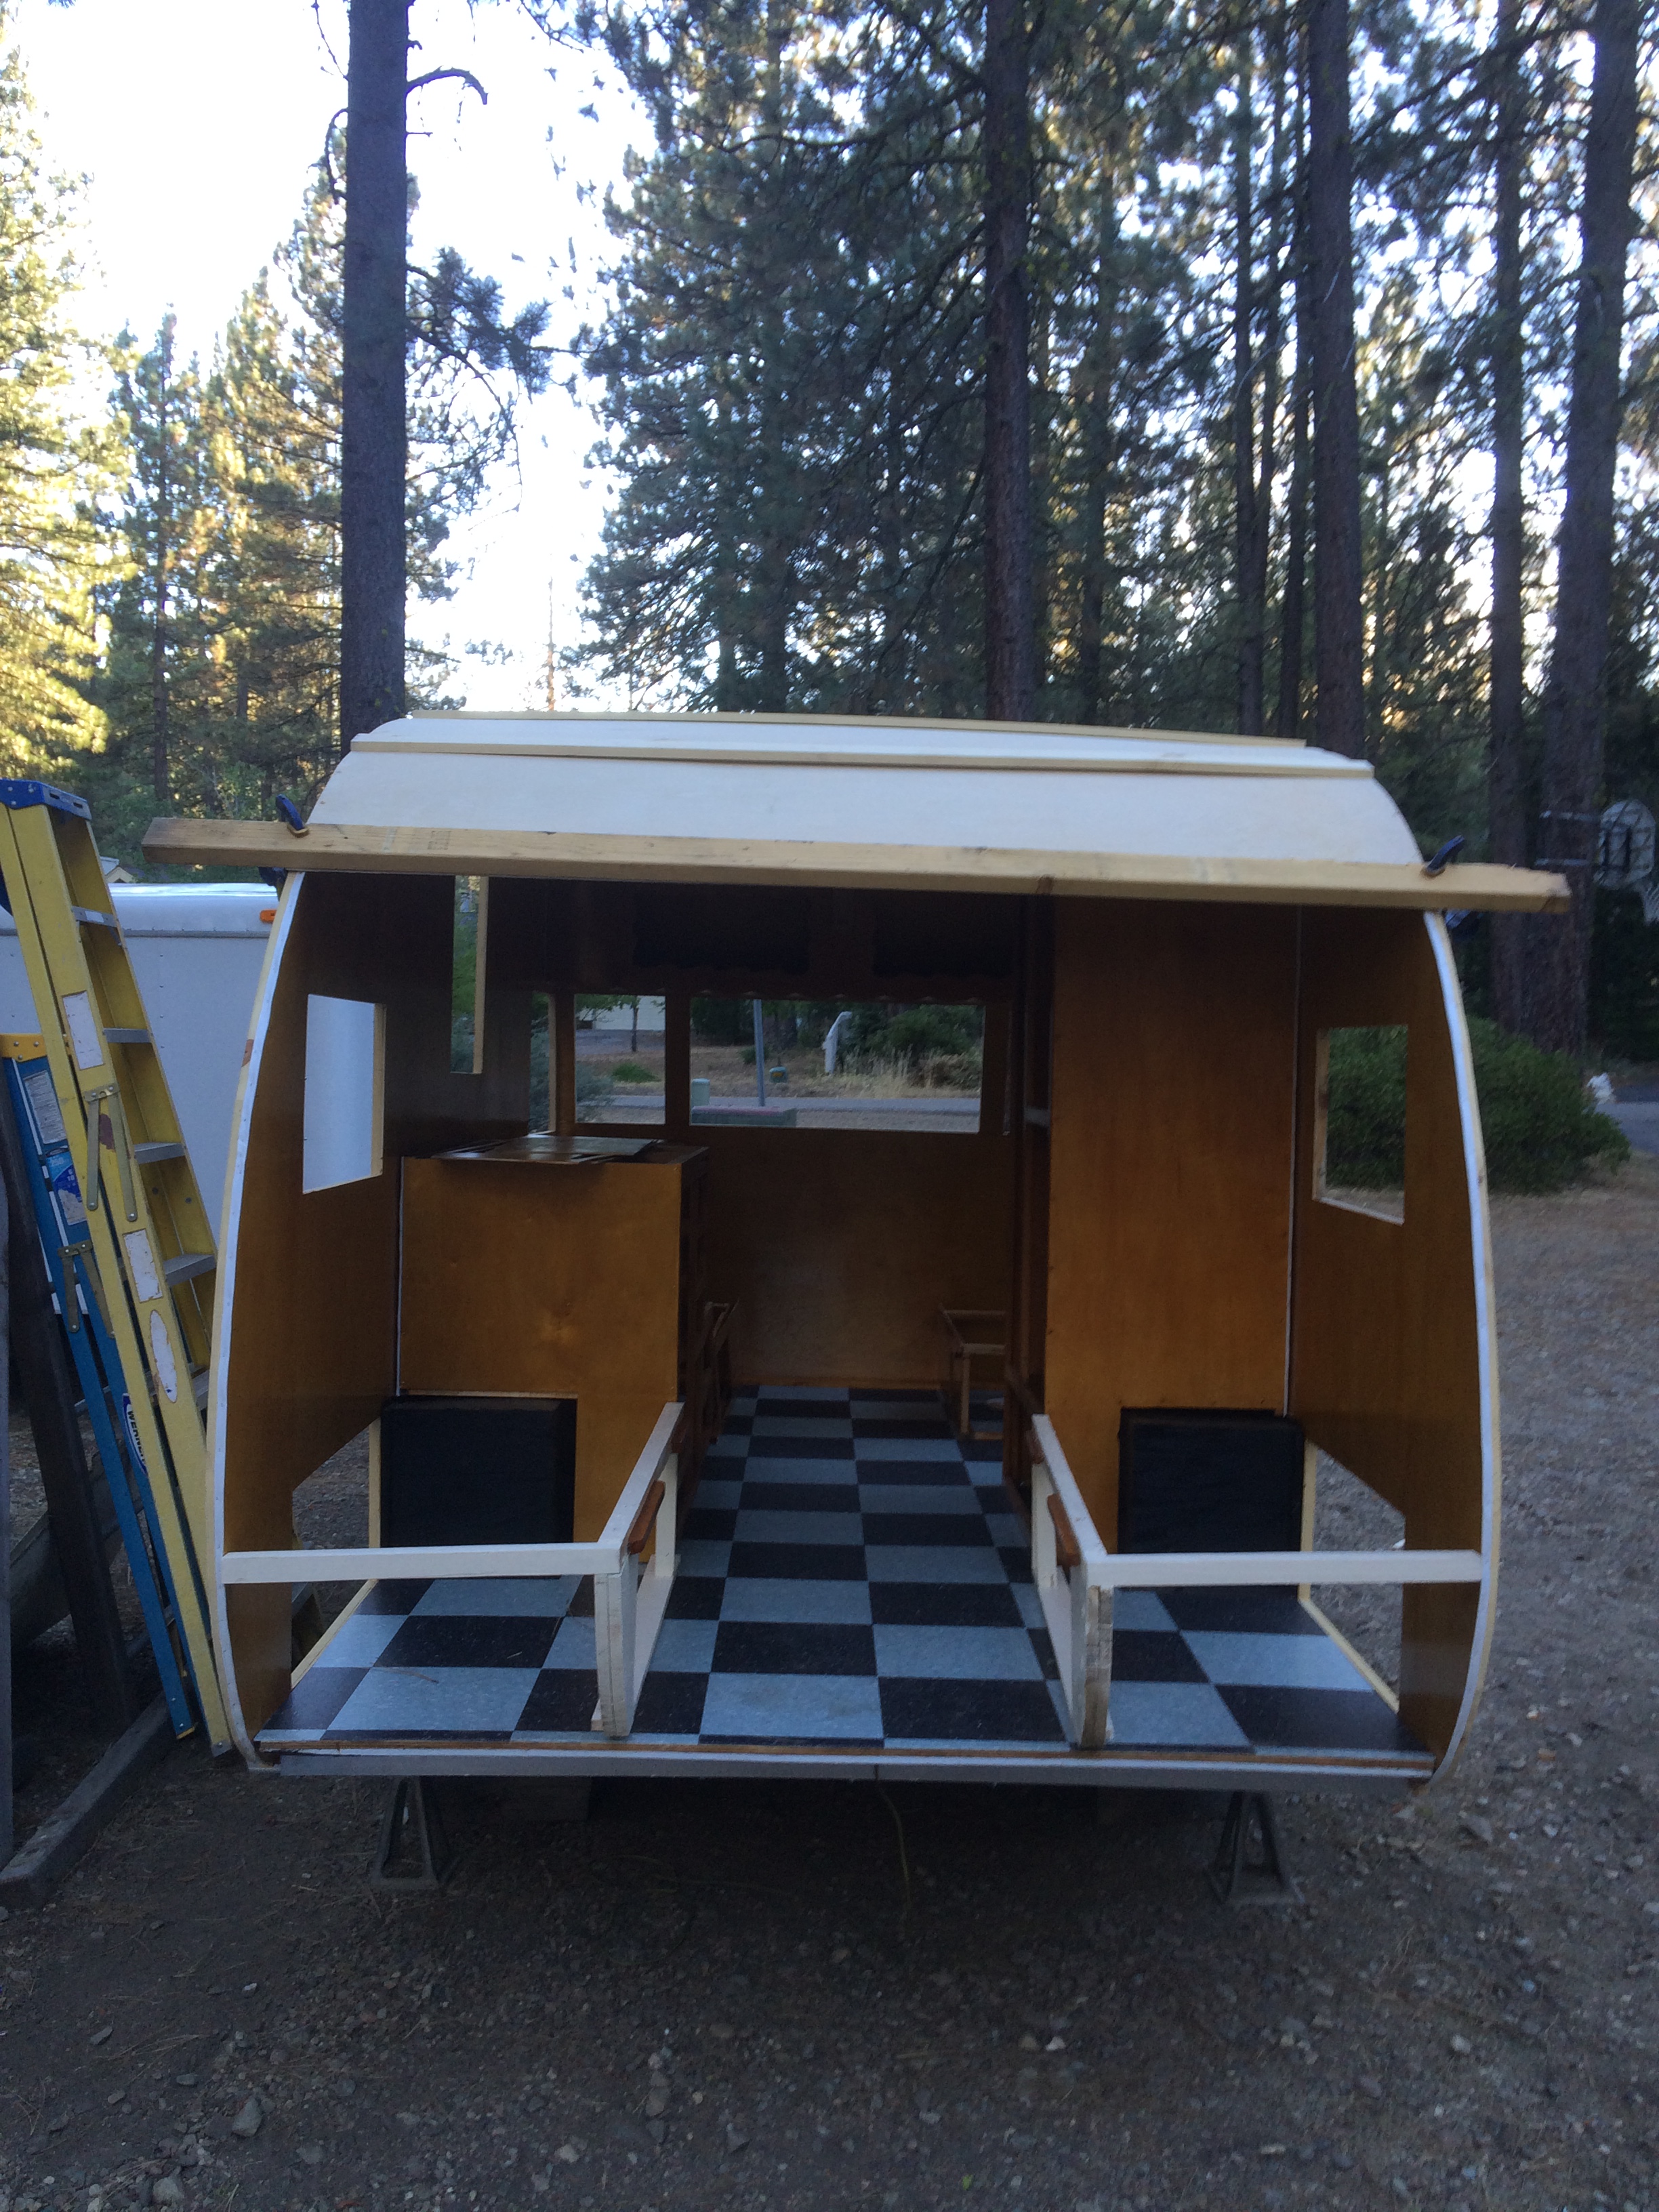
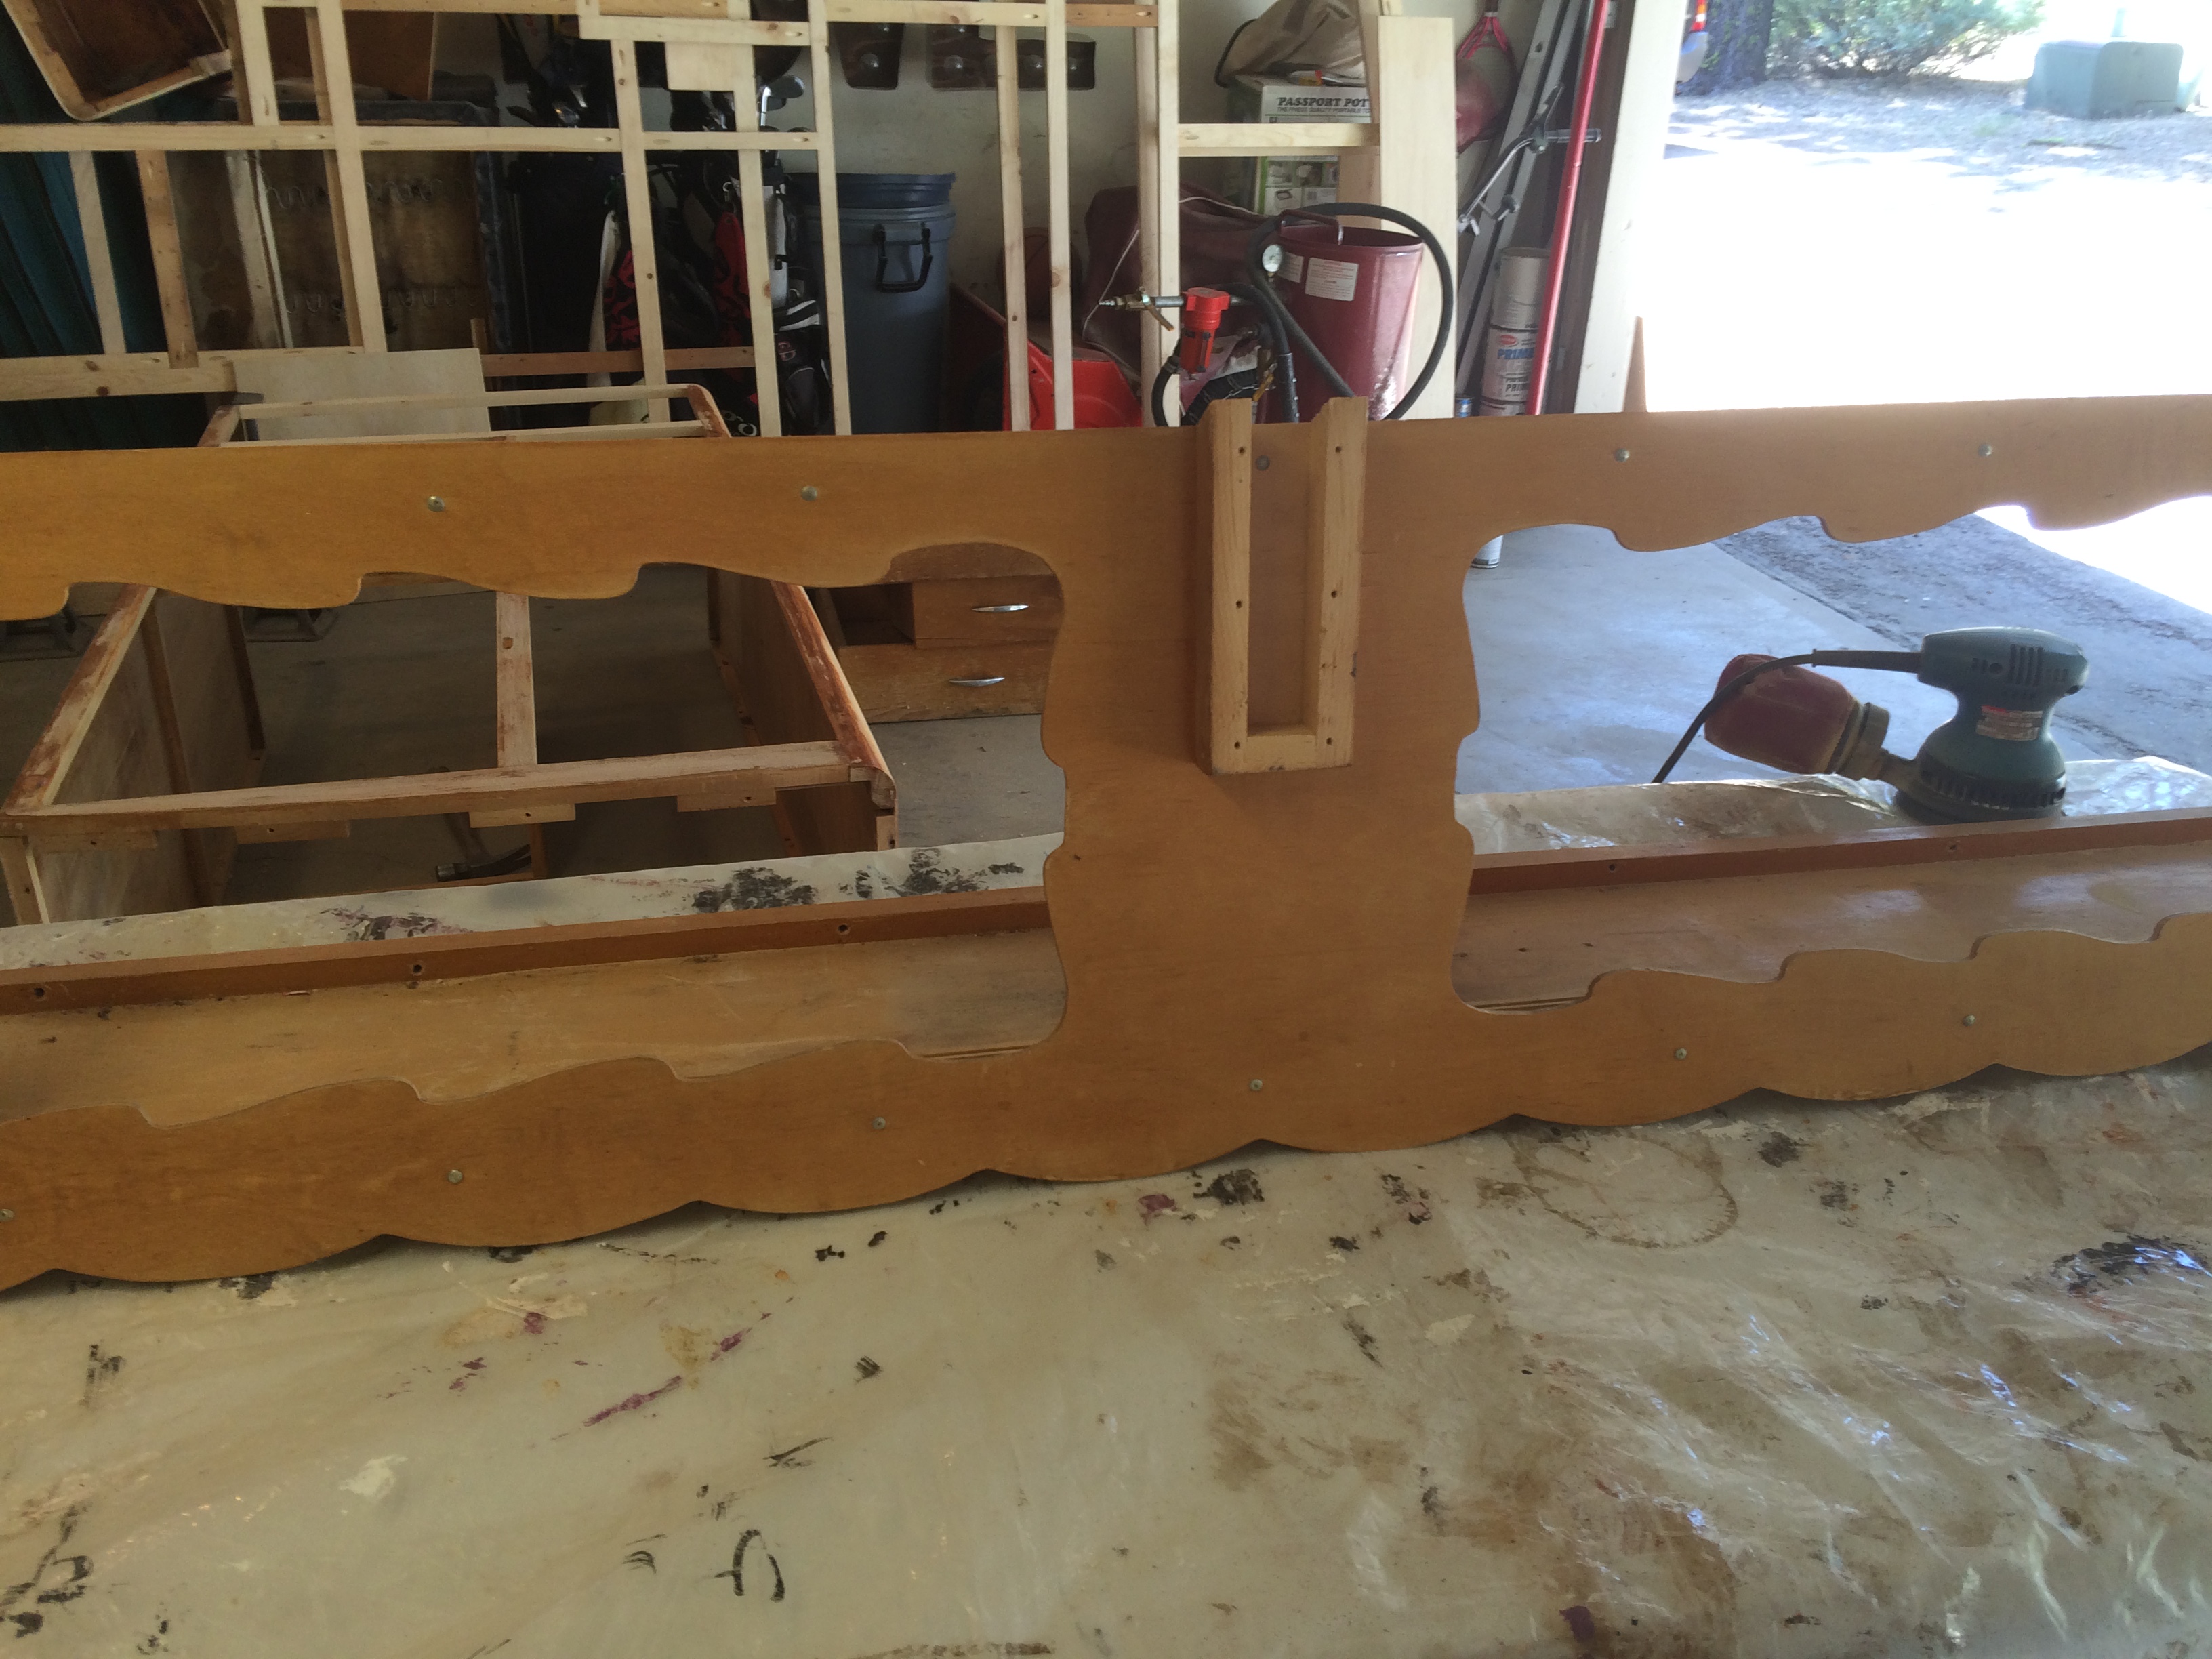
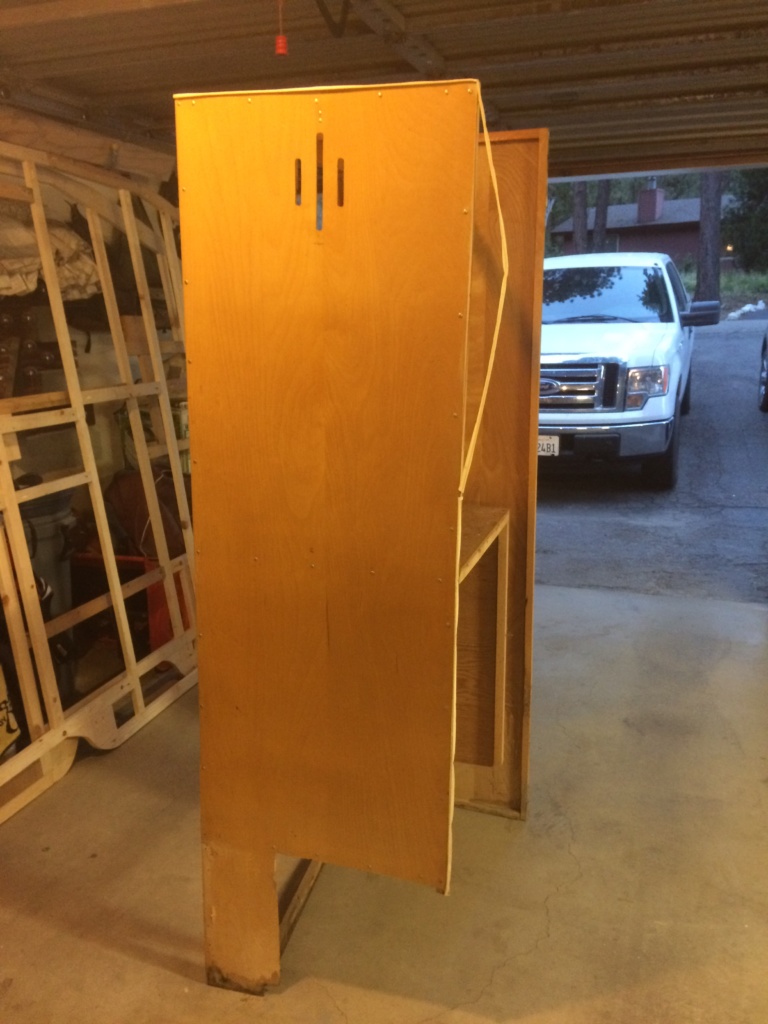
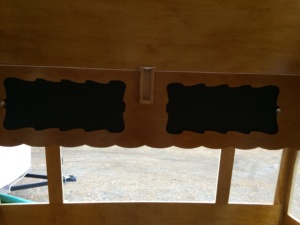
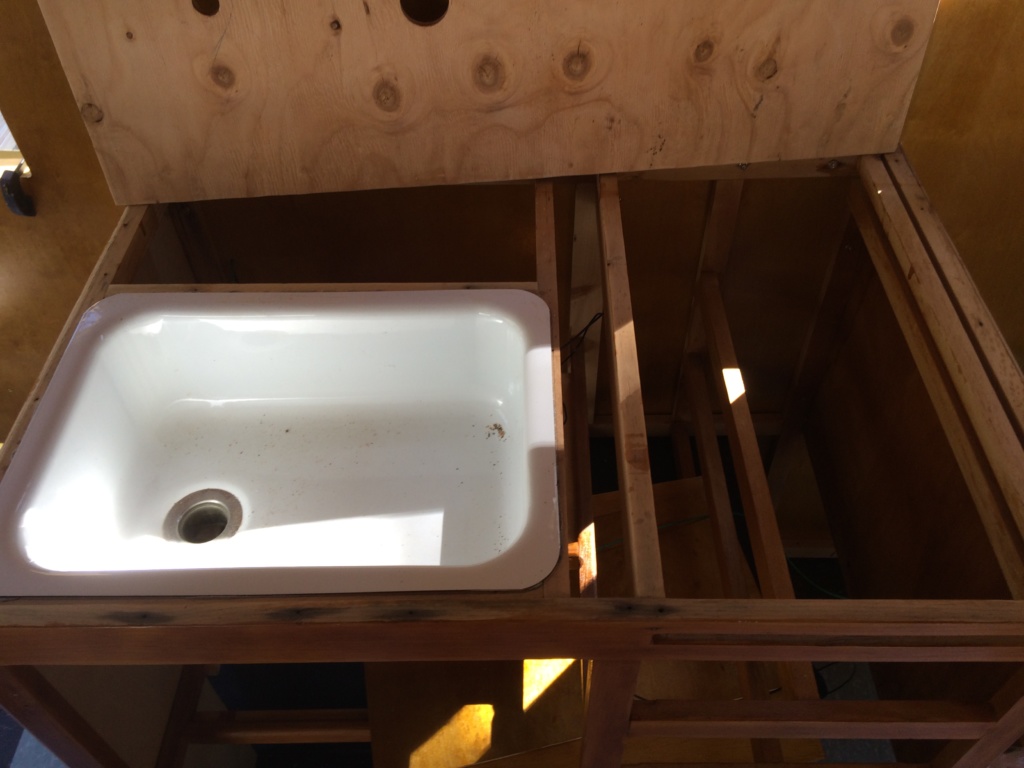
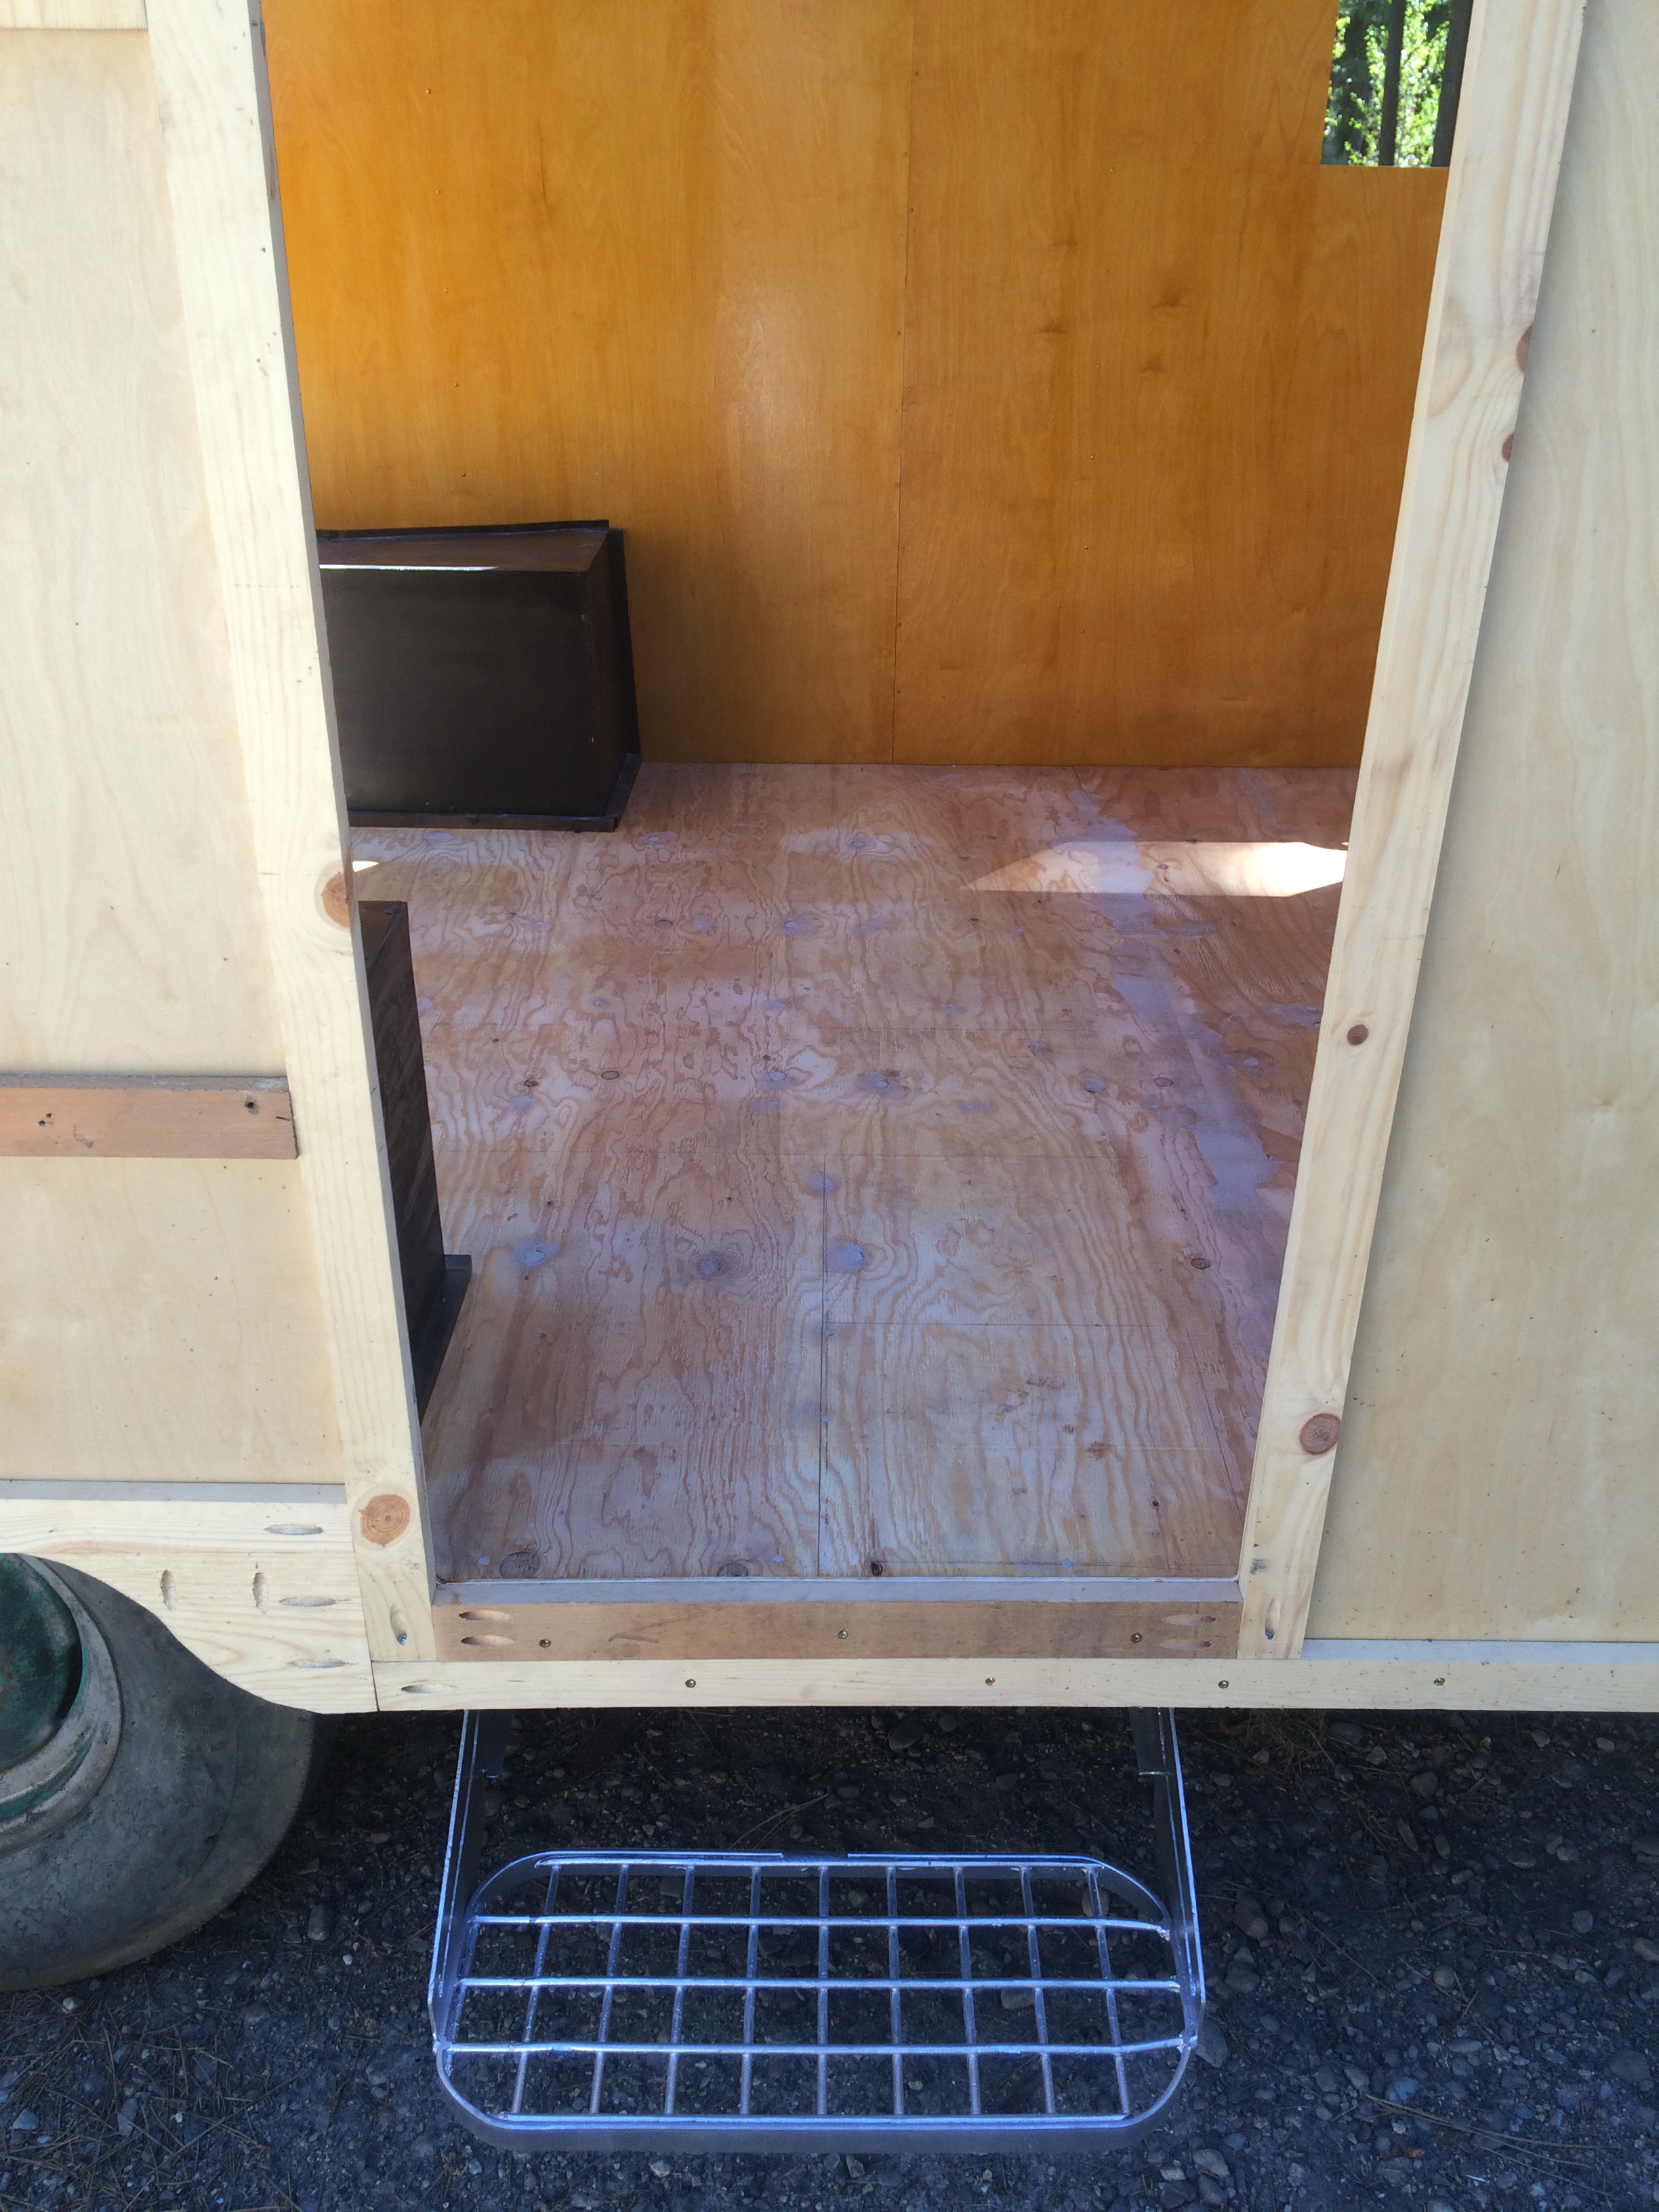
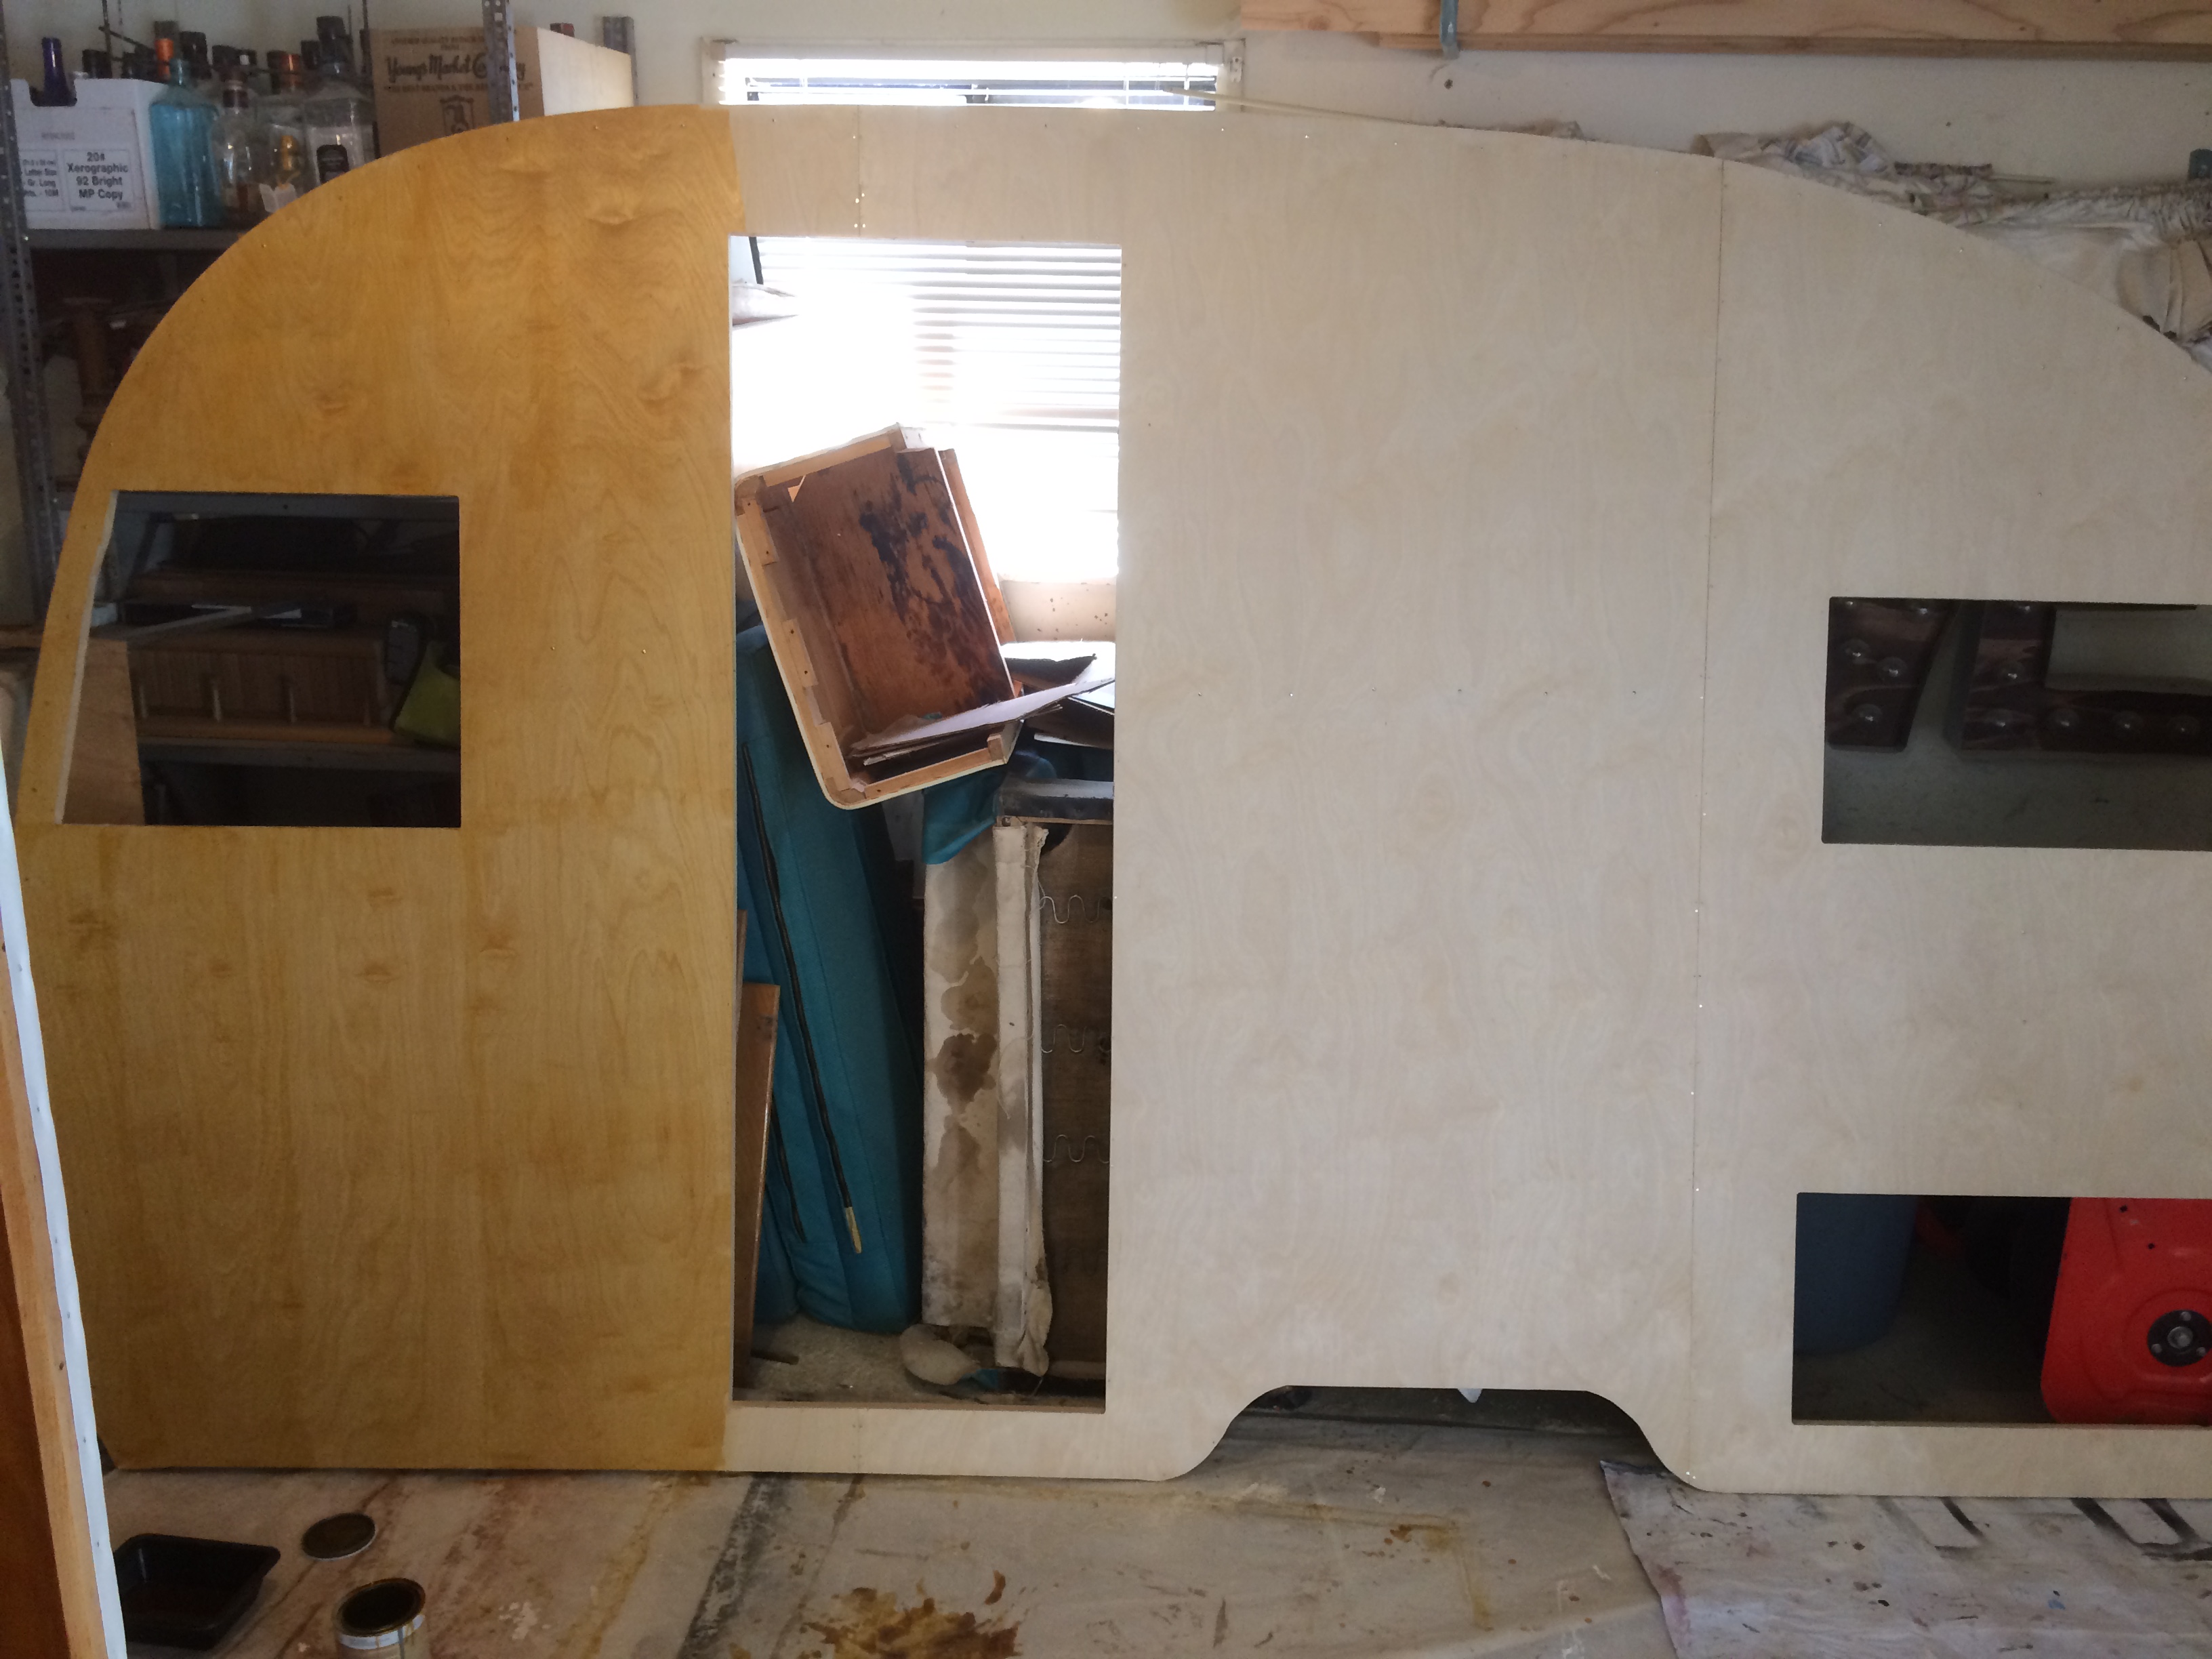
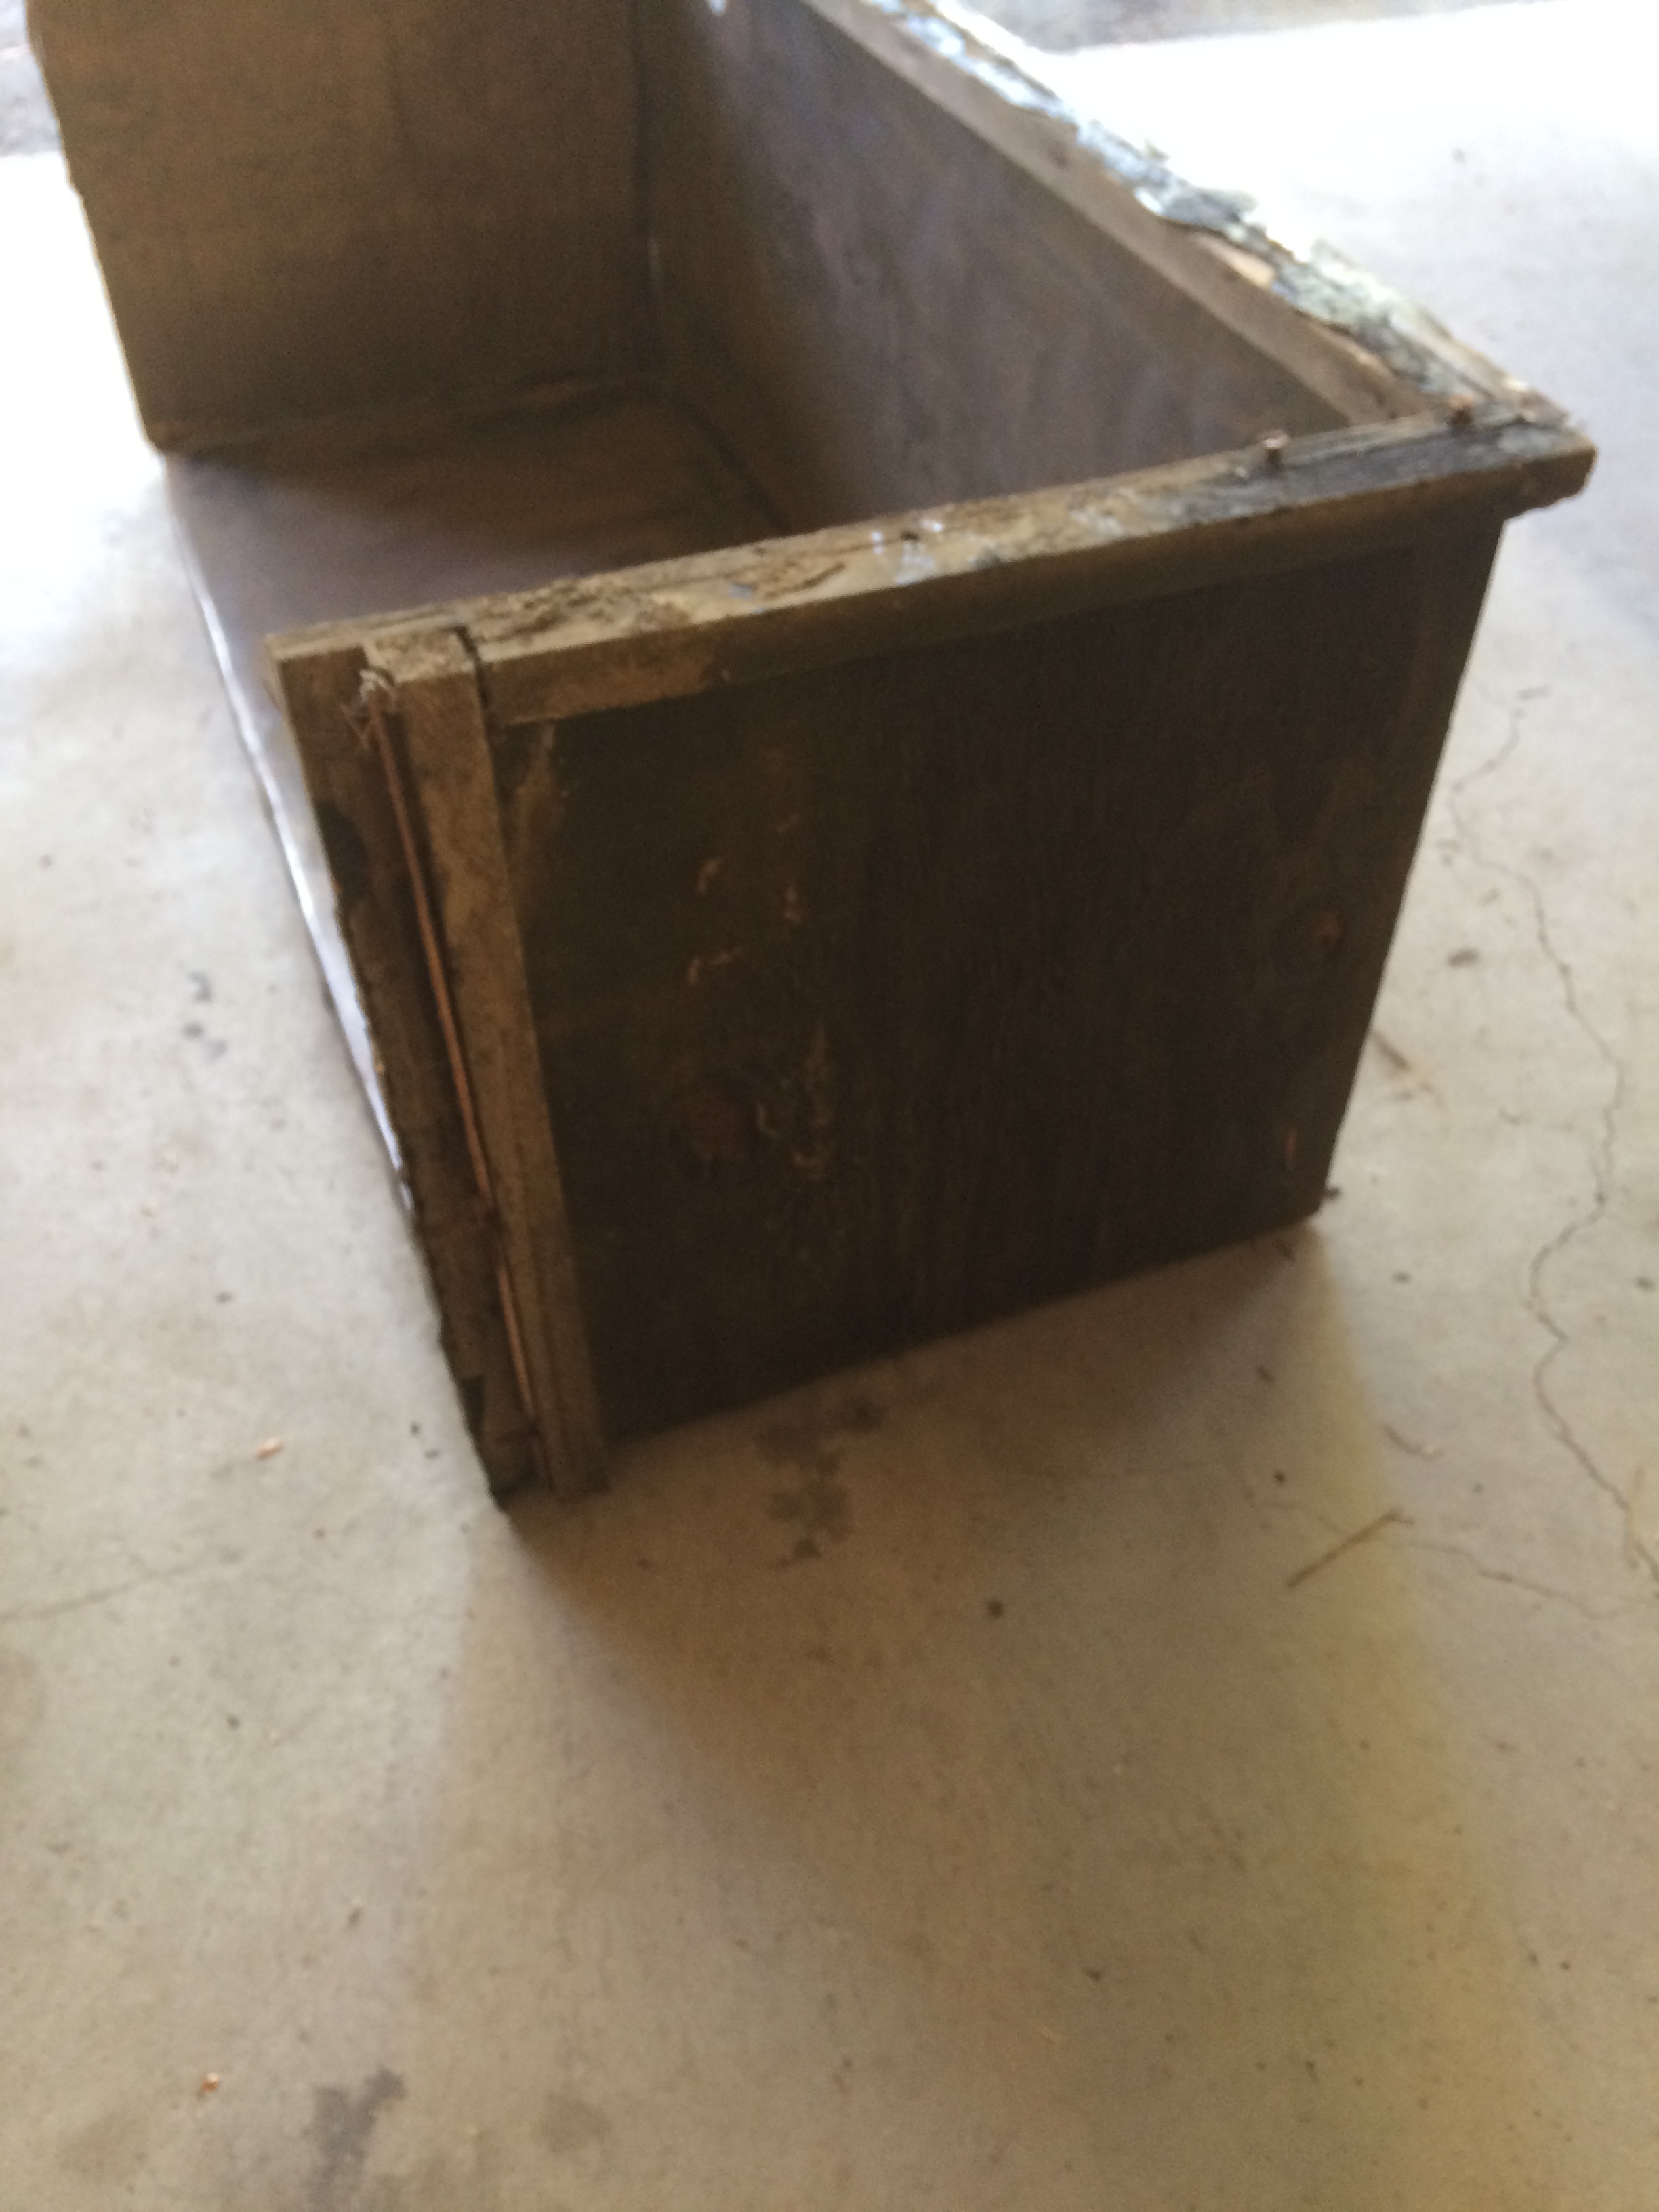
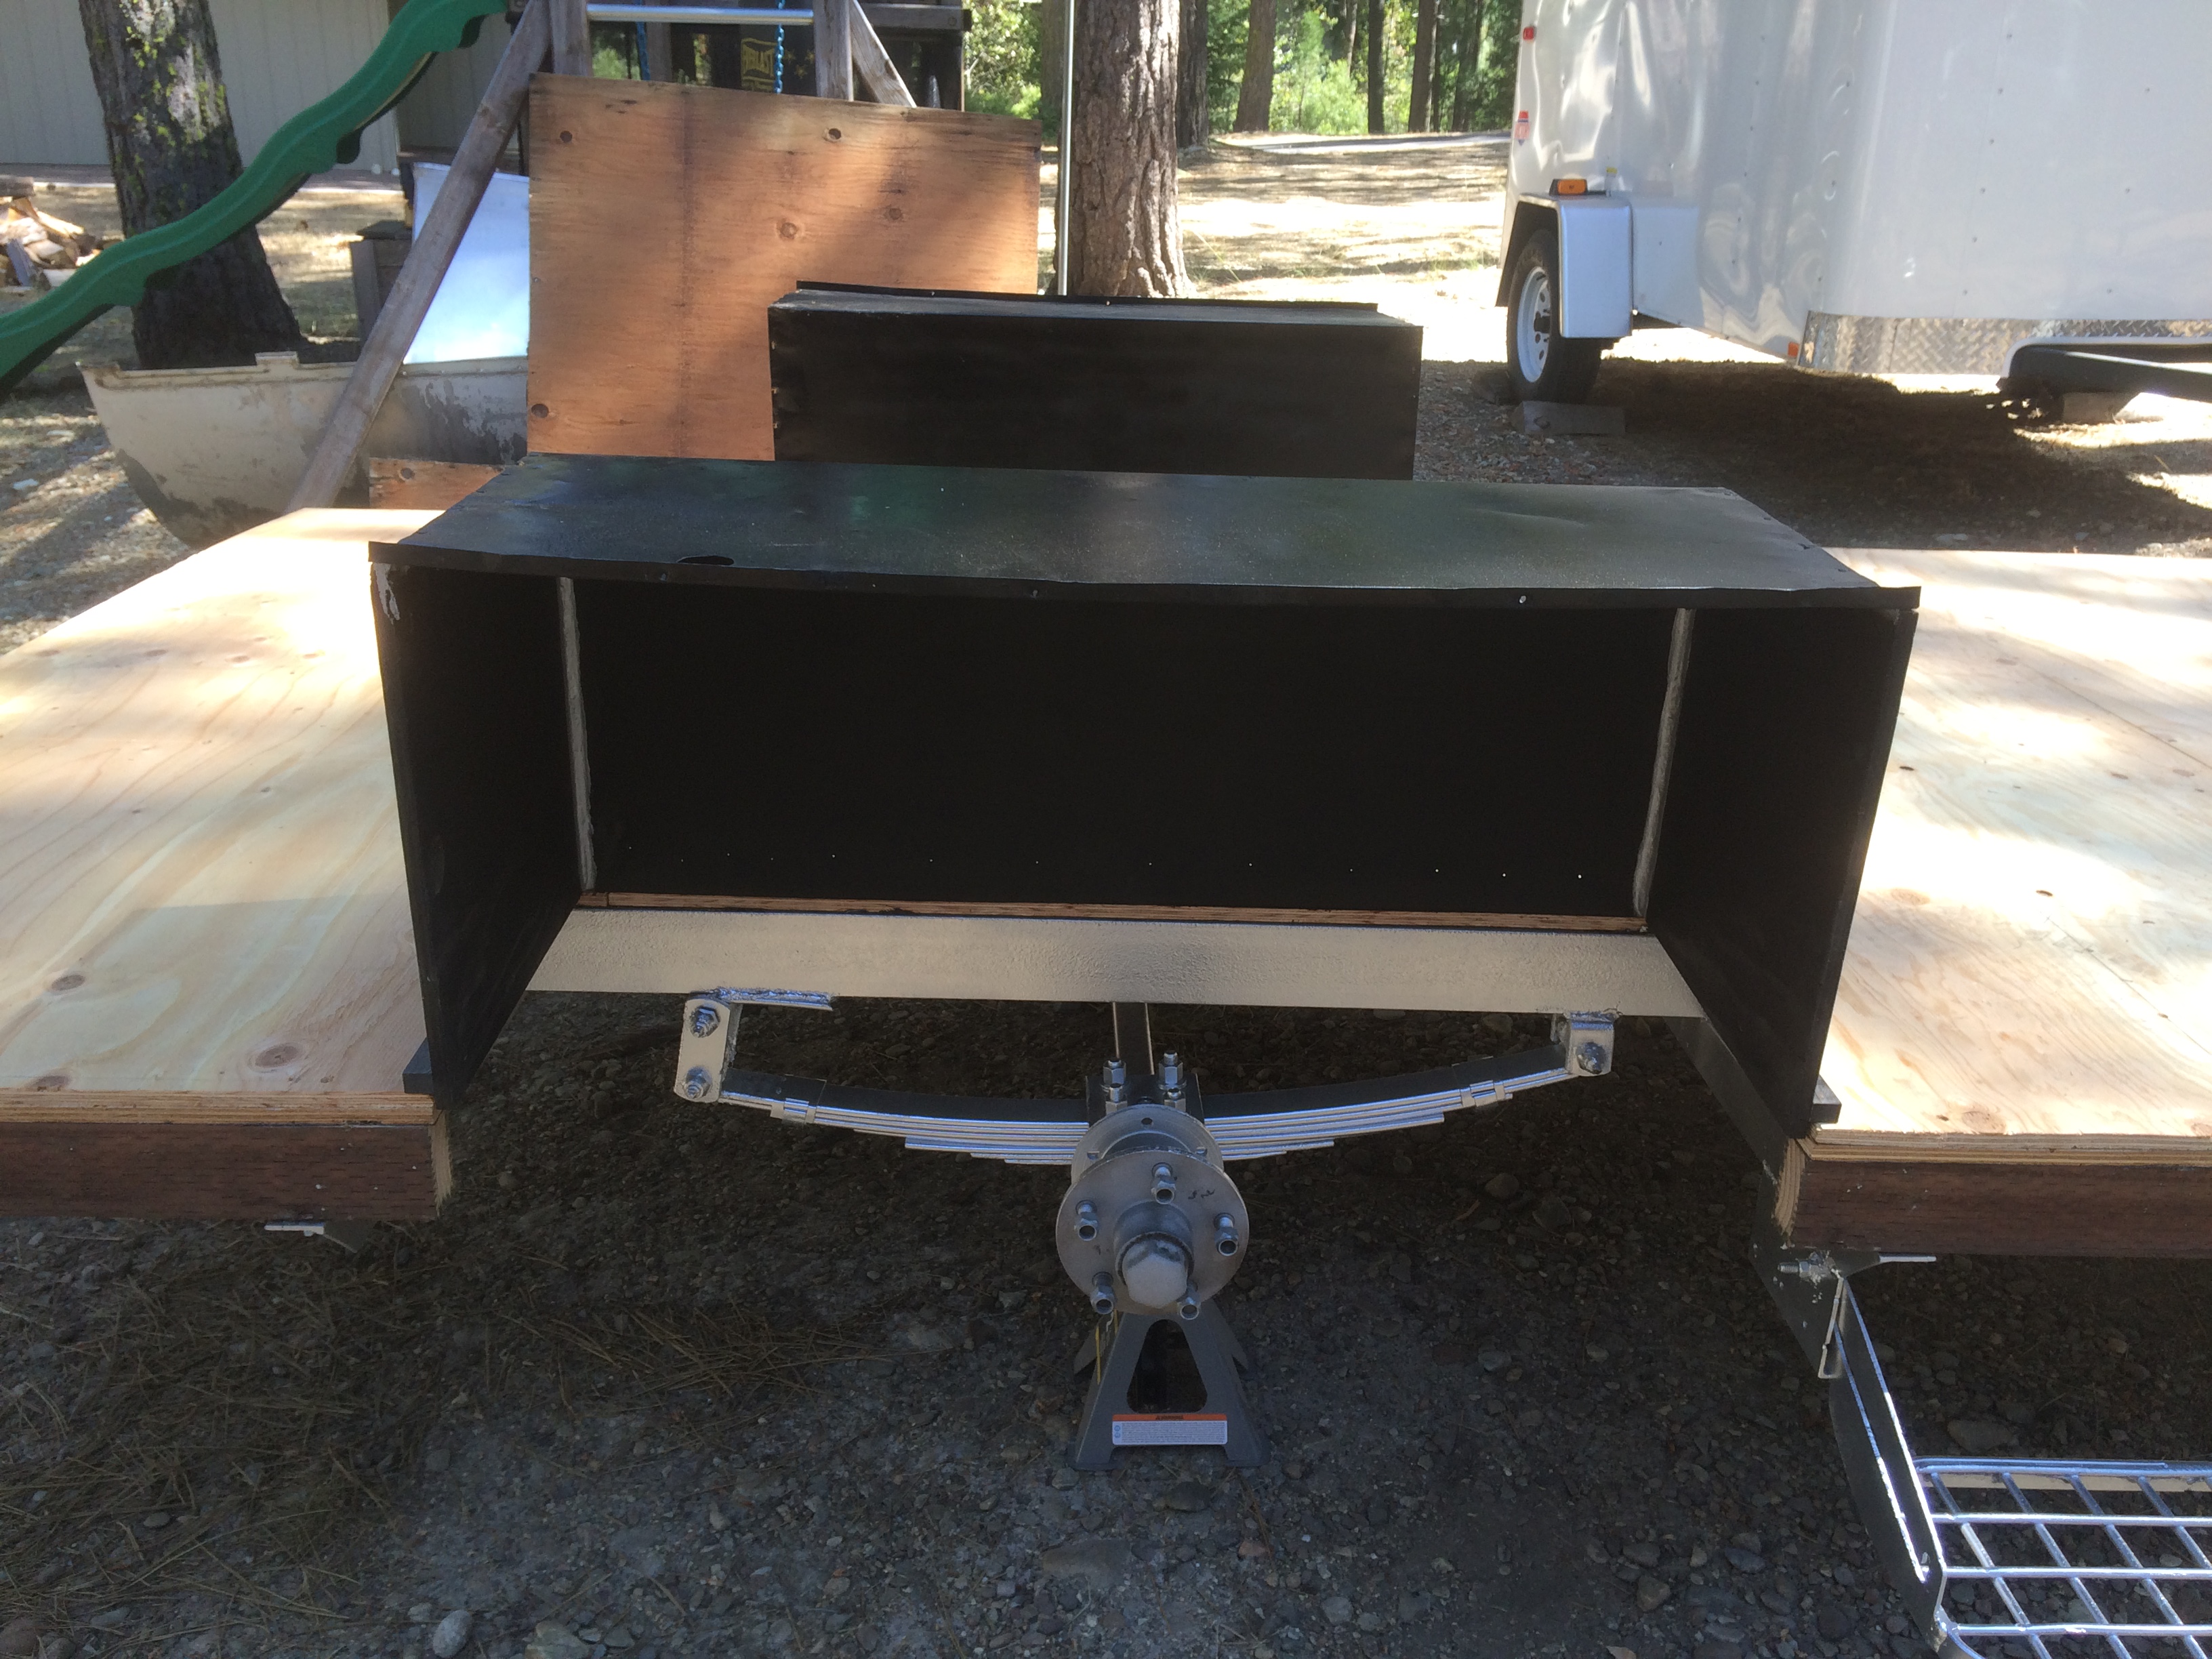
Above is a pic of the niche without the countertop installed.
Here are the steps
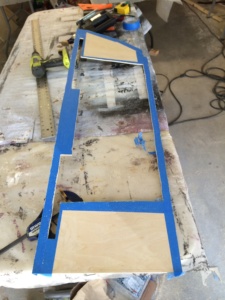
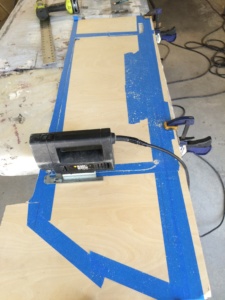
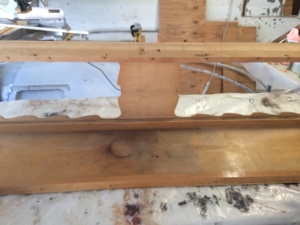
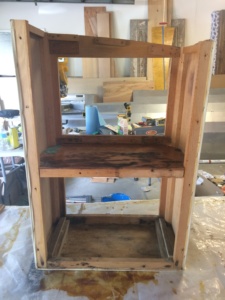
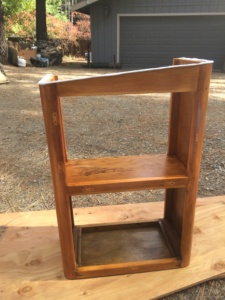
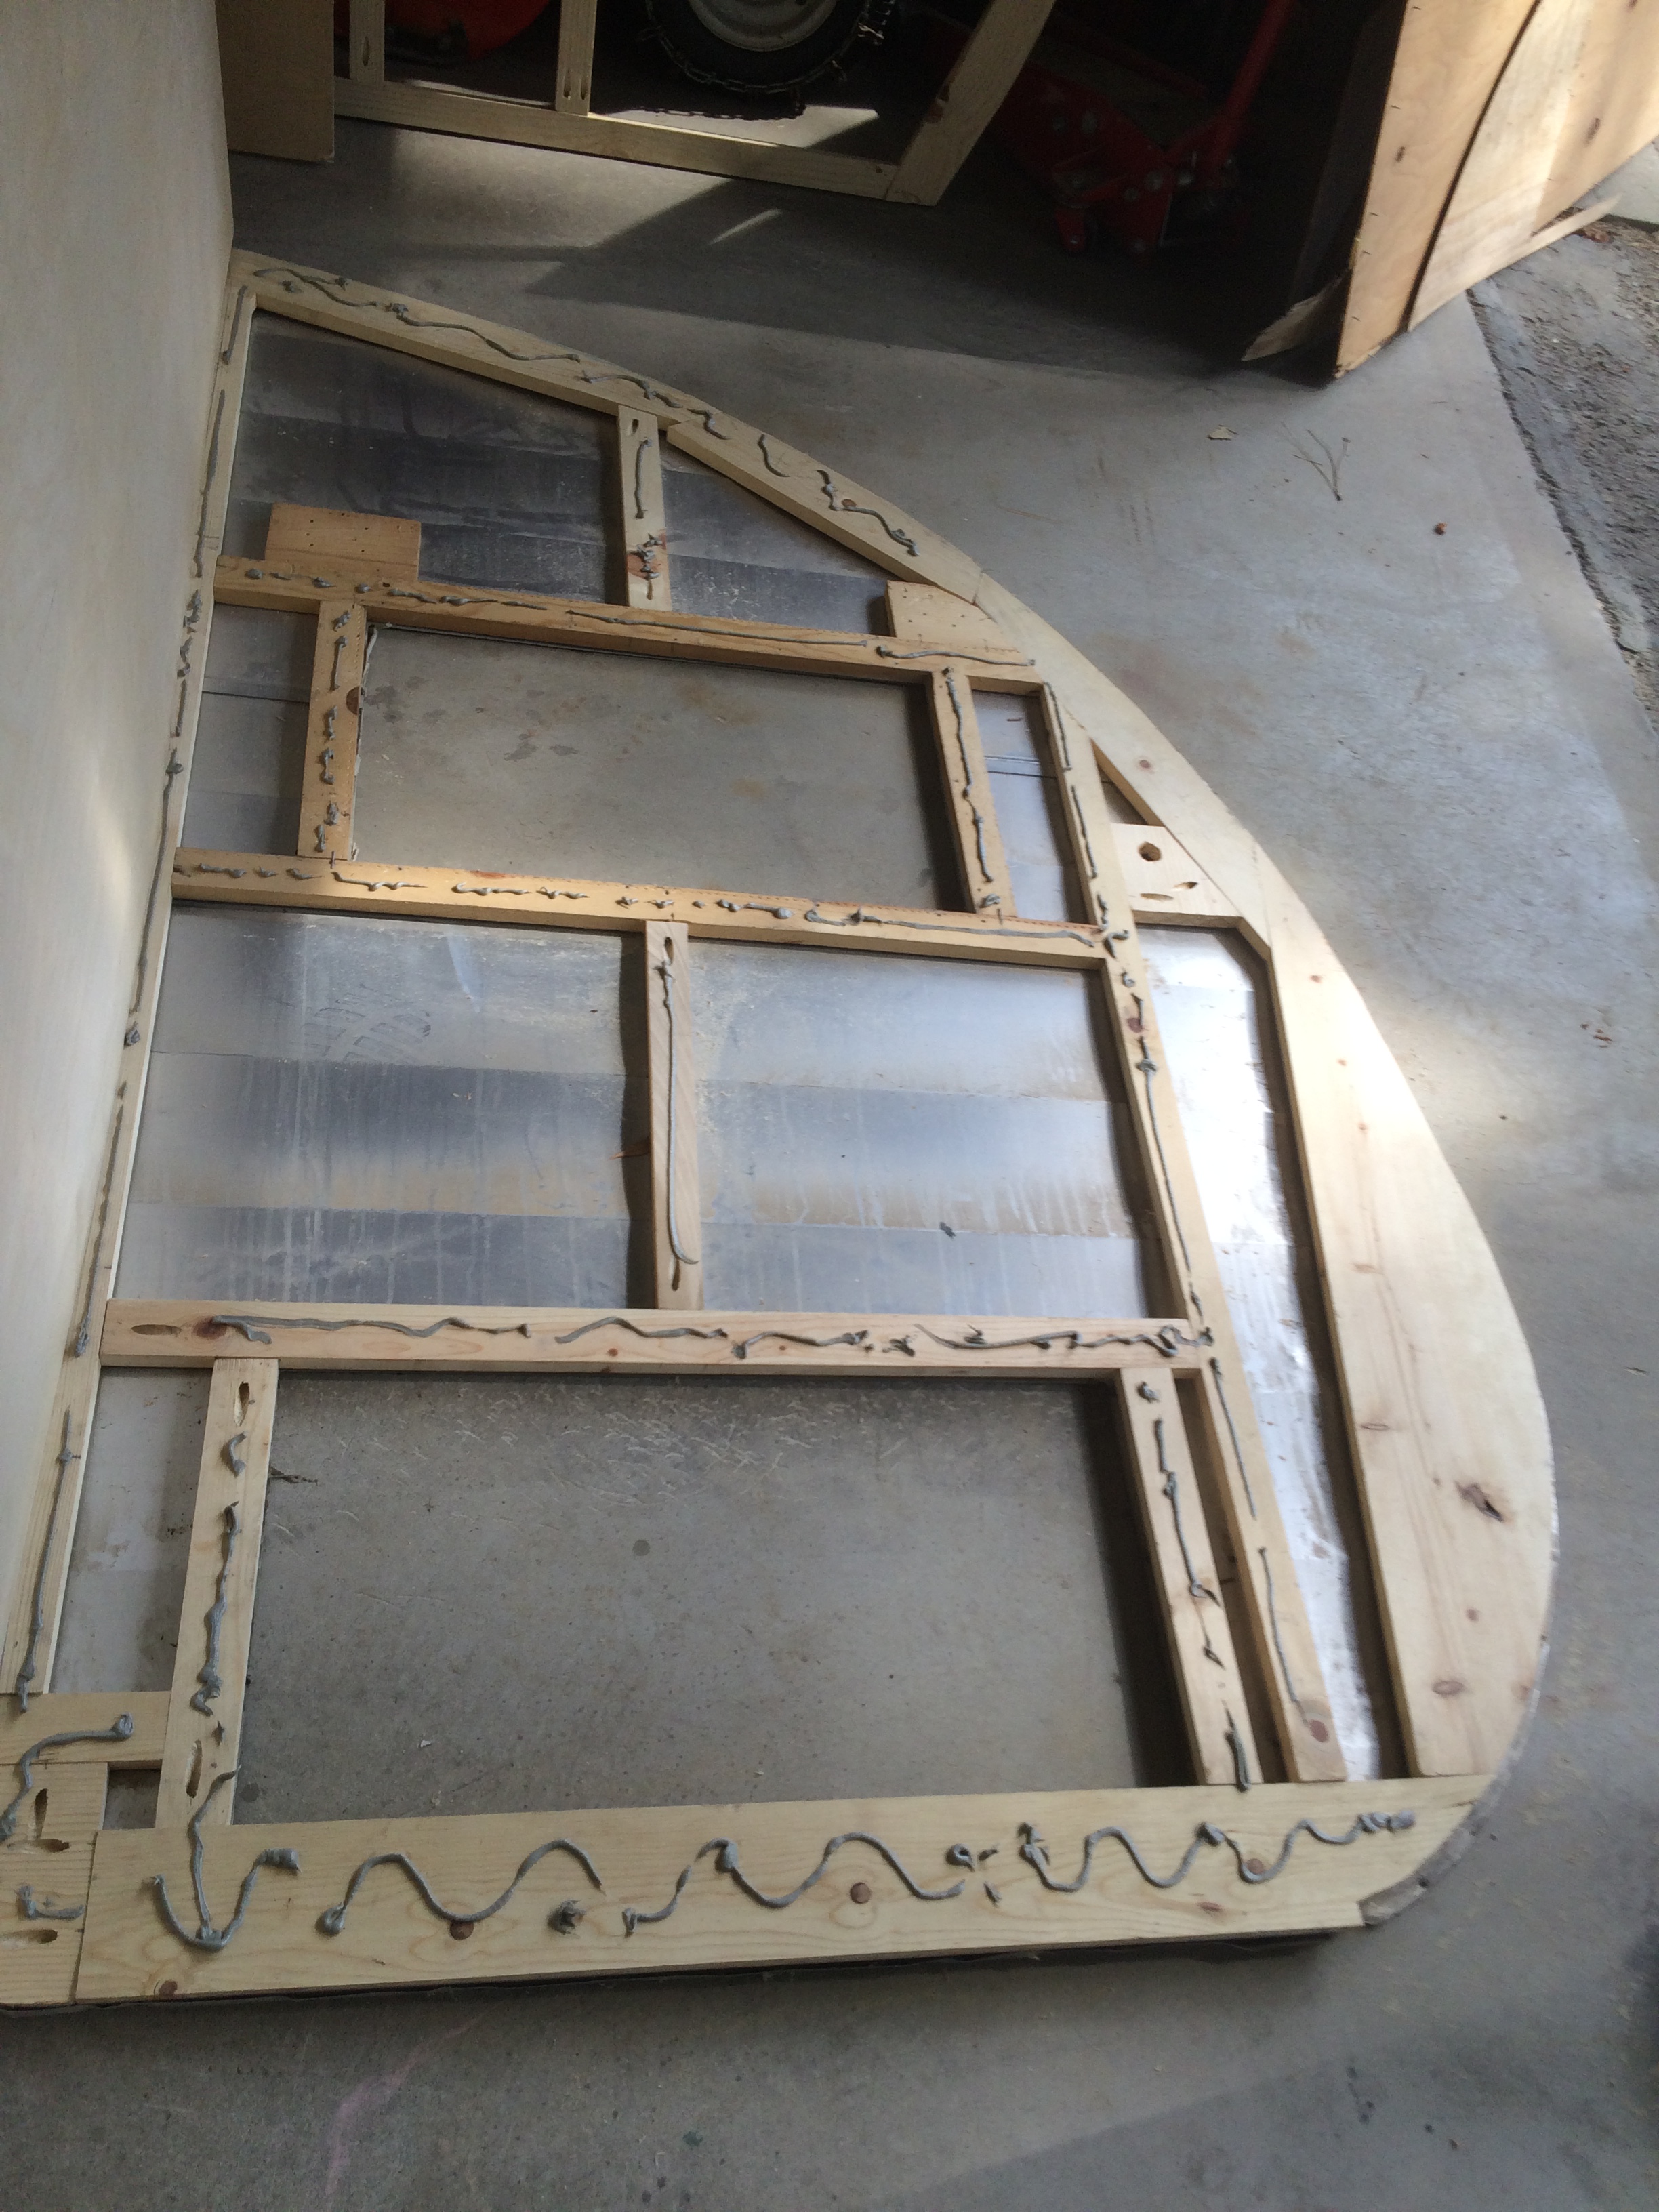
The cabinets are made of 3/4 in birch plywood. The niche is three-sided: having a back, bottom, and two sides.
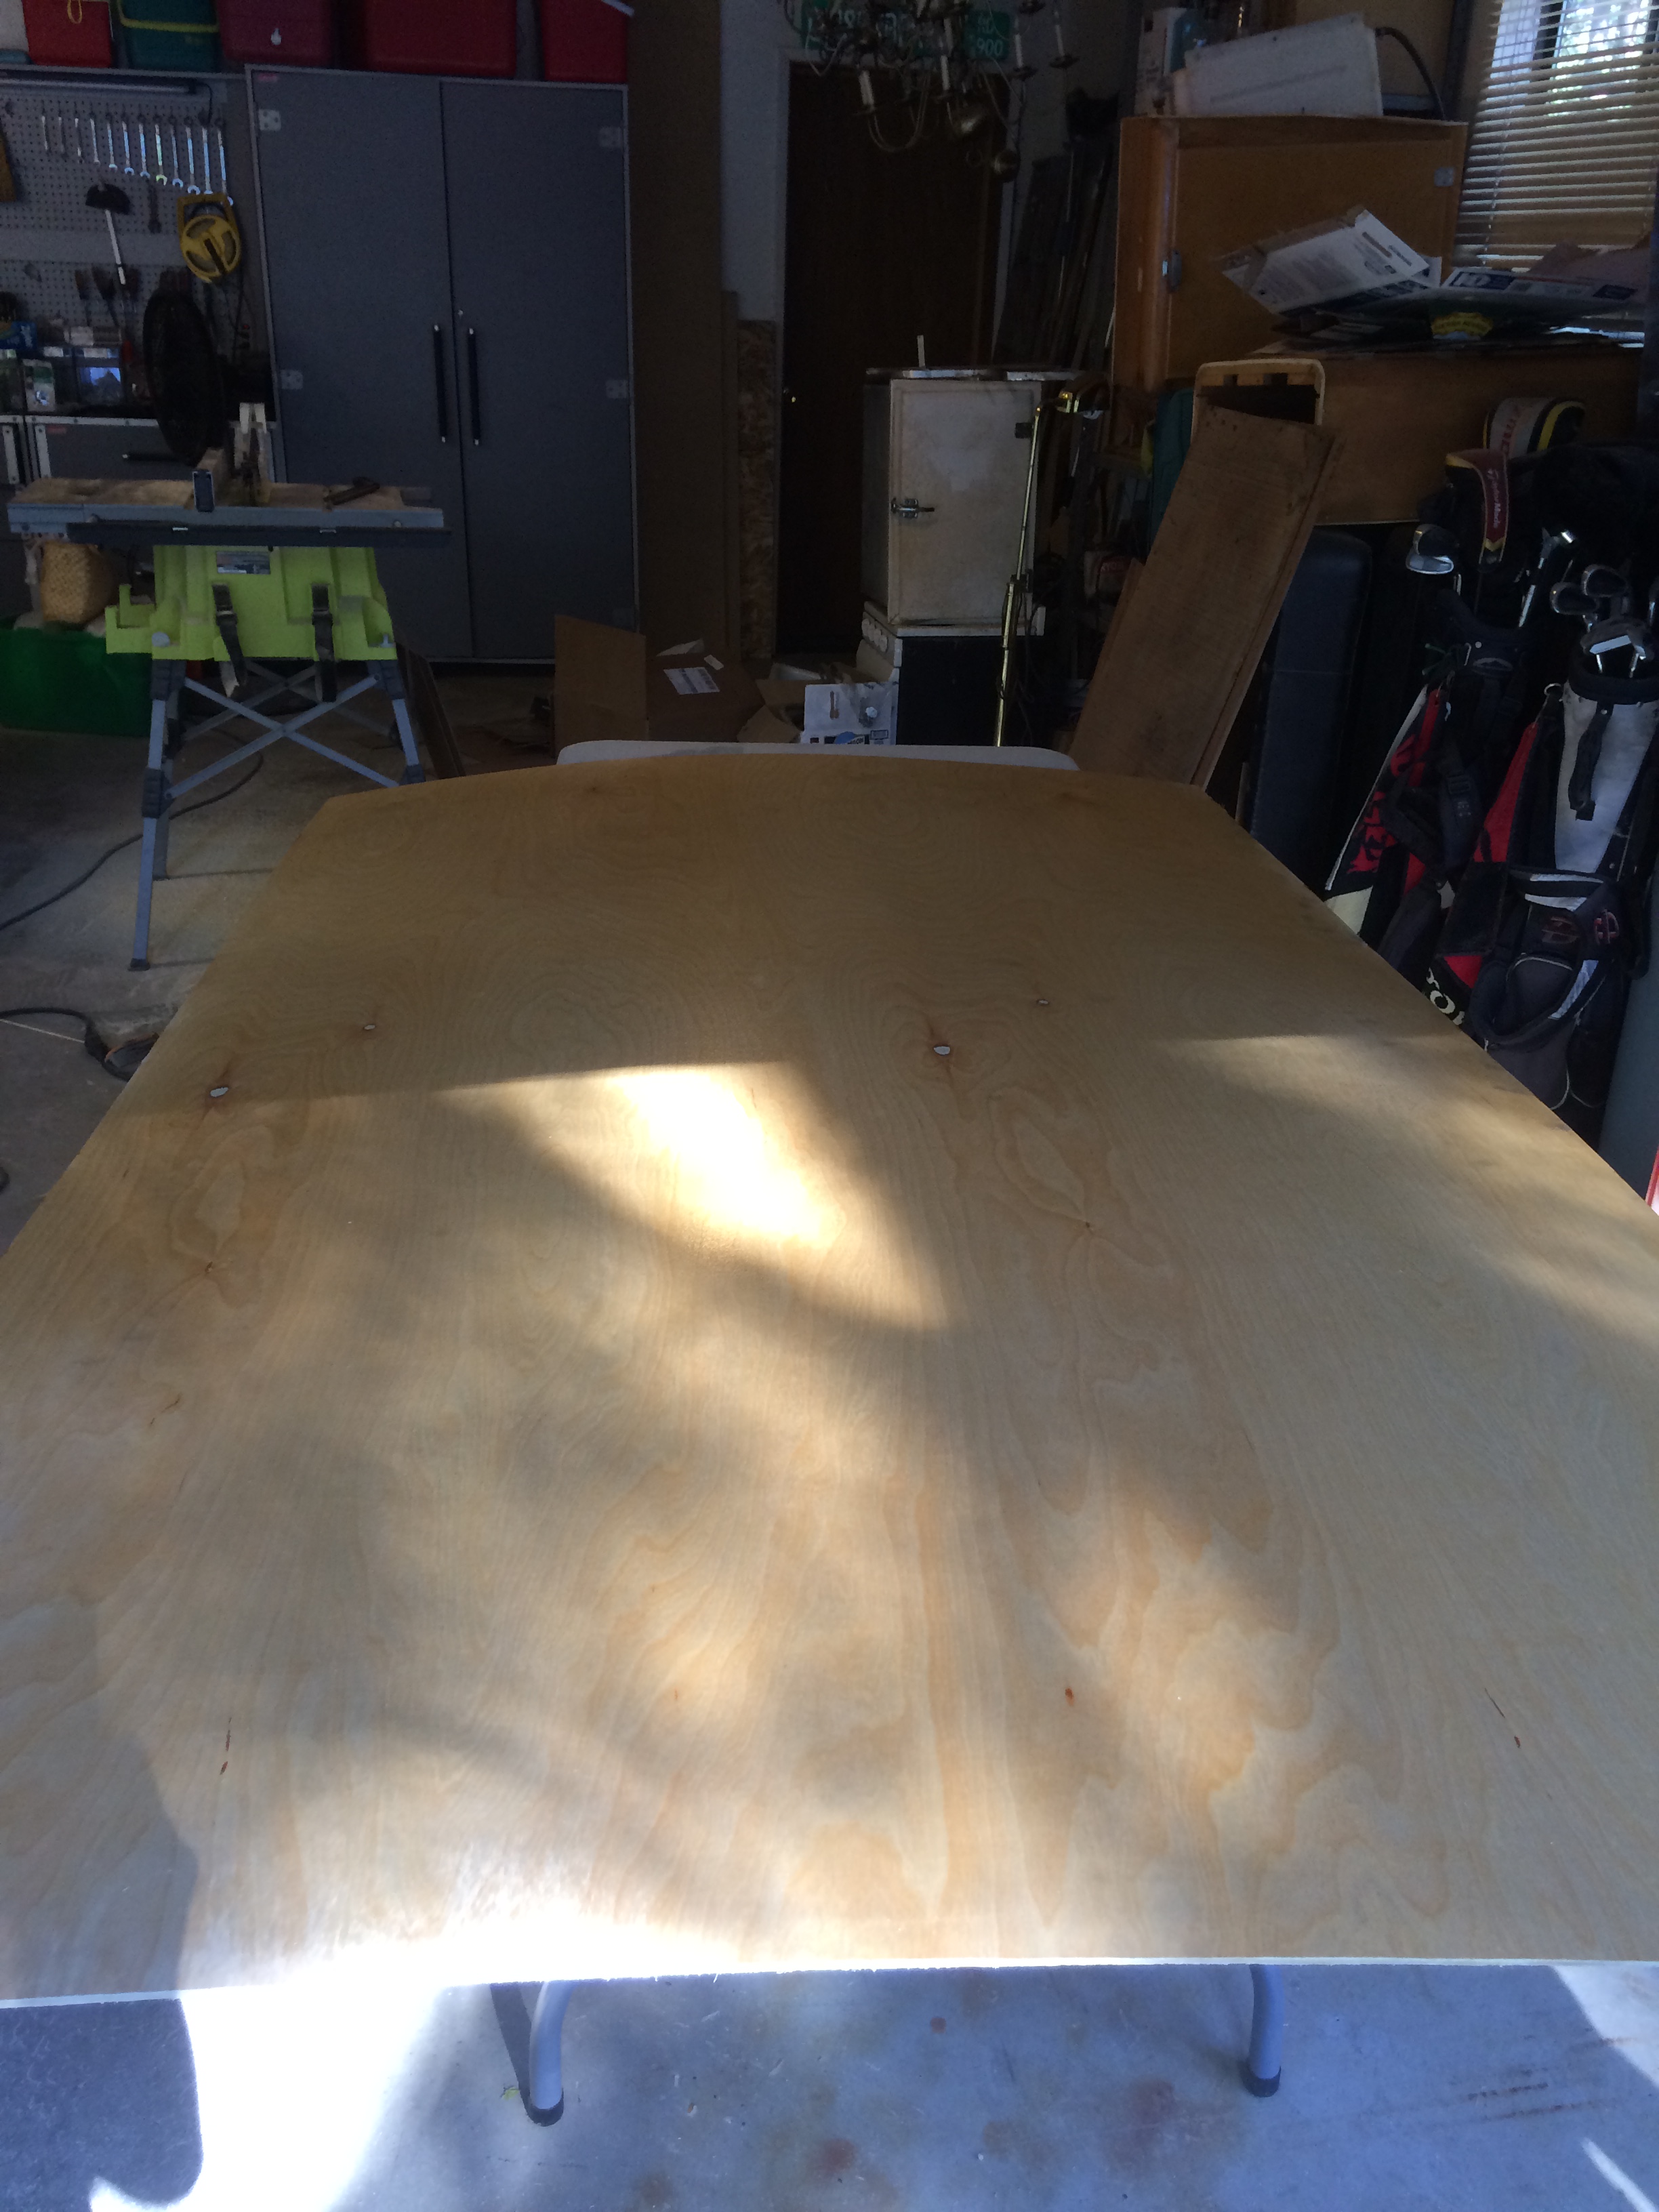
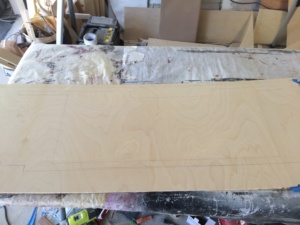
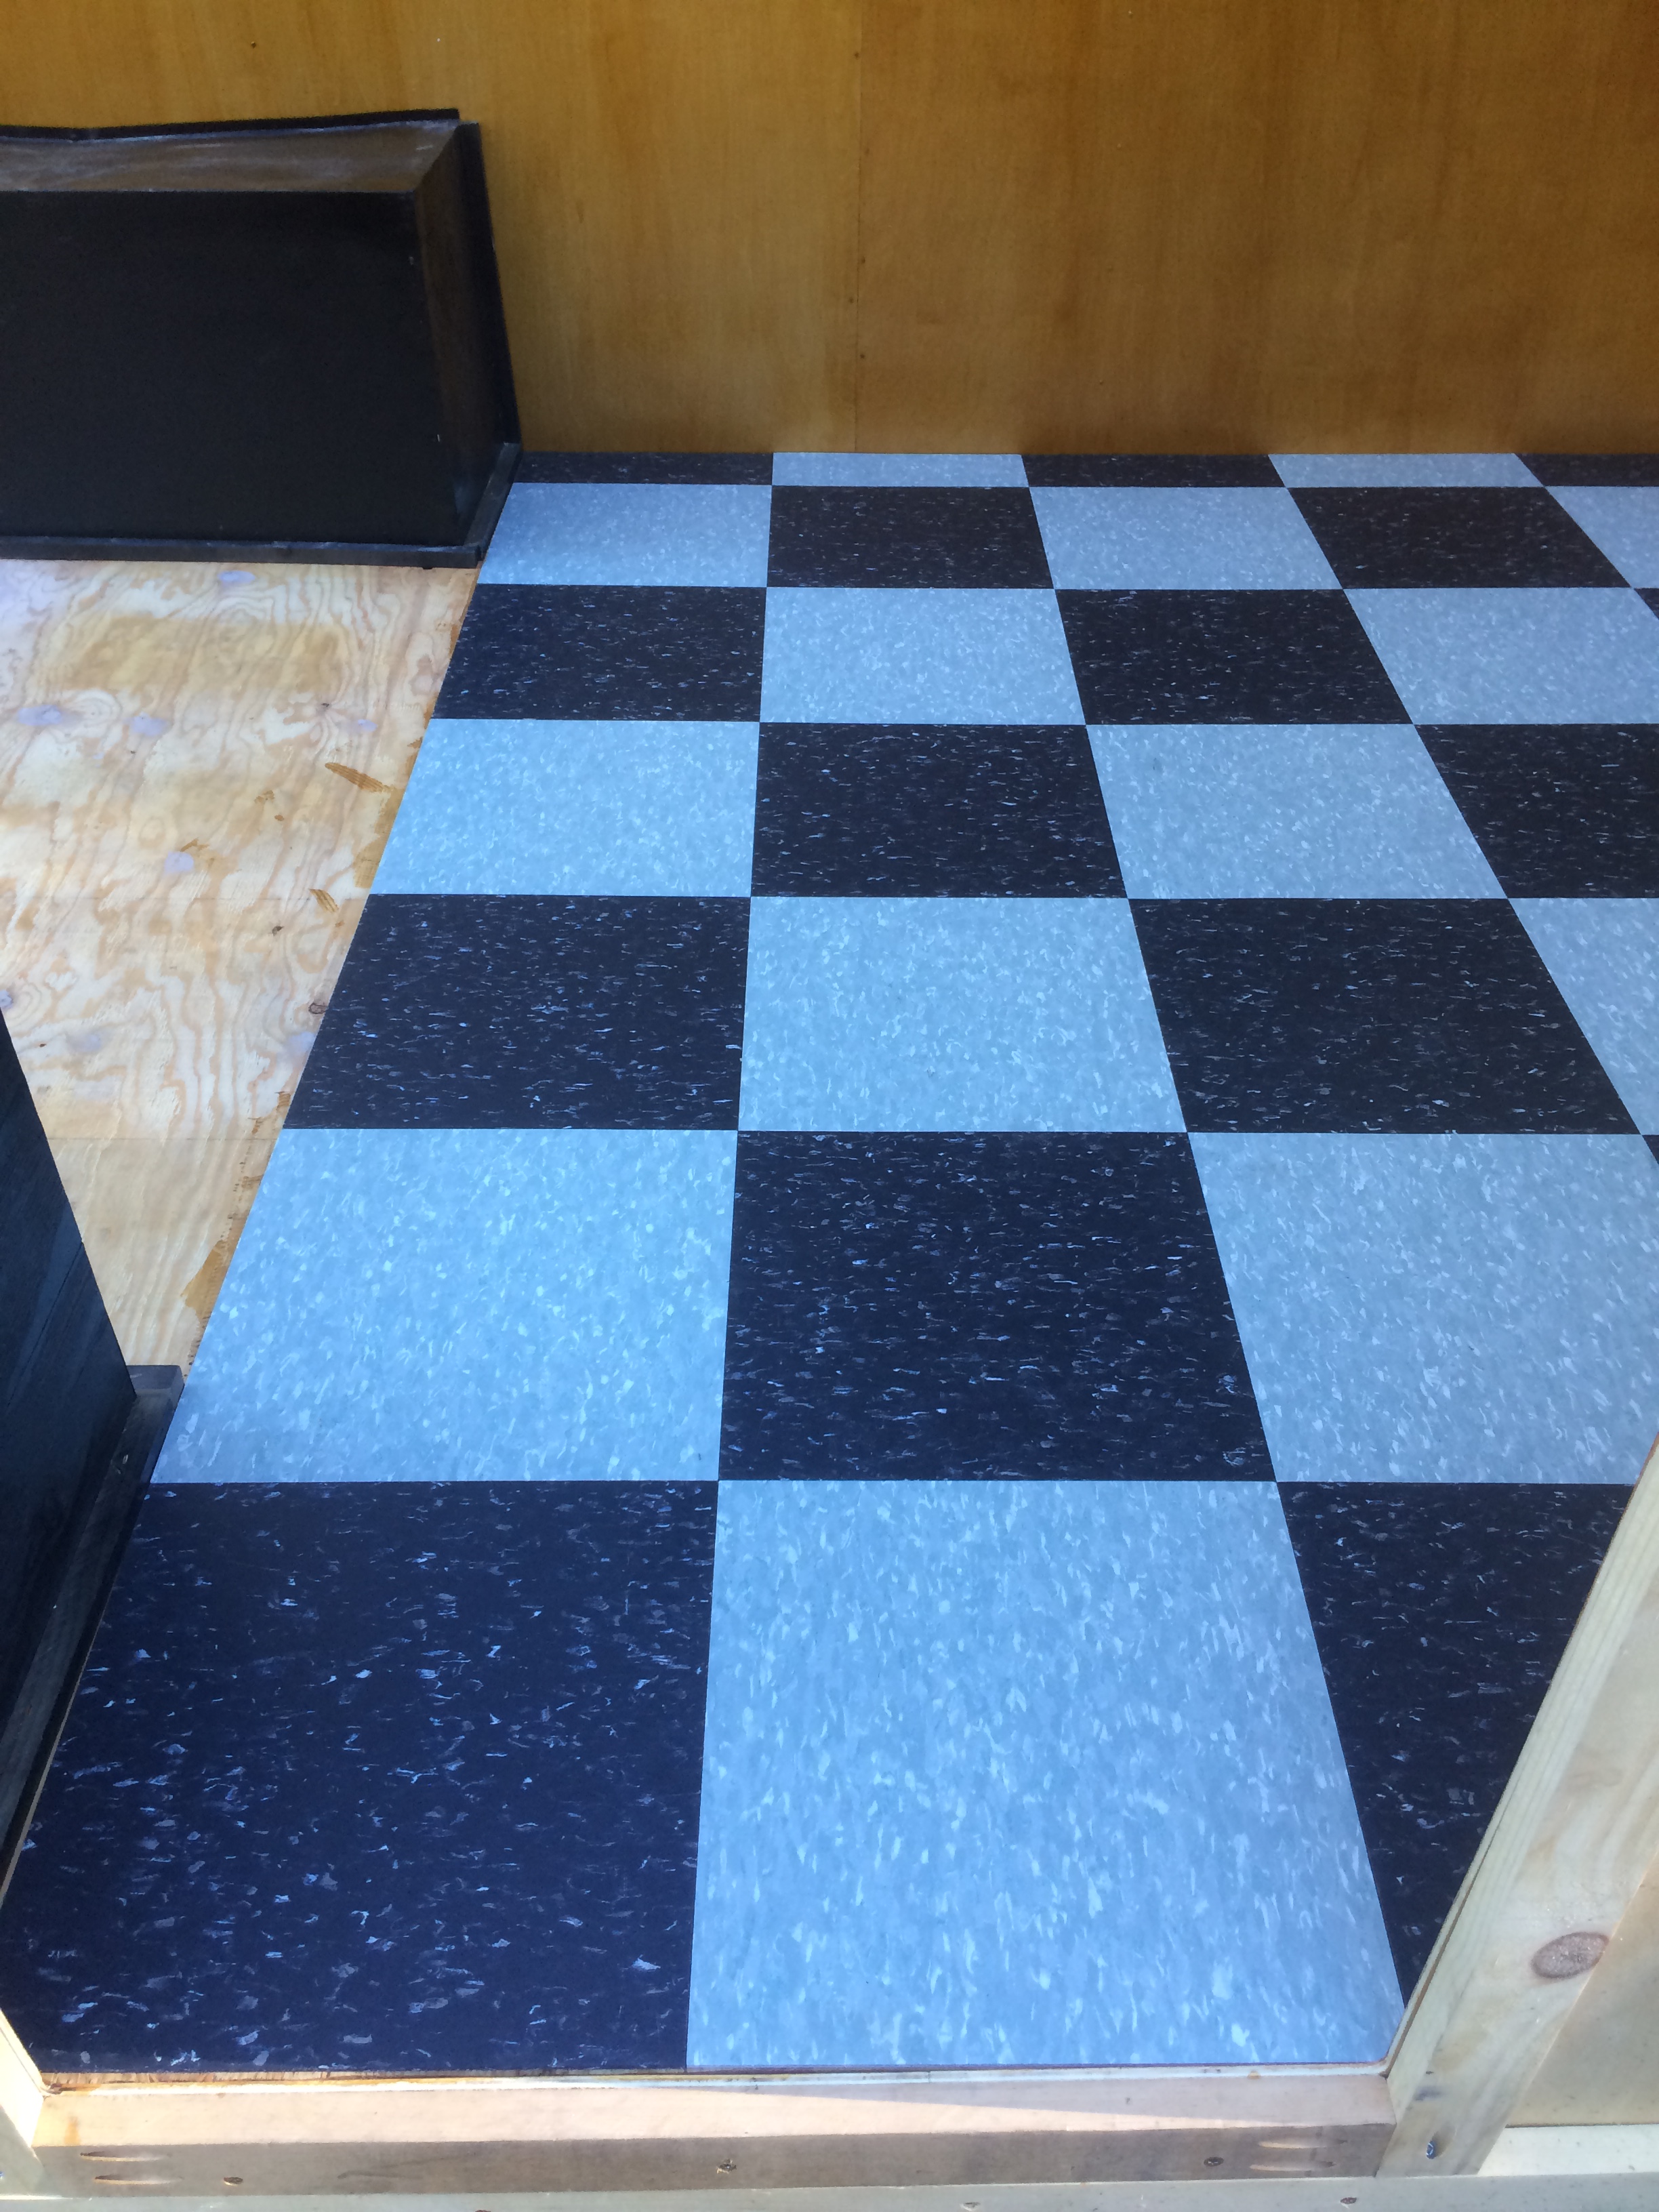
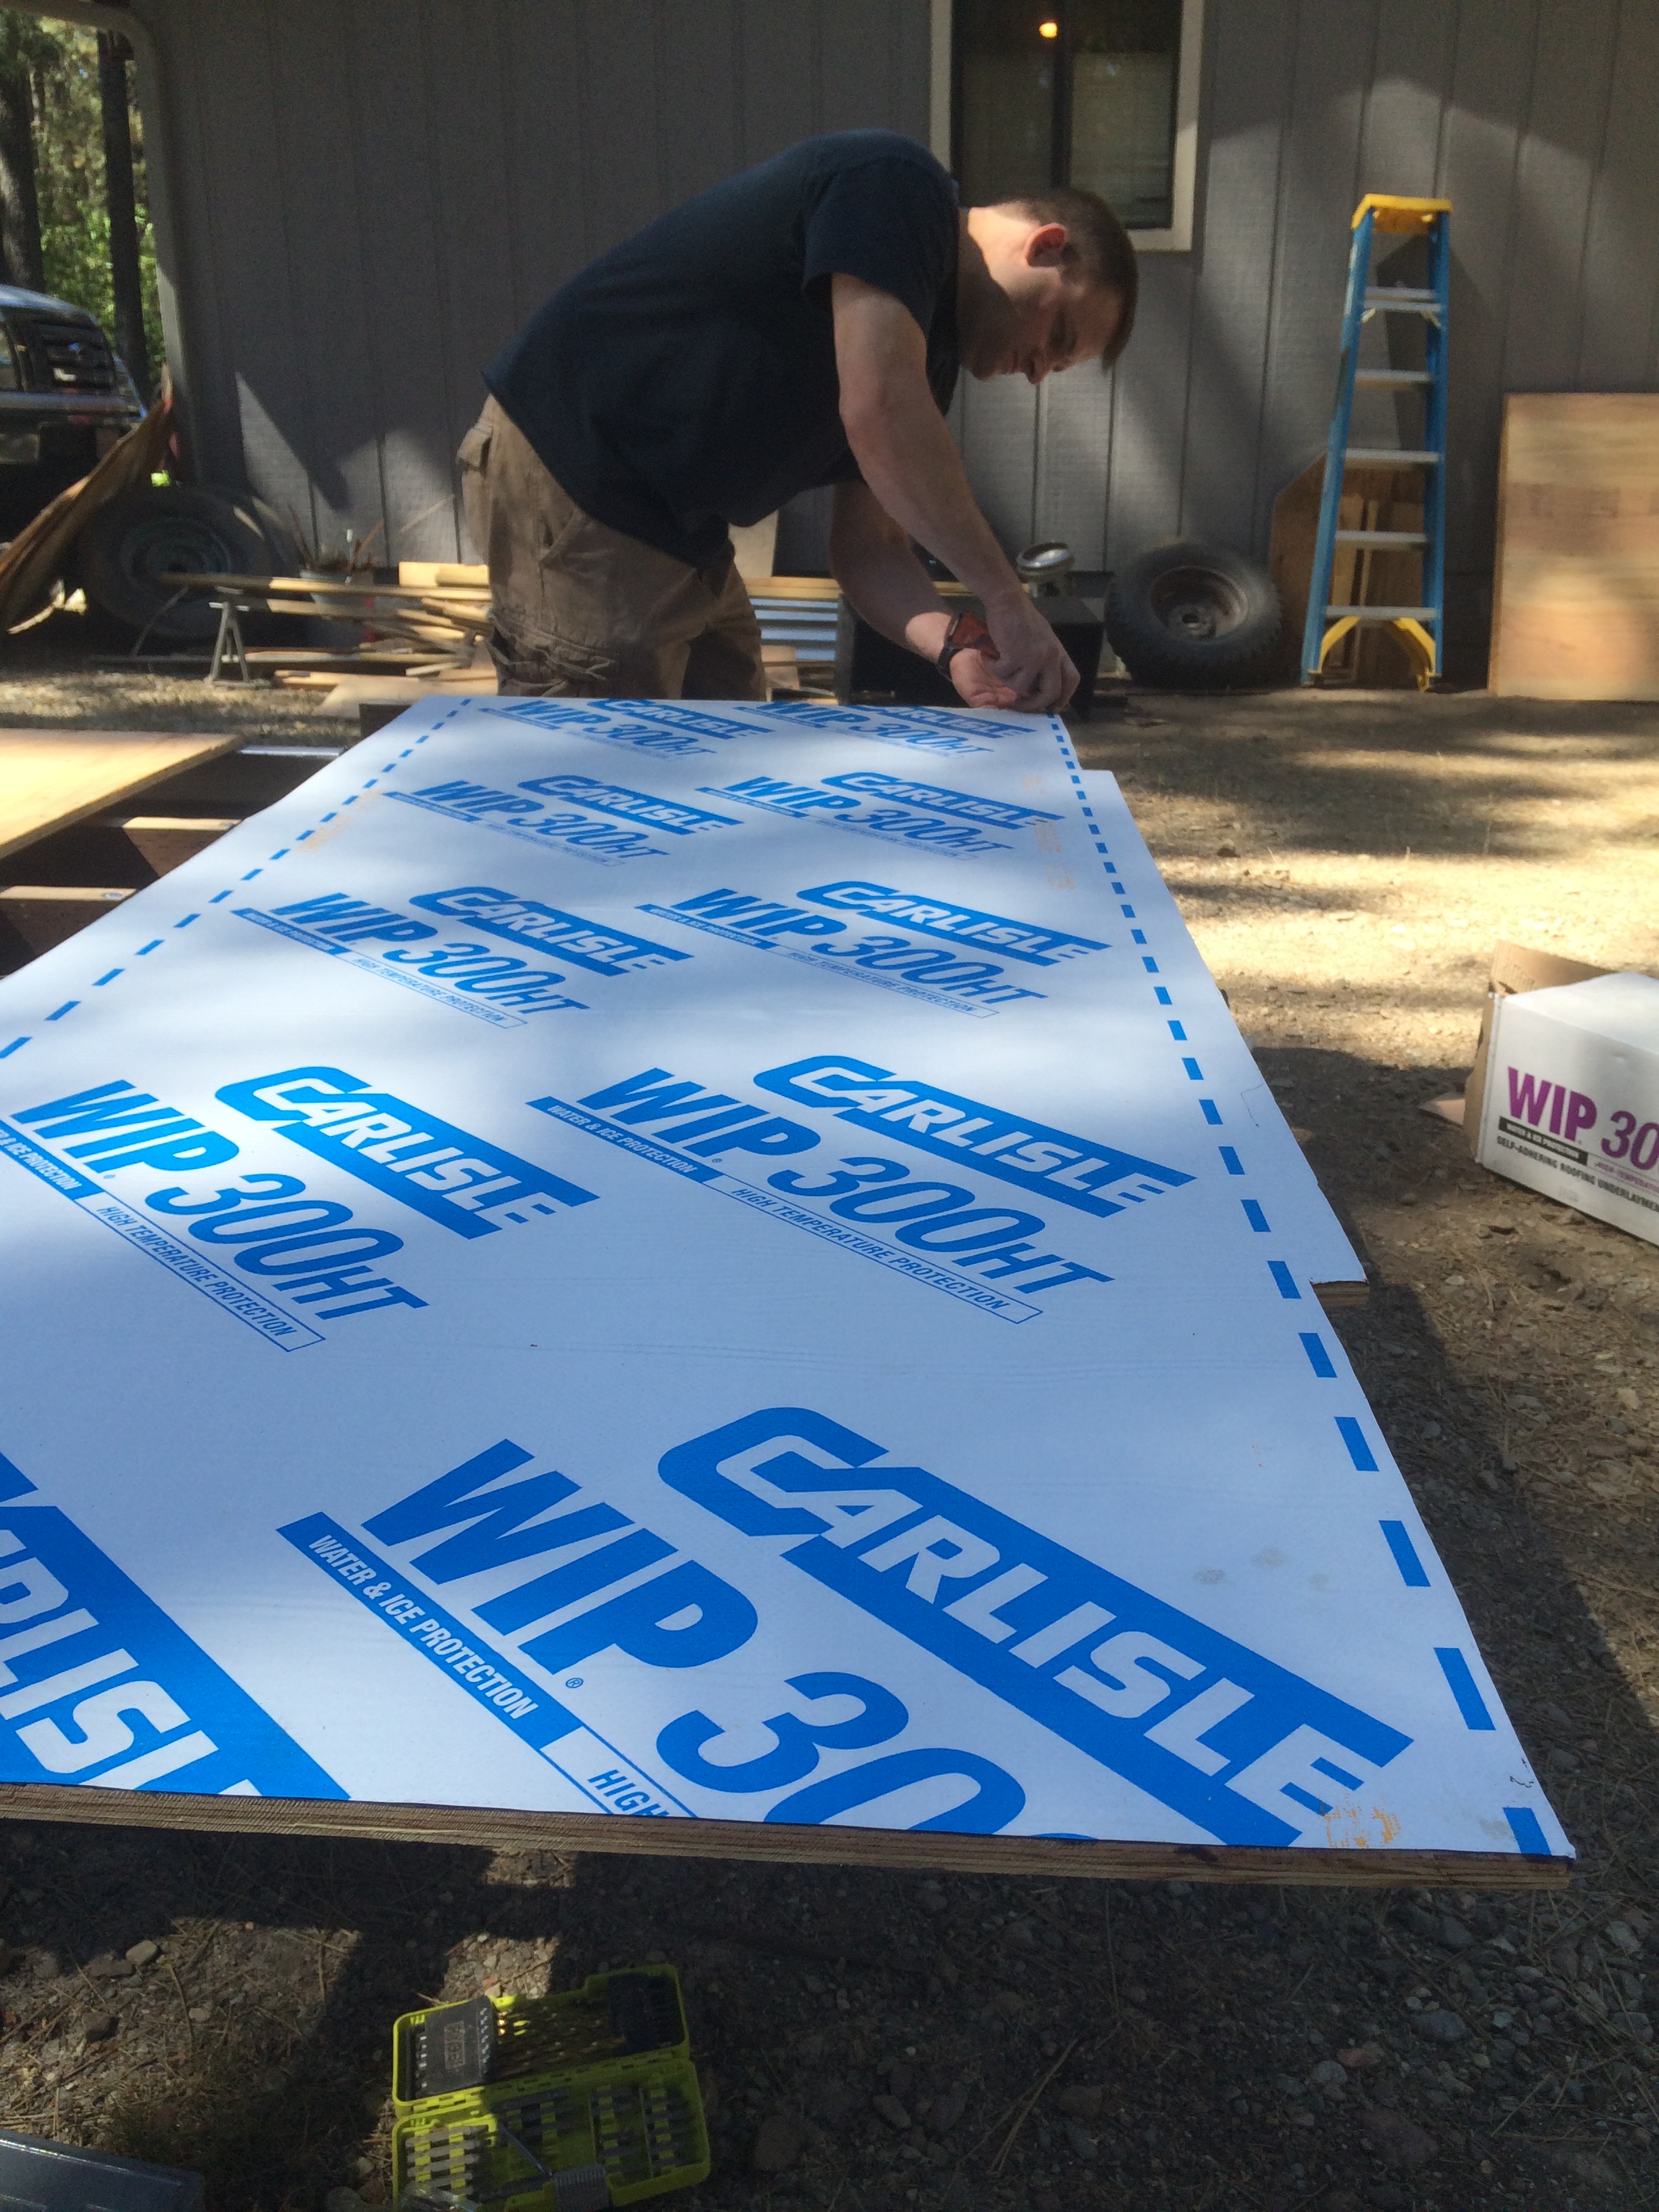
I wanted a retro 1950s look so I created it with epoxy and glitter. This would give me the look of the vinyl countertops popular during the mid-century.
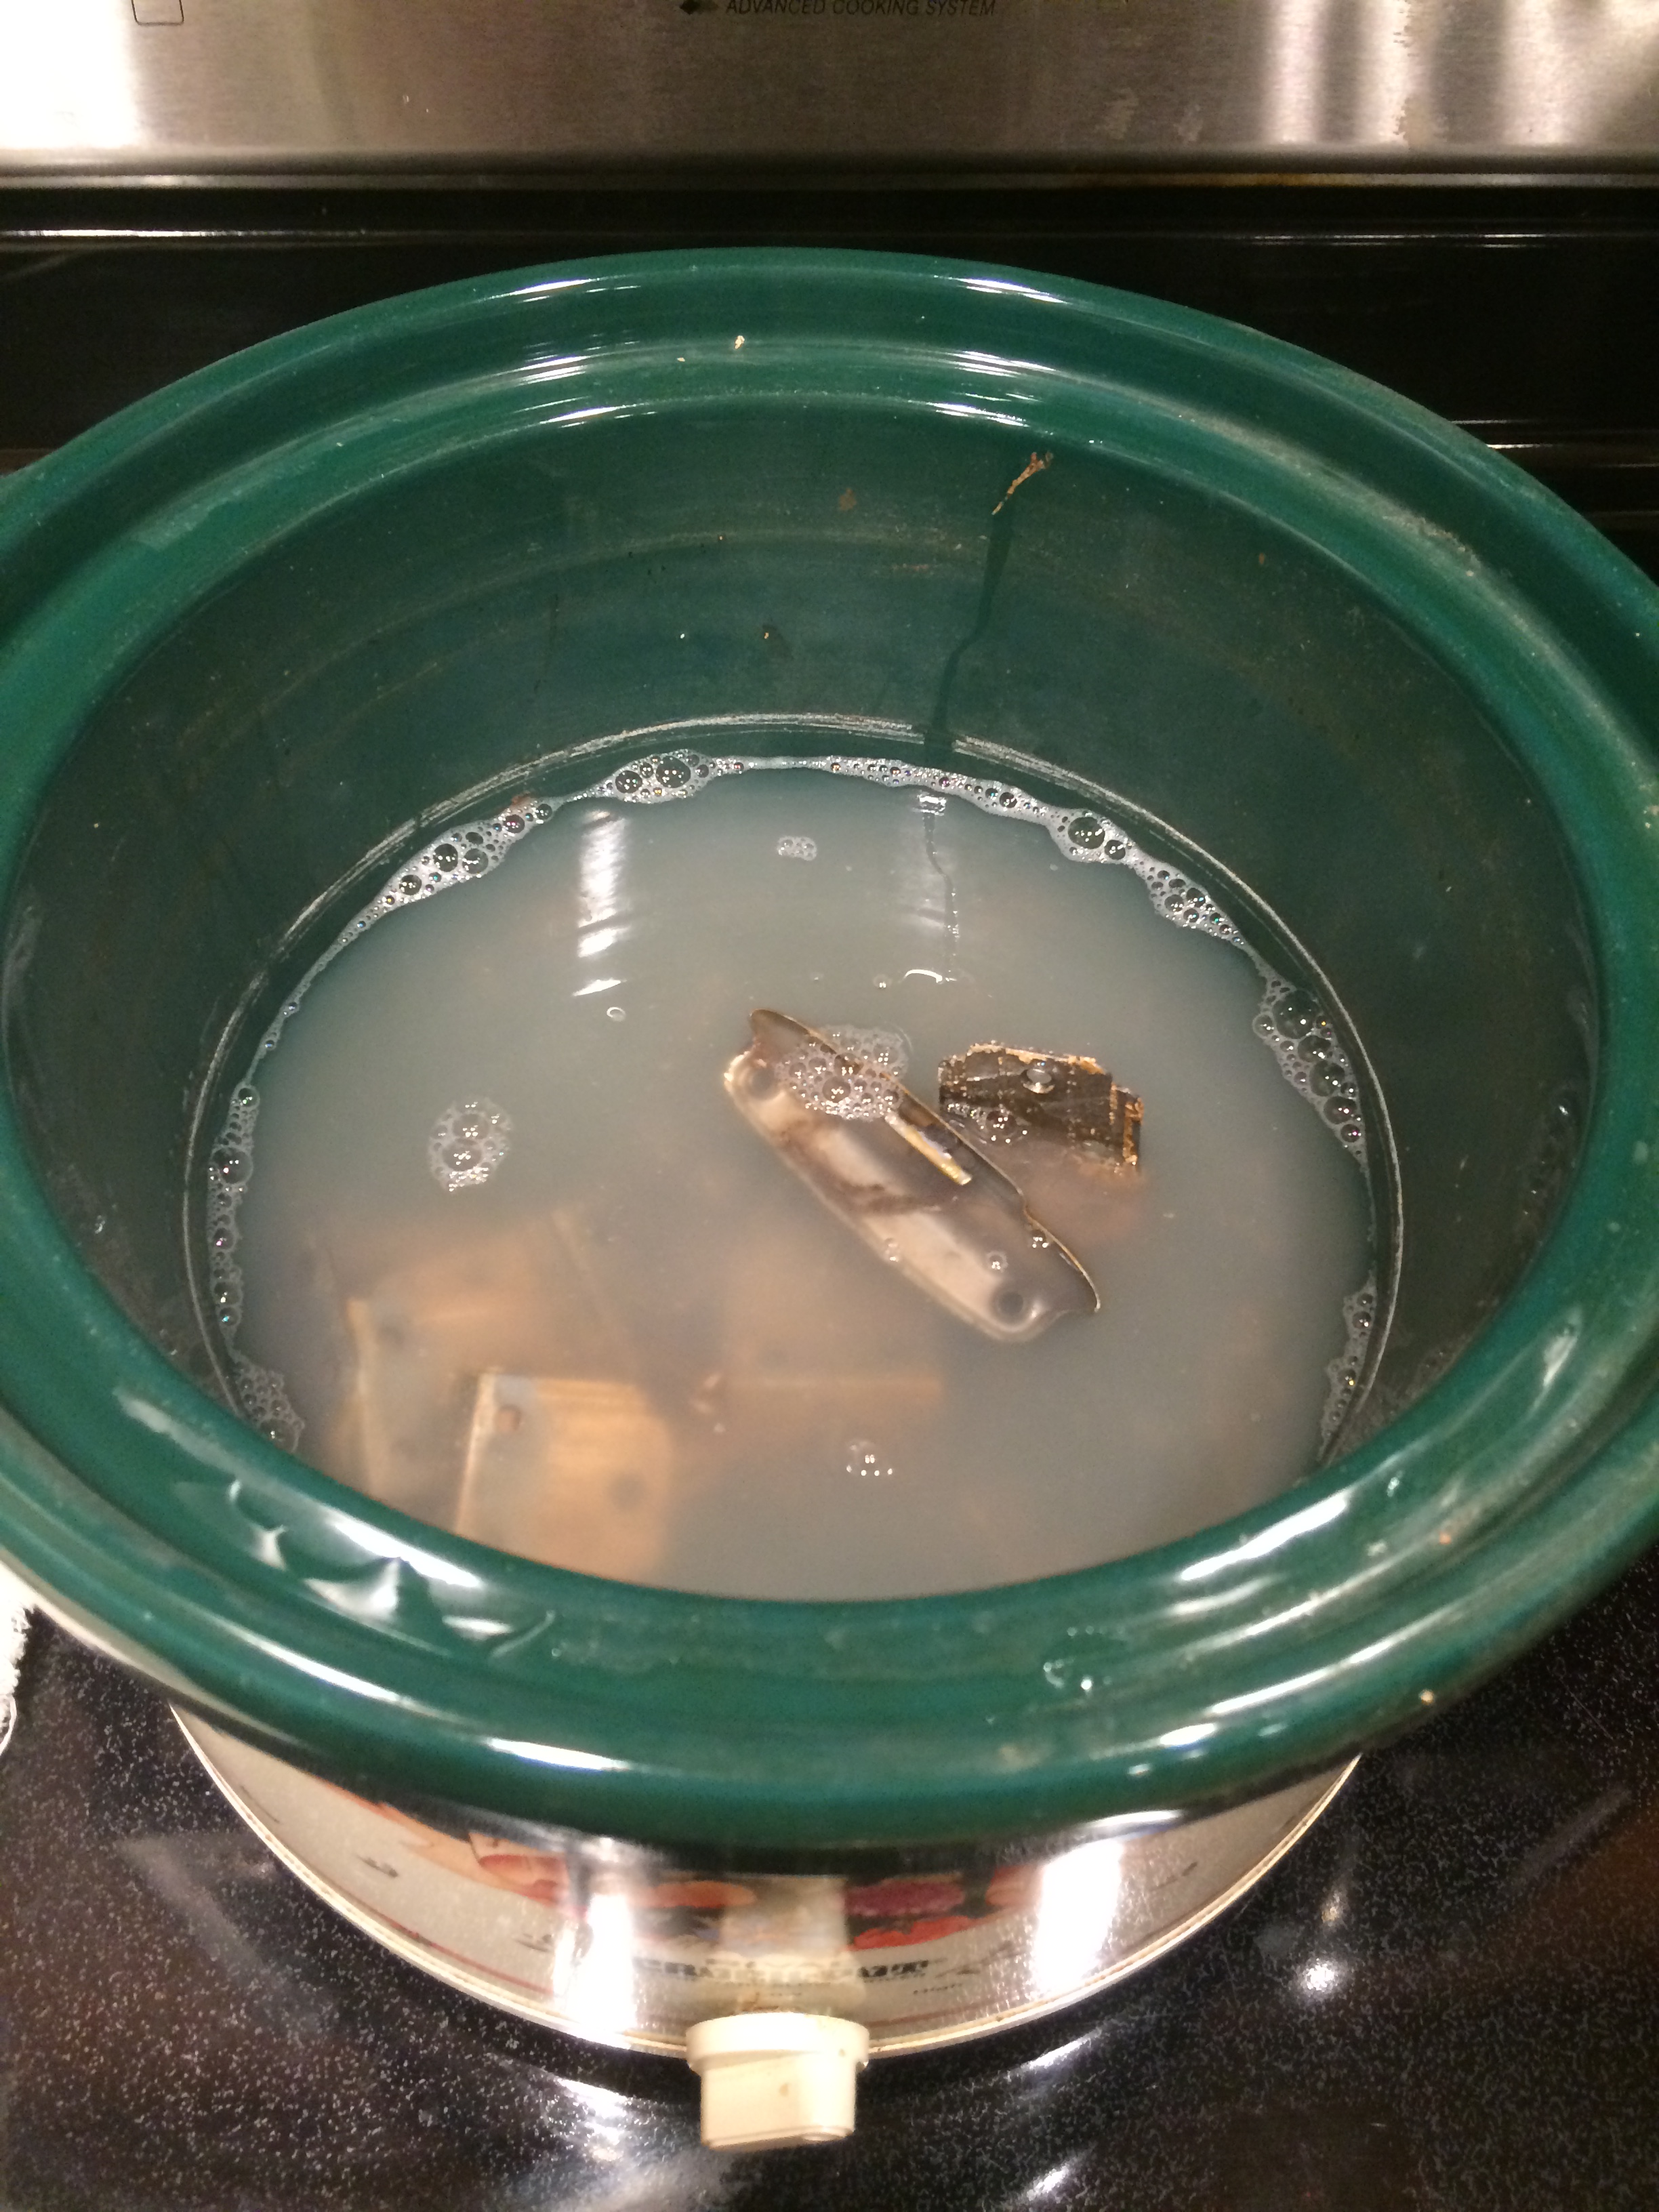
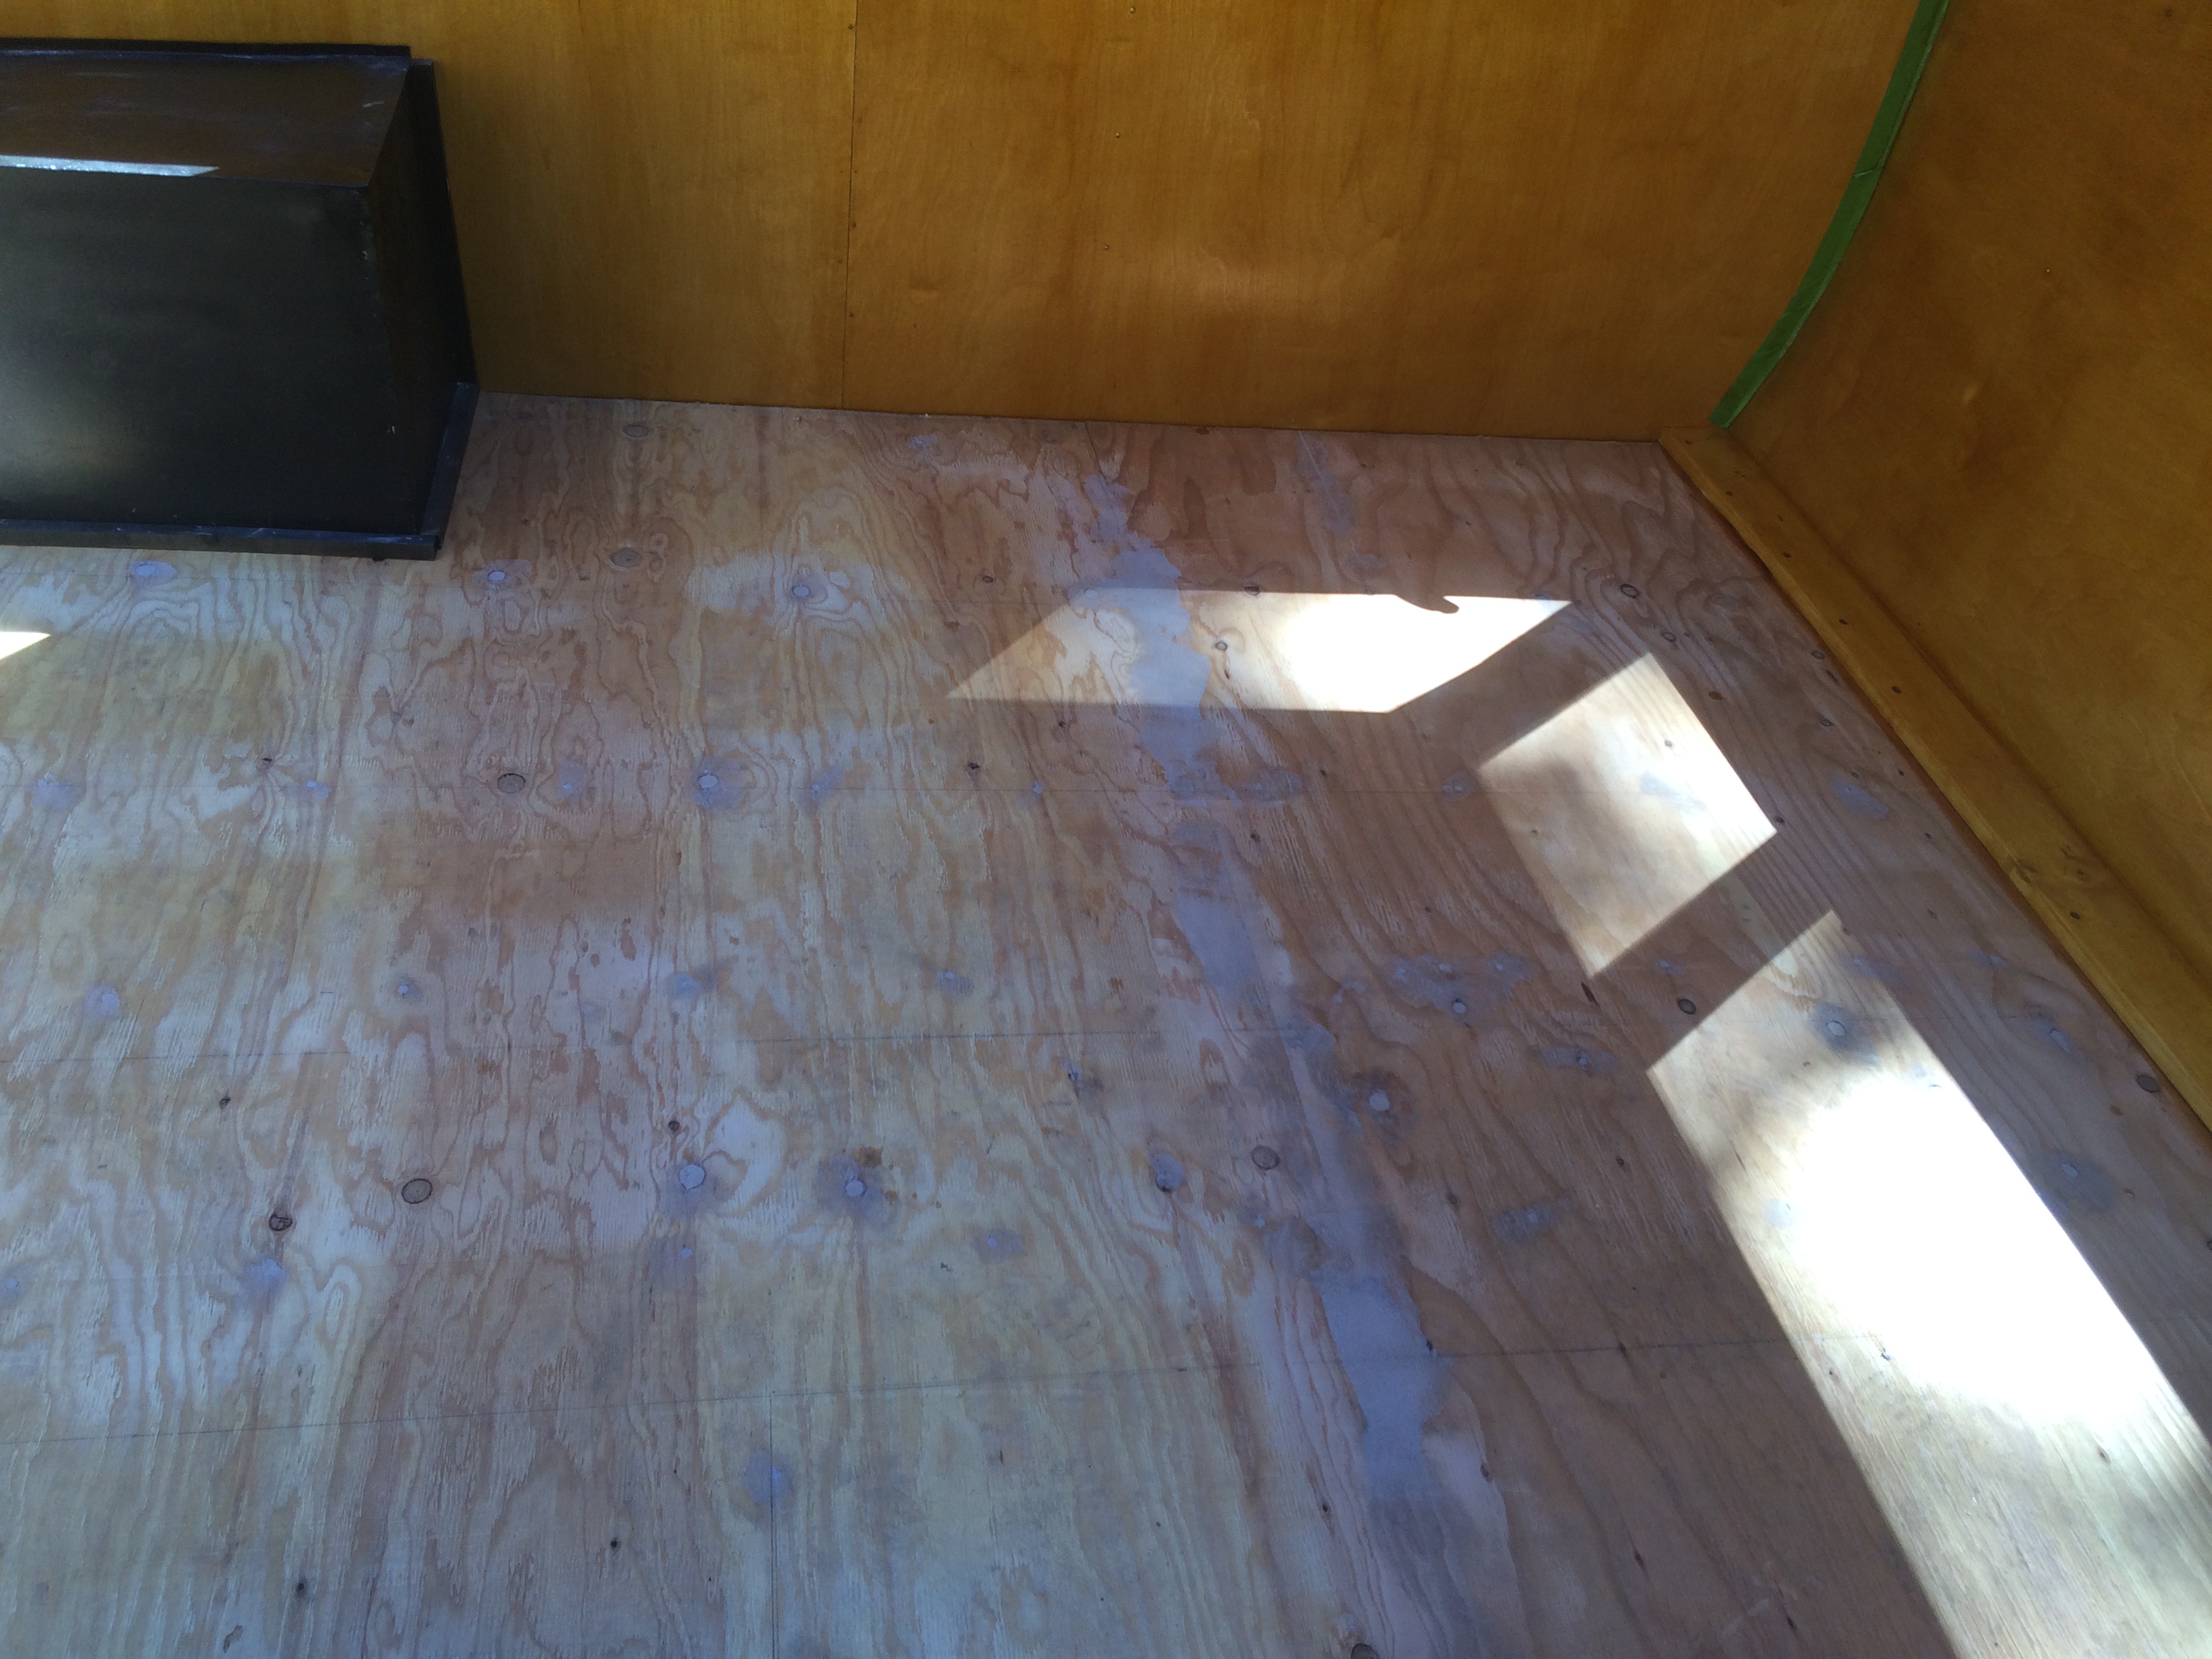
I started by painting them white like the cabinets and trailer walls. I used Benjamin Moors' Decorators White in the pearl finish. in semi-gloss.
You need to work on a level surface and the temperature needs to be what the manufacture recommends. My epoxy calls for a temp between 70-80 degrees. Both of these factors are pretty important.
ALSO....this needs to be done in a well-ventilated space. I used the garage. Both the epoxy and torch have a strong smell.
Each side has to be poured and cured individually. Four sides = four days of pouring.
I started with the back of the niche, then the bottom, then each side.
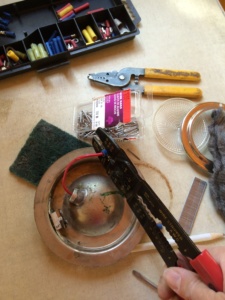
List of Materials
- Base paint
- Epoxy tape
- Epoxy
- Glitter
- Disposable cups
- Stir stick
- Gloves
- Propane torch
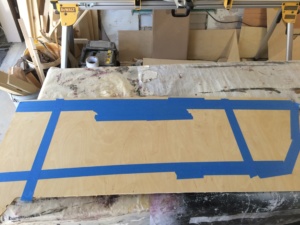
Prep your piece
After your paint is dry and cured, it's time to tape off the edges. (I let it dry for a whole day.)
I used Tyvek tape for this. It's typically used to put house wrap on. I just happened to have it left over from a trailer build. There are specific tapes you can use for epoxy.
I taped off the edges of the box so that the epoxy wouldn't run off the piece.
Again, it's important that everything is level. Shim your table if necessary.
I also use 2x4 blocks to raise the piece off of the table surface. This will help your piece not stick to the table if you get a bit of epoxy on the outside of your project.

Mix the epoxy
You can use an epoxy calculator to determine how much to use. I tend to wing it on small projects and just guess.
Wear gloves and protect your surface from drips because this stuff is sticky!!
Mix the epoxy according to the manufacture's directions. Mine calls for a 50/50 mix. I use the plastic cups to measure out the exact same amount of part A and part B. I use Popsicle sticks to stir it. You can purchase reusable silicone cups and stir sticks as well. The directions state to stir the mixture for three minutes and try not to incorporate bubbles. (good luck with that) I'll show you how to get the bubbles out in a bit.
Next add the glitter. I used silver and gold. I didn't measure this out either. Just shake some in like salt and pepper until you're satisfied with the concentration. Stir this in until it's evenly distributed in the epoxy.


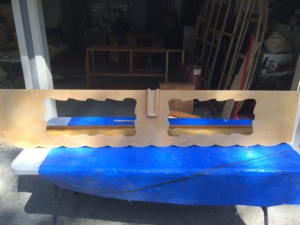
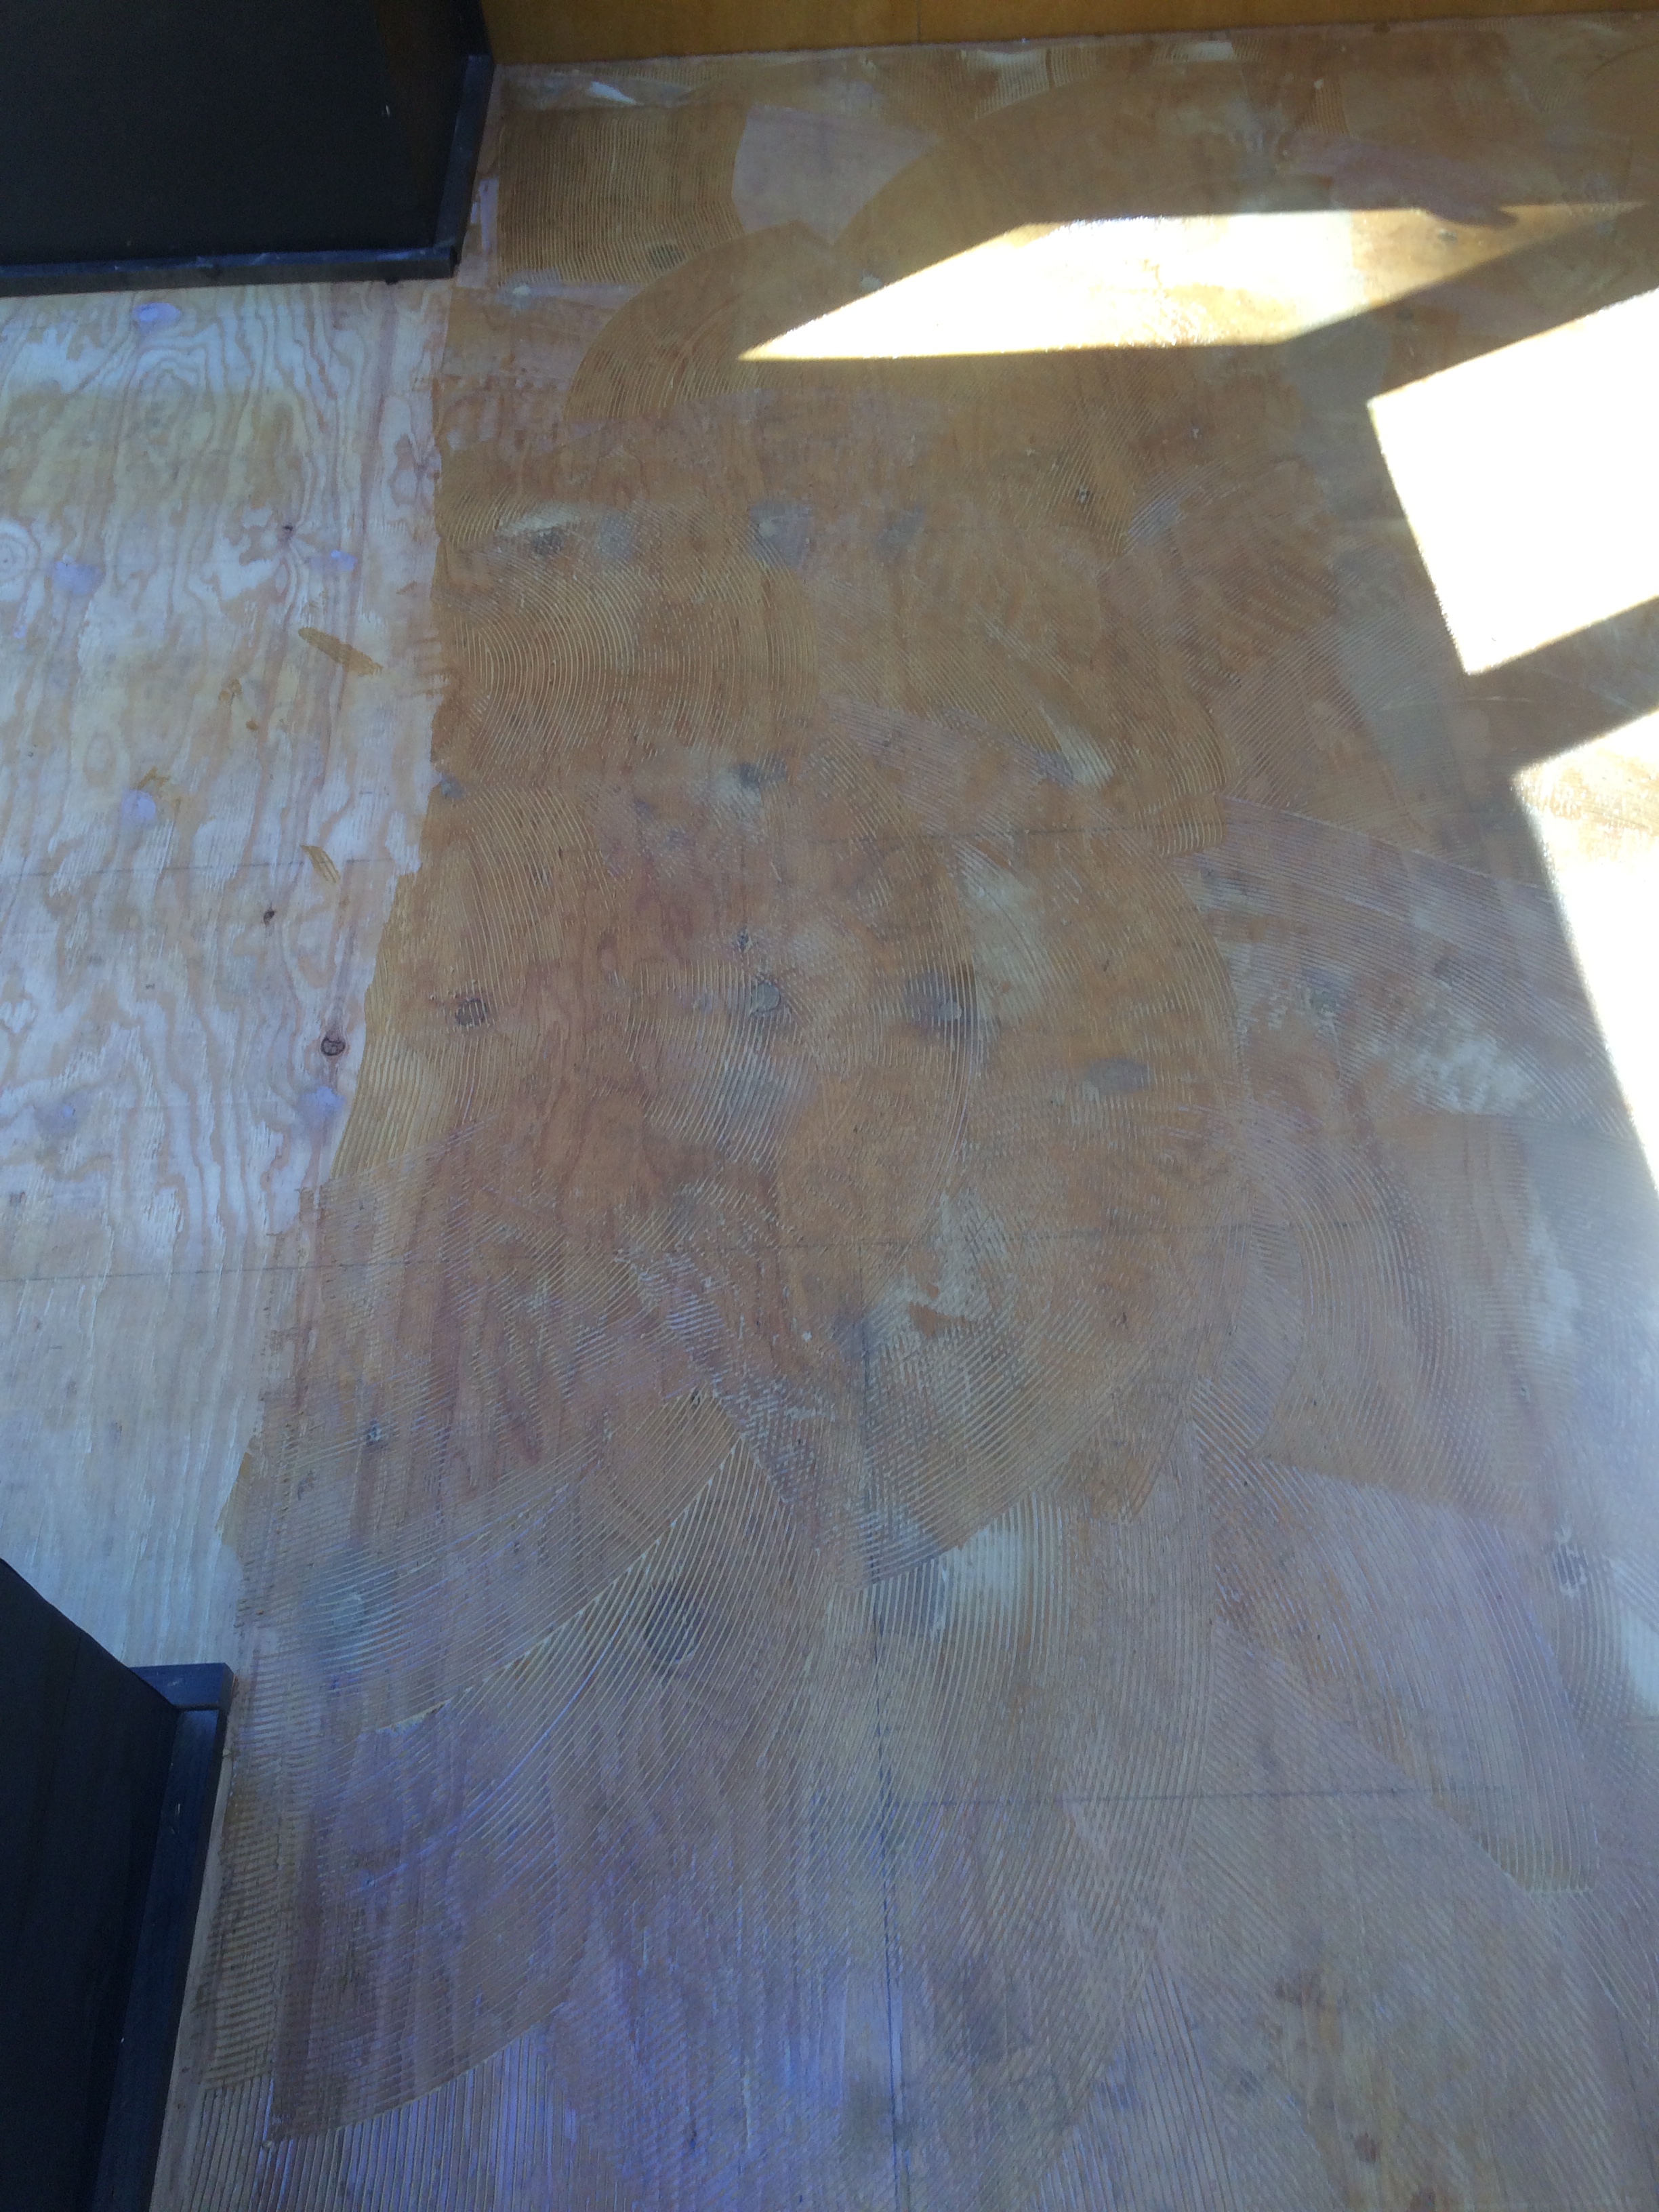
Now is the fun part! Pour the mixture on the surface and spread it out with the stir stick. It is self-leveling so with the correct temperature it will flow out evenly. I wanted about 1/8 inch of epoxy for the surface. After I poured and scraped all the epoxy out of the mixing cup, and after it was all spread out, I began using the torch.
Torch time
This is my second favorite part of the project...FIRE!
Light the torch and move it across the surface of the epoxy. You will see tiny bubbles come to the surface and pop. Don't leave the torch in one spot too long. It will scorch the surface. You can wait a few minutes then do this process again. I probably did it between 3 and 4 times before I was satisfied that all the bubbles had be removed.

I waited 24 hours between pours for each side of the niche and repeated the above process.
The end result is stunning! I'm so happy with how it turned out.


Thanks for visiting.