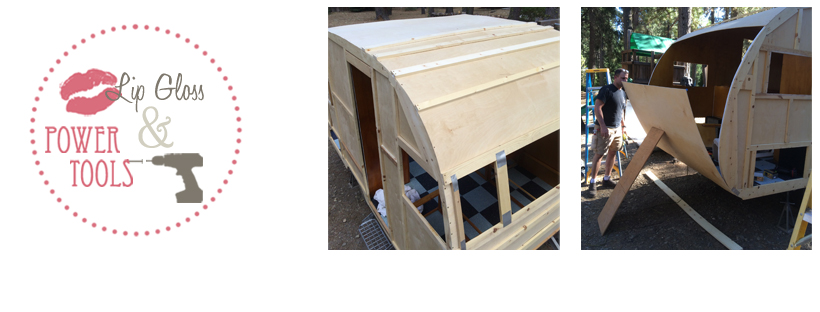
The roof, vent opening, and end panels are next on the project list for my 1956 Shasta.
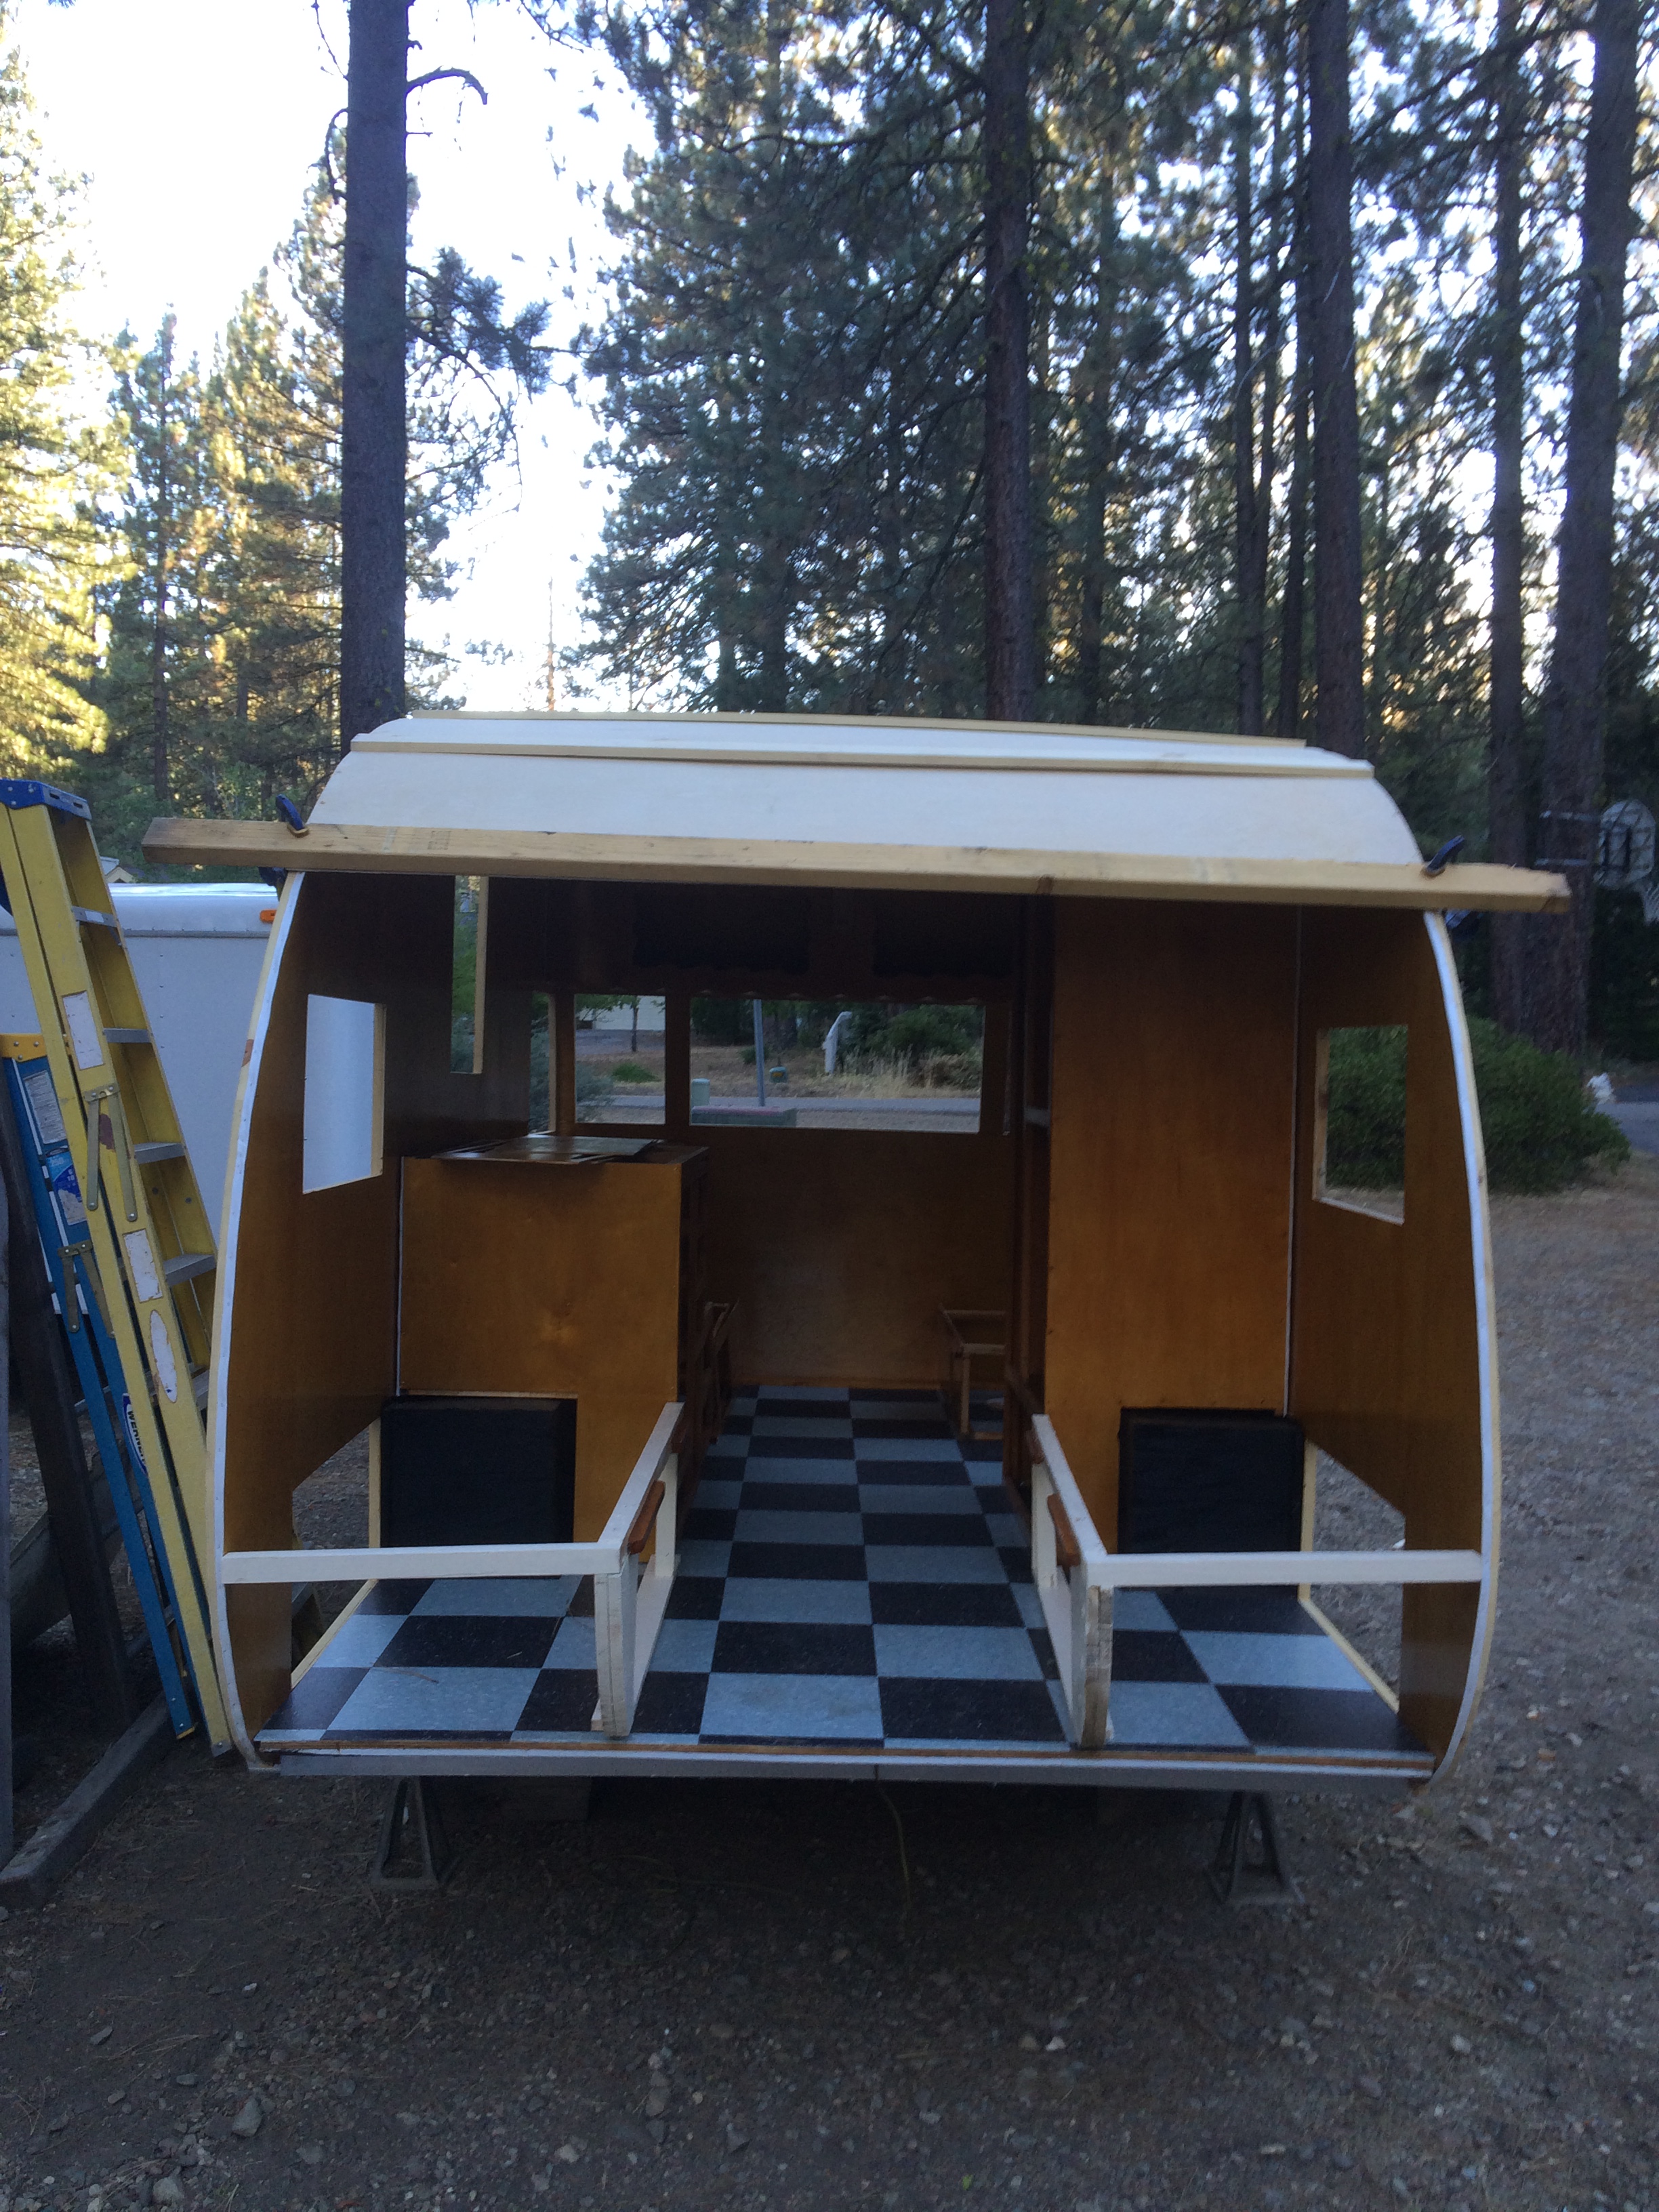
With the walls and floor complete, I can move on to closing up the camper…at least the rest of the walls and ceiling. (Windows will have to wait until I get the aluminum siding on.
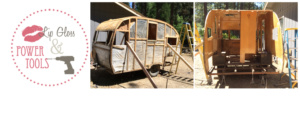
In a previous post, I talked about building the front end. I did that just prior to installing the new flooring. Here’s a recap if you missed it. Or you can read the entire post here.
Recap
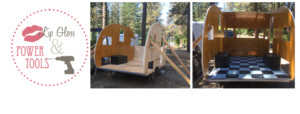
Framing Your Vintage Camper; Part 1 The Walls
Next, I built the front end. I used the old pieces of the trailer as patterns for the new ones.
See my post on how to dismantle you Vintage Camper for tips.
The font piece of paneling was cut to size and screwed in place.
Post-Project Tip: I used ¼ inch birch paneling for the walls AND ceiling. If I had to do it again I would opt for the ¼ inch for the walls but use 1/8 inch on the ceiling. It bends much easier.
Then the 1x3 and 1x4 rib pieces where screwed in place. I carefully measured out my window height and openings and framed them. I used the pocket hole jig for this. The old framing had aluminum patches over the window-frame seams so I replicated that as well…it couldn’t hurt.
I lightly sanded the new paneling pieces and Schlacked them. (2-3 coats of amber Schlack.) Don’t forget to tape off the welting so the Schlack won’t stain it.
End Recap
With the floor and front end finished I moved on to the ceiling. At this point, I could put the wardrobe in place. Remember that it has to be installed before you close up the back end…it won’t fit through the door. I refinished all of the cabinetry in this post... How to get your vintage camper's cabinets and hardware to shine like new
I carefully measured the old pattern pieces, dry-fit the aluminum siding, and transferred my marks from the old pieces to the new.
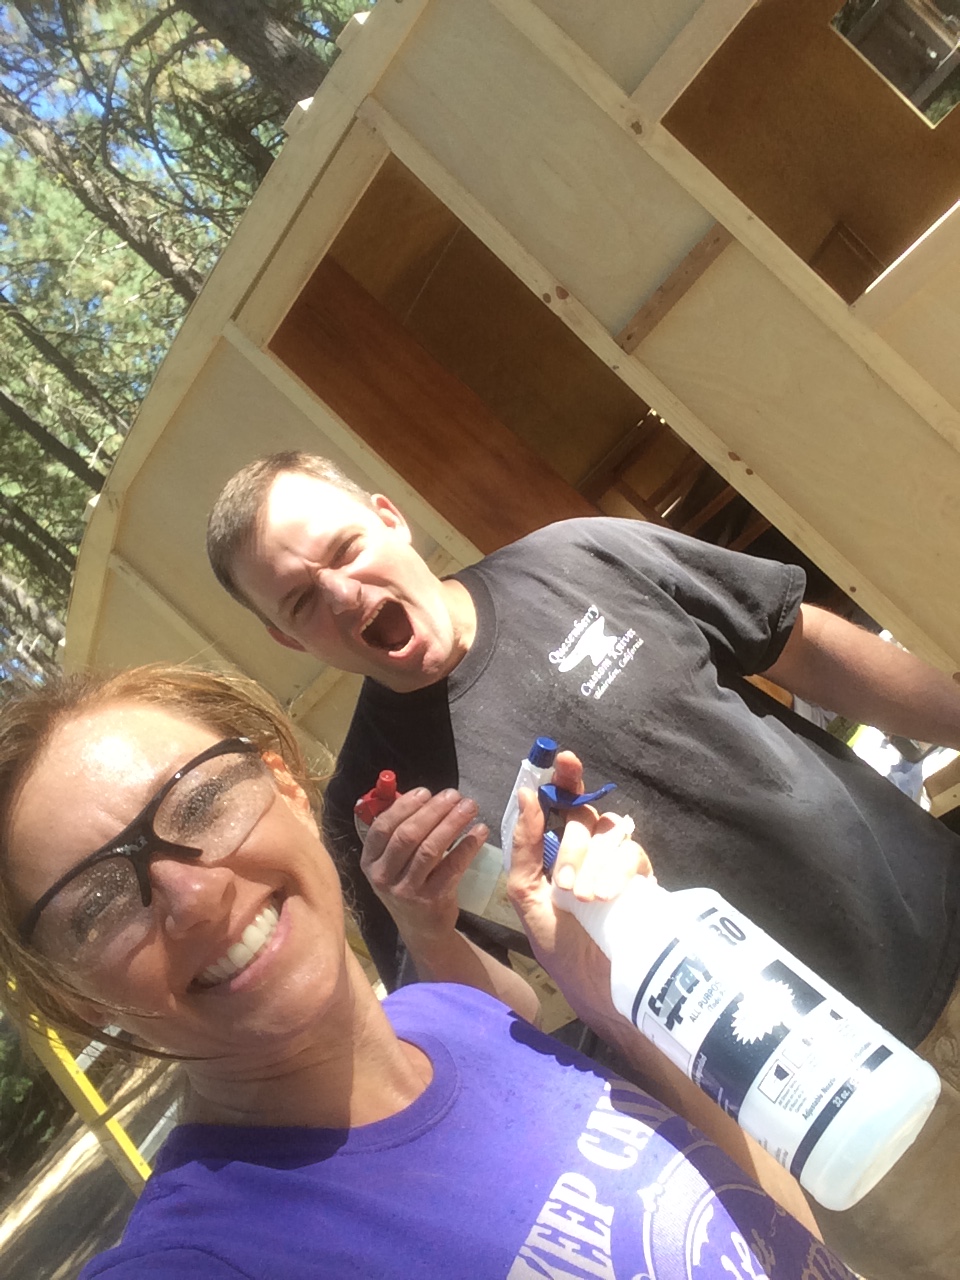
The process of installing the new ribs and paneling was a two-person job, so thankfully my husband, Mike, was able and willing to help.
It’s important to measure the width of your camper and keep that measurement consistent as you assemble the ceiling panels. It’s very easy to get off track and make the camper narrower or, heaven forbid, wider. If it gets wider than your aluminum panels you’ll never get the old siding to fit properly.
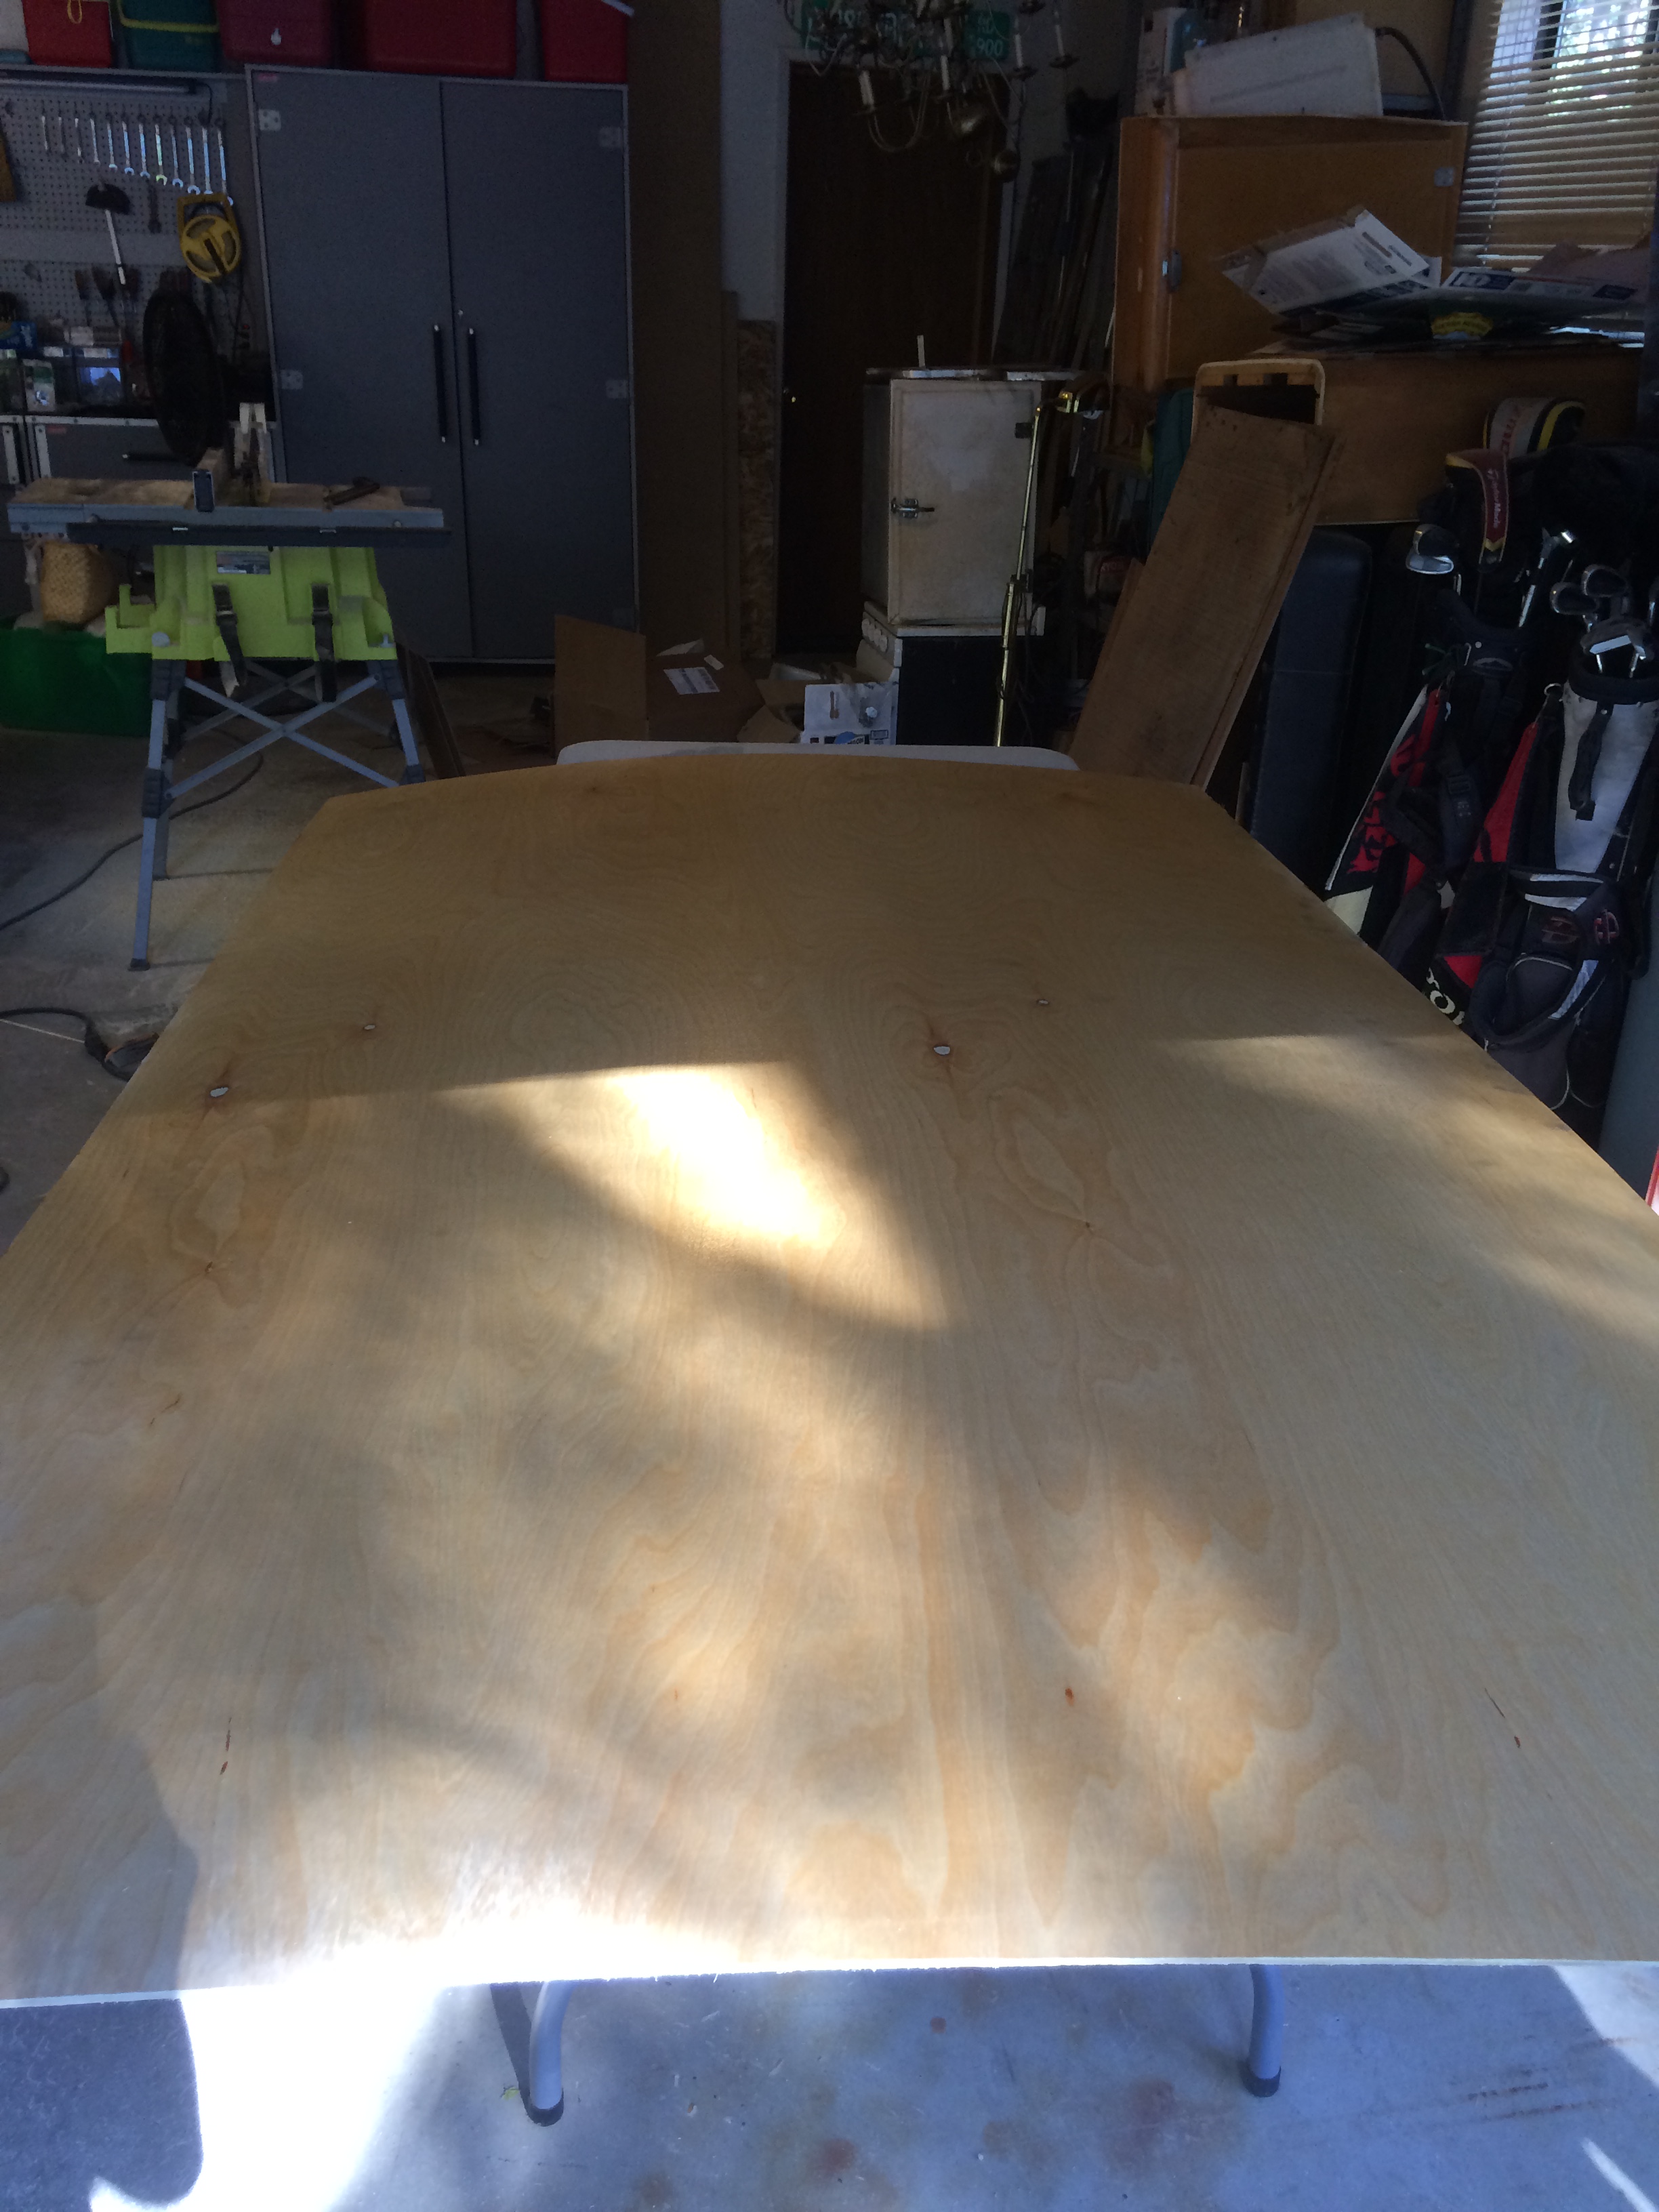
I pre-cut the birch panels and left them a couple of inches too wide. This gives me some wiggle room and I can trim them down to size once they are installed. Then I lightly sanded and applied the amber Schlack. I thought it would be much easier to do this in the garage than once they were installed. I just pictured the Schlack dripping on my newly installed flooring.
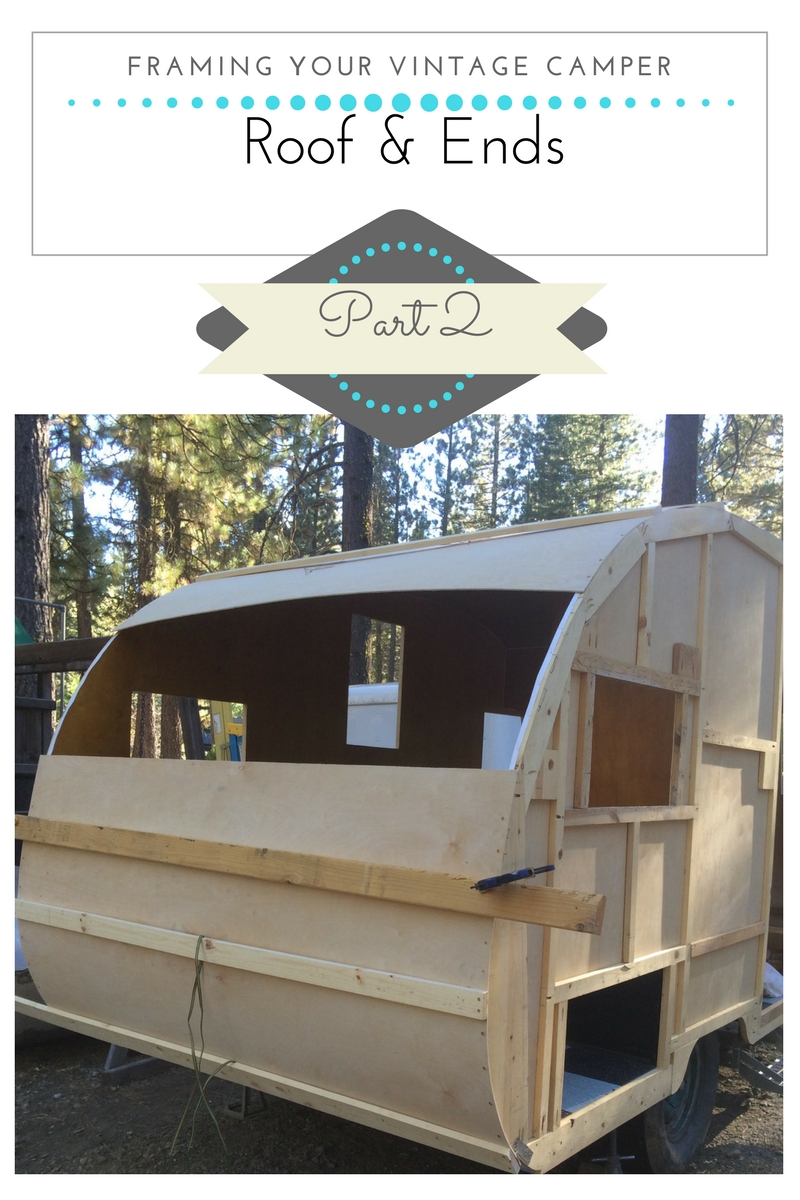
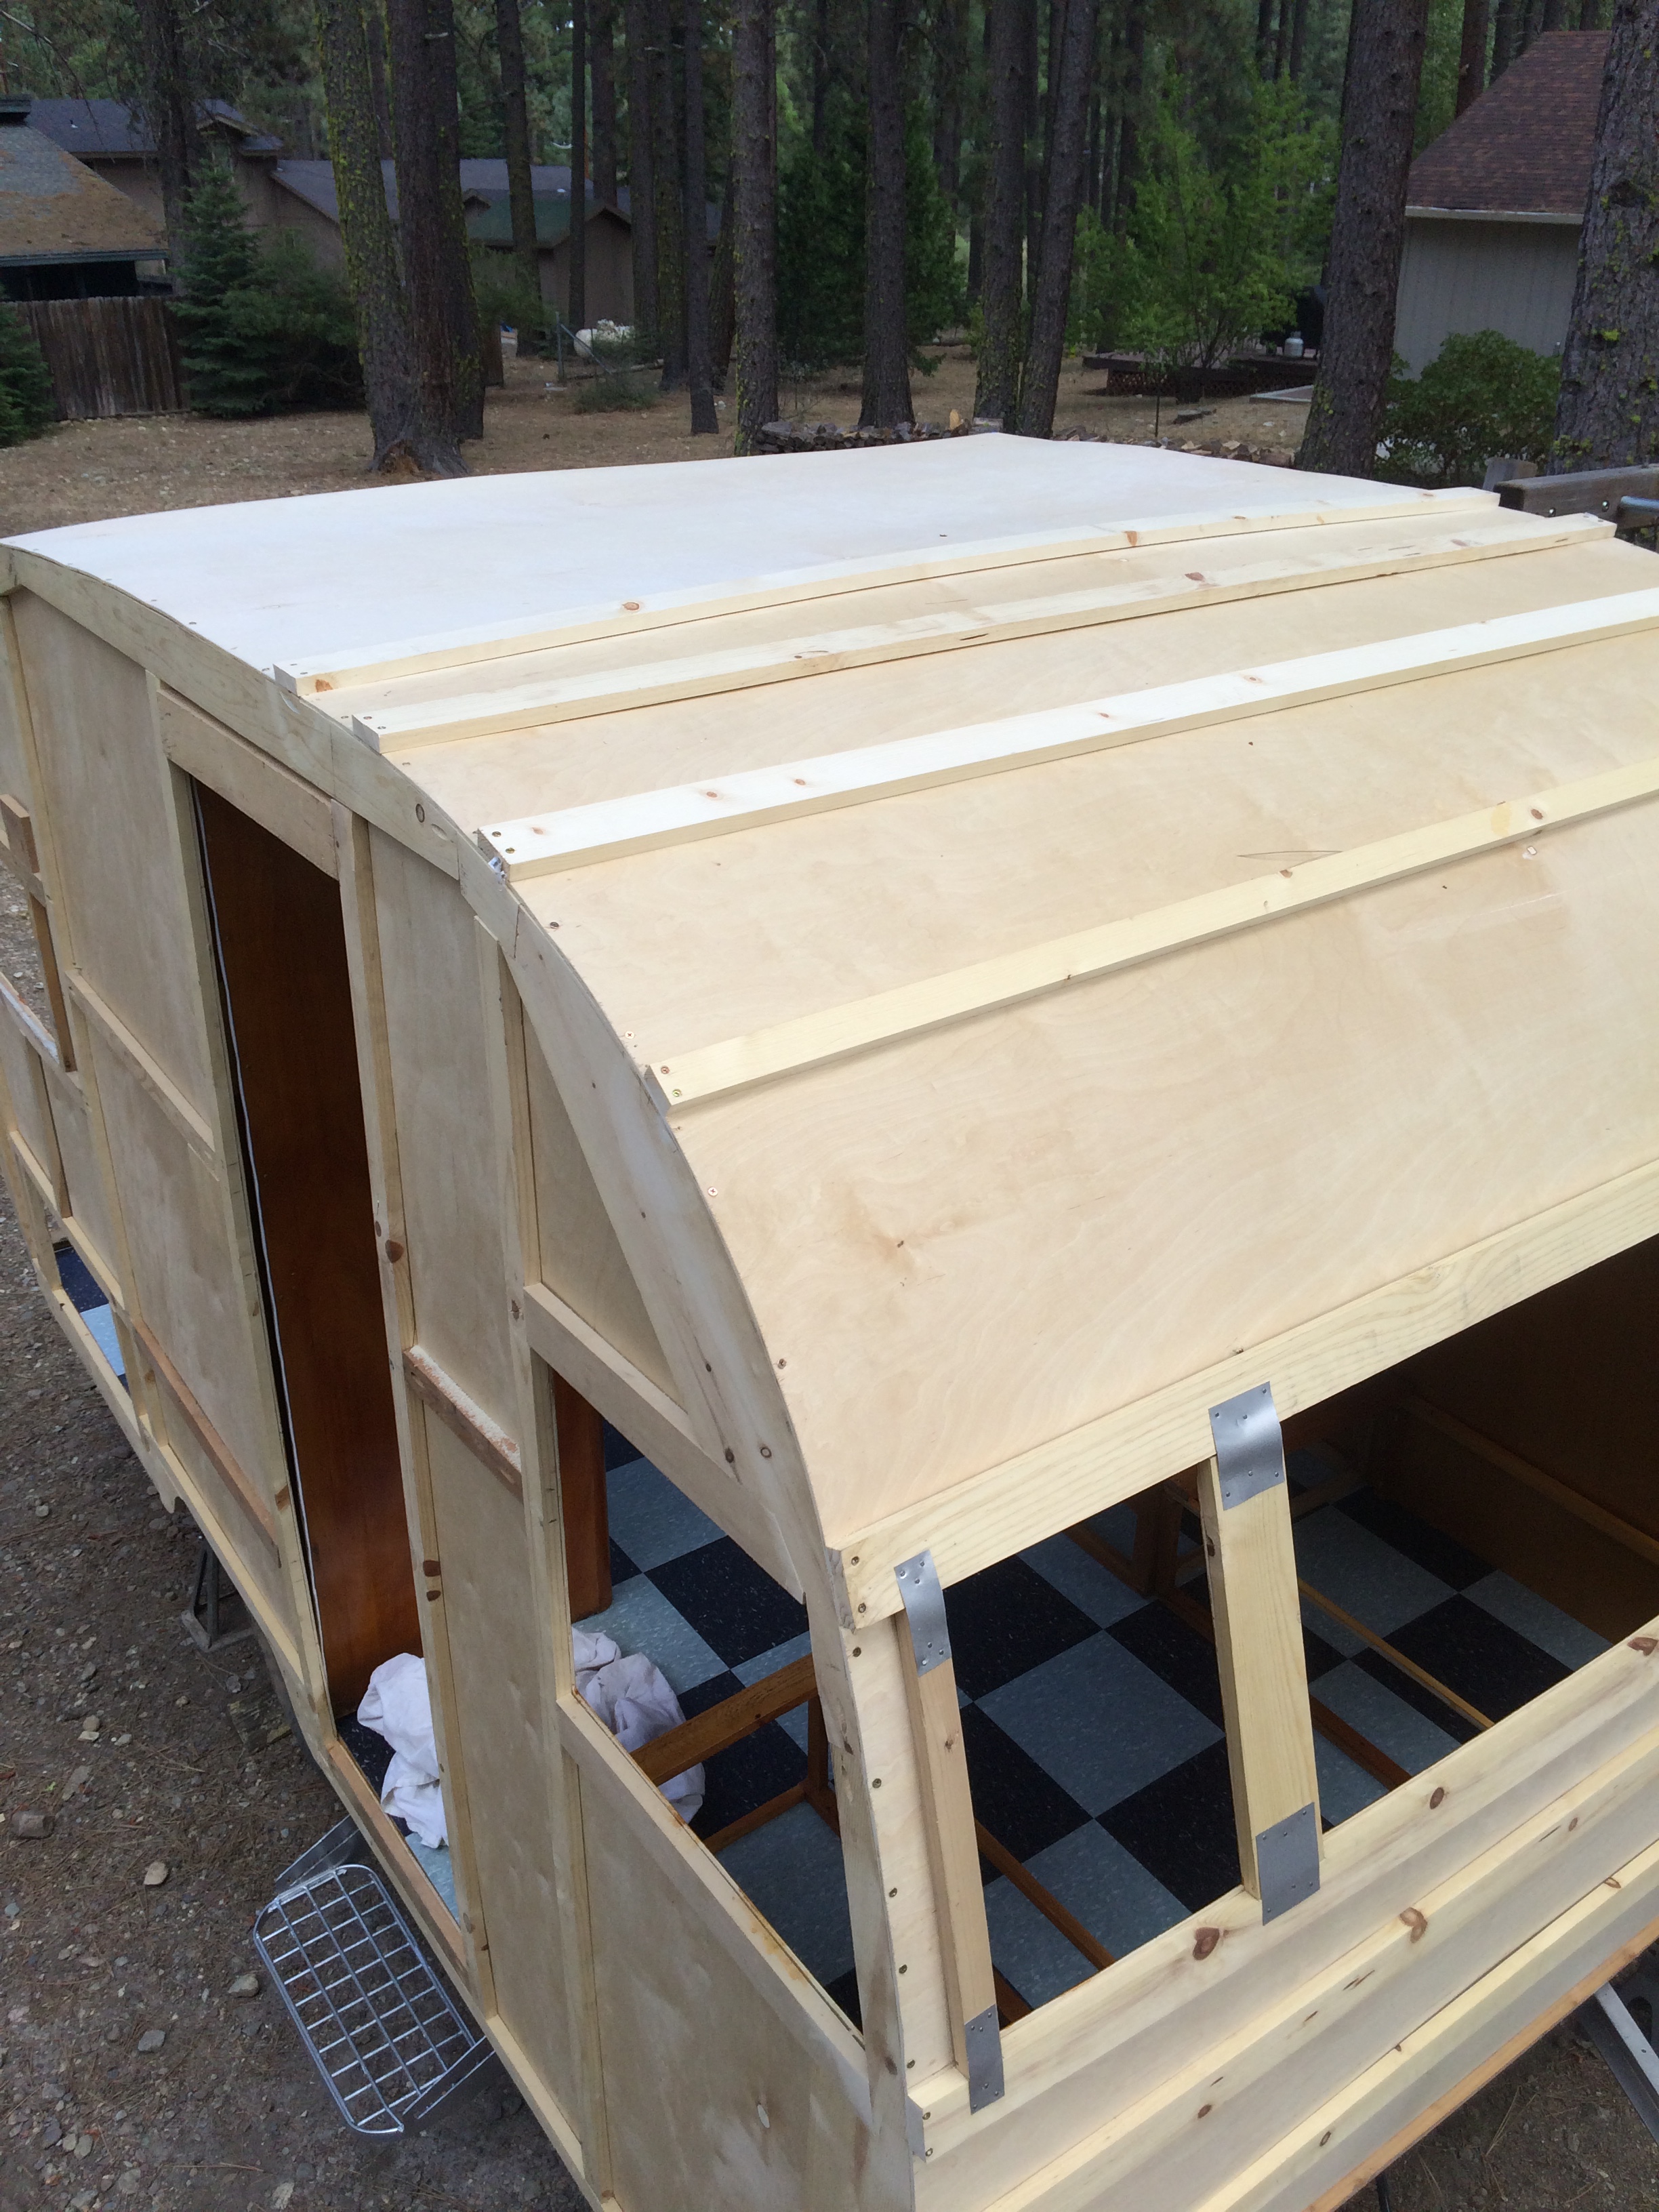
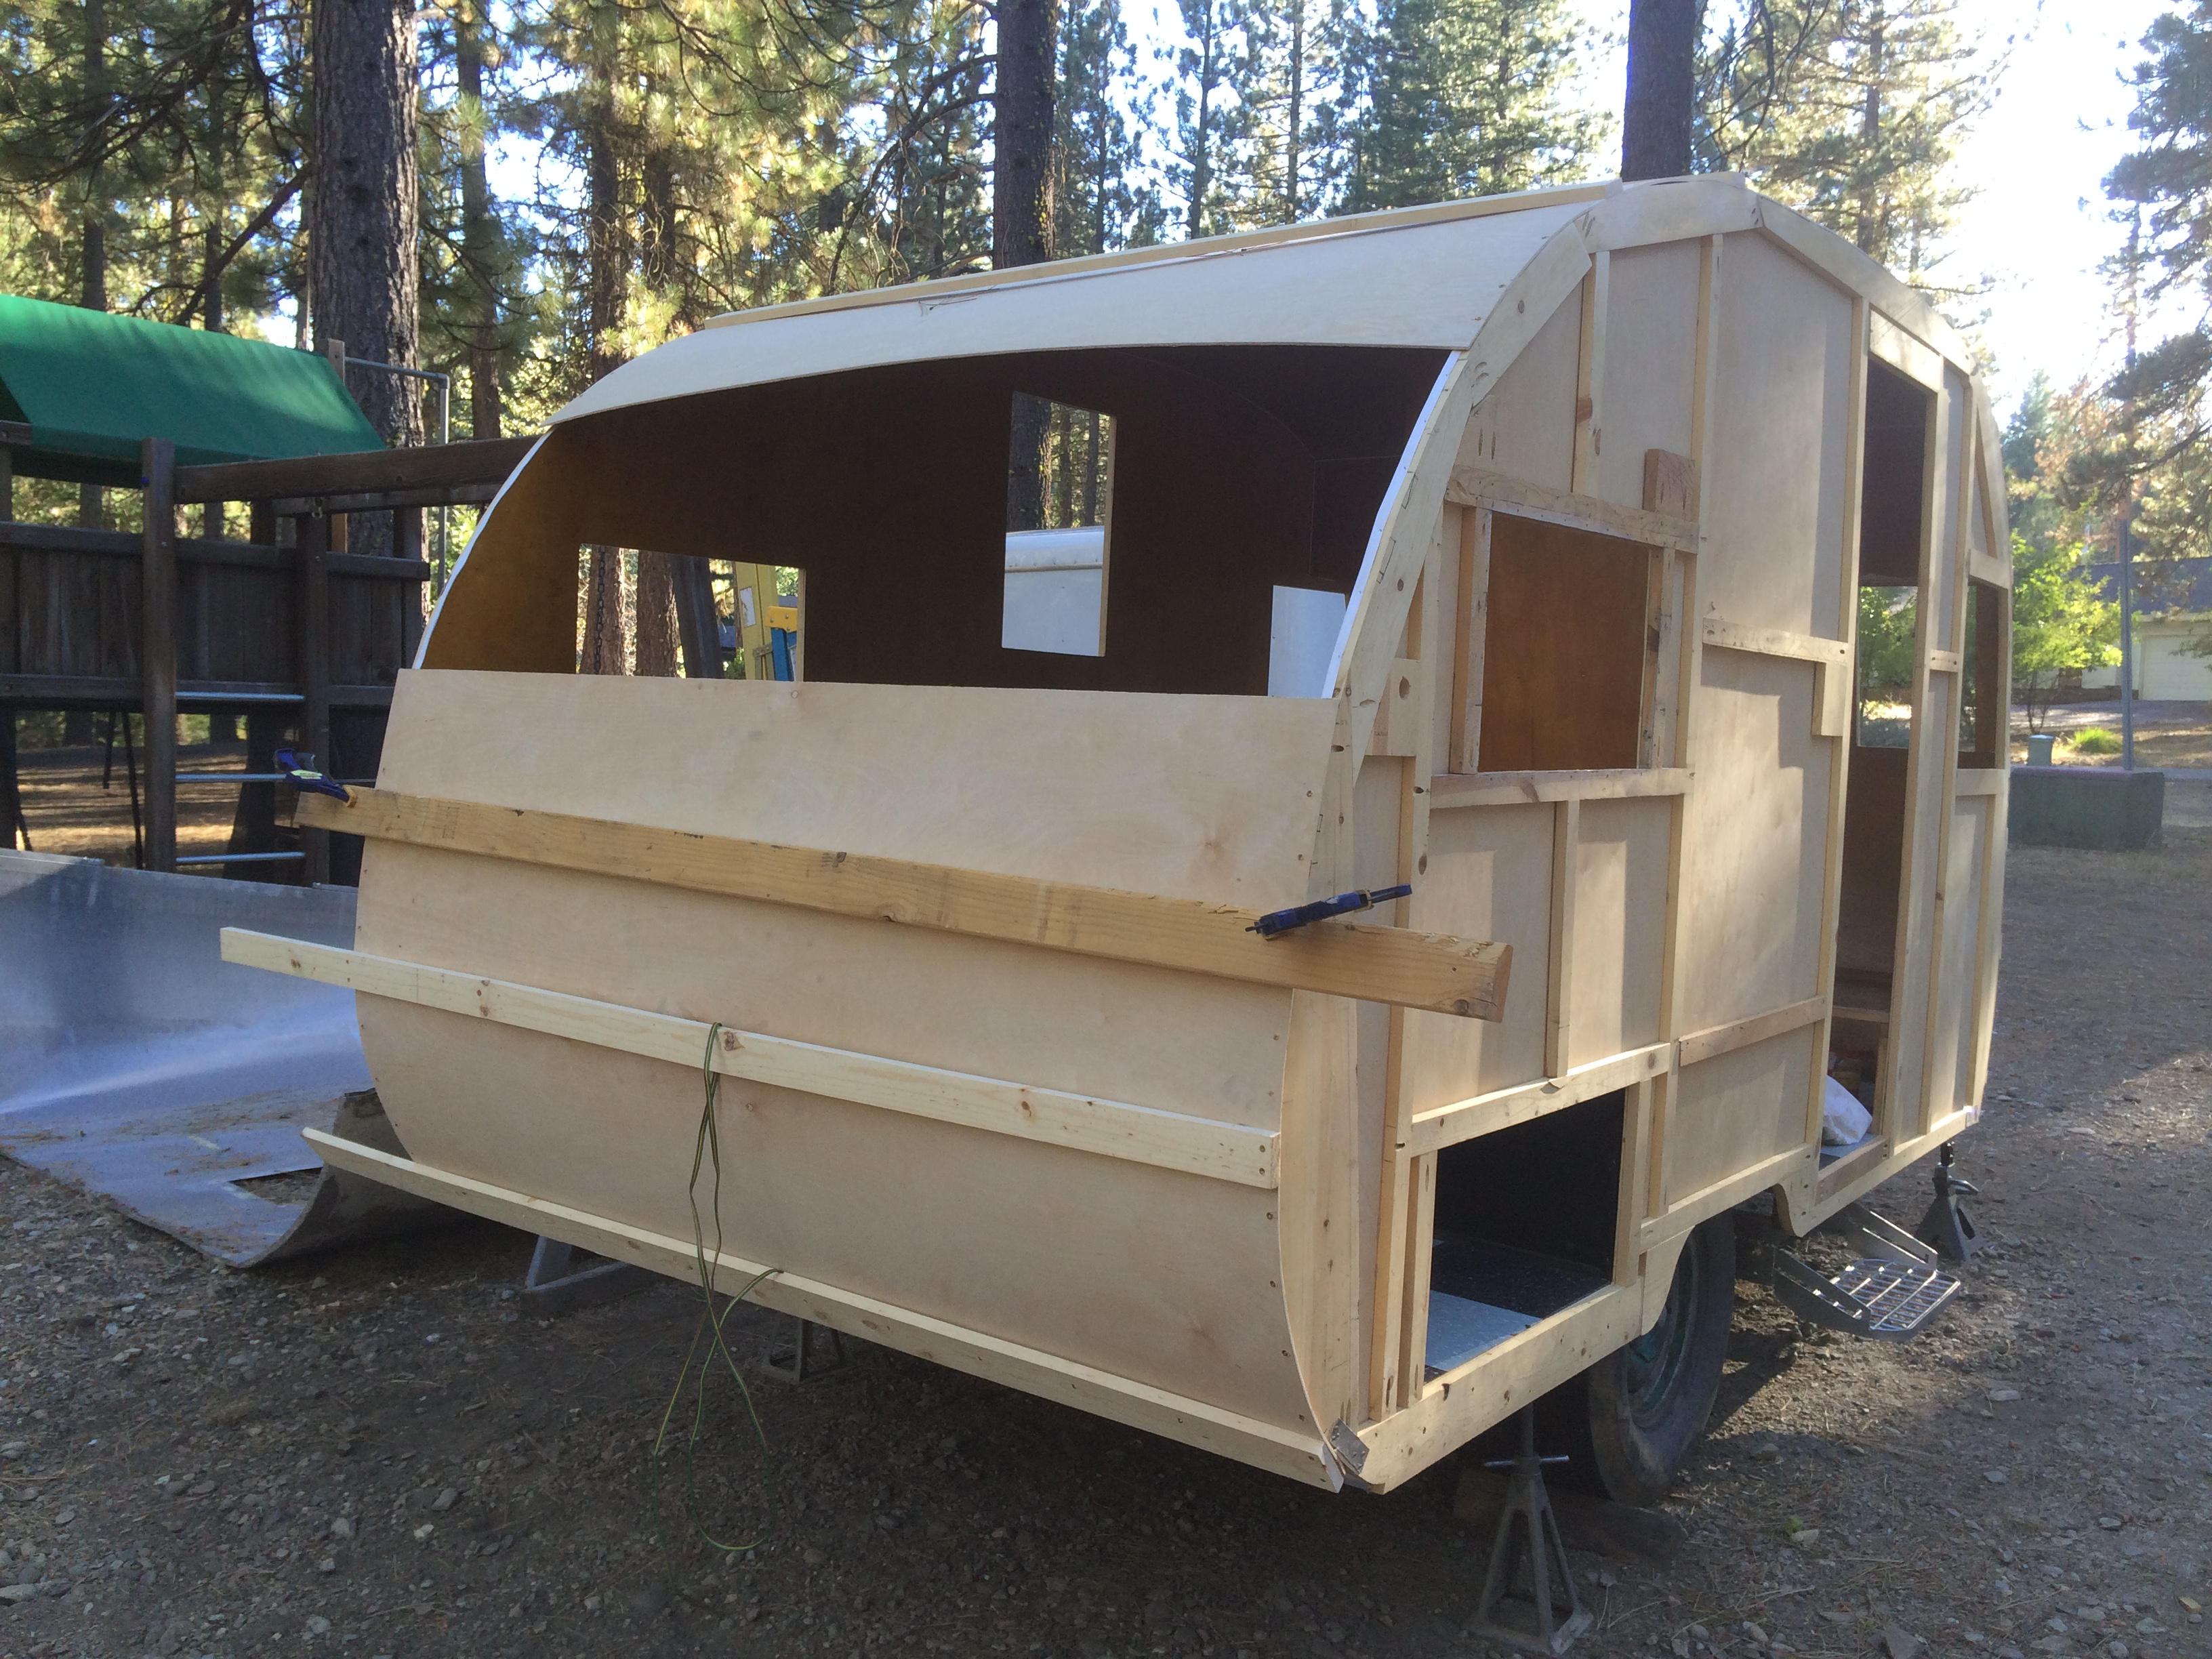
When it was dry, Michael and I installed them. They are screwed into place along the tops of the walls. Then 1x3 pine boards are screwed down over the tops of them. The 1x3s are placed exactly were the old ones were located. This ensures that the upper dinette cabinet will have a stud to be screwed into and the roof vent will be located in the same exact spot. Remember that I’m going to use the old aluminum siding and it already has a vent hole cut into it.
Tip: Don’t cut the hole in the paneling for the vent until you get the roof aluminum on. You'll want to frame out the vent opening with 1x2. Then you can use a router to cut the birch to size using the framing as a guide.
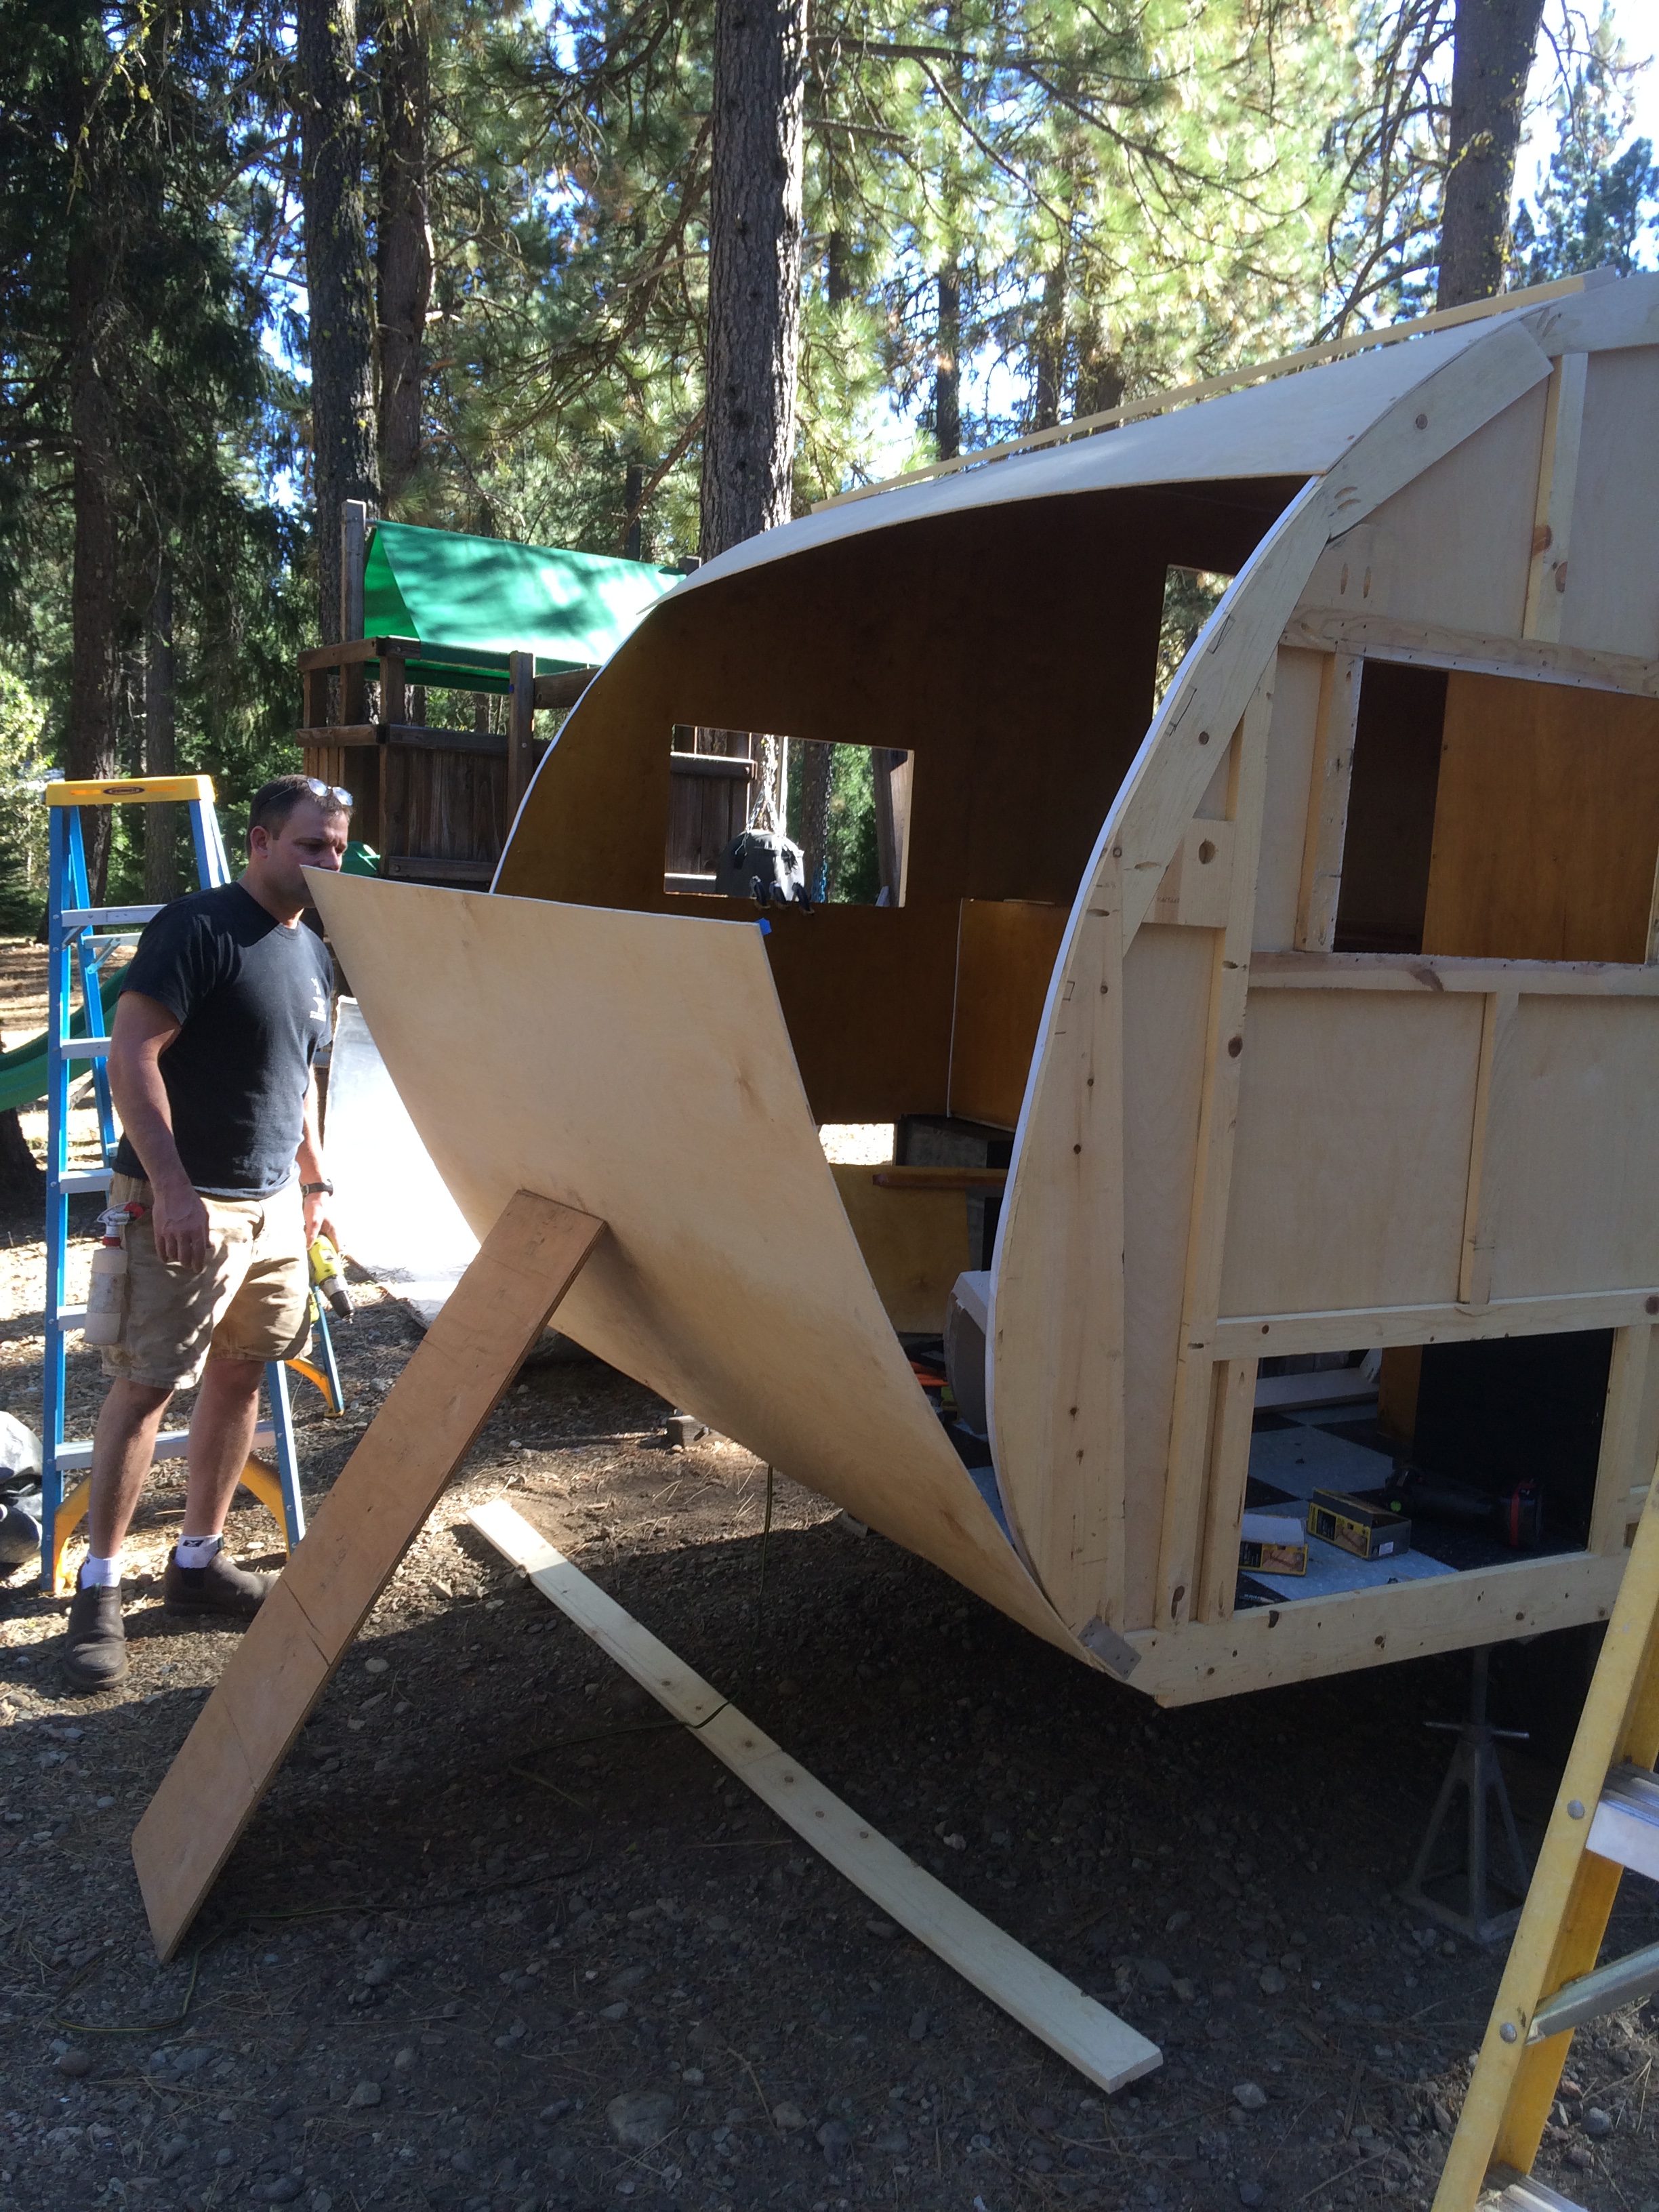
We worked our way up the front and across the body of the camper, bending the birch paneling as we went. We went slowly as to not fracture the paneling. Where the bend is the tightest, above the front and back windows, I sprayed water on the paneling as we bent it to aid in the bending process. I’m not sure how much this helped and it made me nervous to add moisture to the wood when I know that water is the most damaging element for a camper.
Thankfully, it was a very hot day and I knew the water would evaporate quickly. For this reason, I couldn’t help spritzing my husband from my ladder vantage point. I’ve never seen him move so fast!! This is another reason why safety glasses are important! Lol. I’m sure the neighbors thought were nuts!
OK...back to work!!
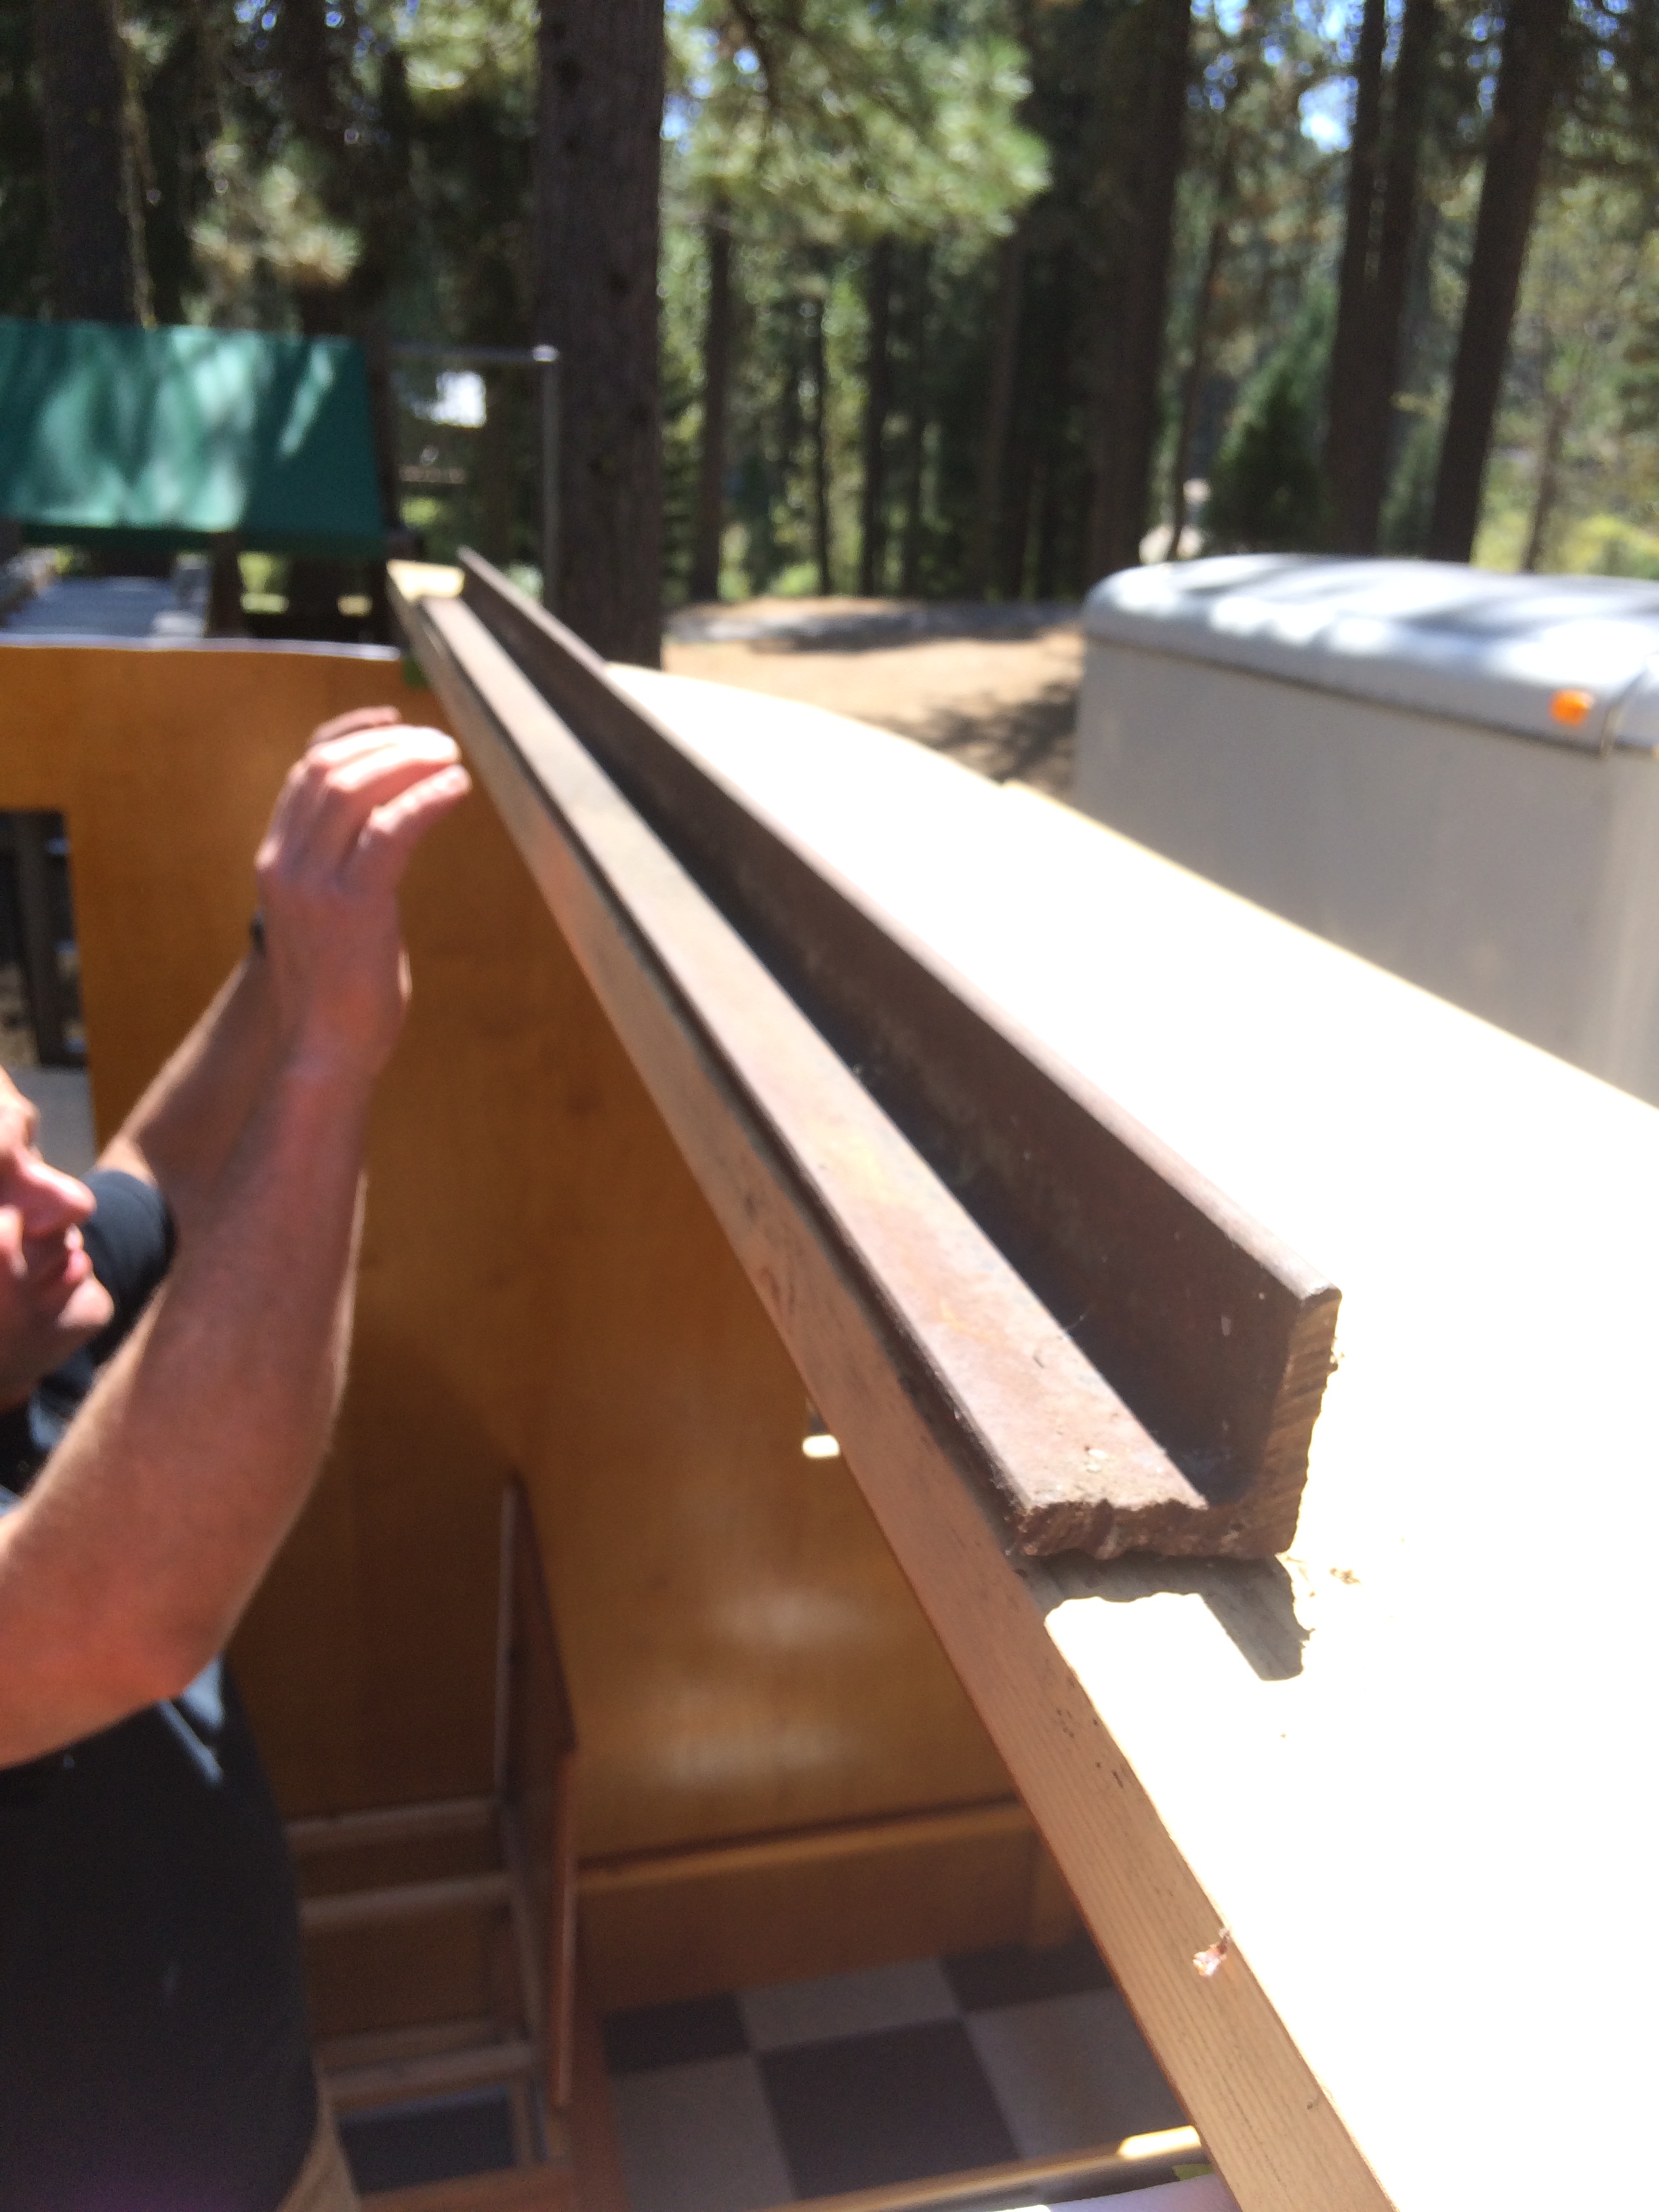
The rib pieces are placed on the seams where two pieces of paneling meet. This will give you something to nail the edge to and keep the paneling from bowing out. The paneling had a tendency to bow out in the middle so we used a large piece of steel to weight the paneling down while we screwed it in place.
Once we got about halfway I decided that I needed to get the wardrobe in place. It is a structural piece and I wanted to make sure of the rib placement above it. The wardrobe is screwed to the side wall, floor and ceiling and needs to have studs behind it. Plus, I didn’t want to forget to put it in…it doesn’t fit through the door. I put the sink base-cabinet in at this time as well.
Now it's time for the rear end. I installed the cabinet frames that support the bed. This, along with the walls provided the curve of the back end.
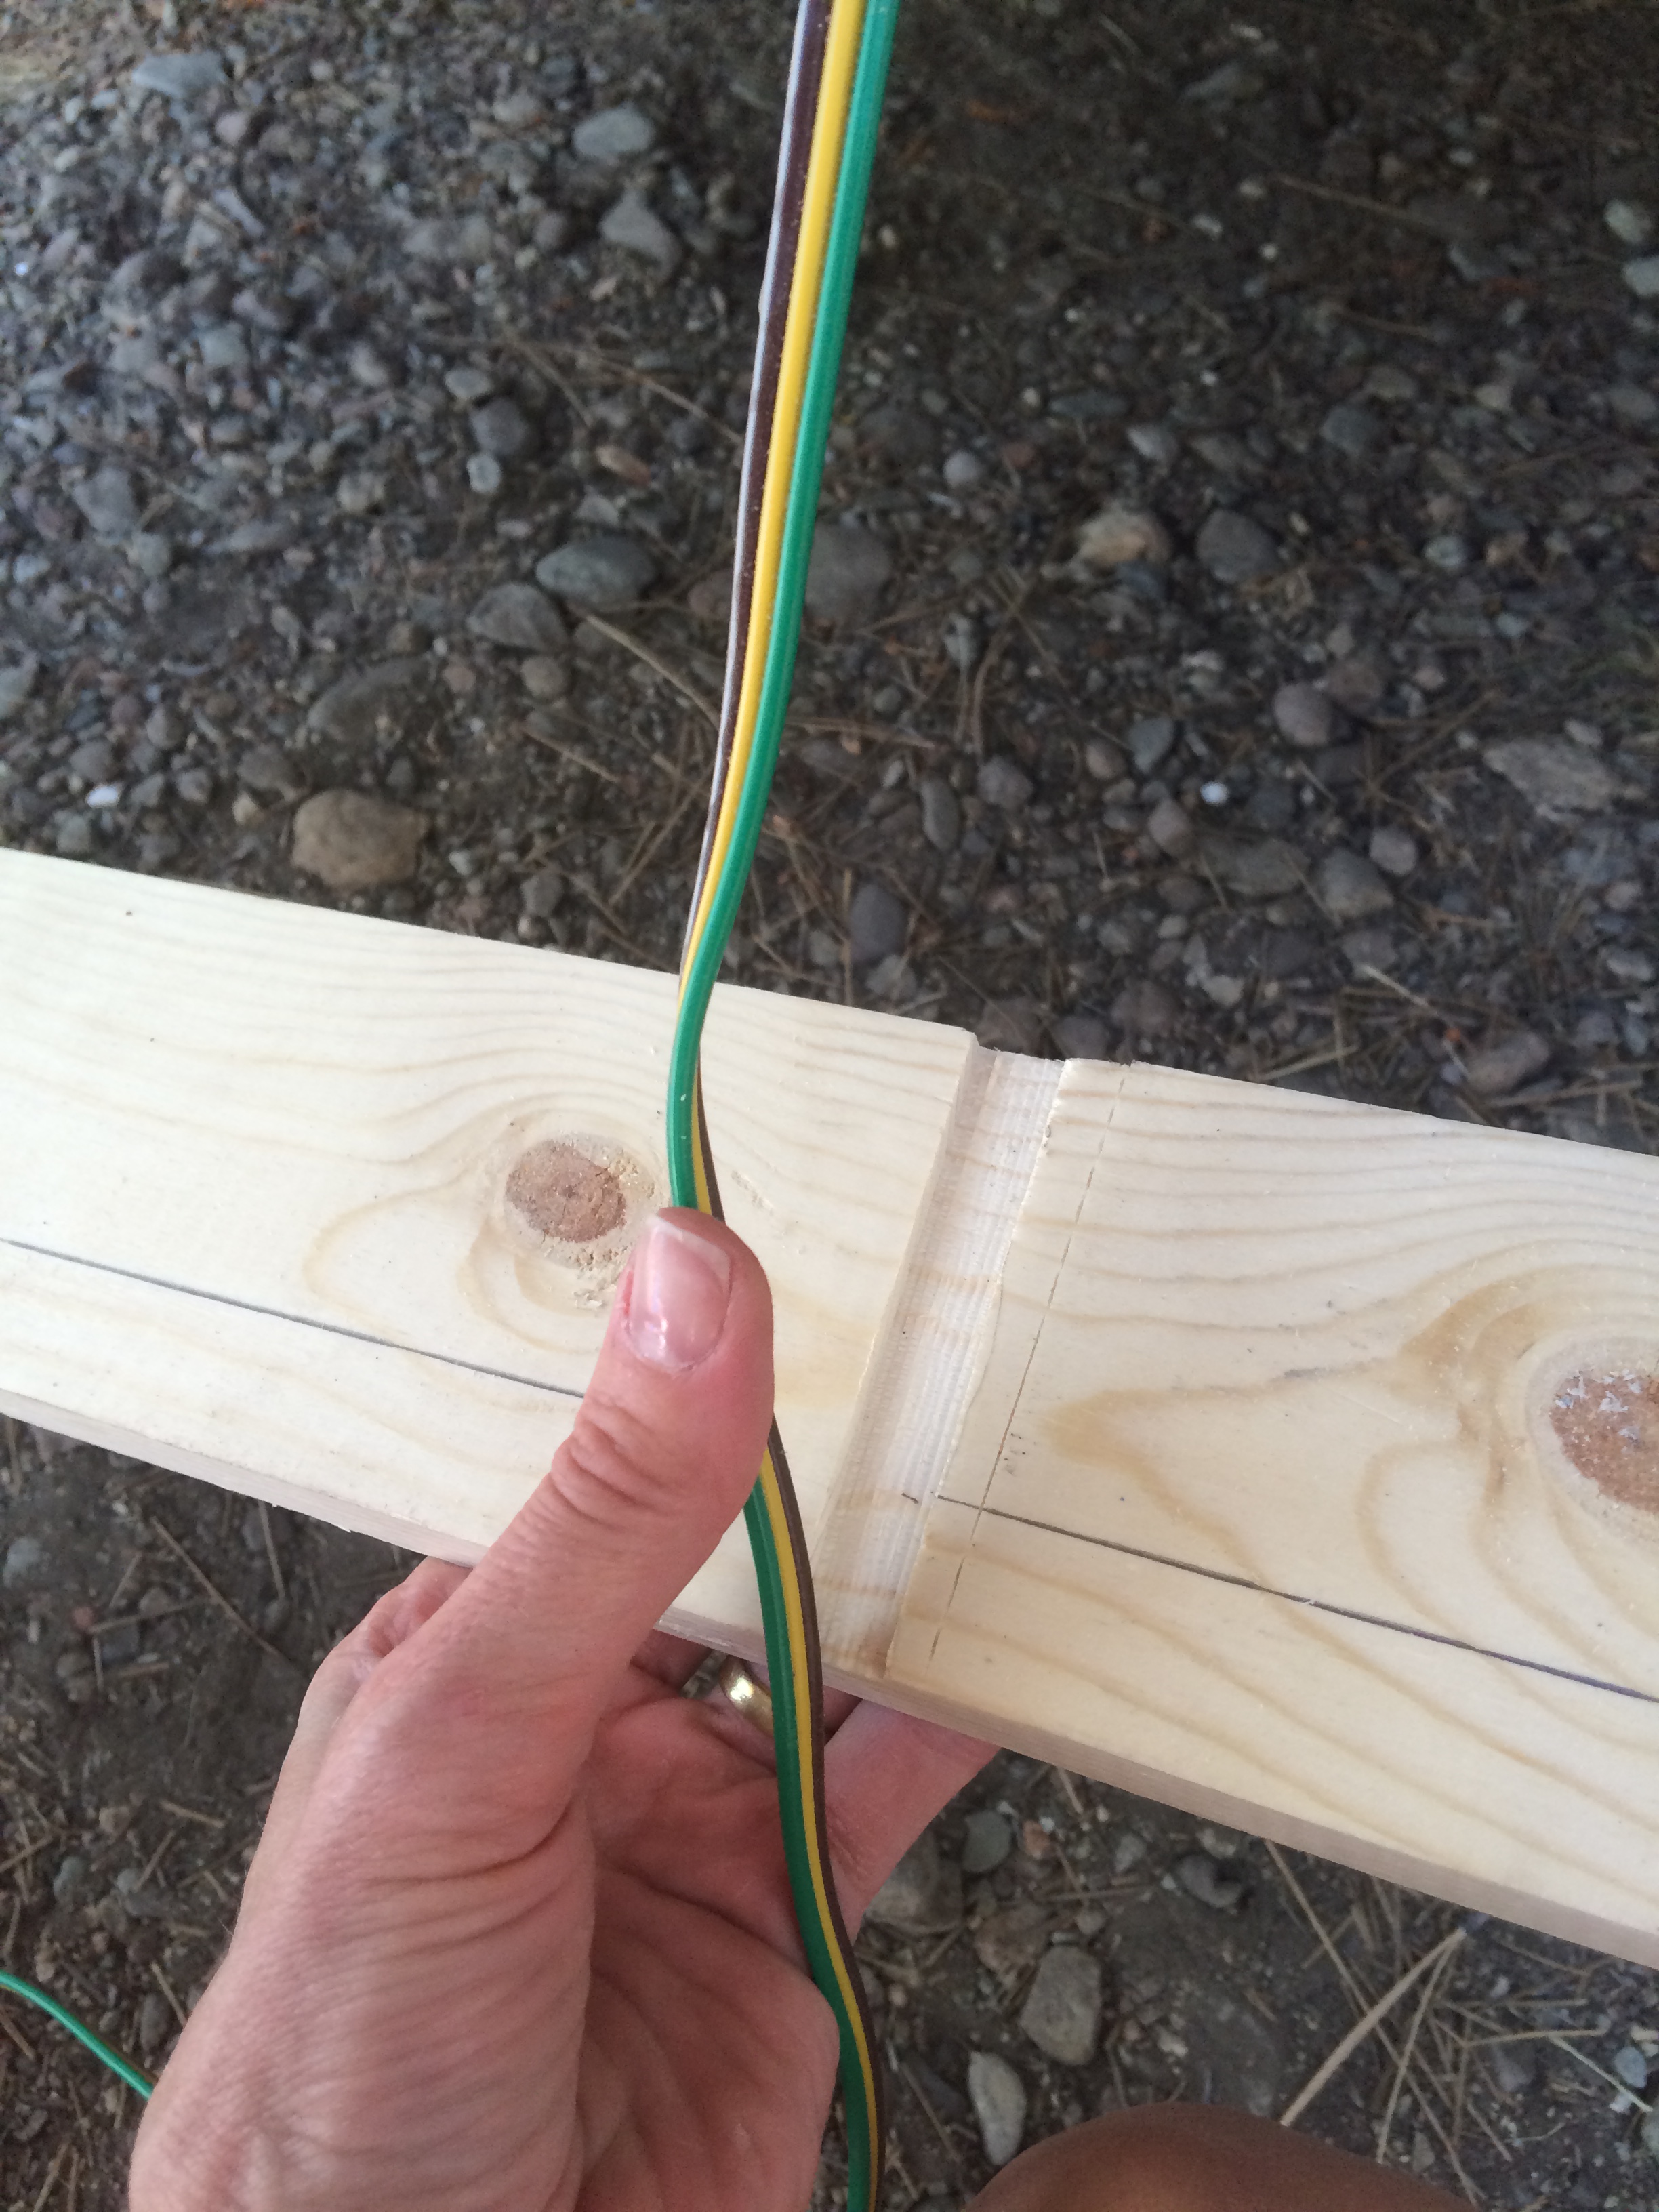
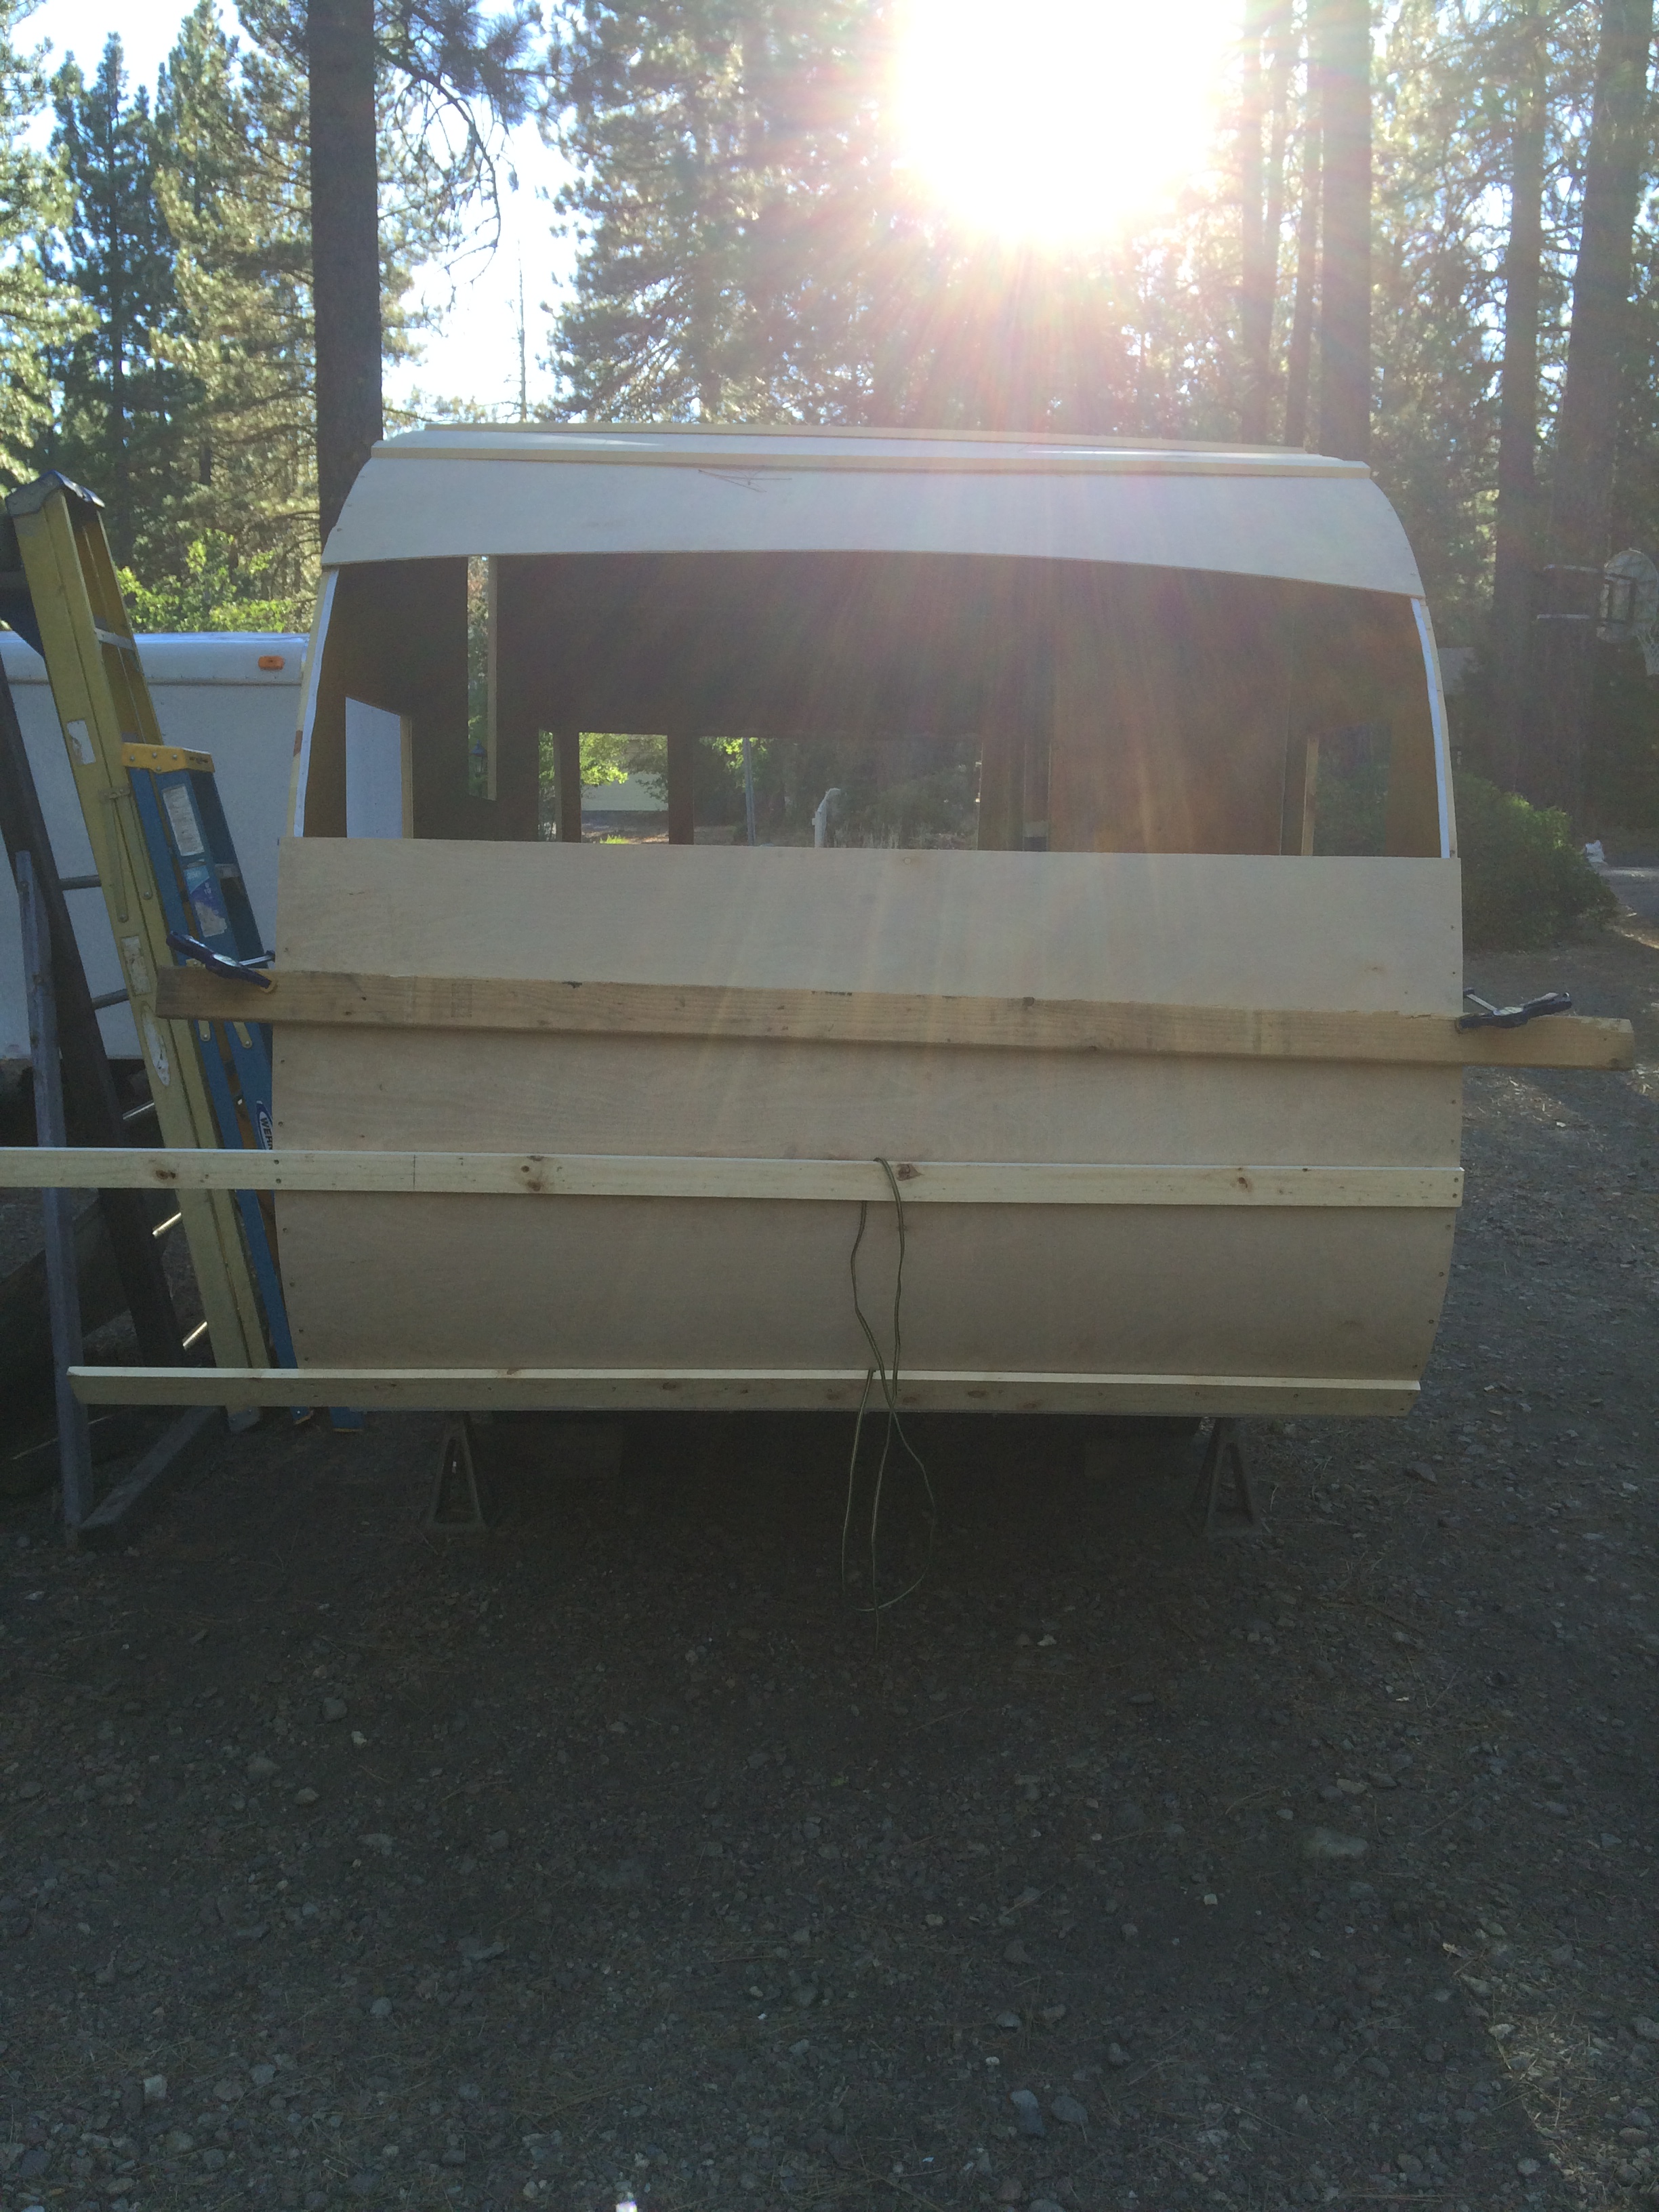
With the back panel schlacked, we screwed it in place. The ribs that support the back need to be notched out to accommodate the trailer tail lights. I used the circular saw with the blade set very shallow. I made a couple of passes until it was the width of my trailer light wire assembly.
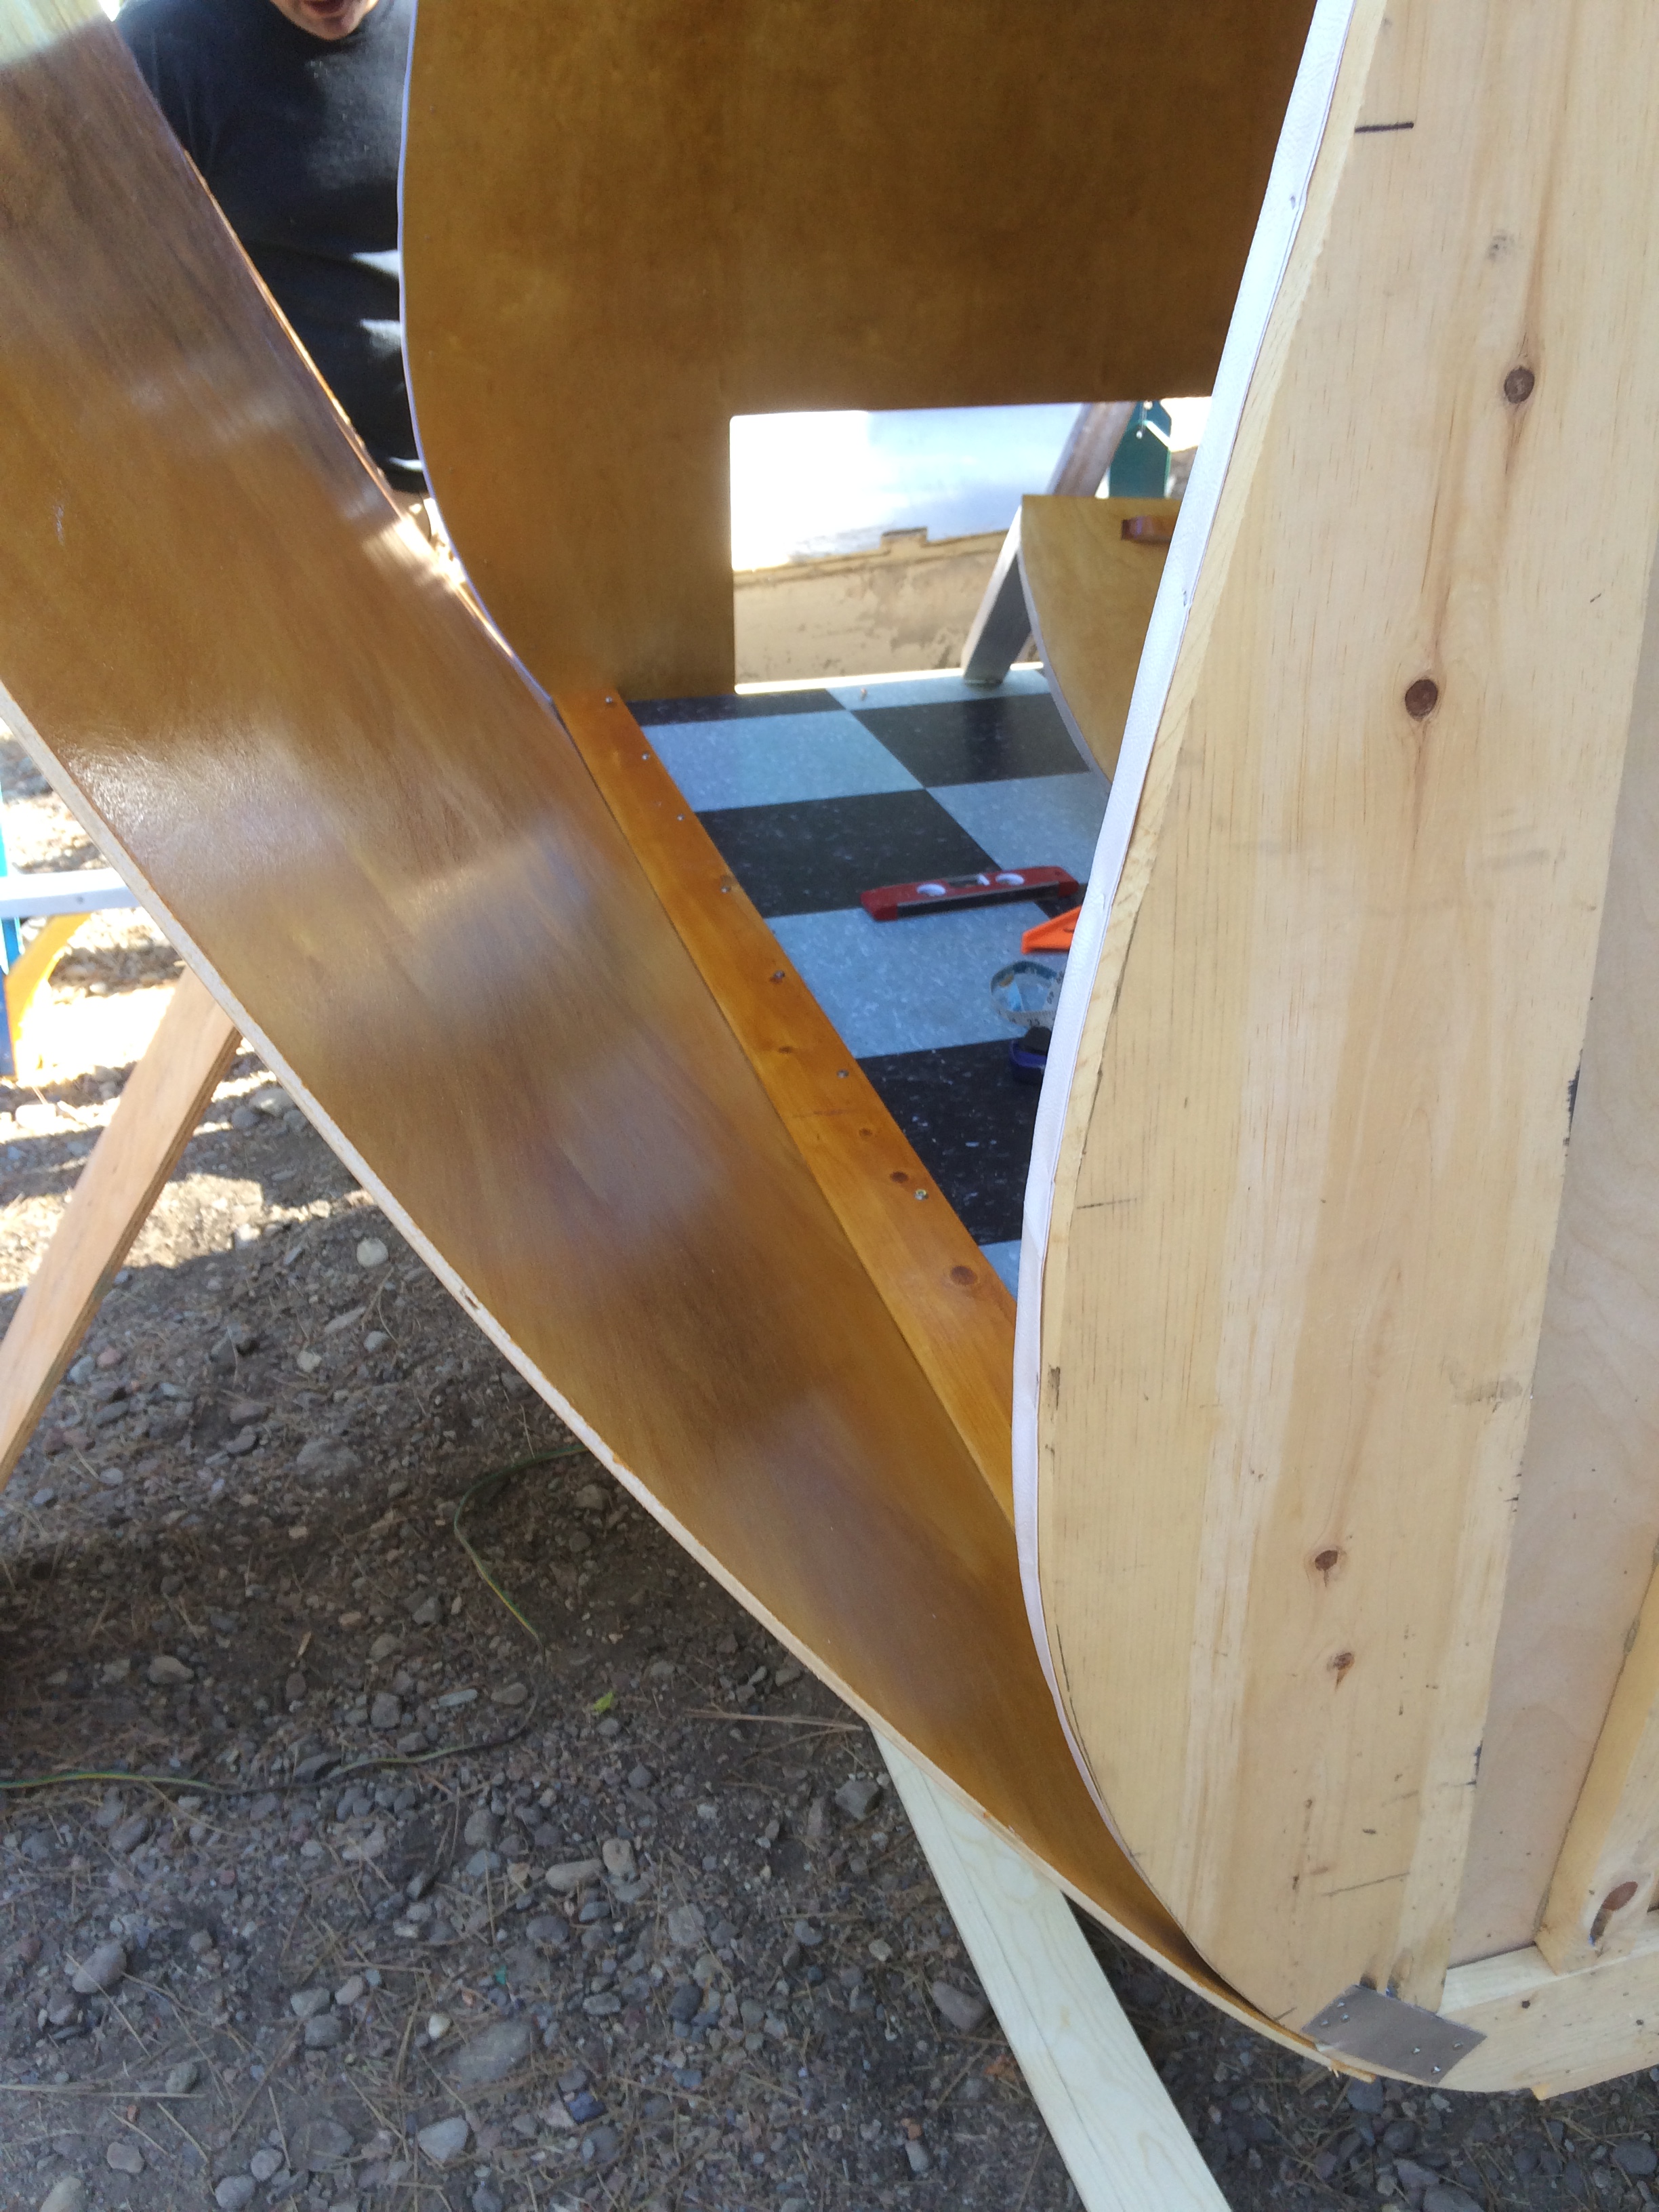
Again, we bent the paneling slowly to make the curve. This curve was more extreme than the front panel.

We worked our way up, clamping and screwing the ribs in place. You can see the trailer tail light wiring hanging in place. It will be hooked up to the lights when I install the aluminum.
This part of the project took a couple of days. I'm so thankful for the help of my husband, Michael. I couldn't have done it without him.
Happy Building!

Related Posts
Related Posts
Copy of Retro Epoxy Counter Top

For the 1954 Airlight 1954 Airlight Bar Trailer Isn’t she…
Retro Epoxy Counter Top
For the 1954 Airlight 1954 Airlight Bar Trailer Isn’t she…
Flamingo Santa Hat DIY

I know my kids will think I’ve absolutely lost my…
Vintage Light Restoration

This is my favorite part of my work shop communication…
How to Wire Your Vintage Camper

Vintage Camper Restoration DIY Did you know that there are…