
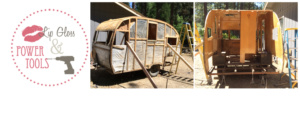
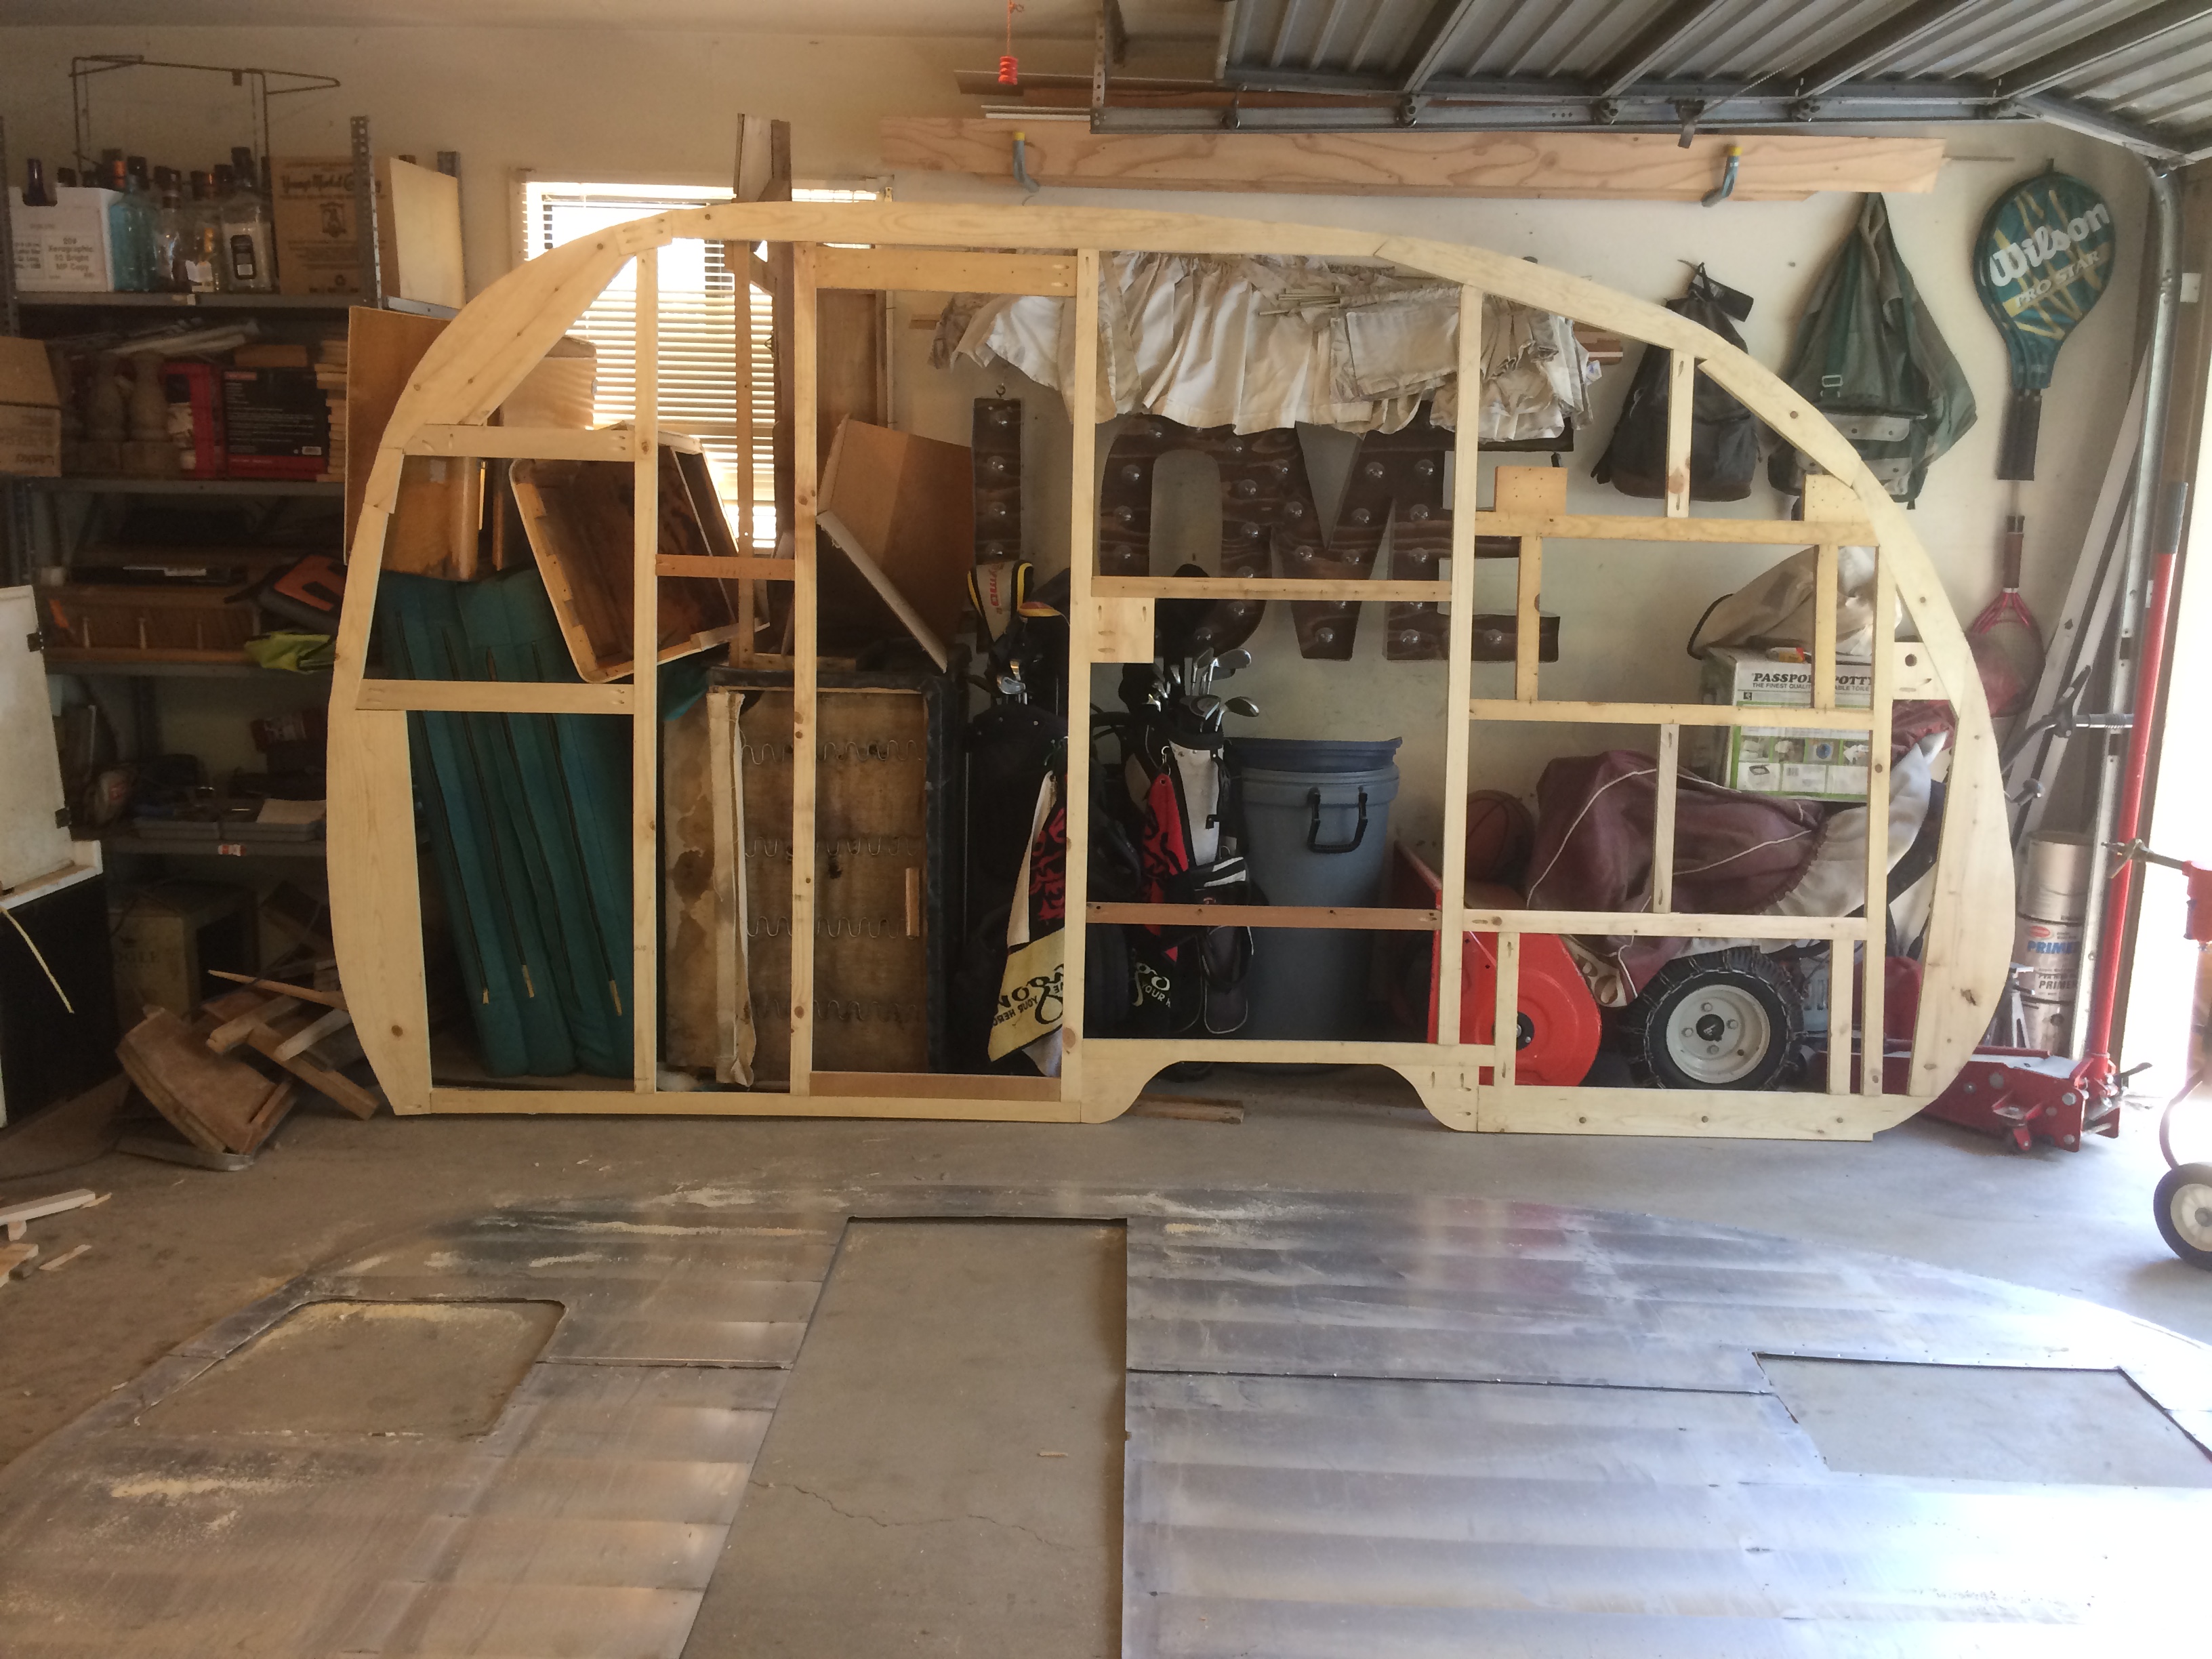
The framing and paneling on my 1956 Shasta camper suffered the most damage over the years. The windows and corners leaked and caused wood rot. This is a common problem with campers of this age. Along with the walls, parts of the sub-floor were soft and rotten as well.

Exterior trim pieces are falling off

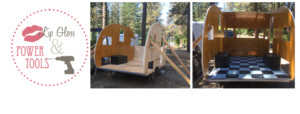
Upper dinette cabinet and table bracket; water damaged wood paneling.
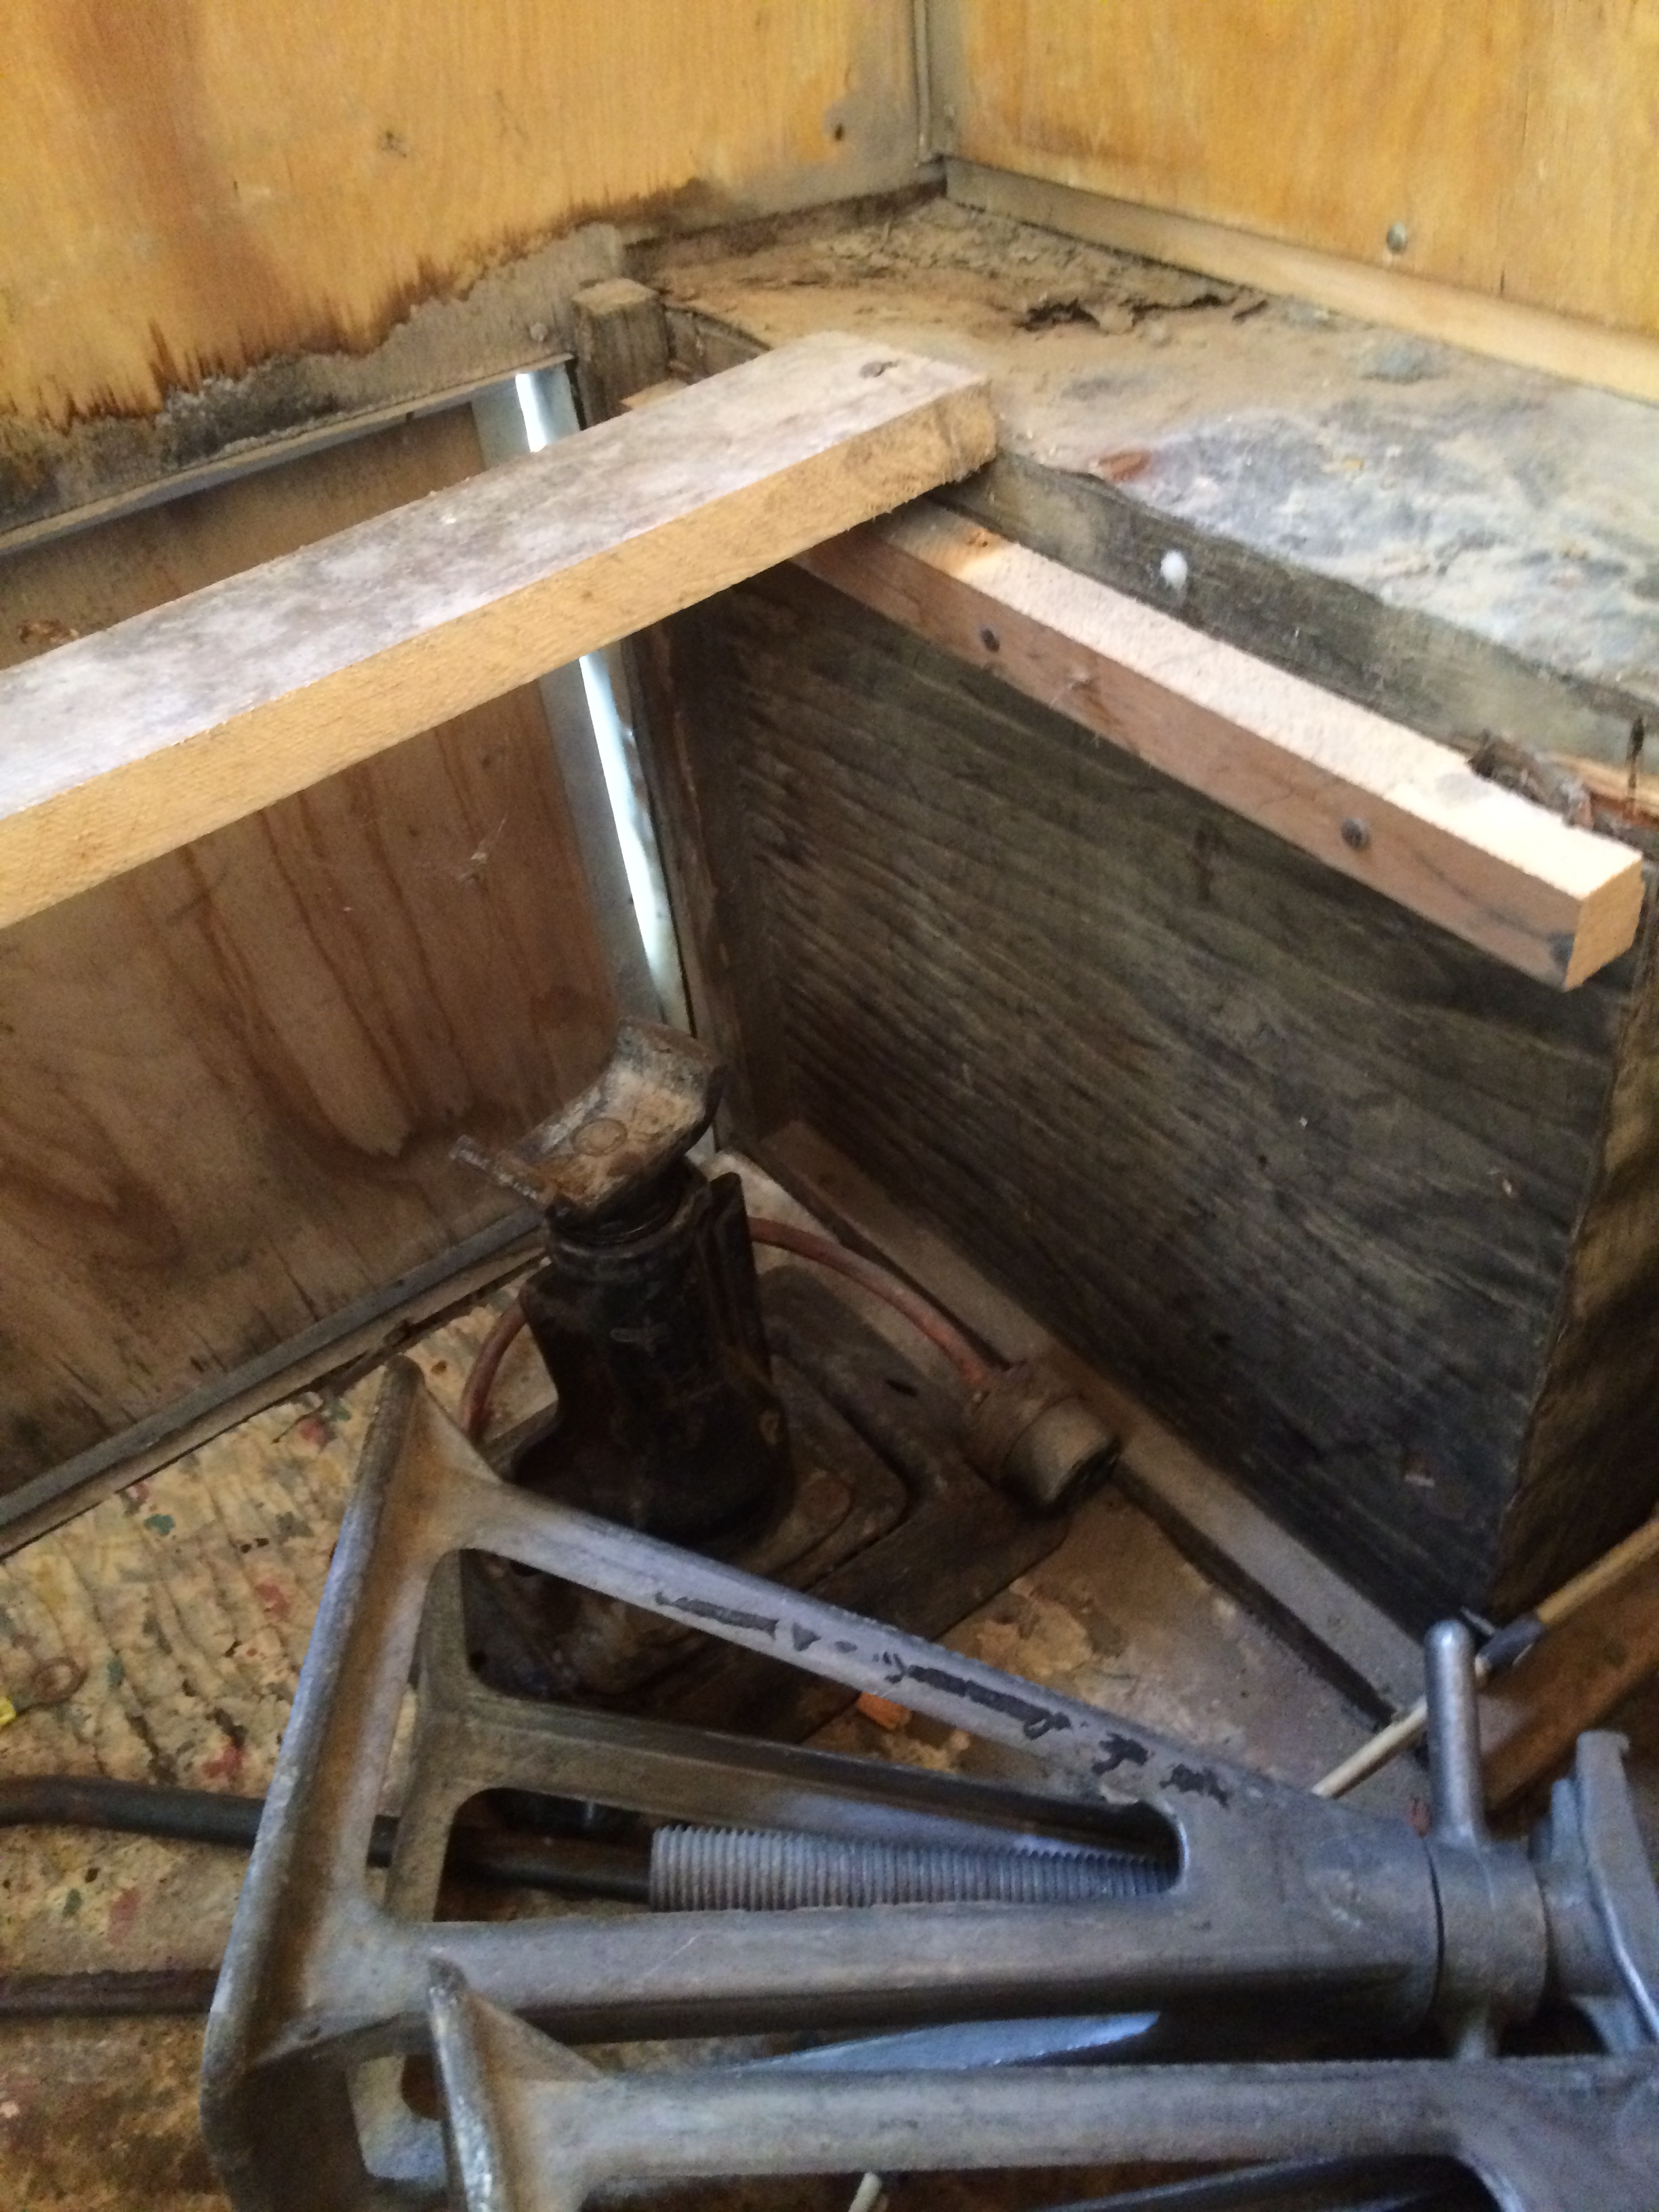
Bed support/wheel well
I was hoping that I could just repair the damage but it was like pulling a thread on a sweater; the damage went too deep.
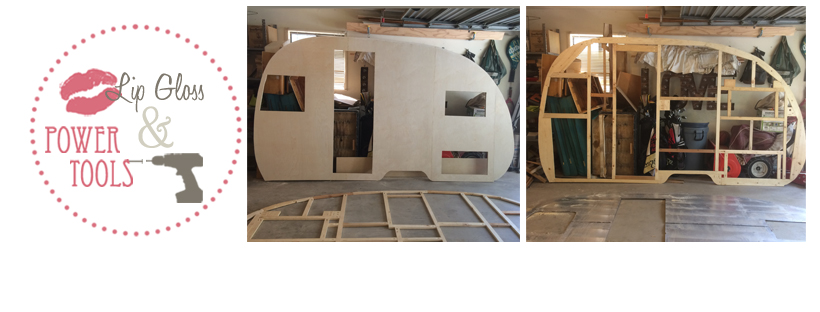
For this reason, I decided to rebuild the camper from the trailer frame up. After it was completely dismantled, I got to work on replacing the old frame.
(See my post on how to dismantle your vintage camper for tips and tricks on how you can do it too.)
Here are the tools I used:
- Safety glasses
- Chop saw
- Clamps
- Tape measure
- Pencil
- Kreg Jig
- Drill and bits
- Air compressor
- Finish nailer and nails
- Router with cut off bit
- Hammer
Supplies:
- 1x2 pine boards
- 1x3 pine boards
- 1x4 pine boards
- 1/4 in birch paneling
- Screw nails 3/4 inch
- Finish nails for nail gun or regular 3/4 inch wire nails
- Kreg jig screws
- PL Fast Grab Premium adhesive
- Amber Schlack
- Small roller and brush
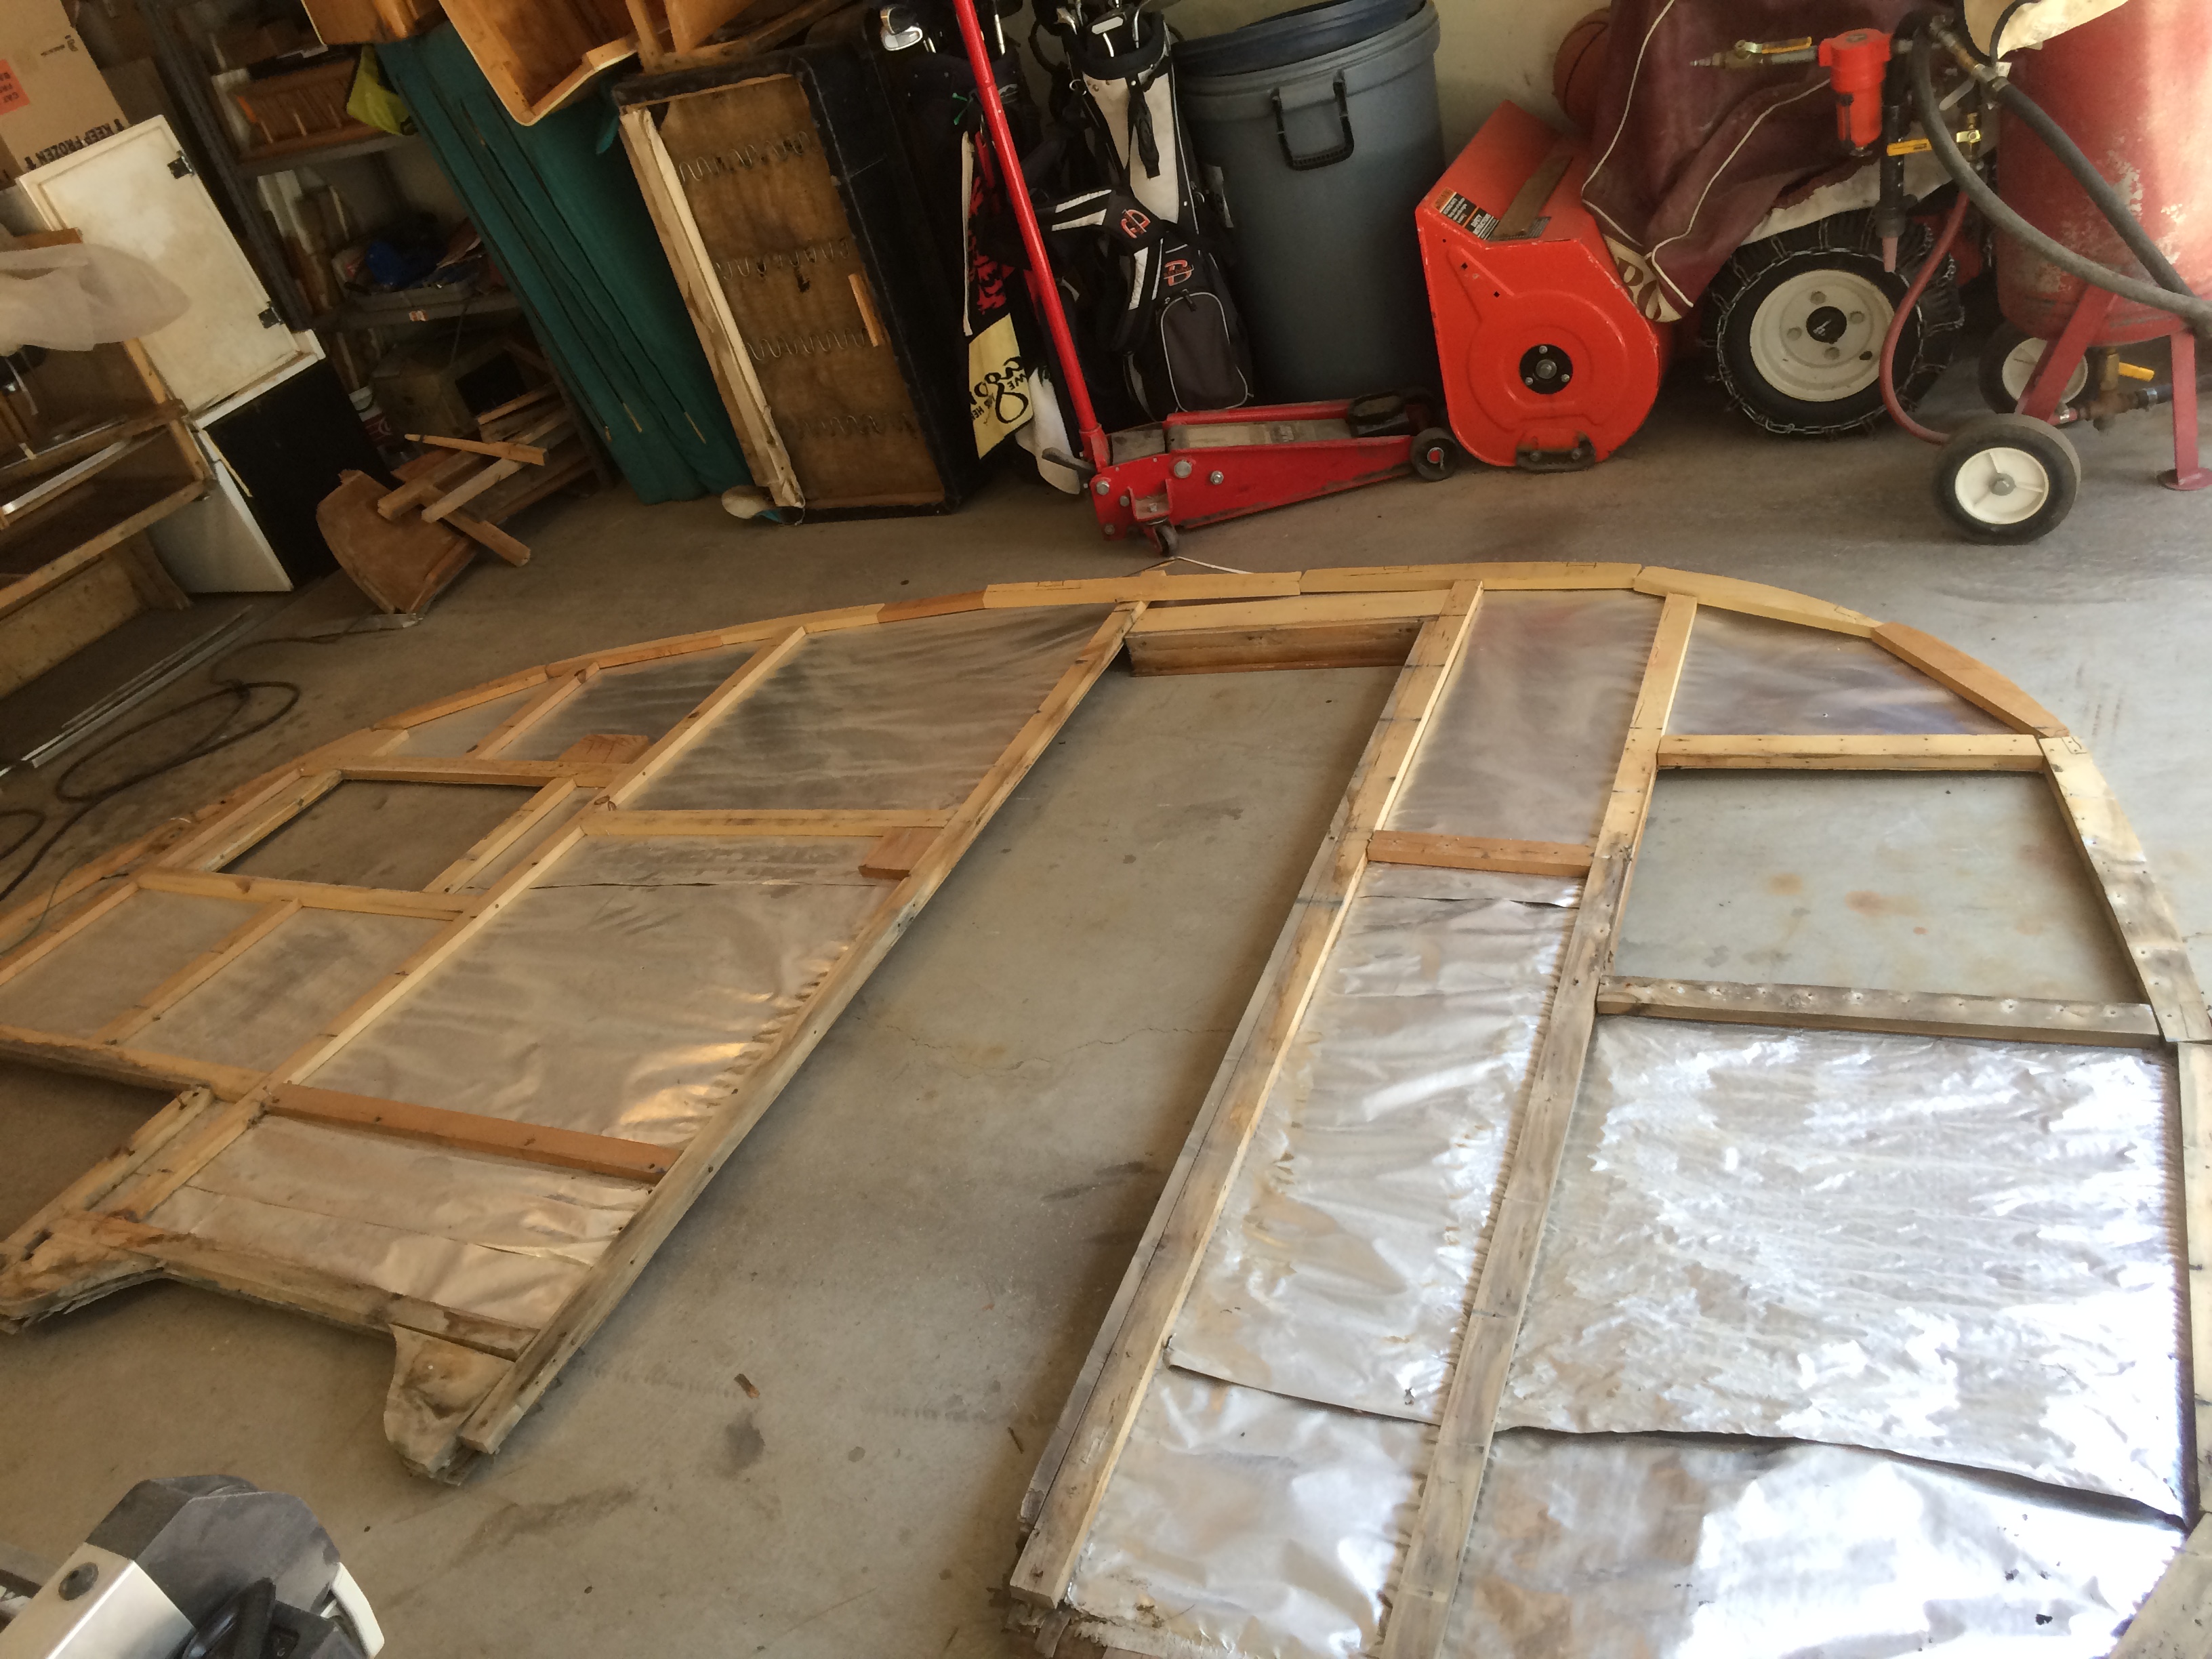
Here’s how the 1956 Shasta is assembled. Other campers may be different.

- The sides are framed and paneling is applied.
- The framing is ¾ inch smaller than the aluminum siding. This allowance is for the ribs that will run along the top and ends of the camper. Remember that 1x lumber isn’t really 1 inch thick. It’s actually ¾ in thick.
- The sides are then screwed to the outside edge of the trailer frame/joist.
- Ribs are screwed in place along the top and ends.
- ¾ shim strips are nailed along the edges to fill the gap between the ribs.
I used the old frame as a template.
Originally, the side wall frames were built out of 1x2 and 1x3 pine boards that were stapled together. (Very large staples.) I use my Kreg jig pocket-hole tool for the rebuild. I felt this was a stronger joint.
I know this might look or sound intimidating but I assure you that it was easy and really fun. I enjoyed this part of the project and I totally recommend getting a Kreg jig for this and many other projects. I can’t live without this tool! (And they don’t pay me to say this!) There are lots of YouTube videos on how to use the tool and it comes with instructions that are very easy to follow.
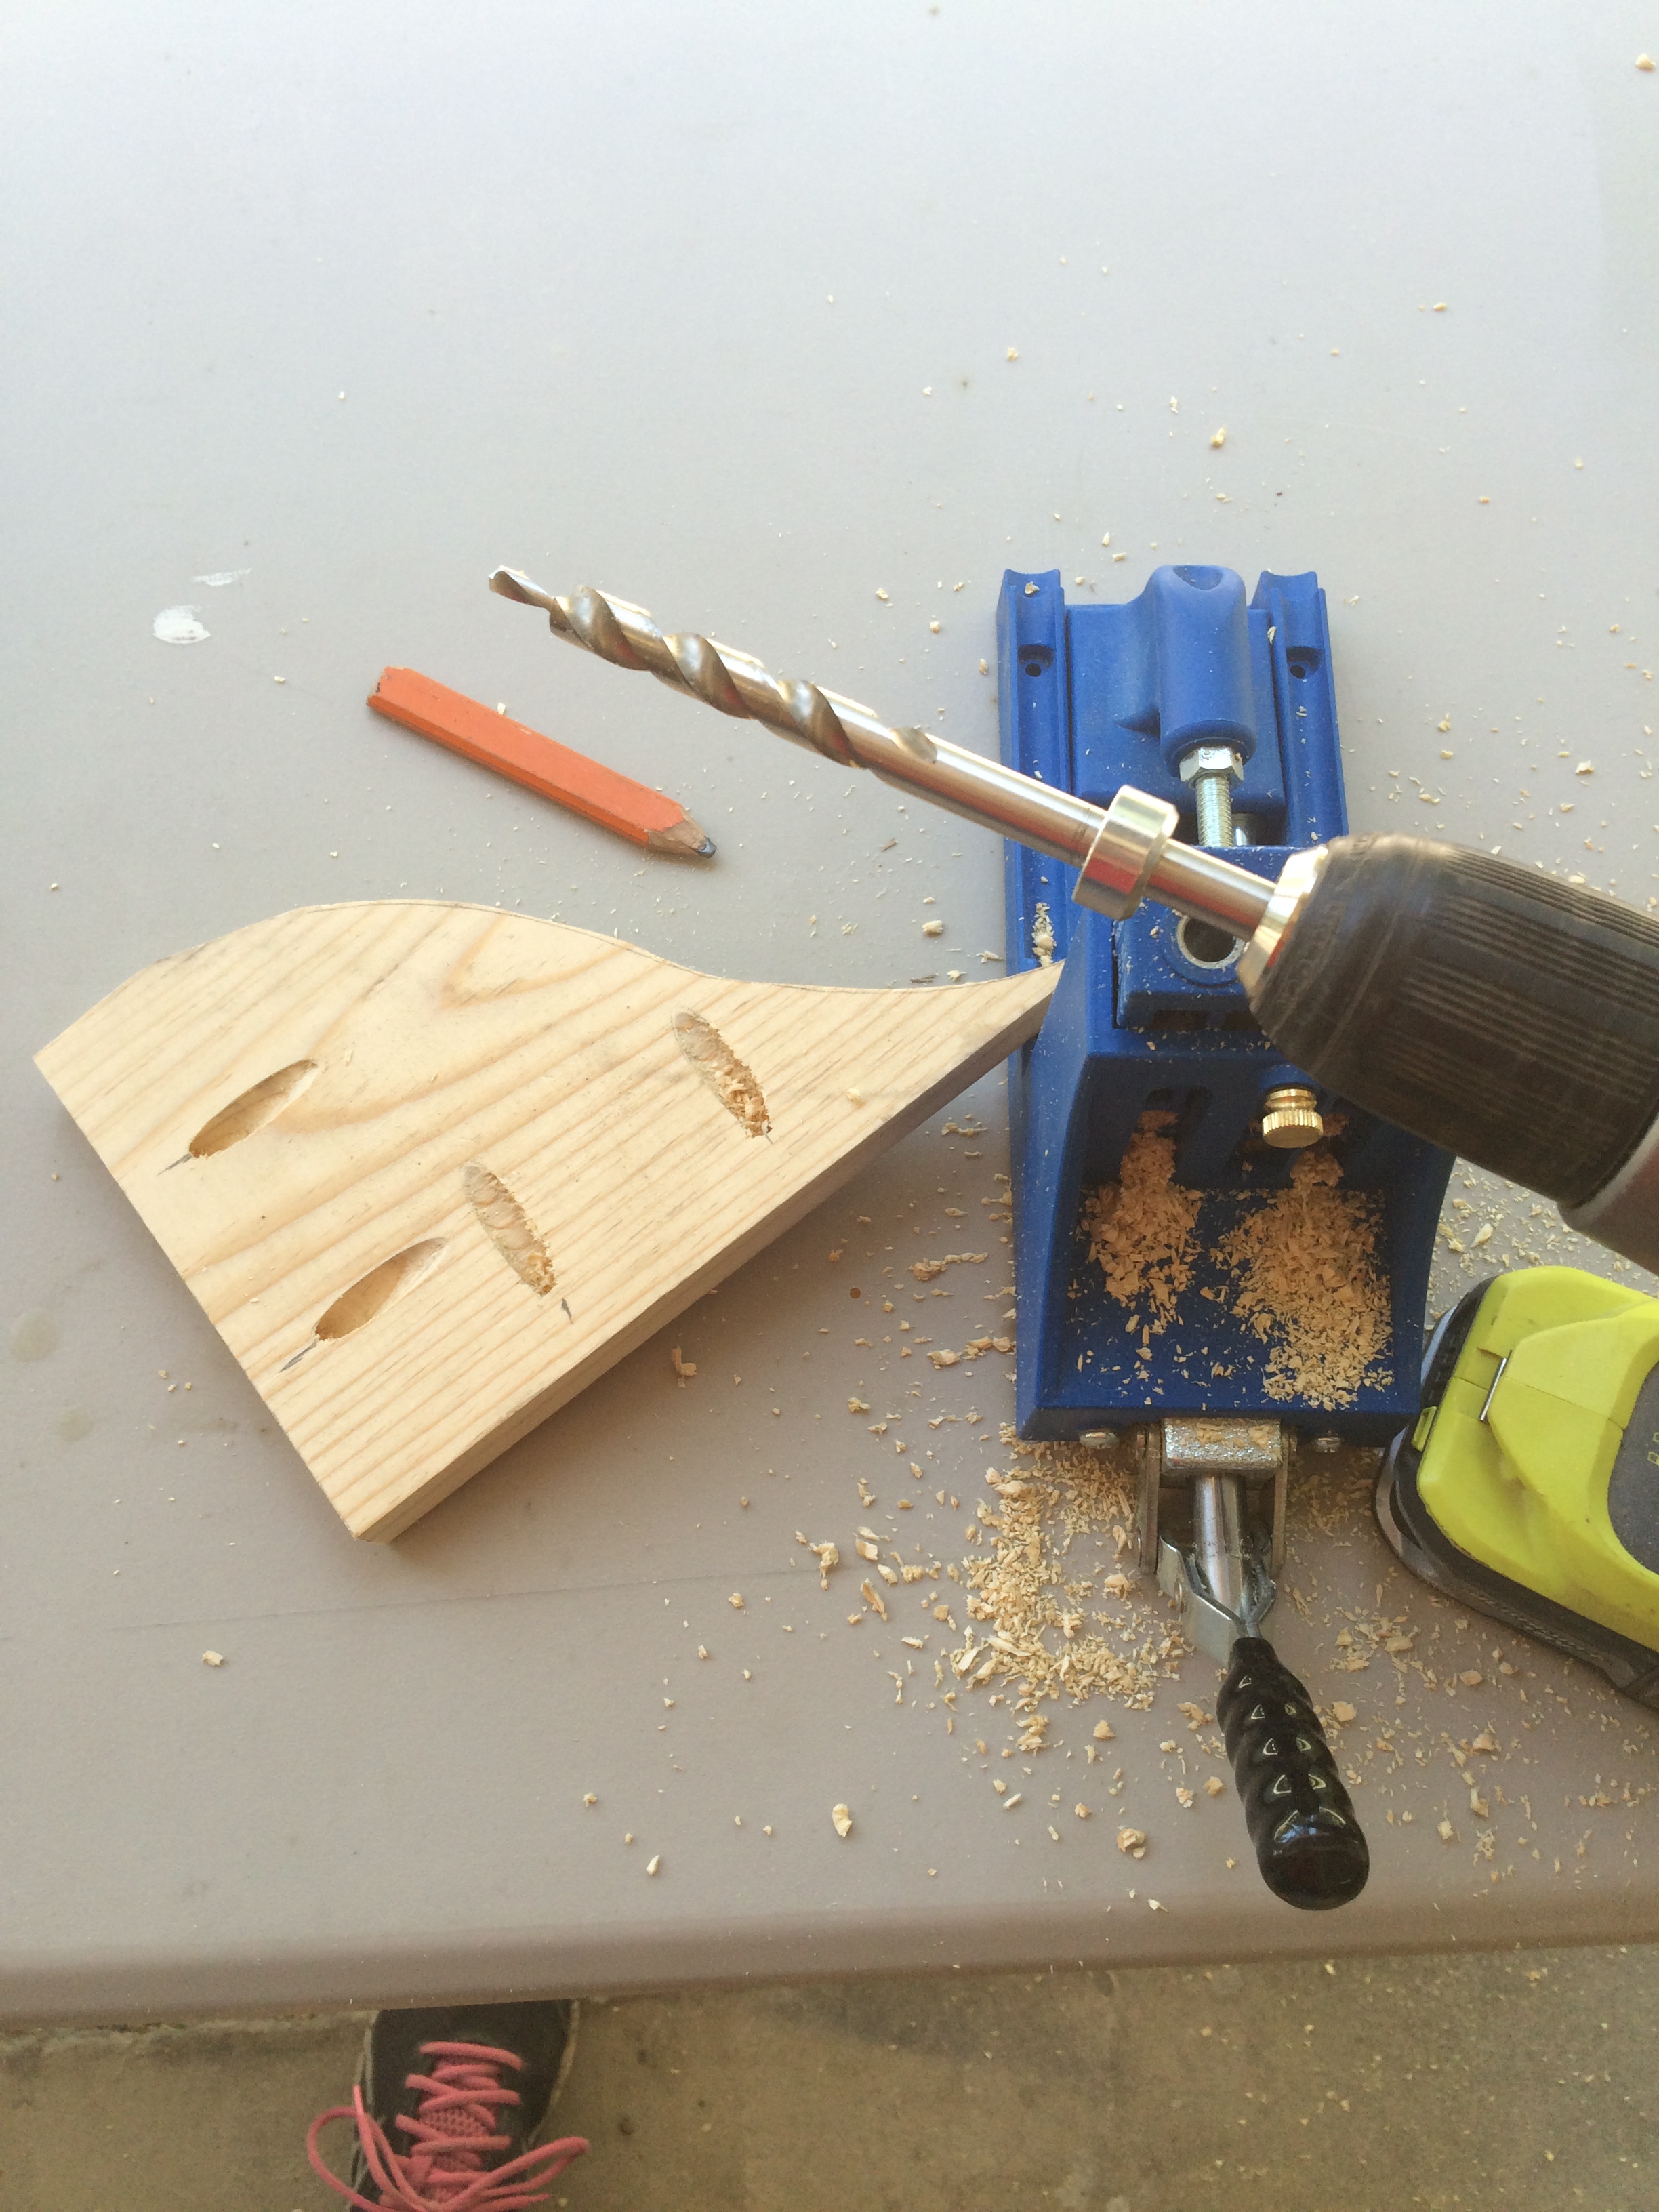
Kreg jig...and my shoe. 🙂
I took lots of photos of how the old pieces were assembled...And, in my dismantling post, I talk about how to mark your old camper pieces so it’s easier to reassemble them later. Check it out.
 Tips and trick to dismantle your vintage Camper
I used the floor of my garage for a work surface. (I tried putting folding tables together but just couldn’t work around it.)
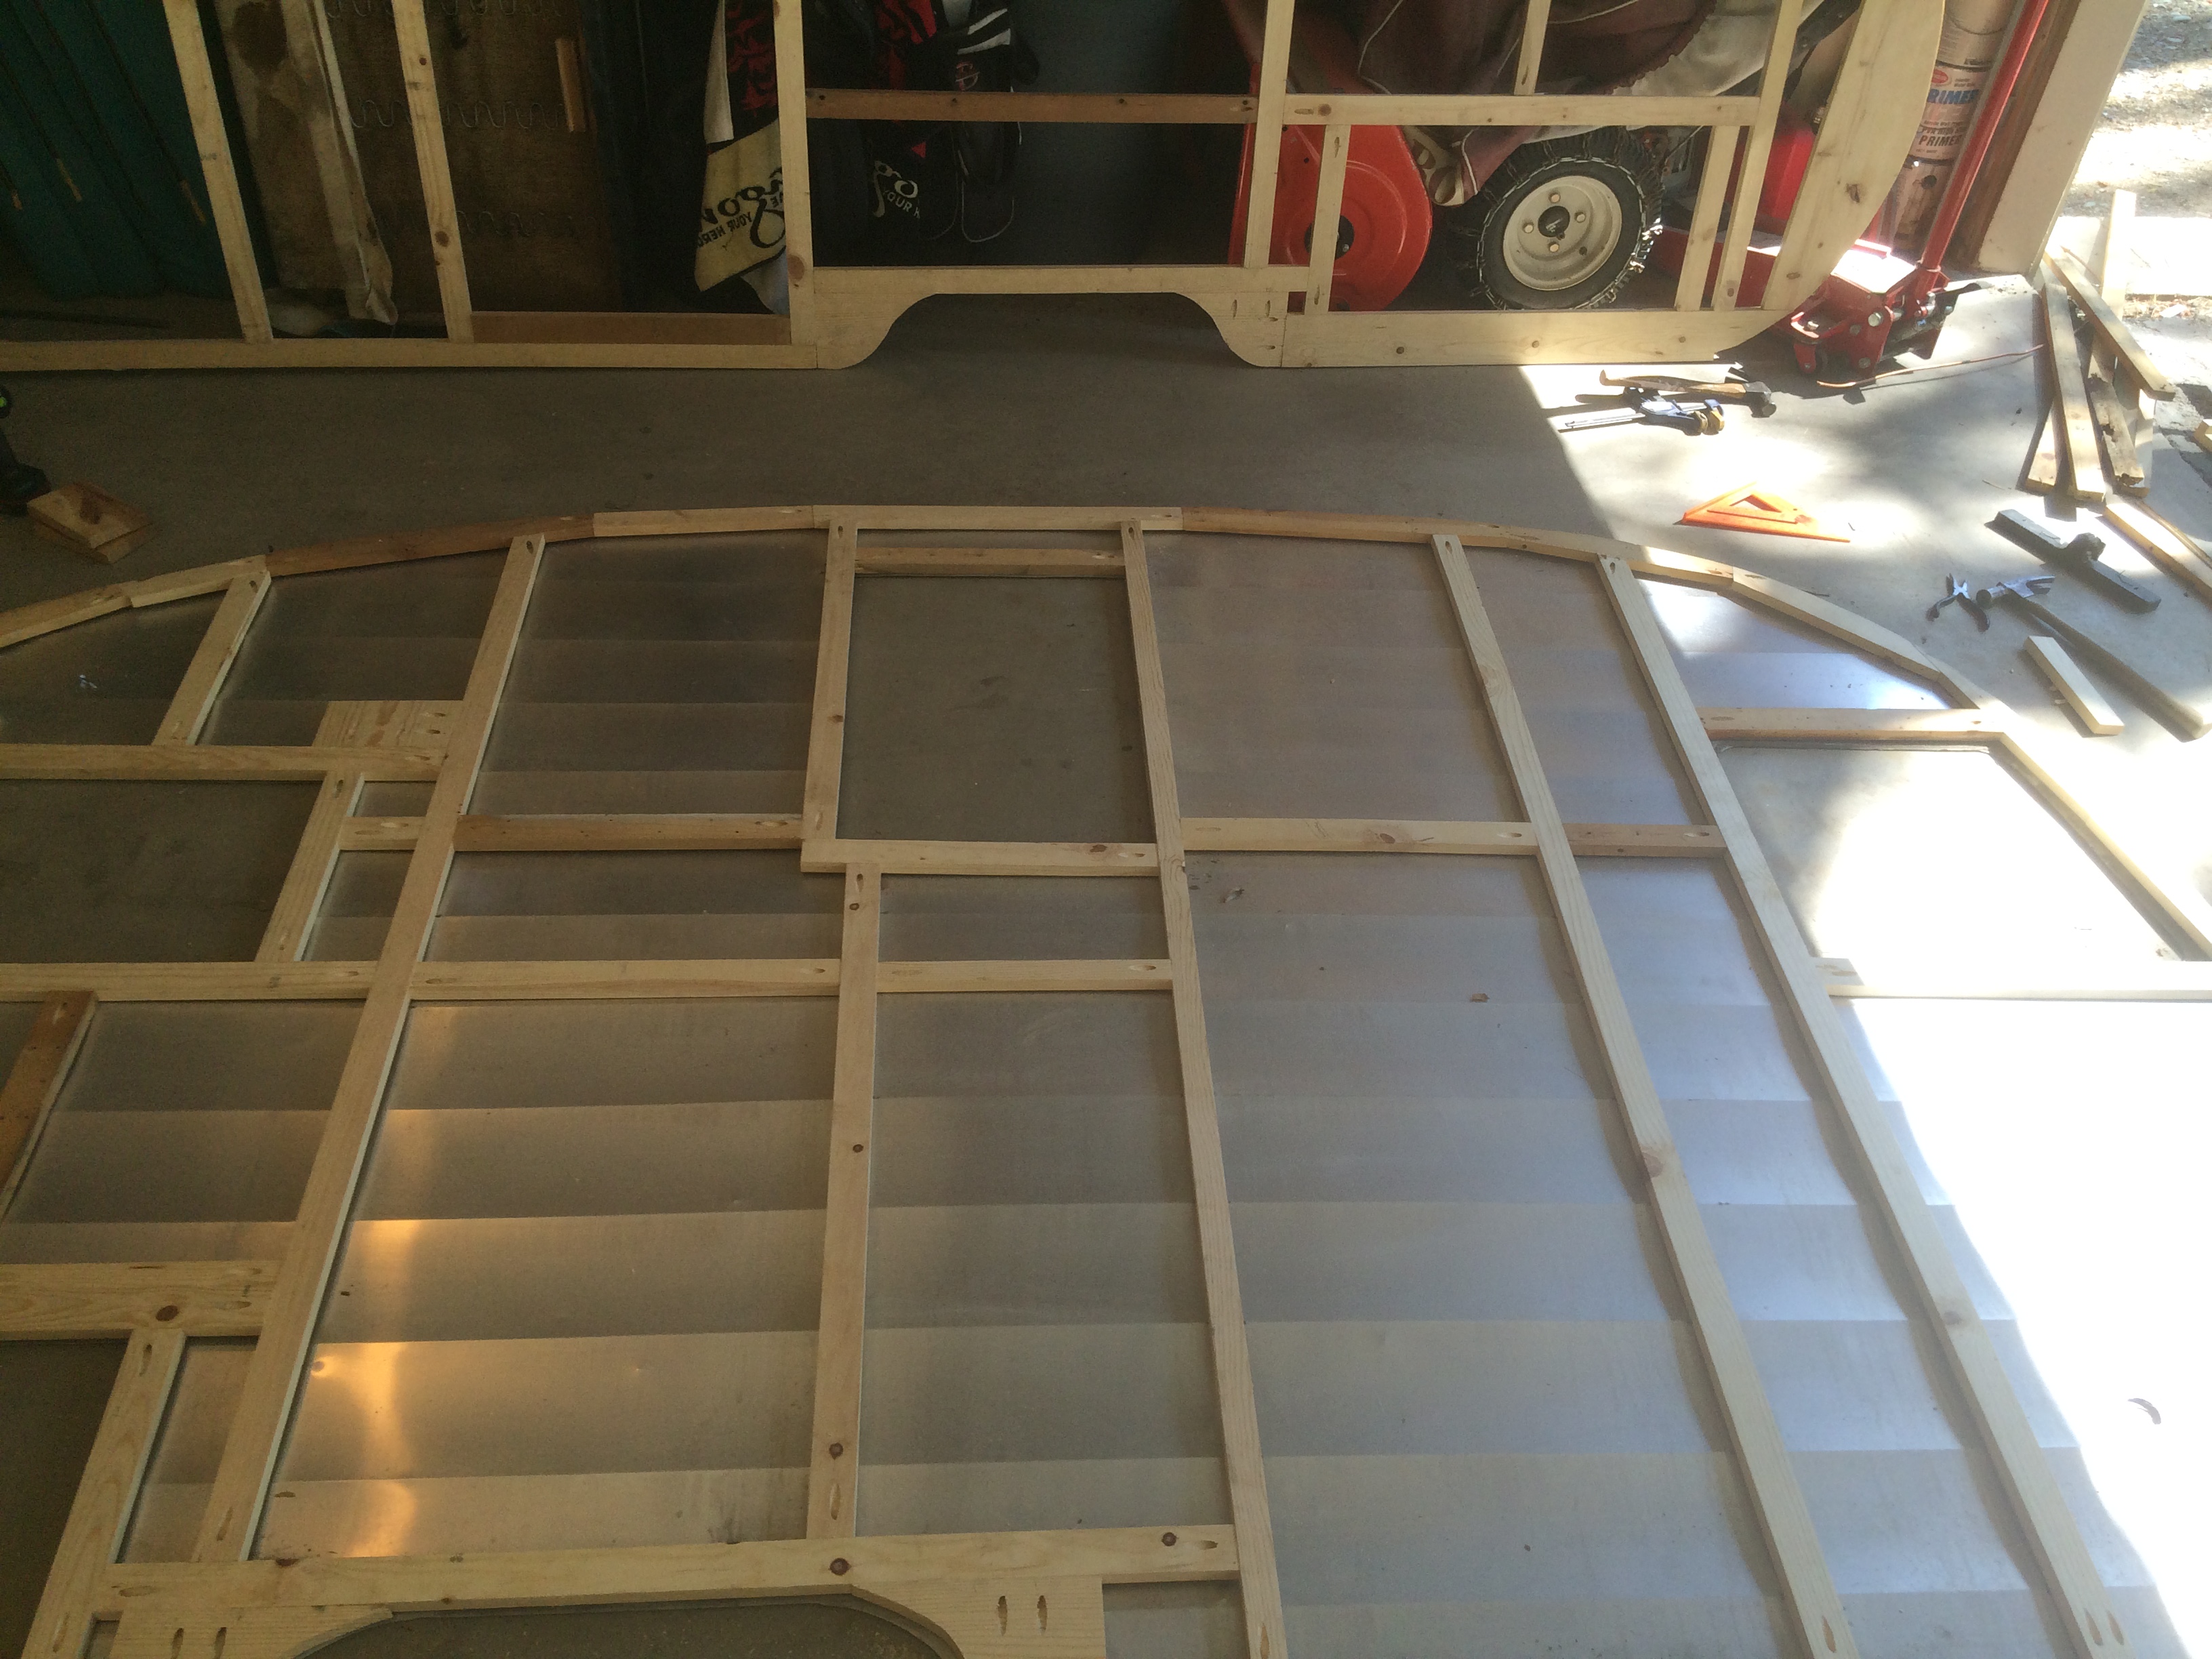
First I laid the aluminum siding down, then I placed the old framing on top of that and matched up all the sides and openings.
One by one I cut and laid out the new pieces of 1x pine. You can use wider lumber but not thicker. The walls have to be 1” thick. Remember to keep your openings exactly the same!
It’s important that you copy the pattern exactly. Otherwise, your door, window or other openings won’t match up later.
POST PROJECT TIP: The frame is ¾ in smaller than the aluminum siding. Sometimes things move or shift while building. At least it happened to me. It’s better for your framing to be slightly smaller than your aluminum siding. If it’s the same size or bigger, you’ll never get it all to fit back together. You can always shave off a bit of aluminum but you can never get it to stretch. 🙂
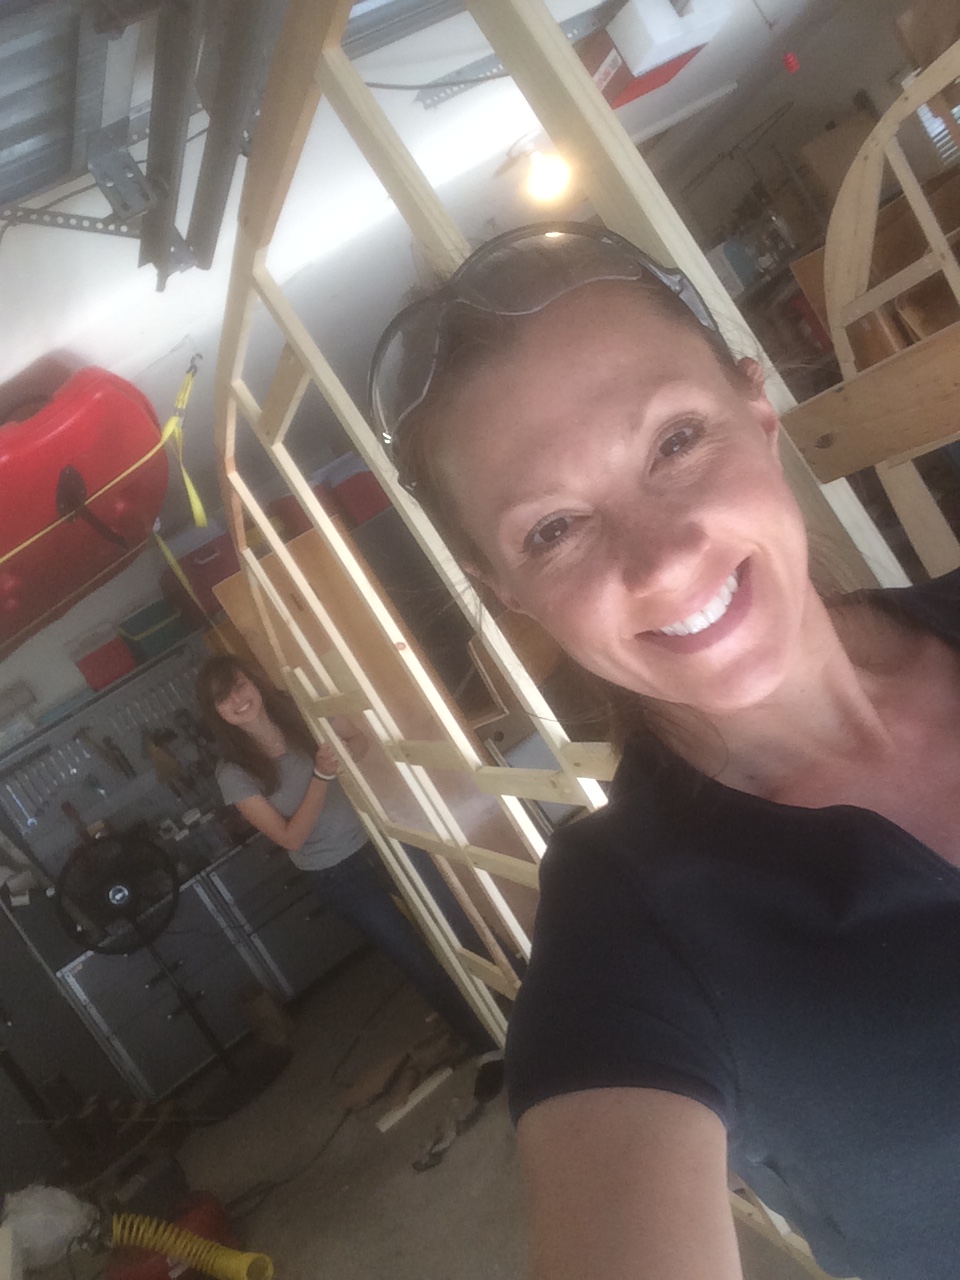
My sweet daughter helping me move the frames.
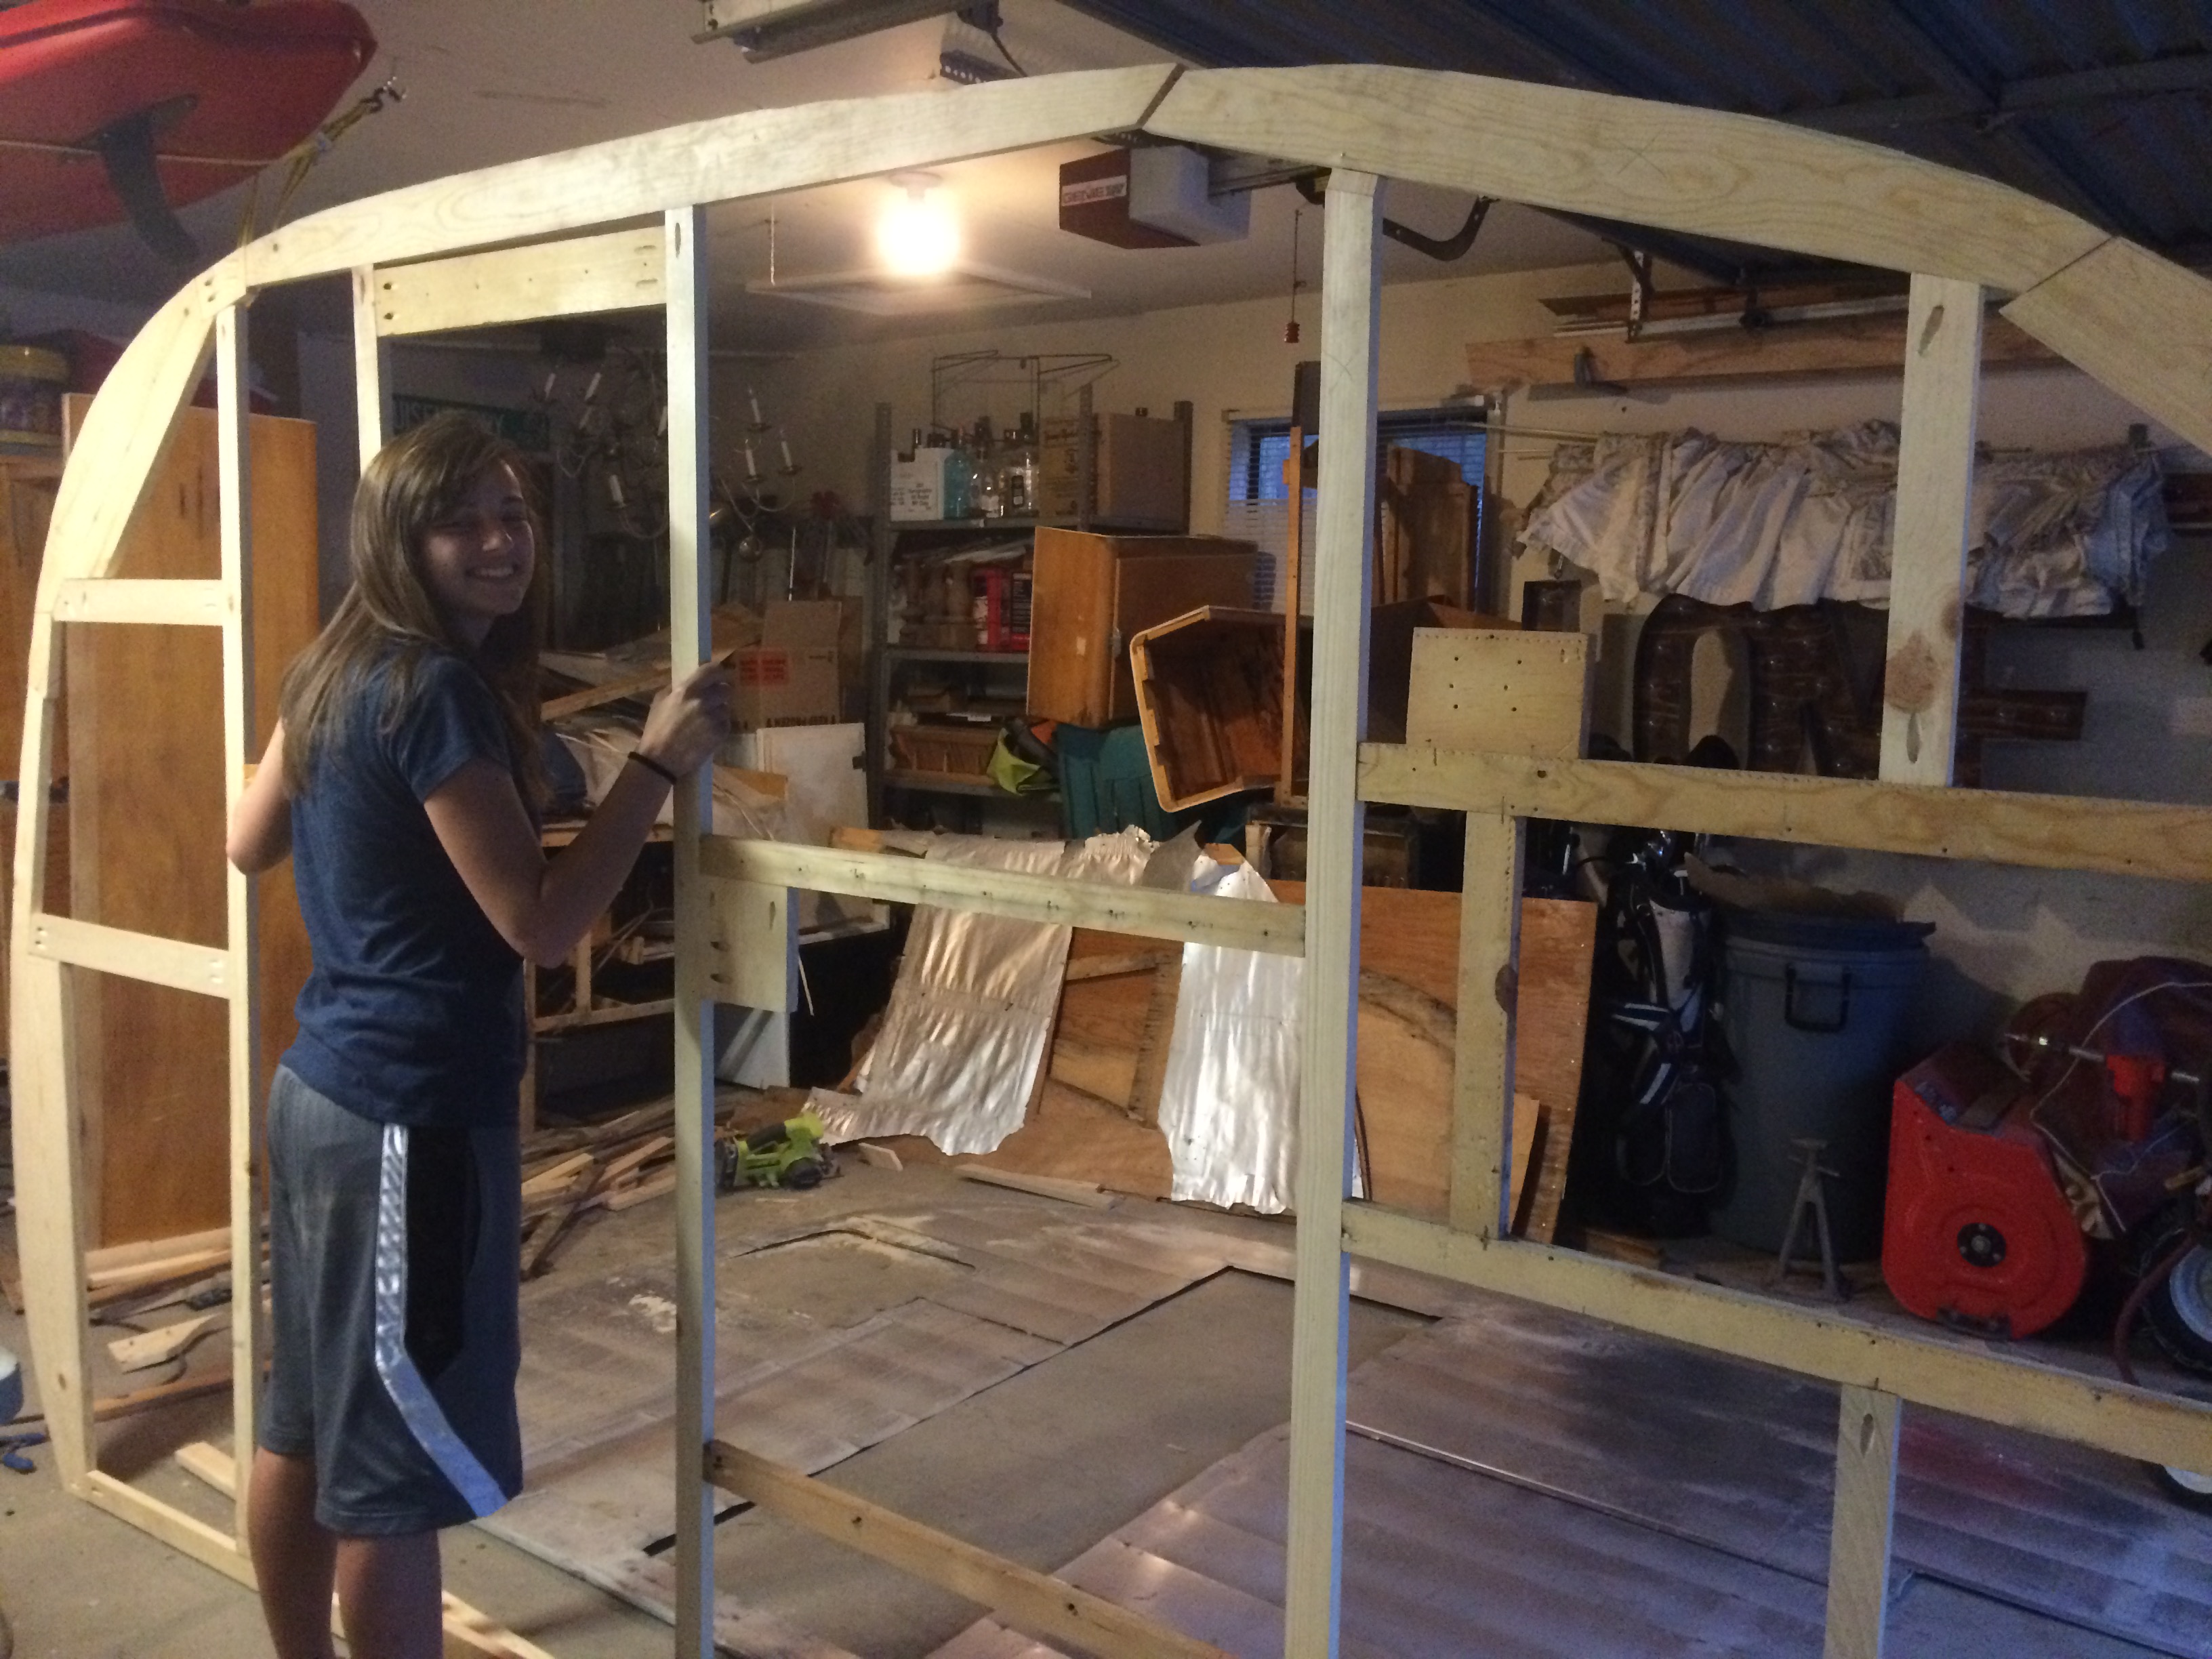
One side complete
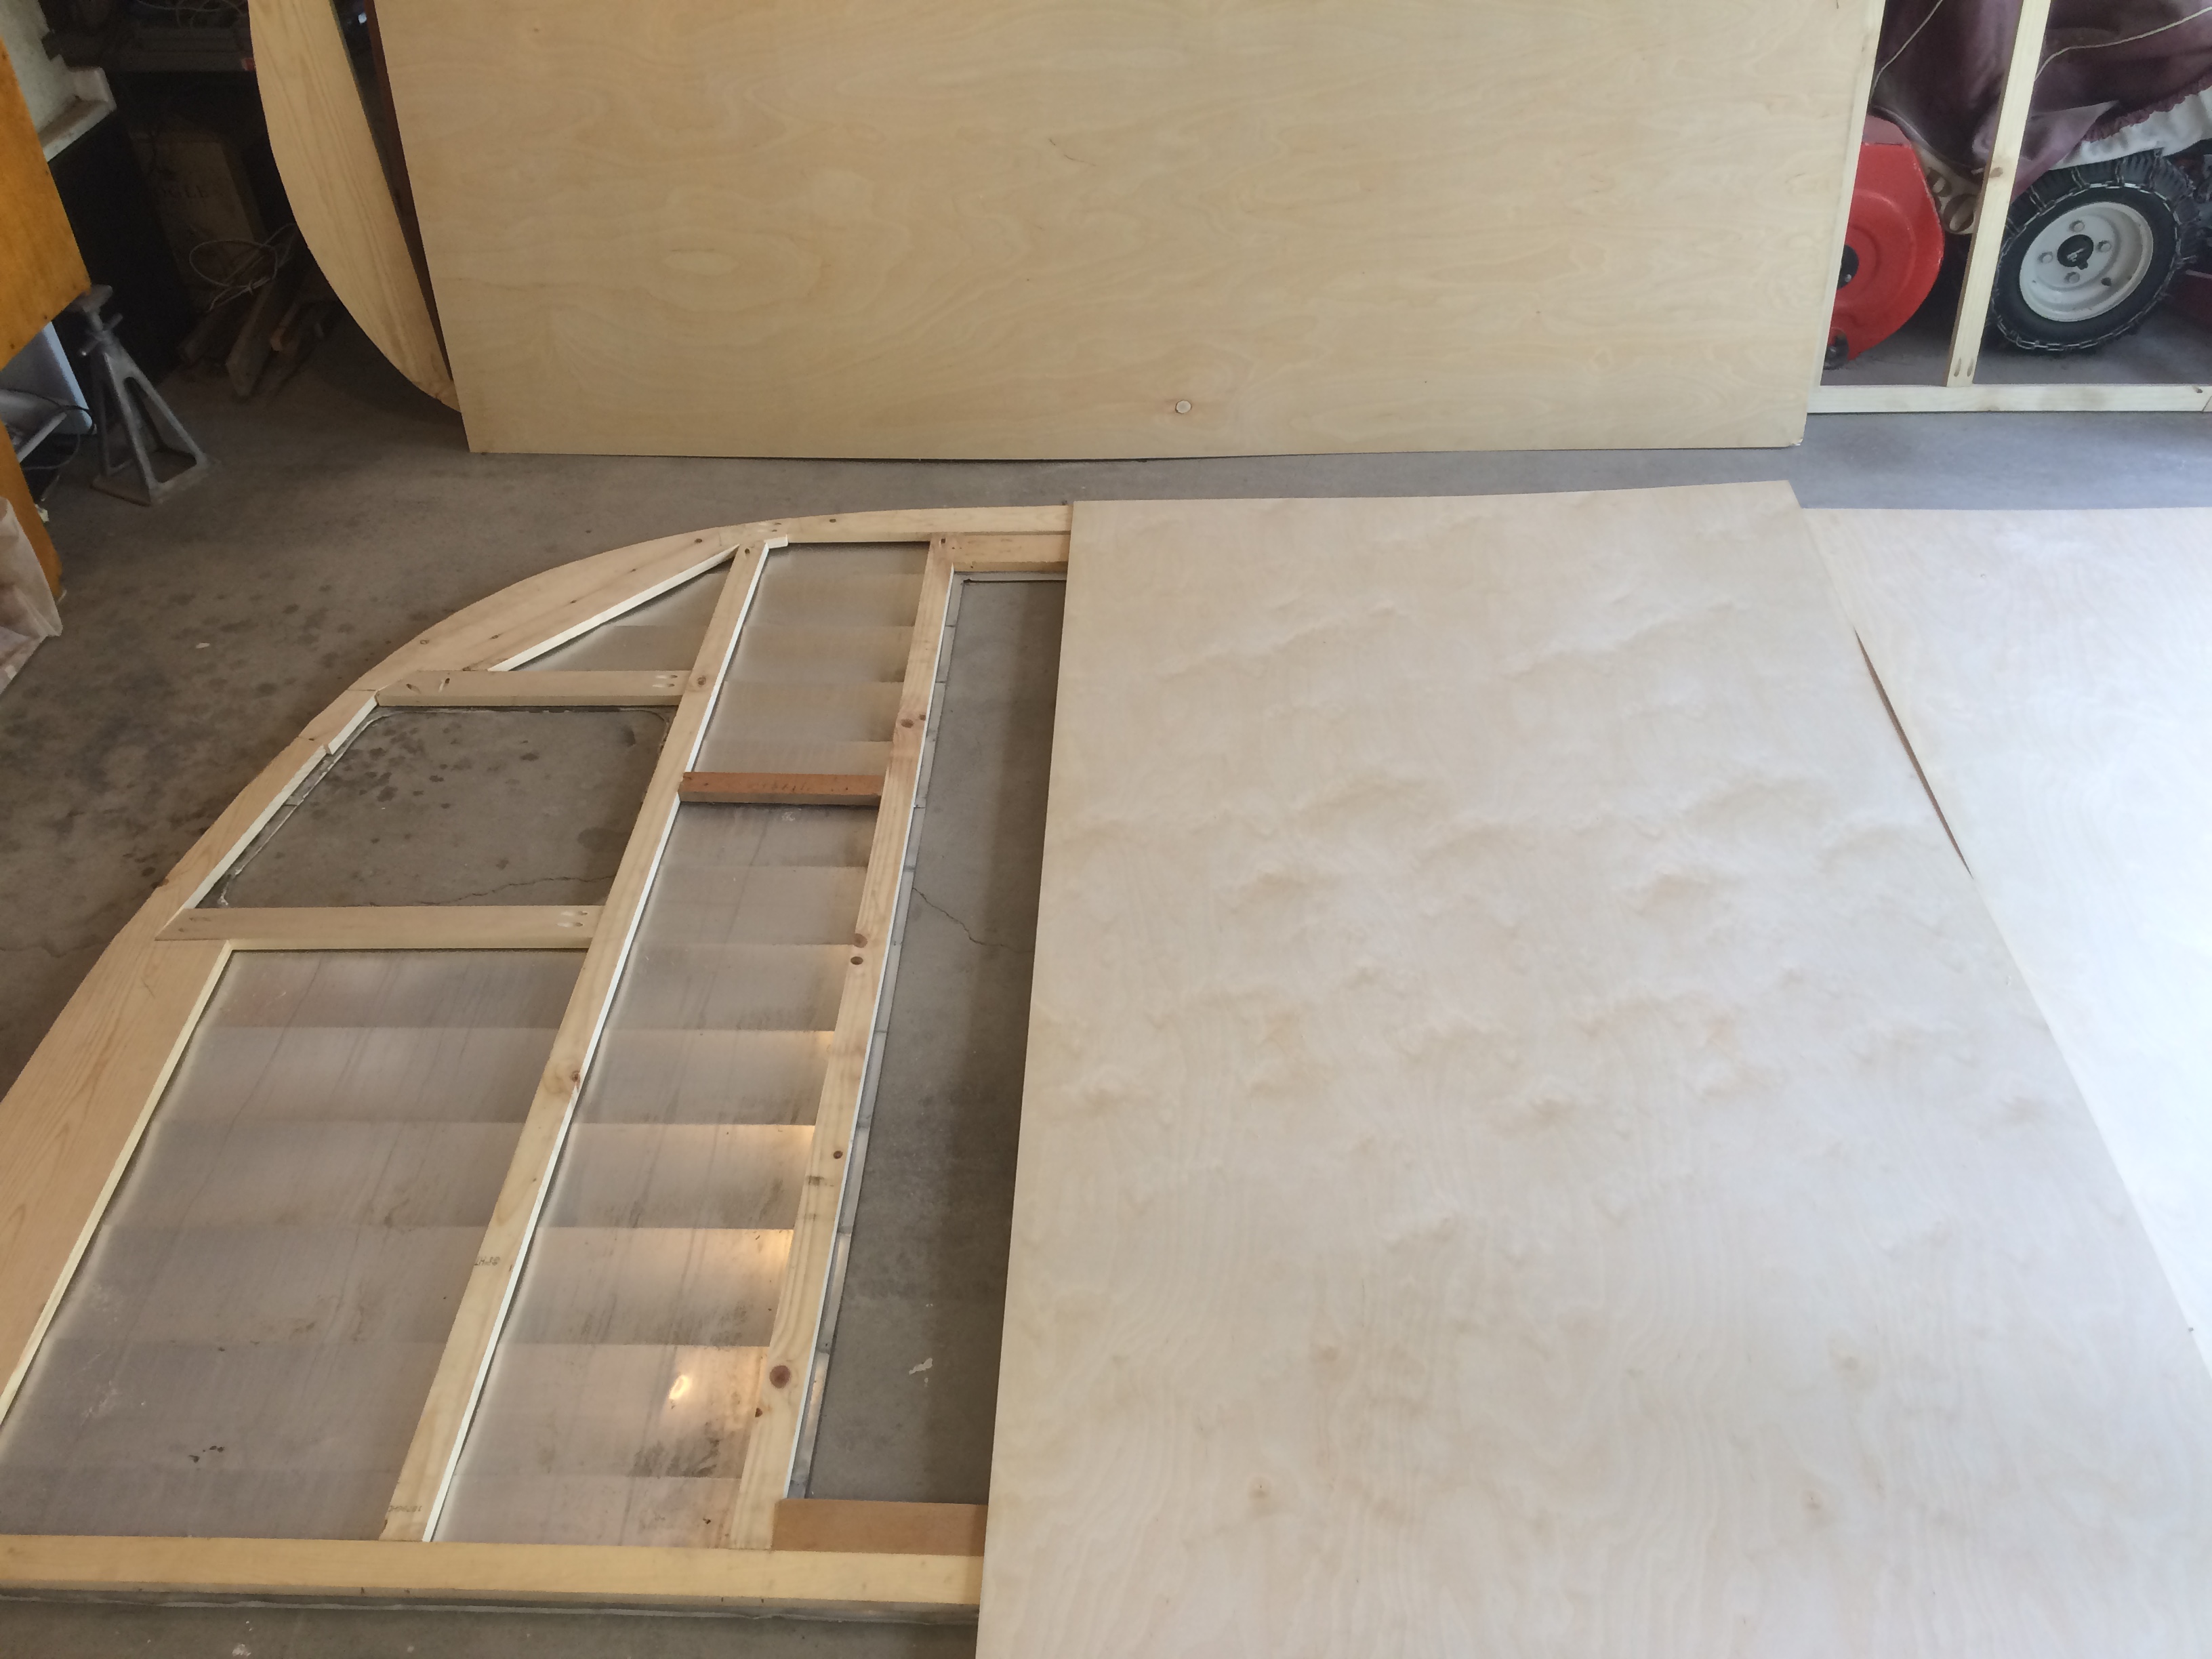
Laying out the paneling before glue and nails.
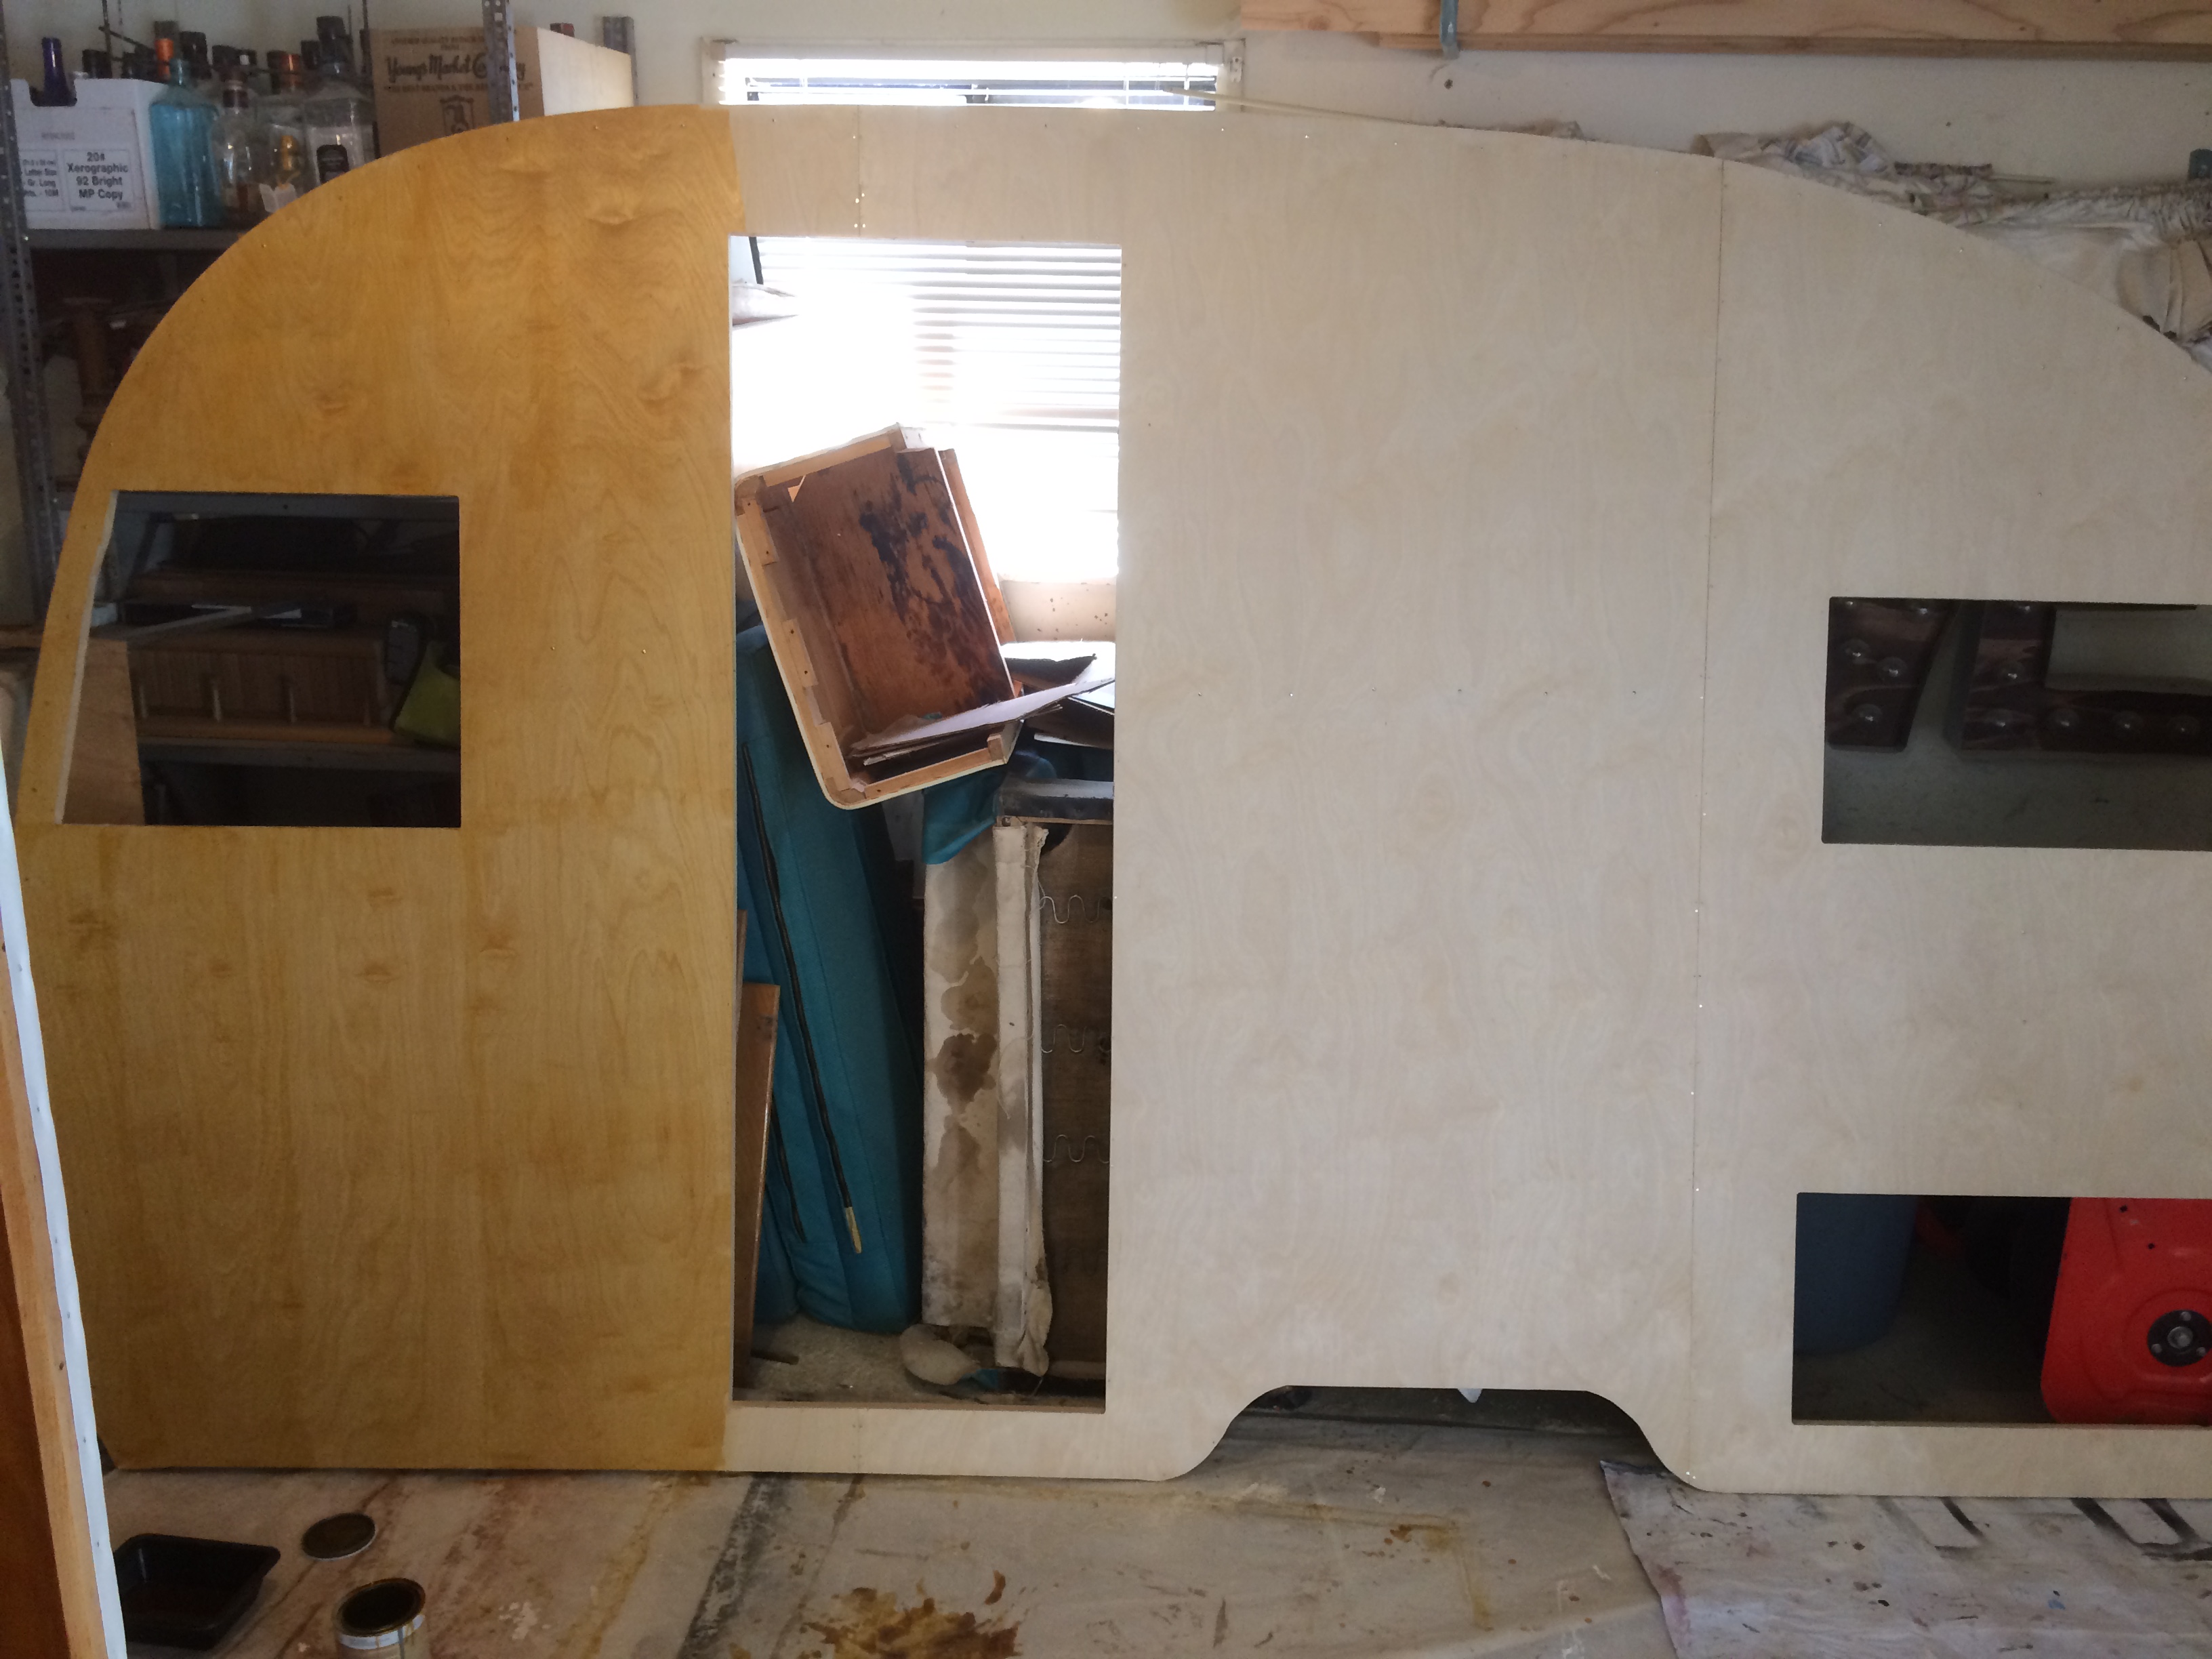
Next, I placed the sheets of birch paneling on top of the framing and laid everything out. I tried to use the same layout as the original paneling. The seams are strategically placed behind the wardrobe and cabinets so there is minimal trim used to cover them. (The ceiling will have trim that runs from side to side.)
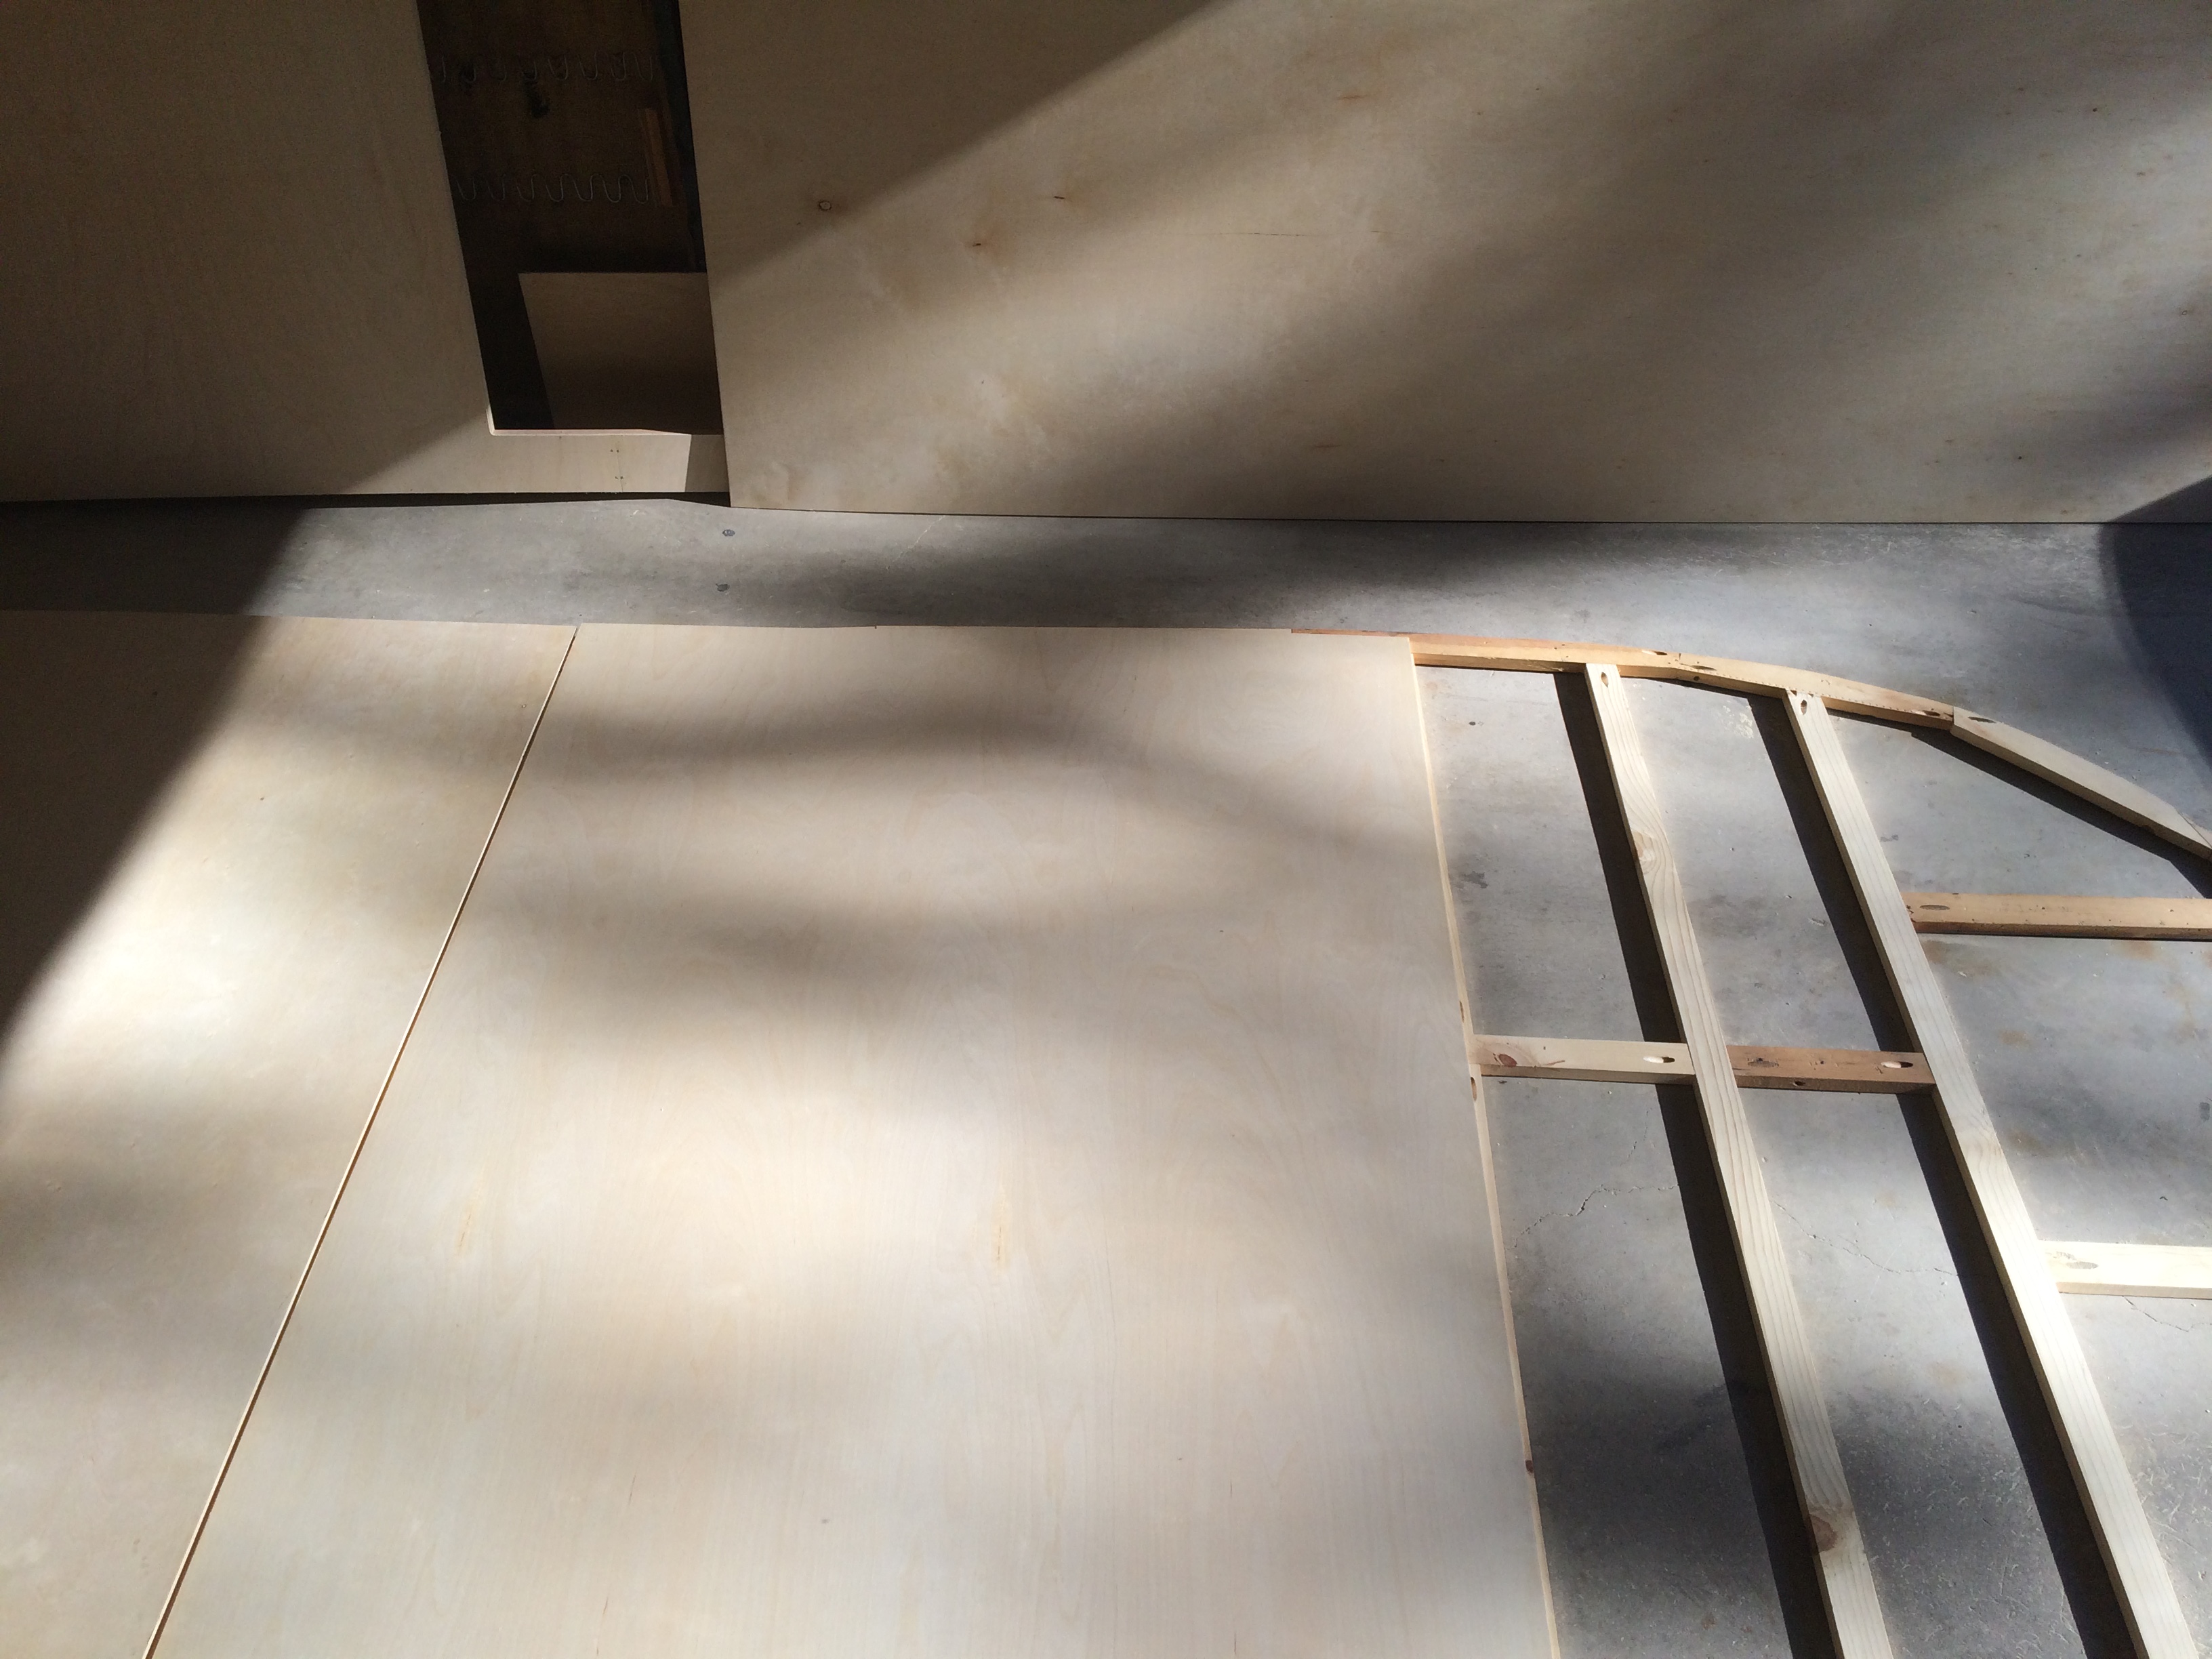
Once I was happy with the layout I removed the aluminum siding from the bottom of the stack. (I didn't want to put excessive pressure on it and dent it.) I placed the frame back on the ground and applied PL adhesive to the frame. I put the paneling back down and pressed in place. Then I used my finish nail gun to make it permanent. I was careful to space my nails evenly, especially in areas that would show. I placed them every 6 inches. You’ll learn why in just a bit.
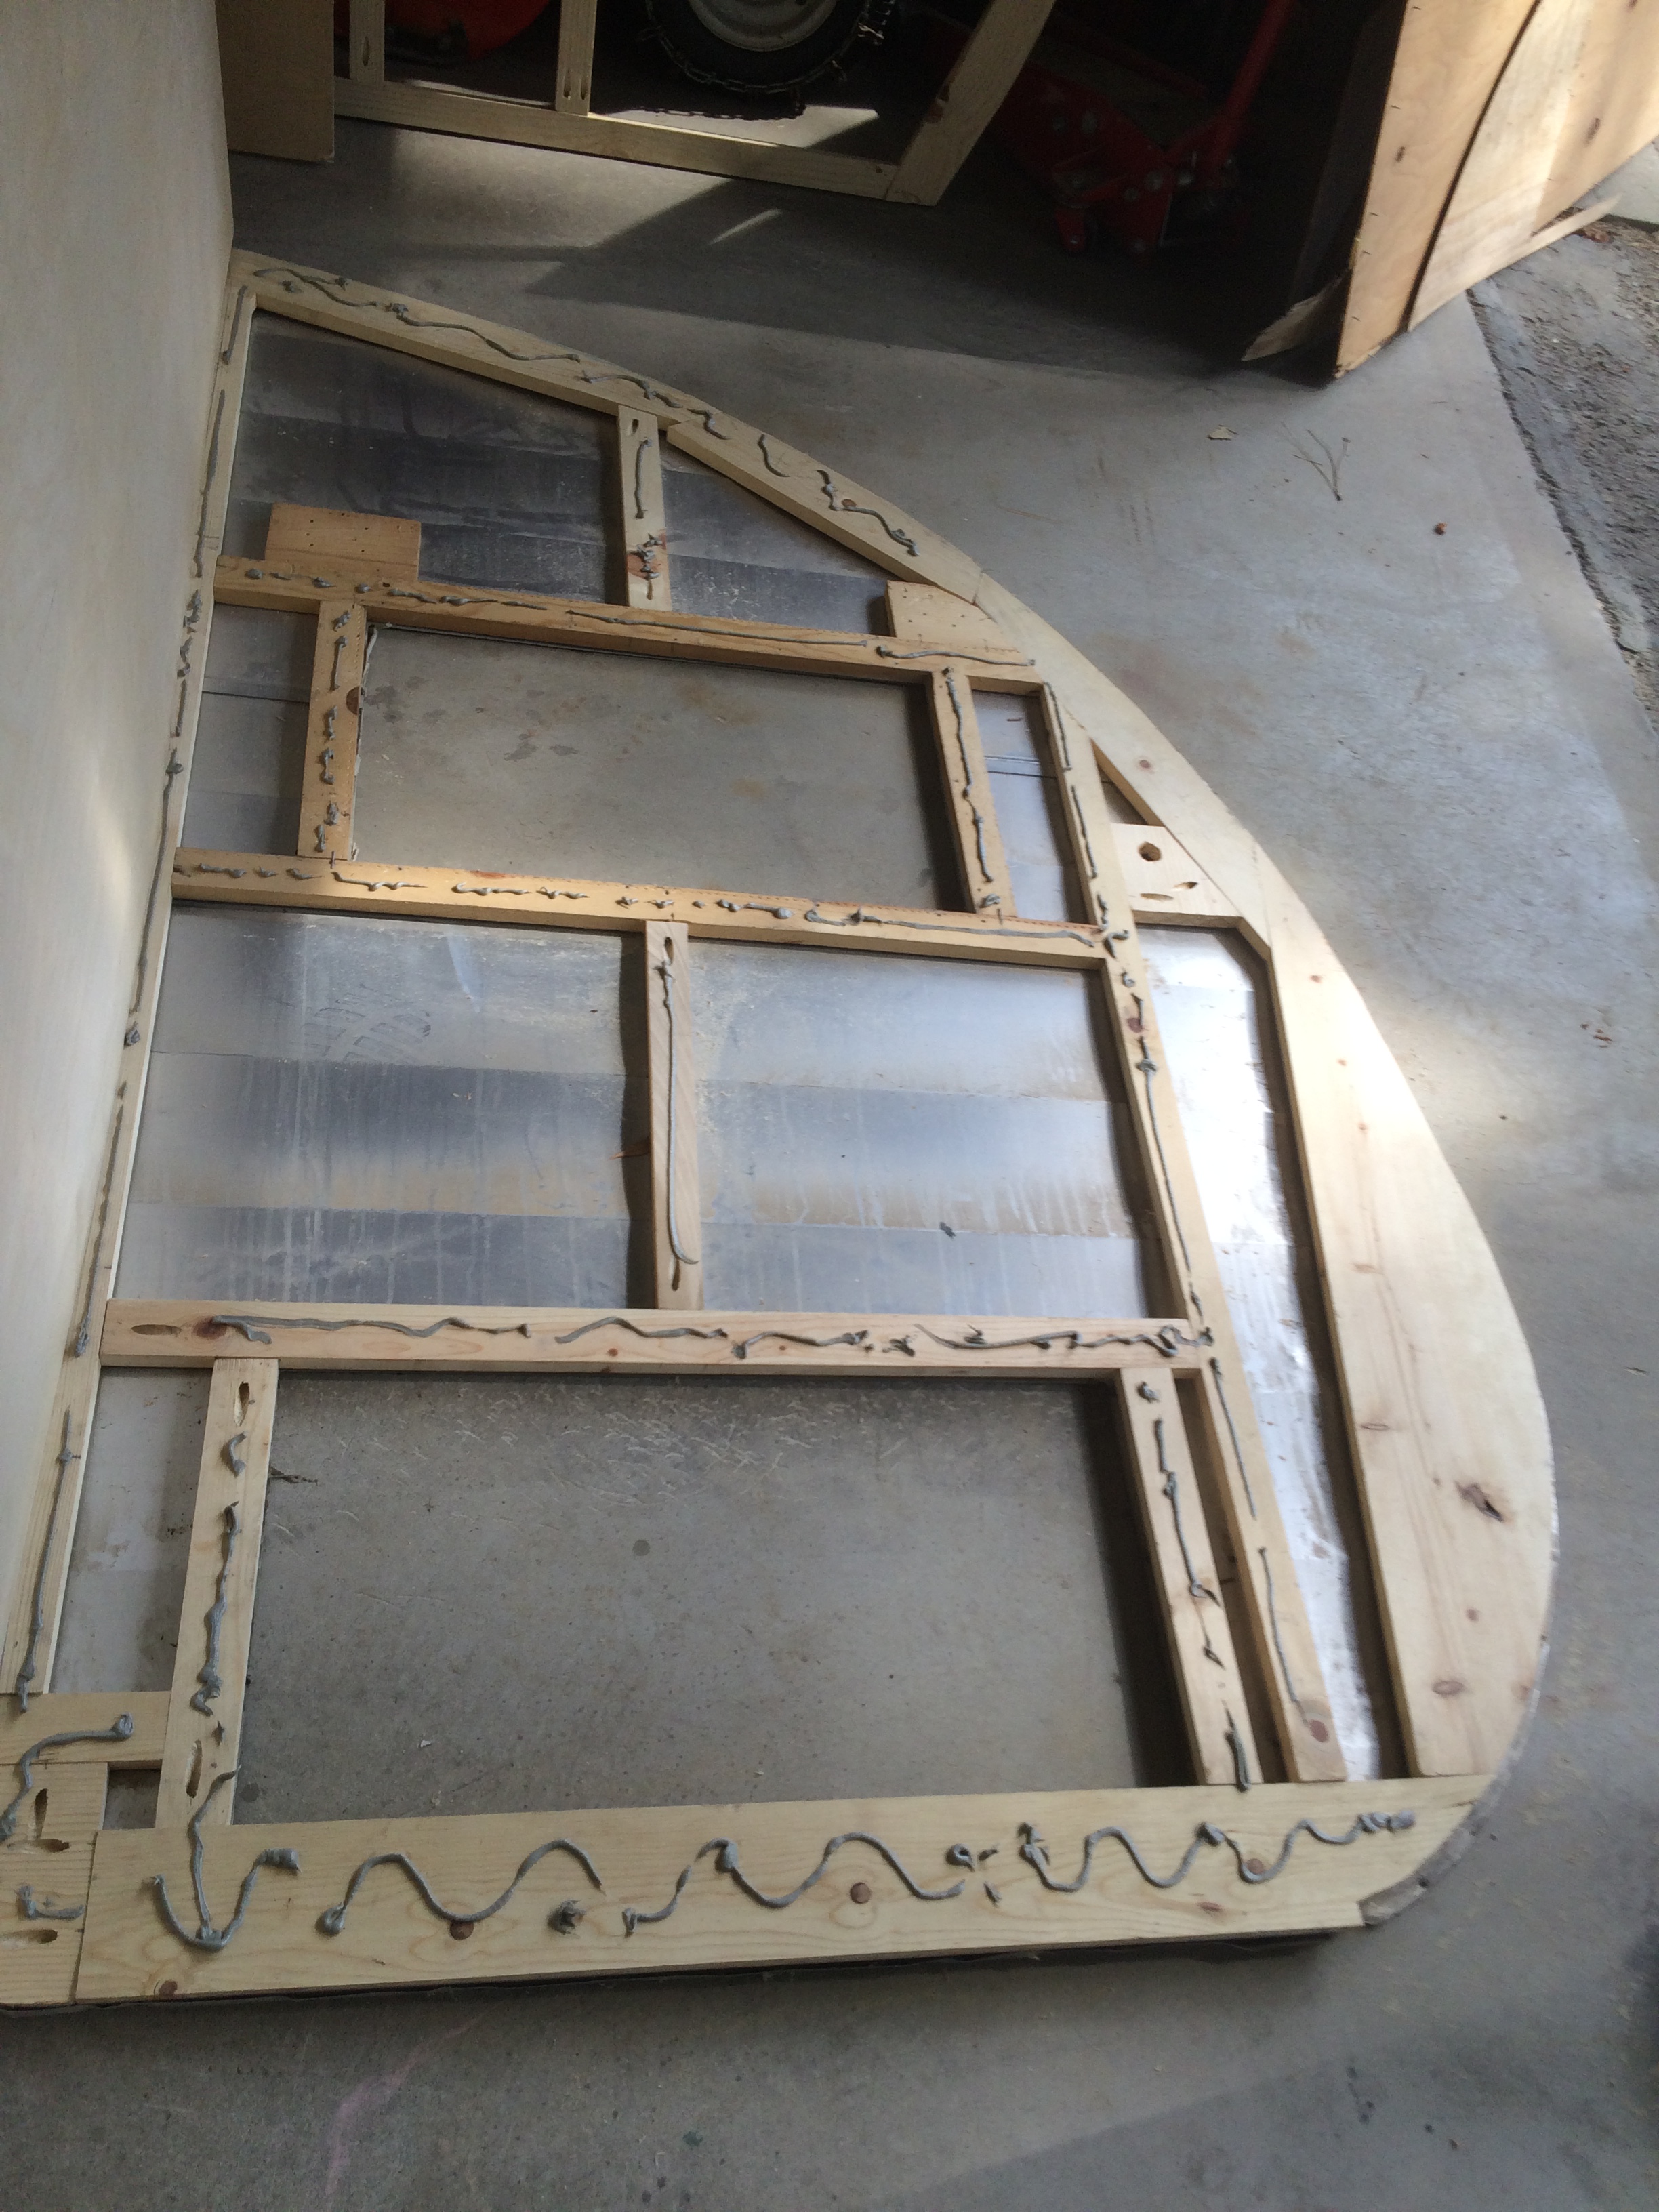
PL Adhesive on the frame
Cutting out the openings and trimming around the frame was really fun!
Find the window, cargo door, and front door openings. Make a pilot hole with a drill and large bit.
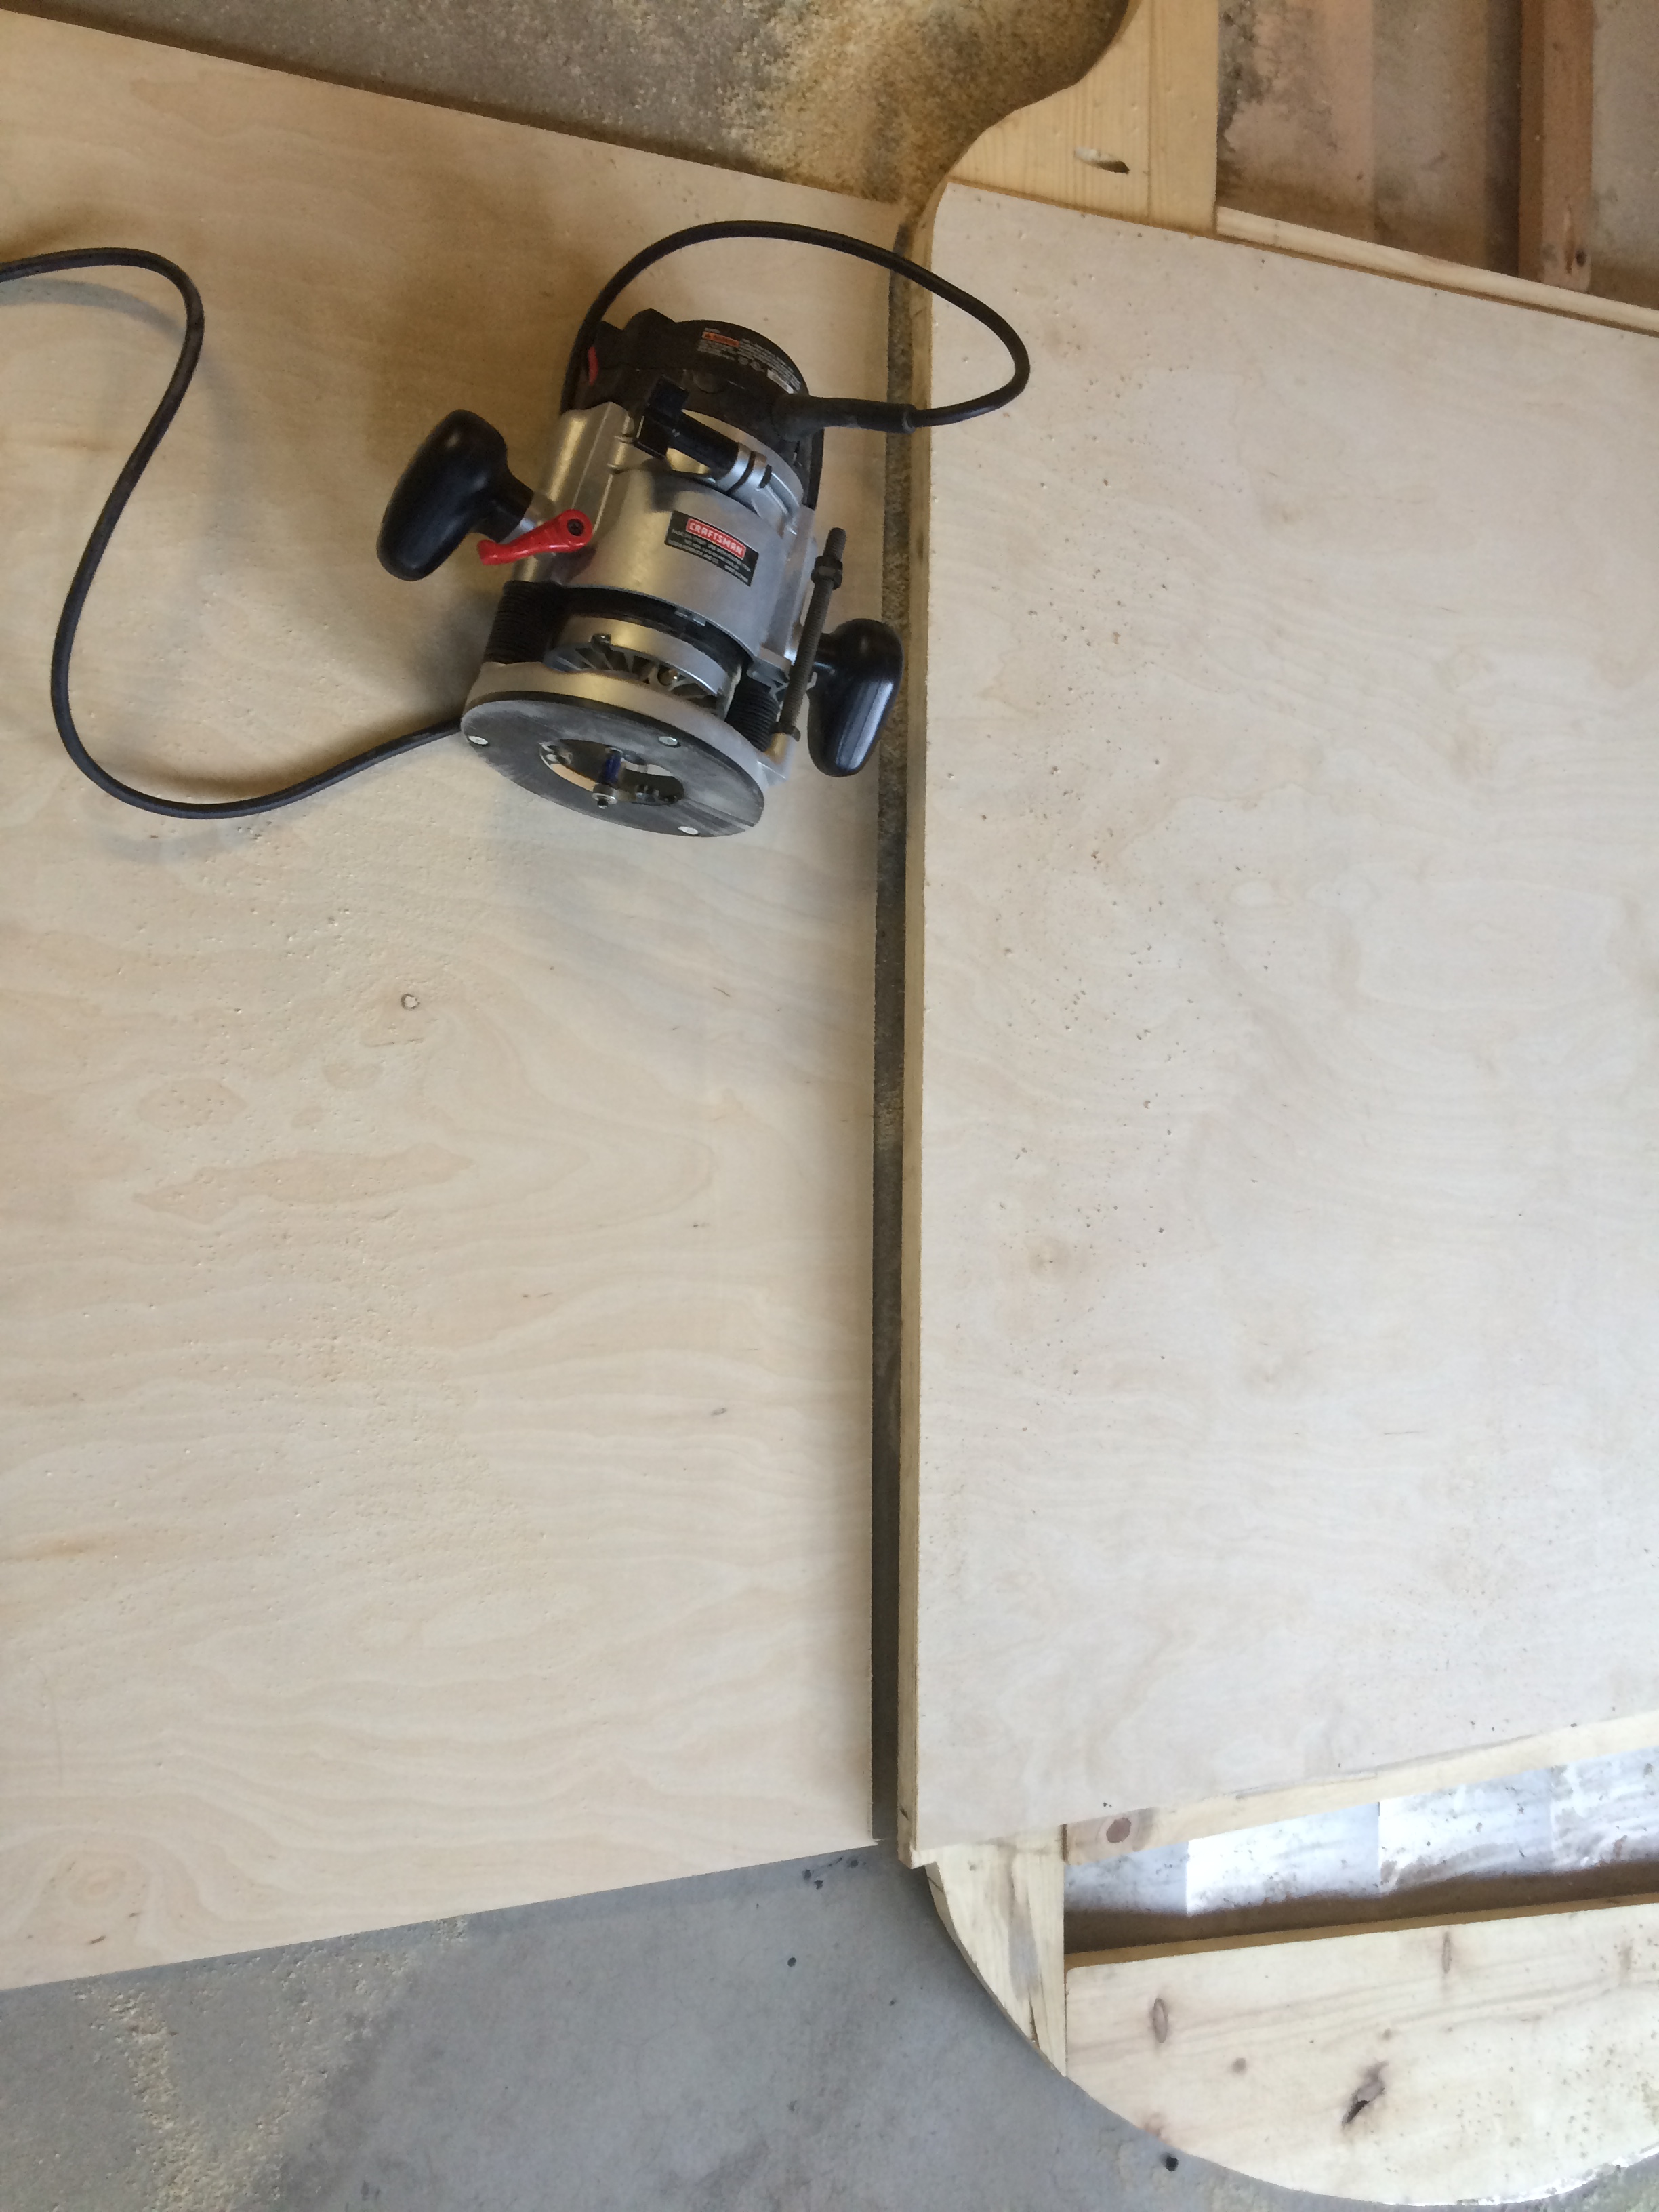
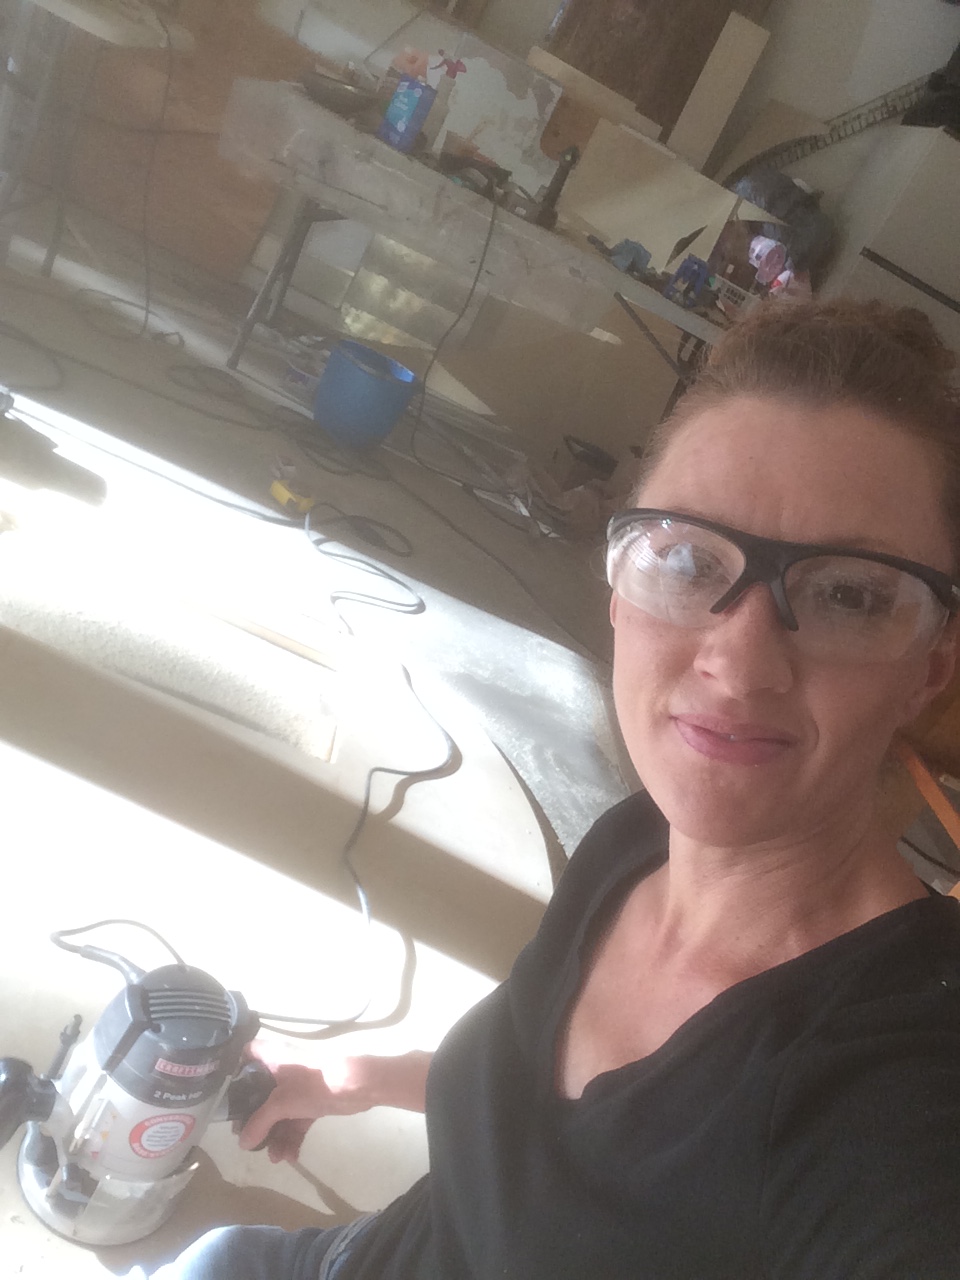
Set up your router with a cut-off bit. Adjust your router depth so that the bearing runs along the frame and the cutting edge of the bit runs along the paneling. With safety glasses on, place the router in the pilot hole and run along the framing. Do this for each opening and around the outside edge of the frame.
Save these scraps for use later.
Finally, I sanded the birch paneling with 220 grit sandpaper and an orbital sander.
Here’s the reason why you’ll want to pay attention to your nailing.
Use 3/4in screw-nails to finish off the paneling. These are only placed on the paneling where the framing is there to support them. Don’t put screw nails in the paneling where there isn’t frame behind it. AND The seams will get a piece of ¾ ripped birch trim later when you install the cabinetry so don’t use them there either.
I sand everything first, before the screw-nails because the orbital sander and sandpaper get caught on them. (Lessons I’ve learned along the way. 🙂
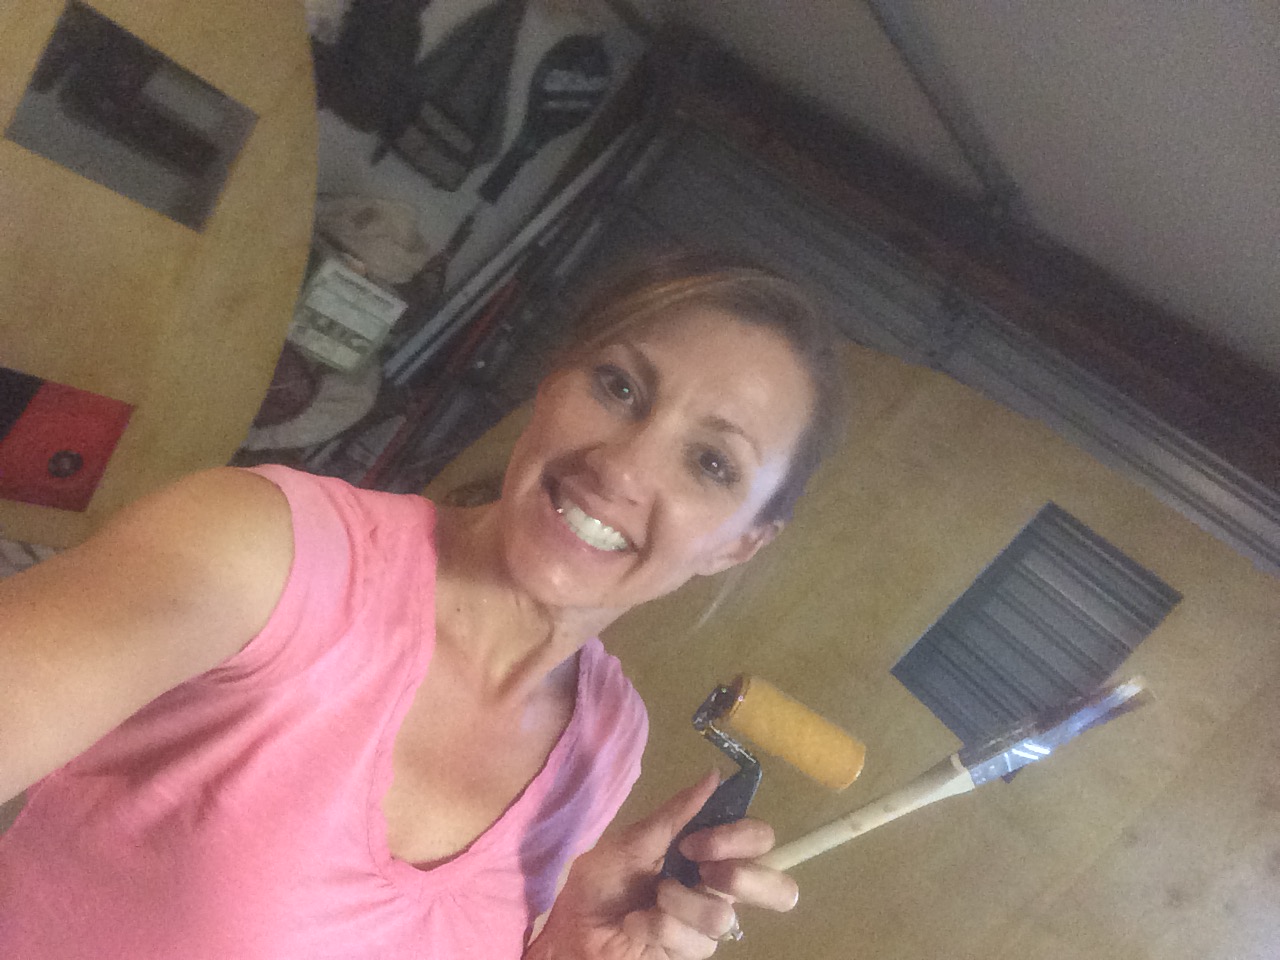
Now everything is ready for amber Schlack...three coats to be exact.
I stood the walls up to Schlack them. This stuff dries fast and is not the easiest to work with but I was determined to restore the camper to the original look. I used a small roller in one hand and a brush to catch the drips in another. “Wax-on…wax-off Daniel-san”.
Next order of business…Installing them!
See the Behind the Scenes Look at My Vintage Camper Flooring Install for more information.
See Framing your Vintage Camper Part 2 for how to frame the top and ends.

Related Posts
Related Posts
Copy of Retro Epoxy Counter Top

For the 1954 Airlight 1954 Airlight Bar Trailer Isn’t she…
Retro Epoxy Counter Top
For the 1954 Airlight 1954 Airlight Bar Trailer Isn’t she…
Flamingo Santa Hat DIY

I know my kids will think I’ve absolutely lost my…
Vintage Light Restoration

This is my favorite part of my work shop communication…
How to Wire Your Vintage Camper

Vintage Camper Restoration DIY Did you know that there are…