
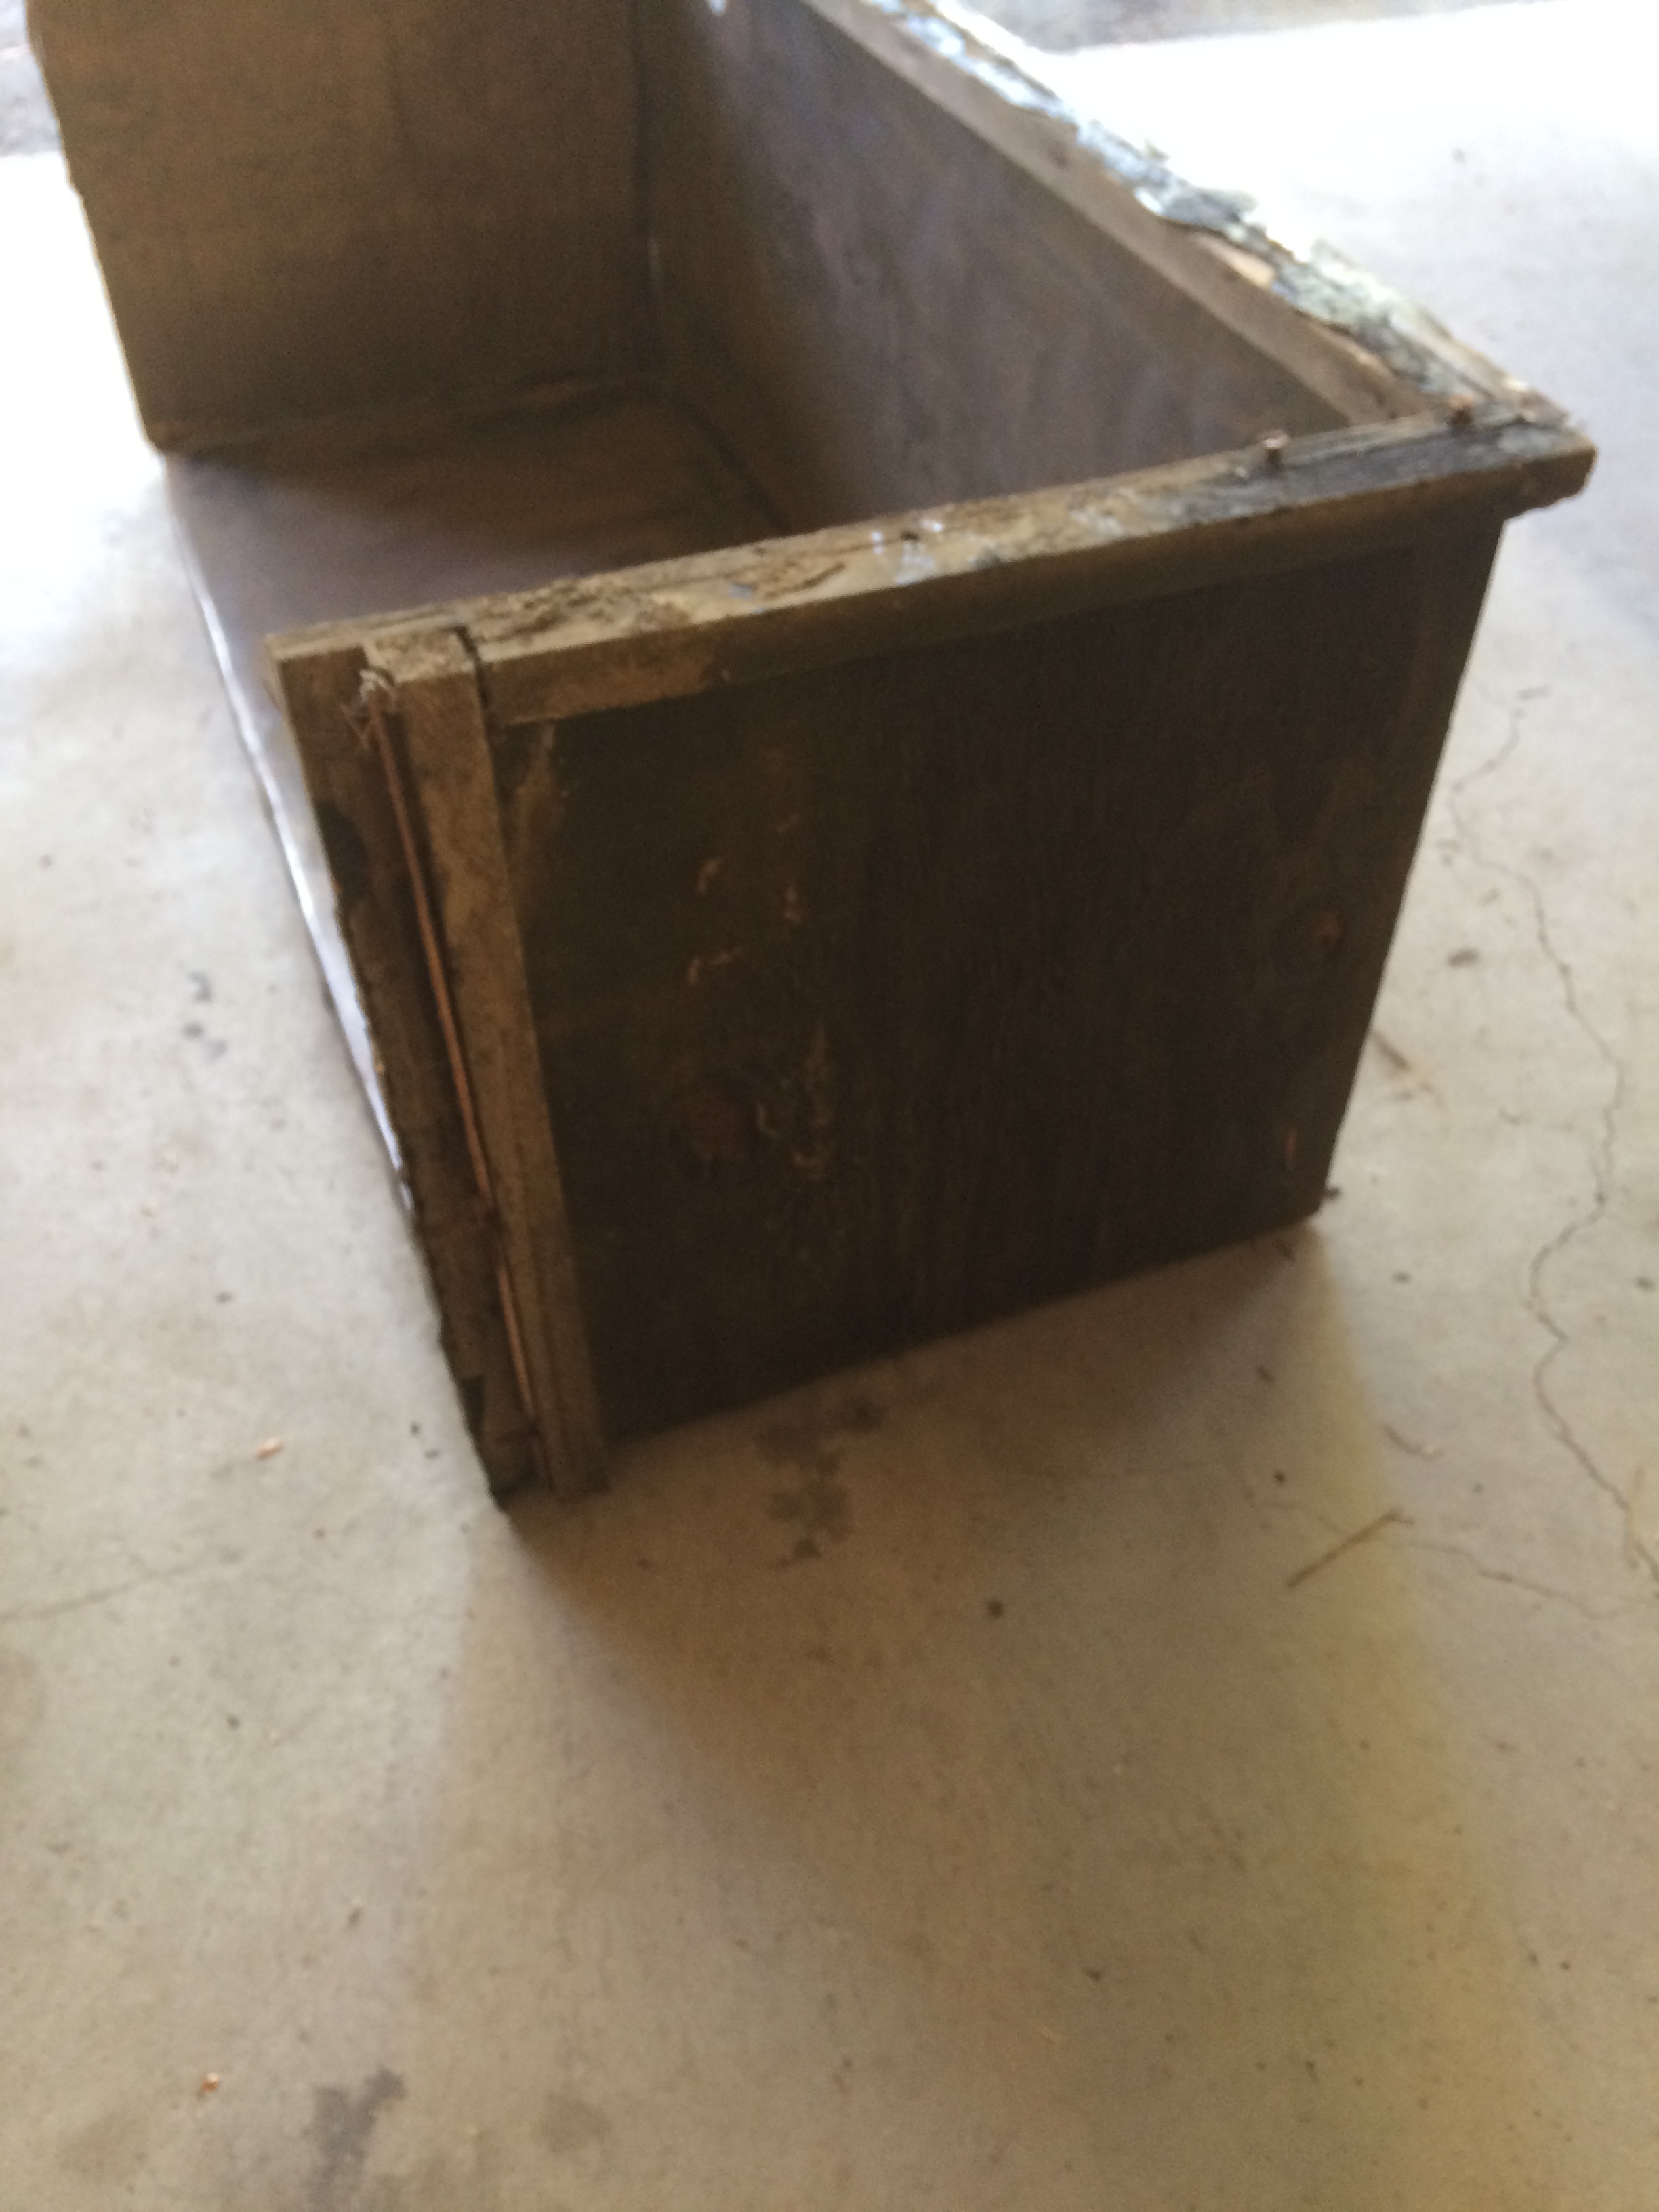
As I'm dismantling the 1956 Shasta I'm noticing how brittle and rotten all the wood is. I guess some of that can just be age but I was surprised how much wood was left exposed on the underside of the trailer. Originally it was built using some type of particle board that had a black coating on it. Then there was plywood on top of that. Then the flooring. (Two layers of flooring to be exact; Marmoleum and linoleum)
removal of sub-floor lag bolts
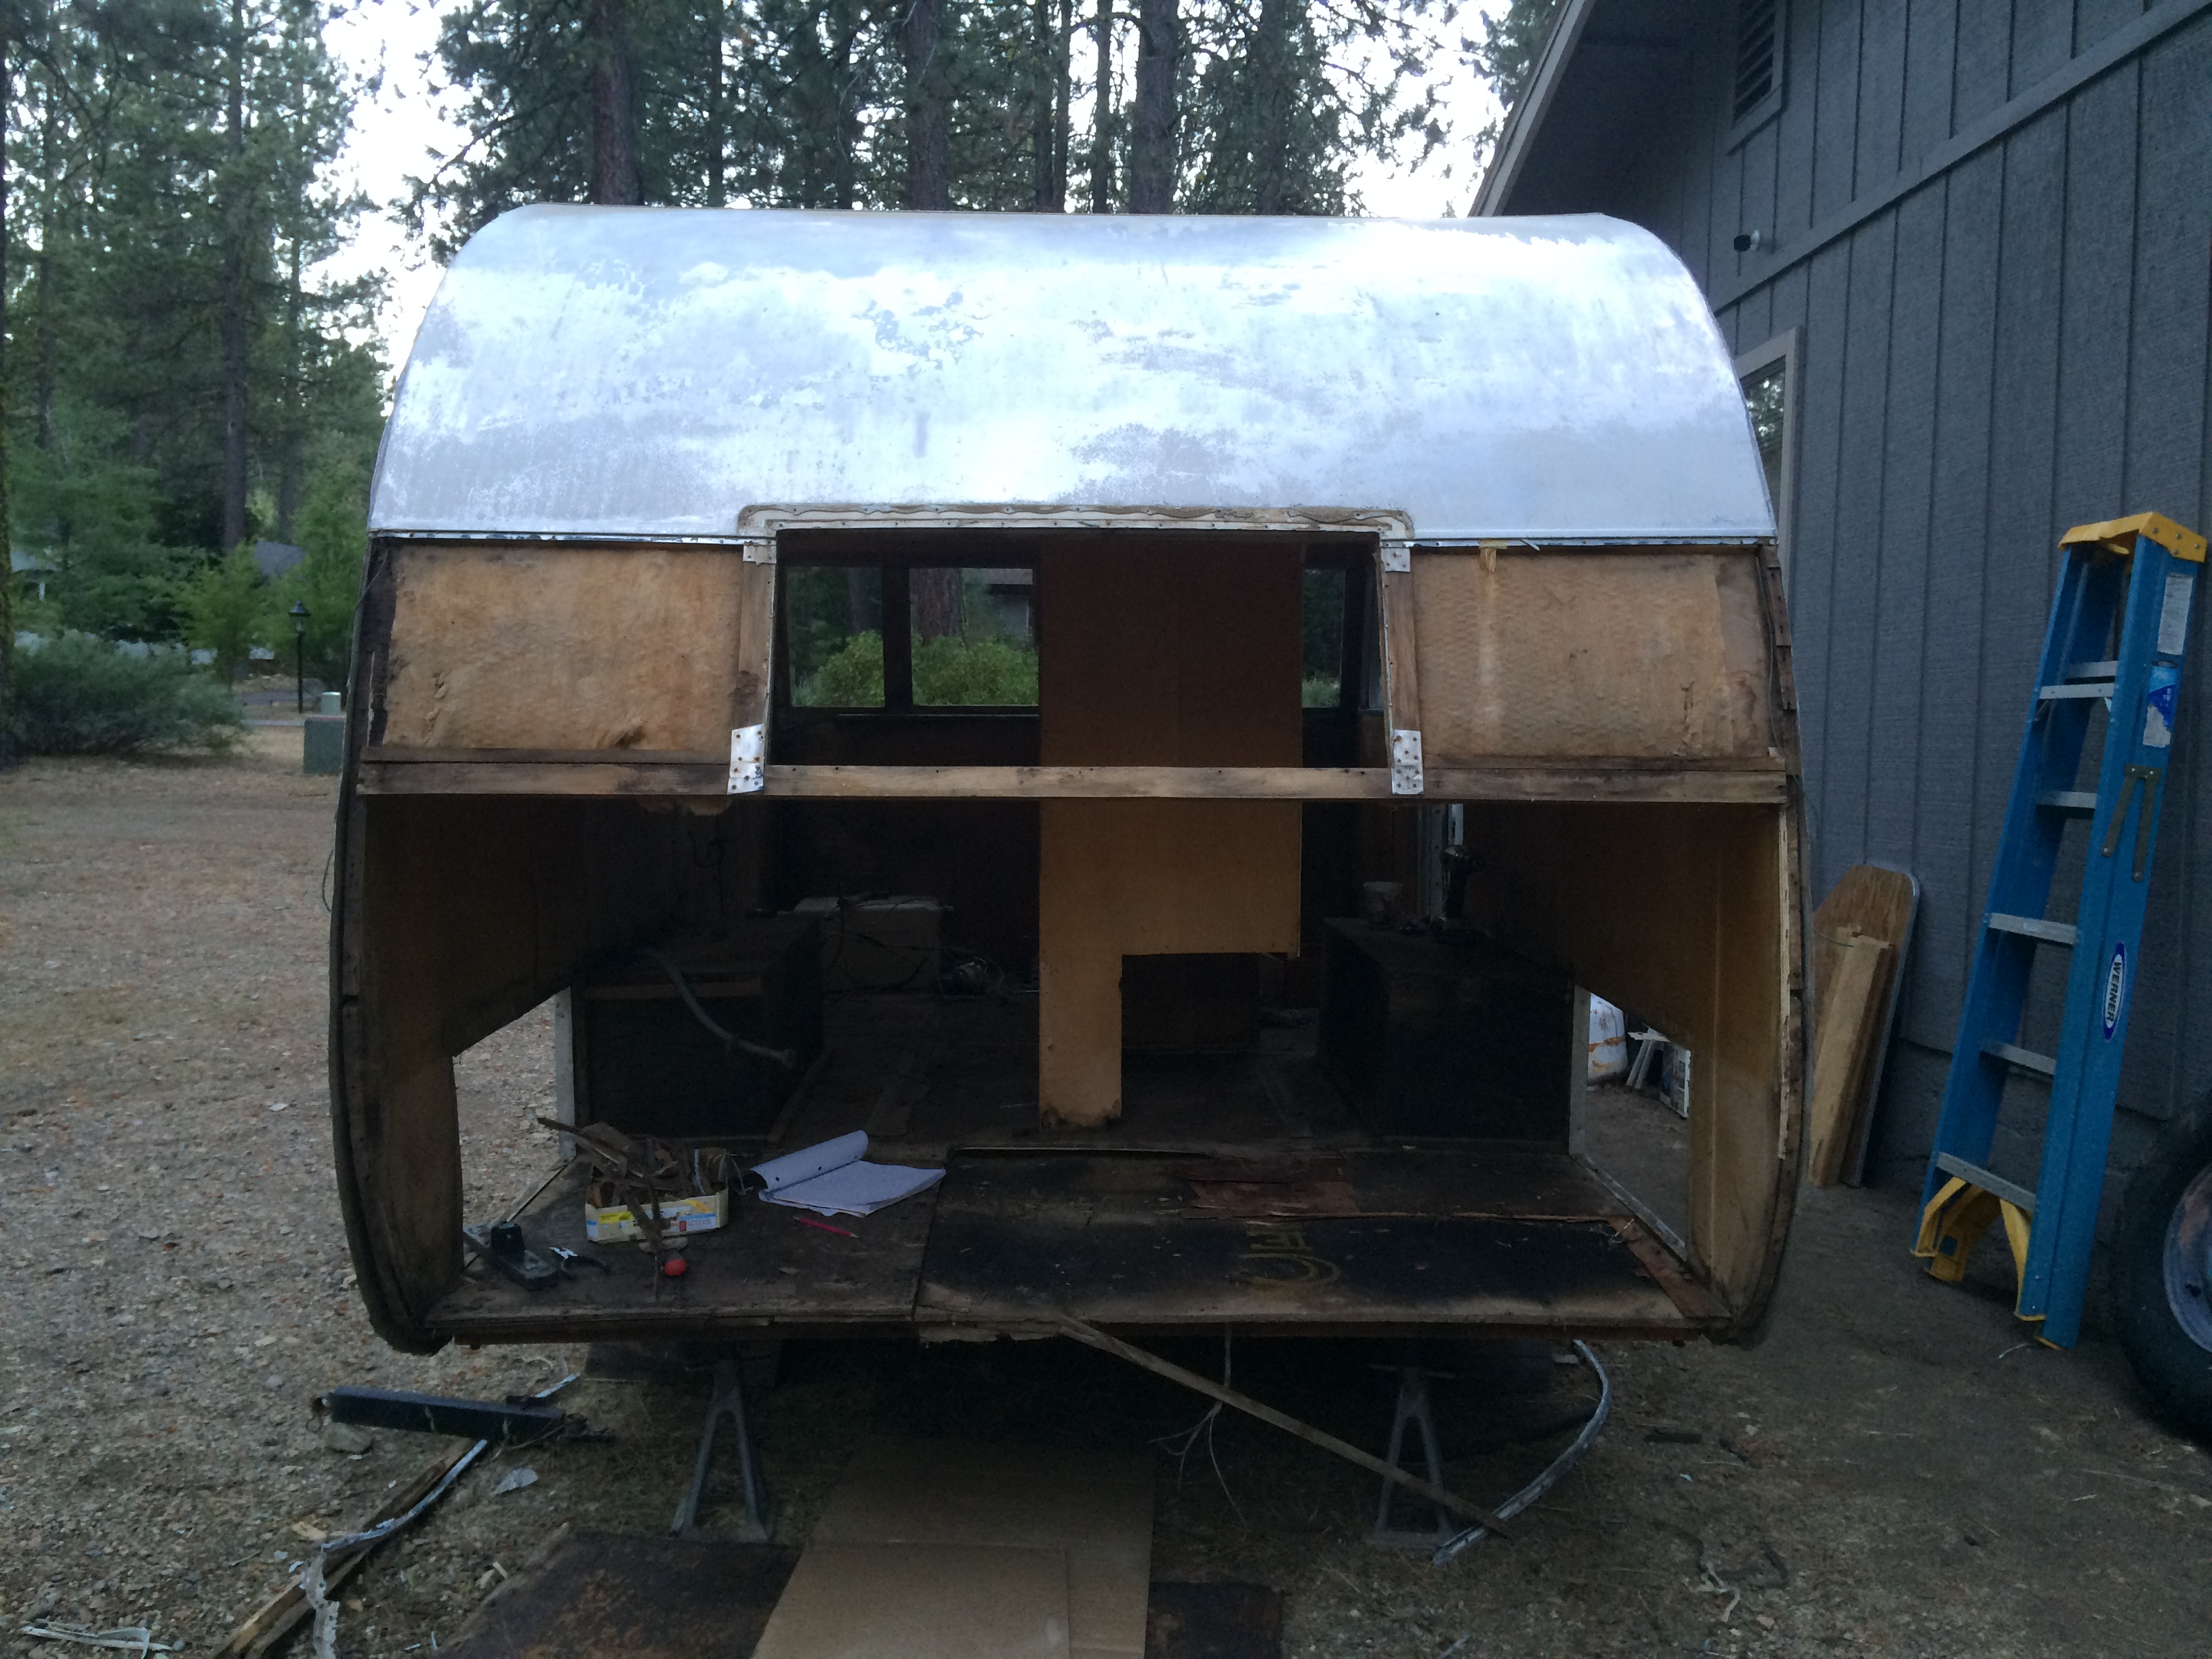
rear end removal
Since my project is a total rebuild I decided to explore how I could make the sub-floor watertight. I consulted my husband and construction friends and got lots of great suggestions.
But before I tell you my sub-floor secret let me run through how I prepared the trailer frame and underlayment.
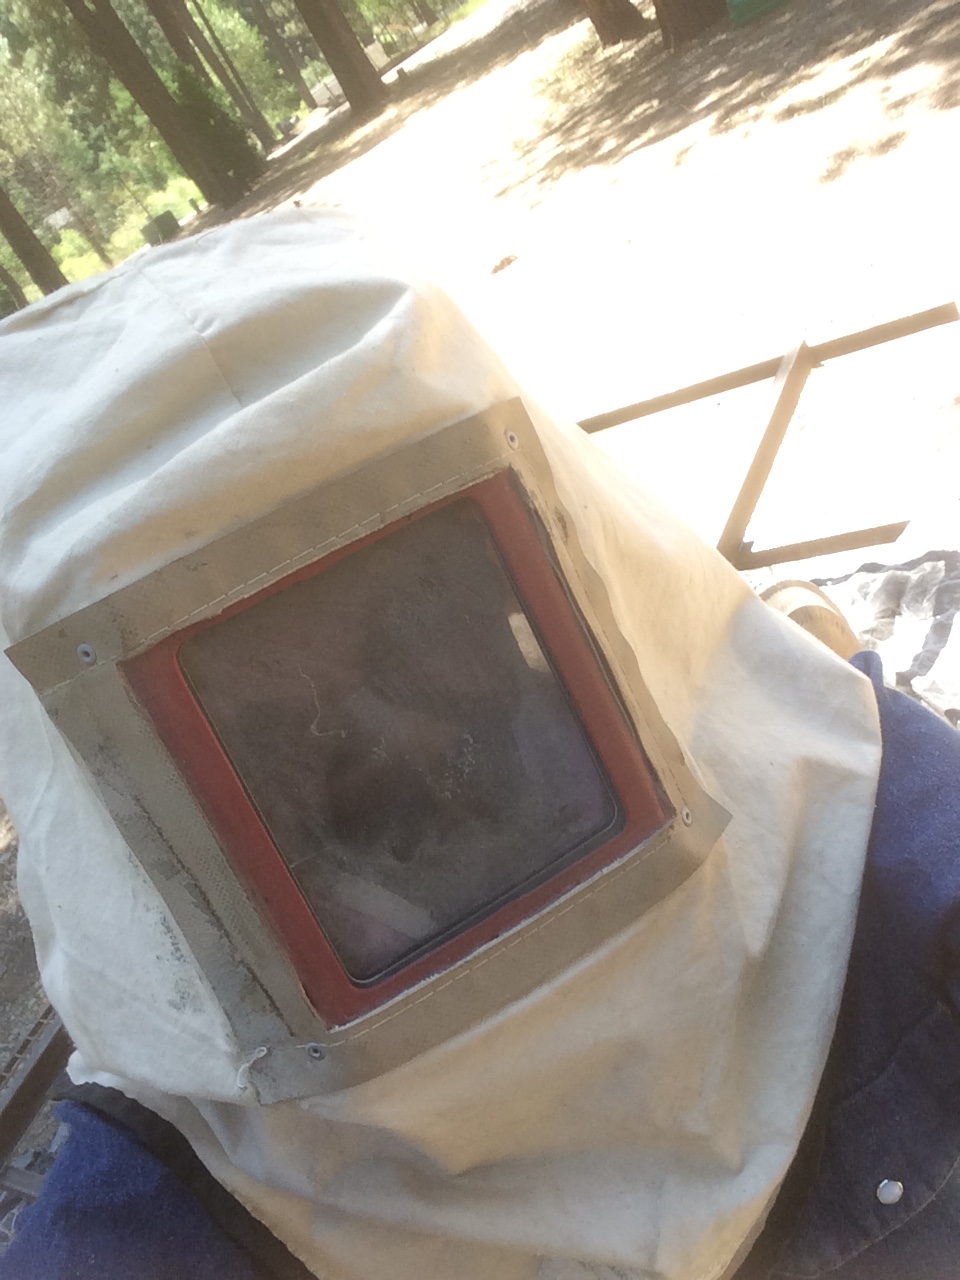
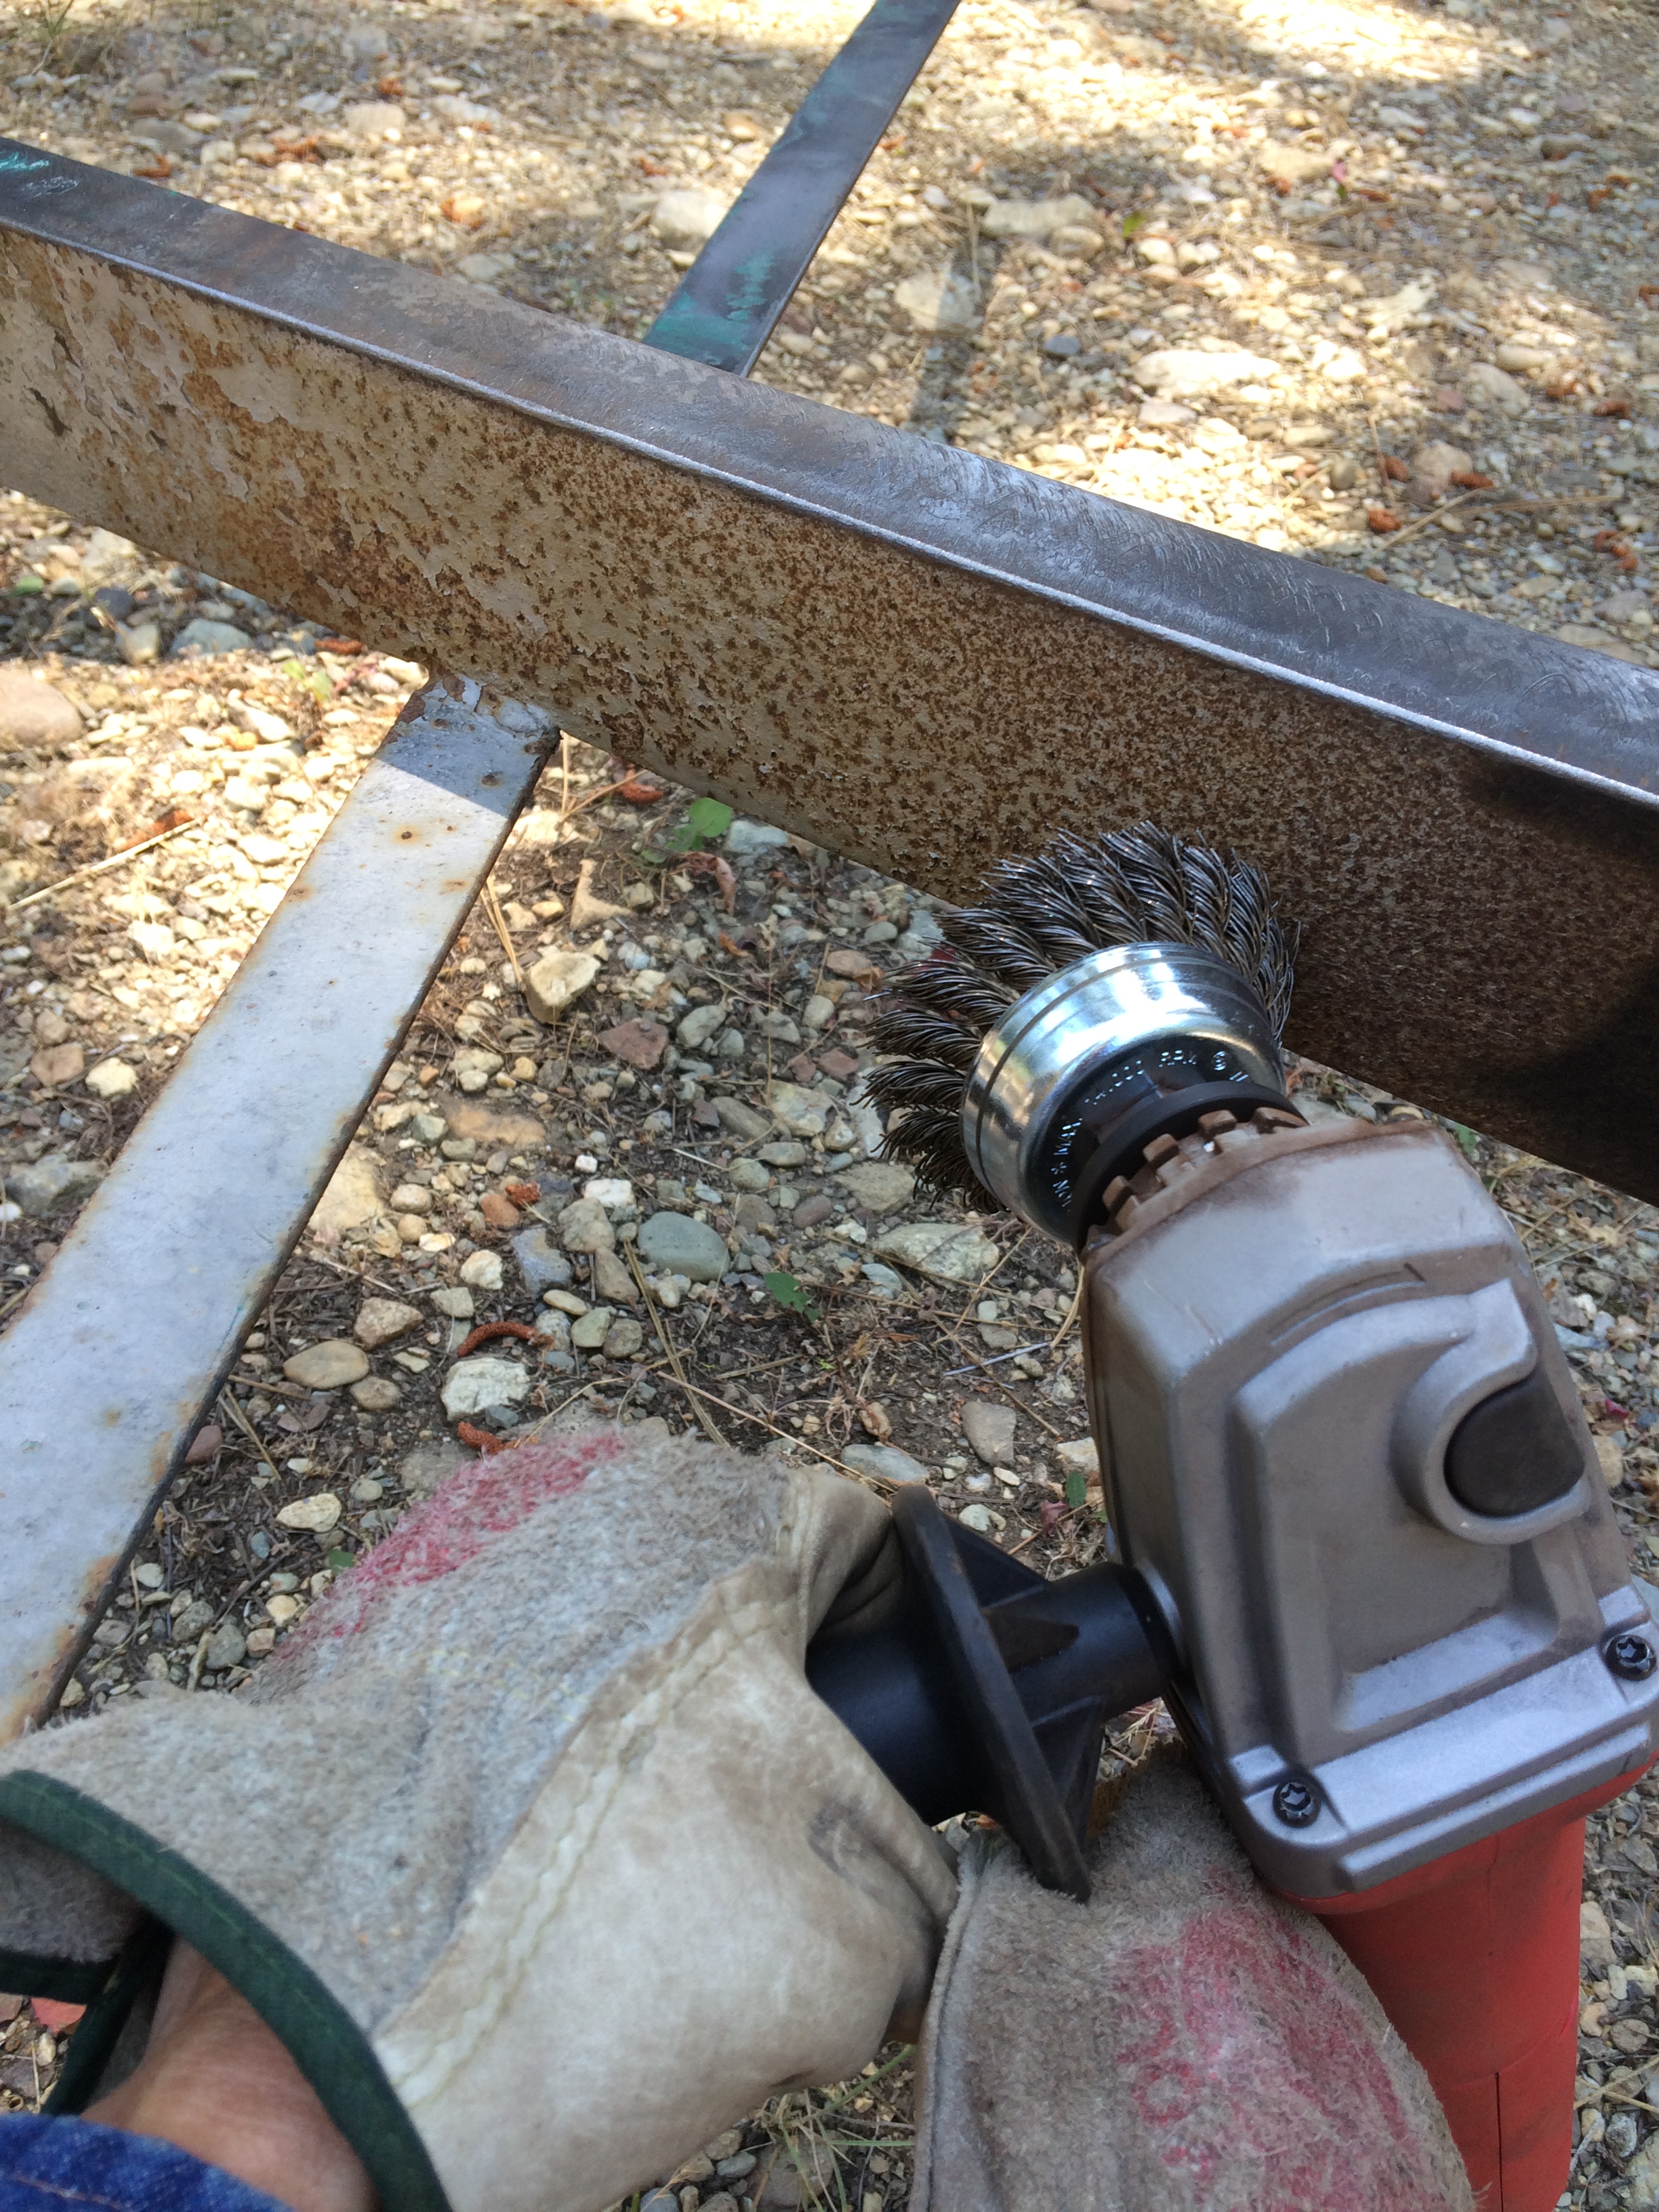
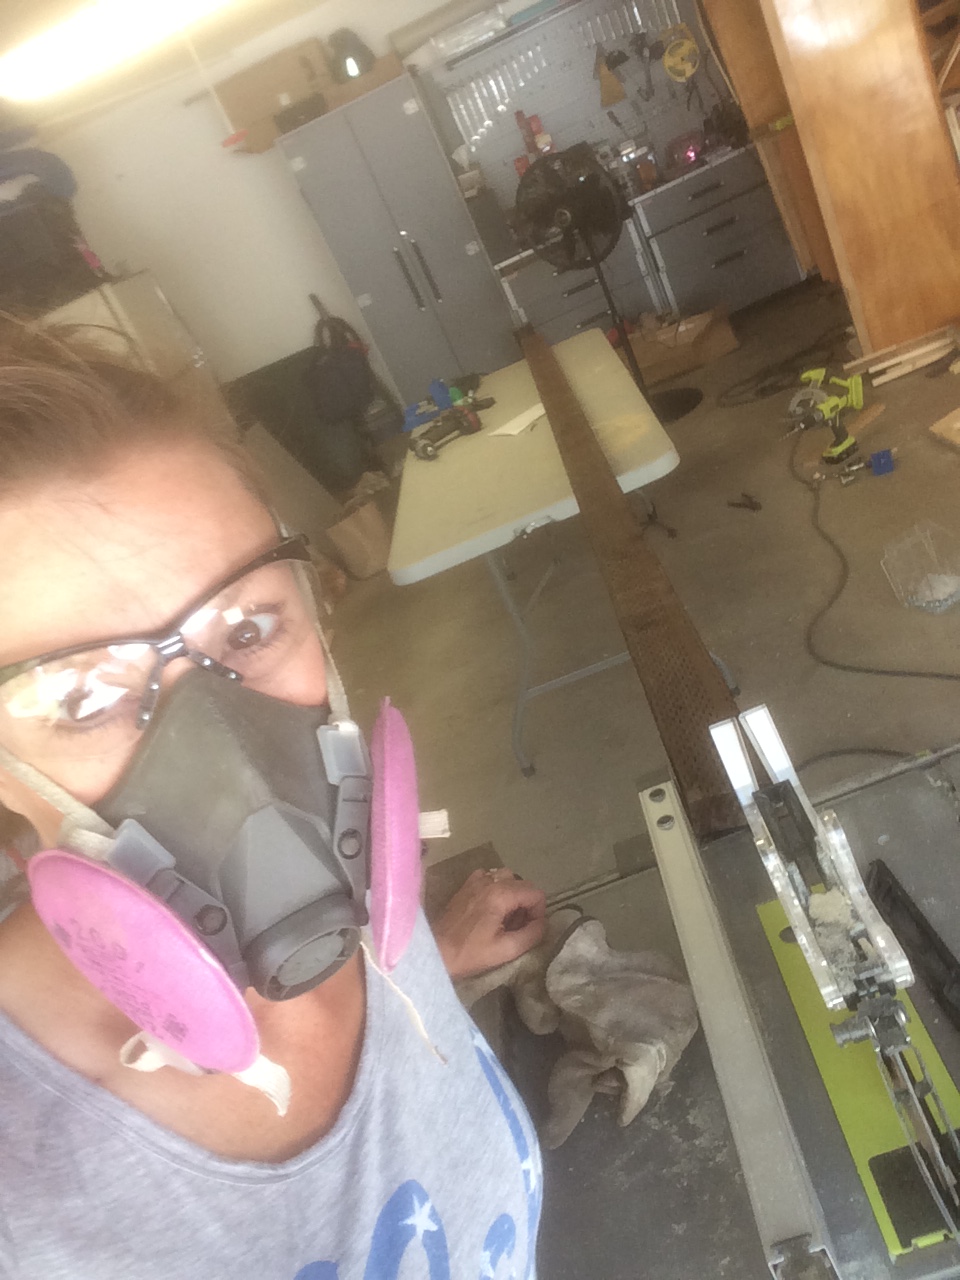
With the entire trailer frame exposed, I decided that I wanted to remove all the rust and apply a rust-resistant paint. I put the trailer up on blocks and removed the wheels. I started by sandblasting the frame. My friend Dean lent me his sandblaster and gave me a quick tutorial. I bought the silica sand that it required and suited up. Silica can be hazardous to your health so it's imperative that you wear protective gear; respirator, eye protection, hood, coveralls or thick protective clothing and gloves.
Safety is sexy! ok, maybe not in this case!
Unfortunately for me, it was the middle of July and there was nothing sexy about the insufferable heat. I could only work for about fifteen minutes before I thought I was going to suffocate. (Maaaybe I was being dramatic but I couldn't stand being in that get-up for very long!) Every fifteen minutes I'd throw the hood and respirator off and gasp for air! My husband thought it was quite comical. This must have been how Darth Vader felt. No wonder he was cranky!
After that horrible job was done, (or I just couldn't take it any longer) I used a wire wheel to clean up any areas I wasn't happy with. I went over the entire trailer, step, hitch, axles and leaf springs.
Then I painted everything with two coats of silver rust-resistant spray paint.
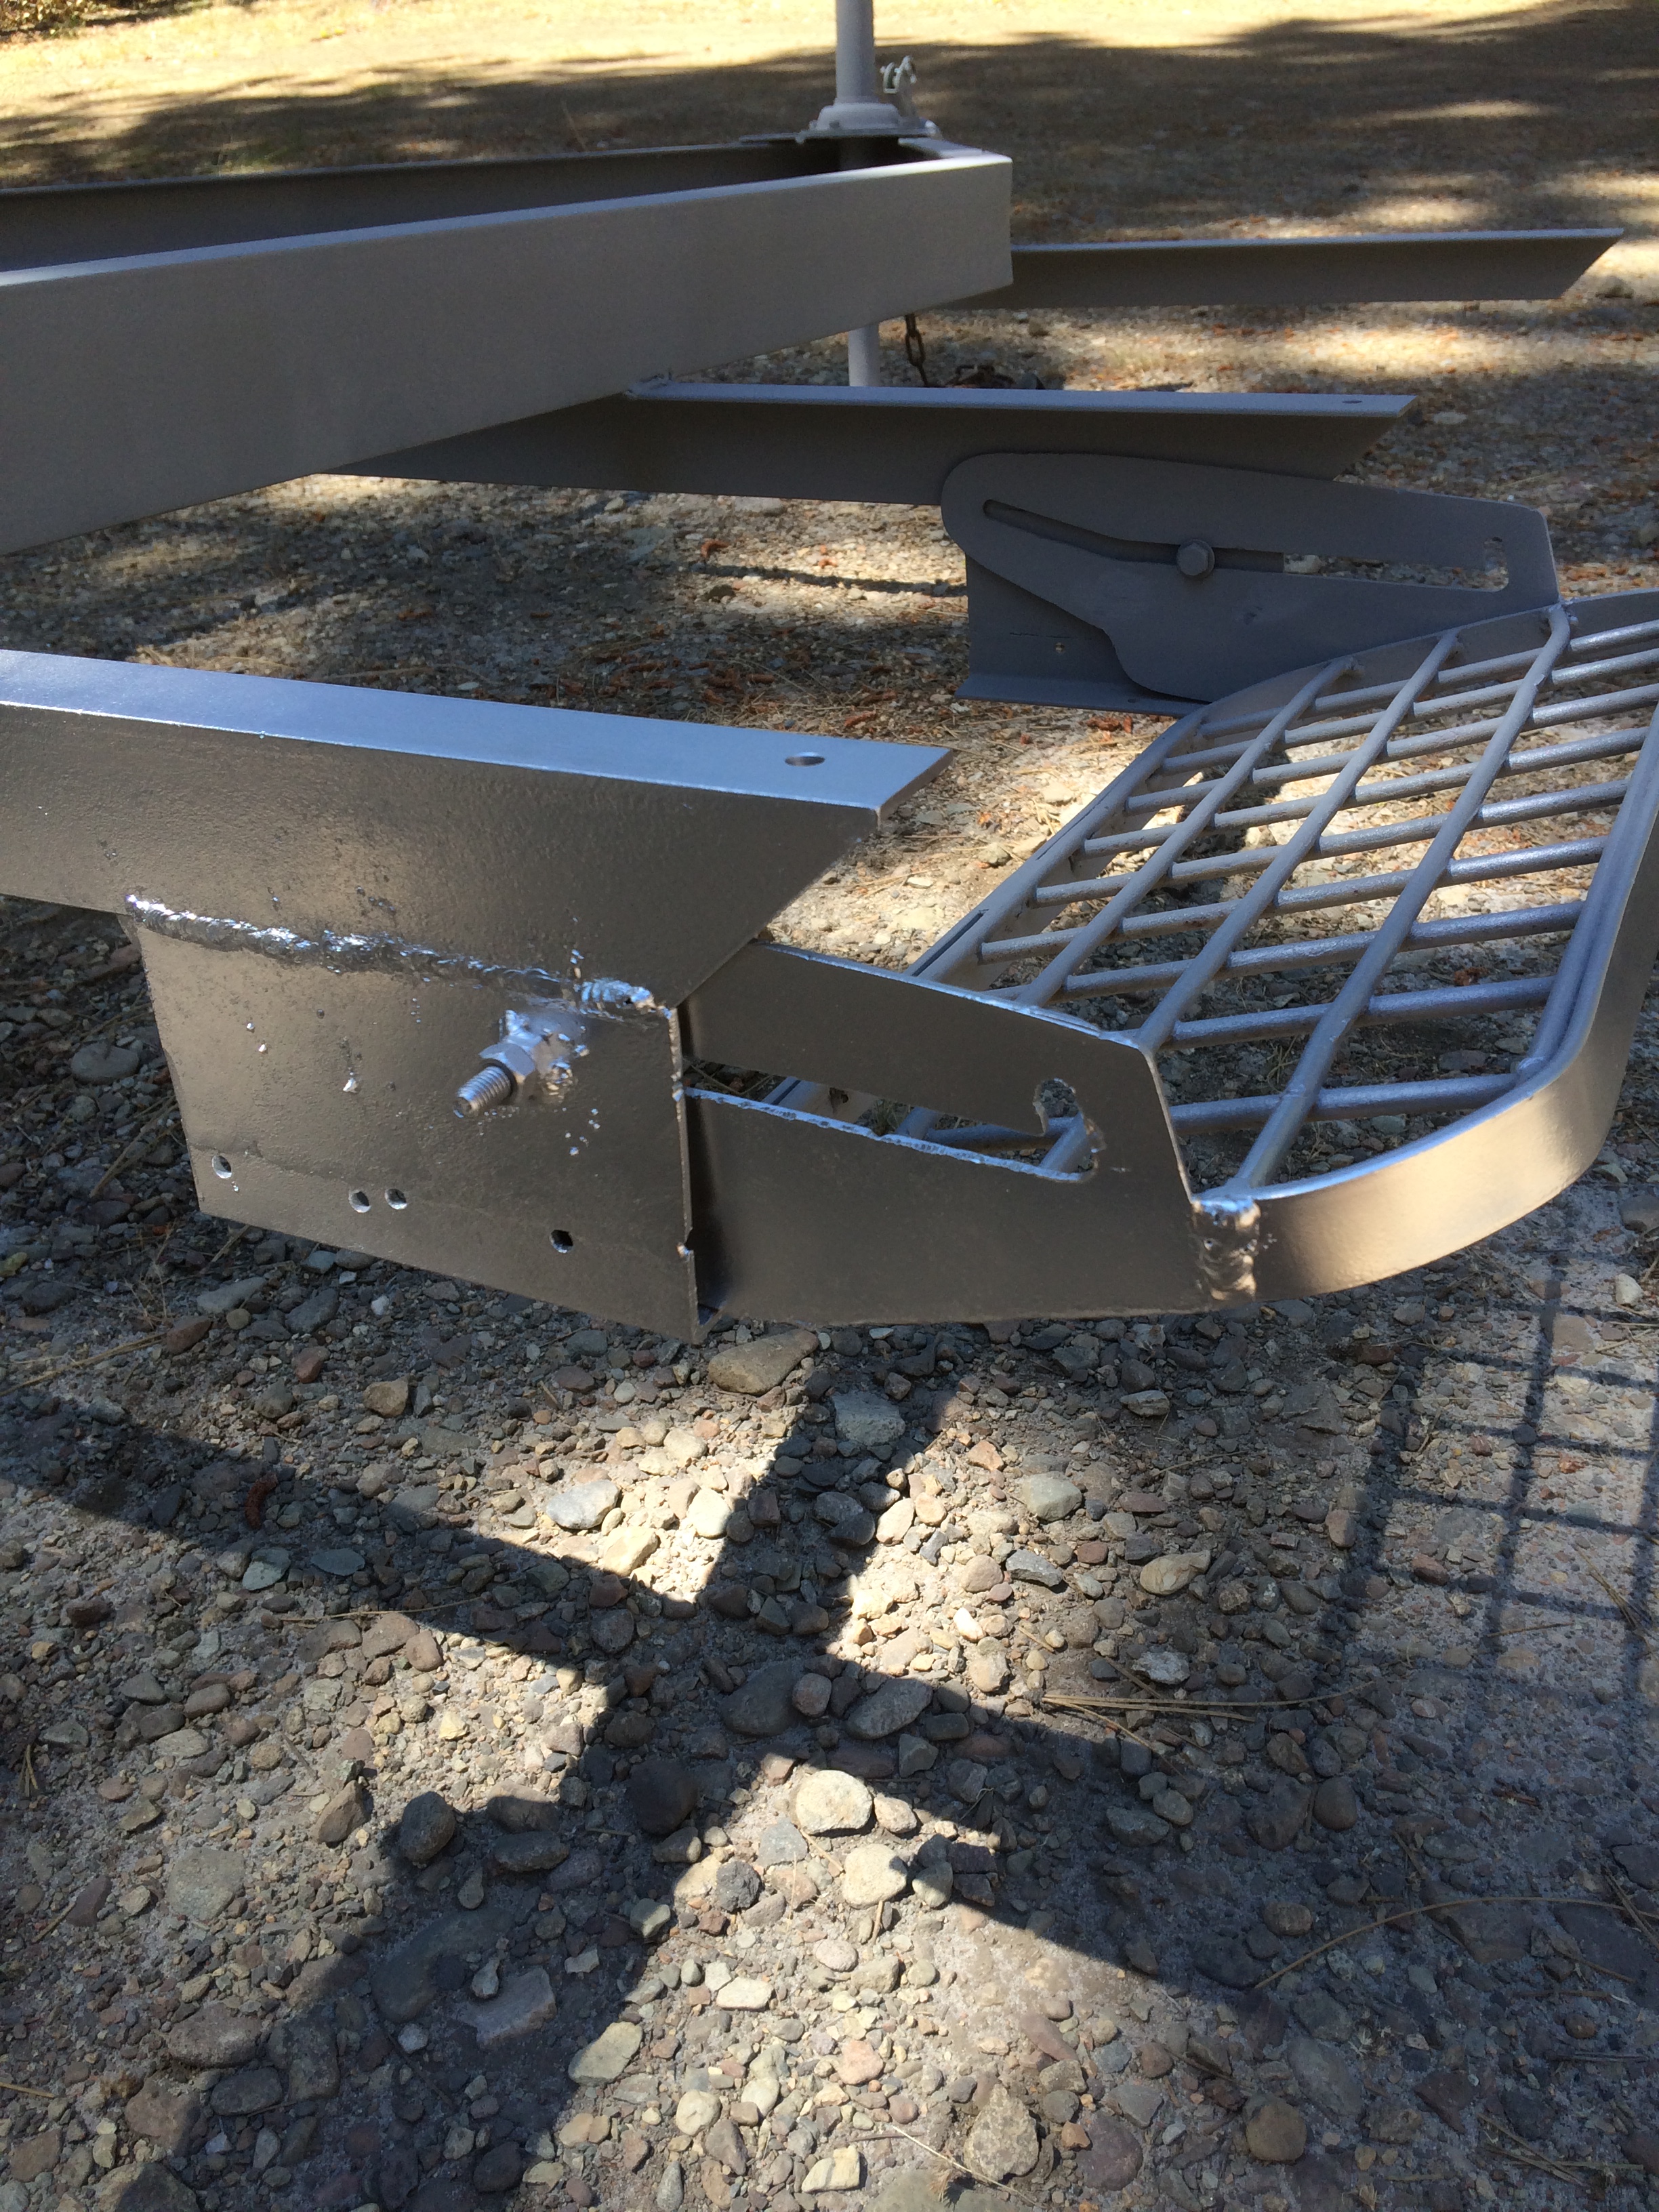

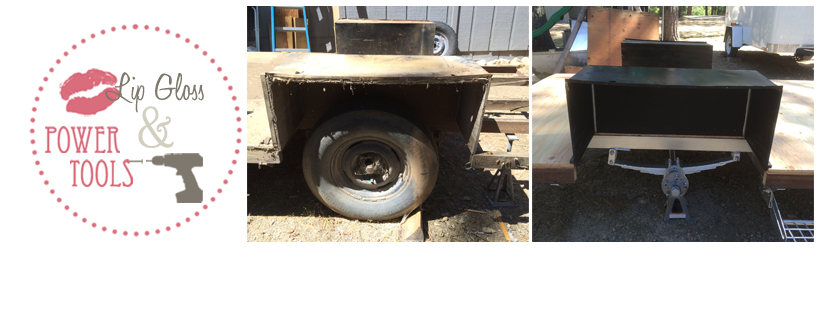
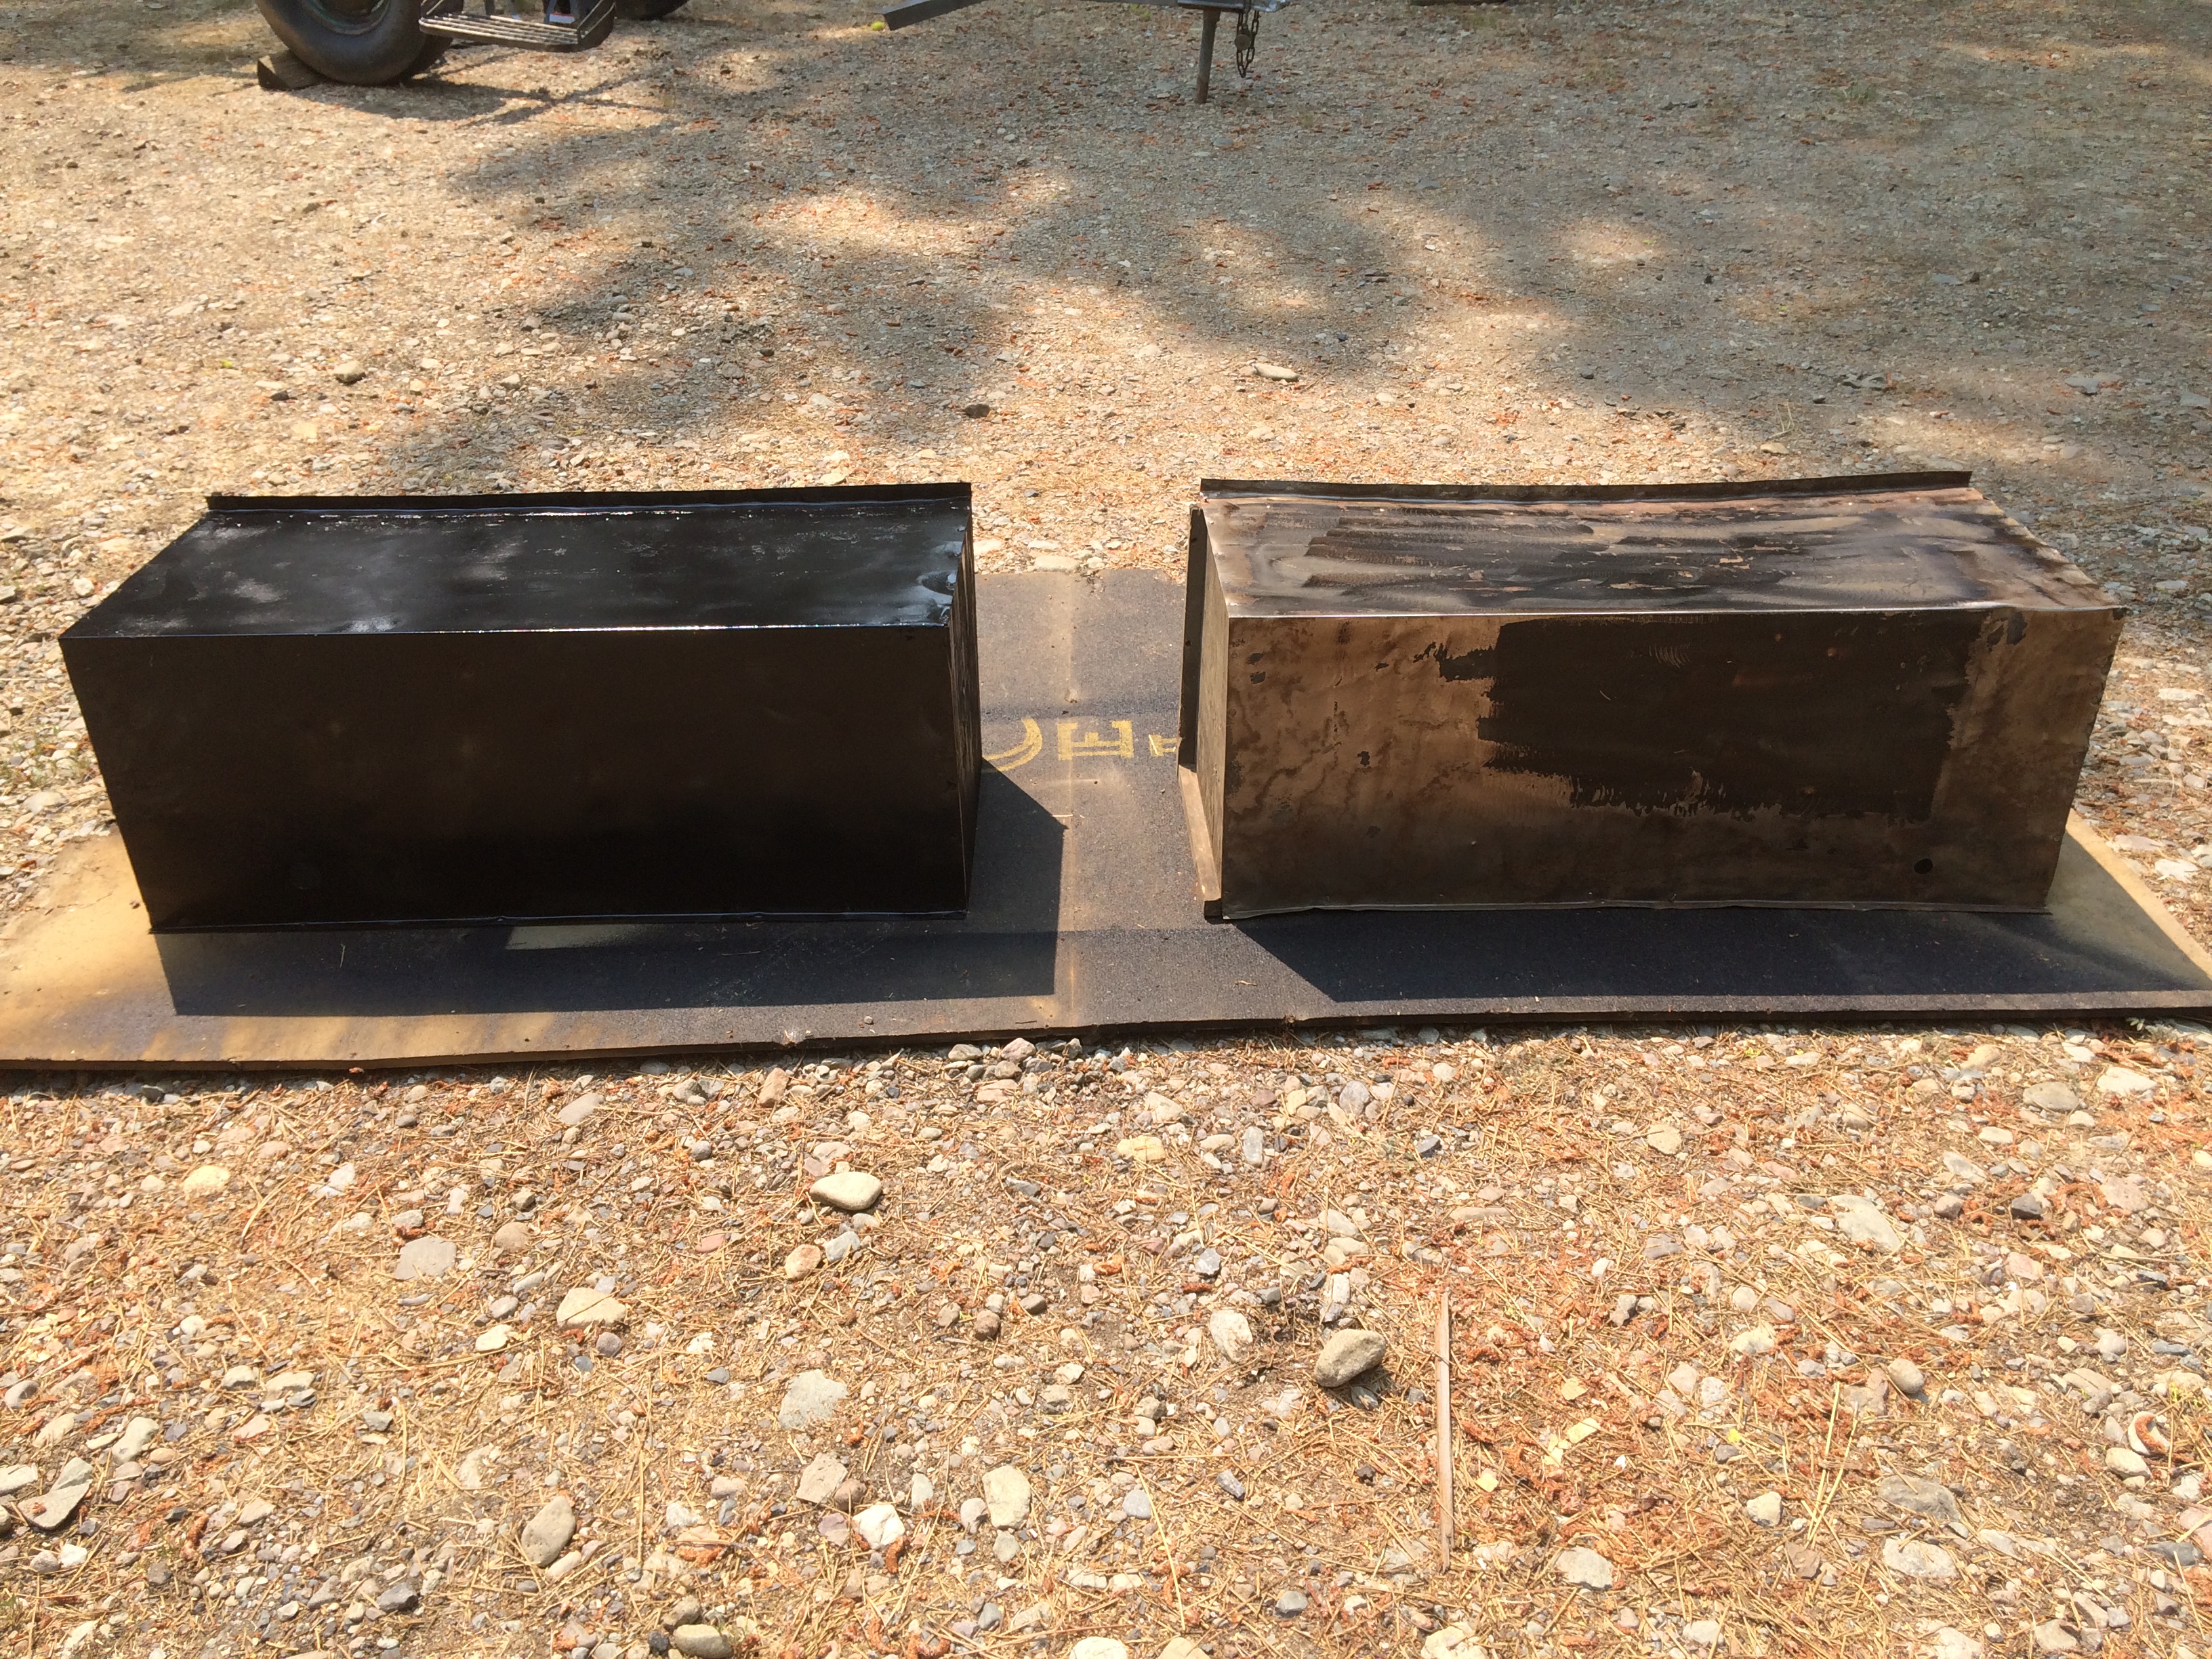
In between coats I got to work on the wheel wells. They are made of aluminum, 1x1 pine and plywood. The aluminum was in pretty good shape but I replaced the plywood and 1x ends. I cleaned and lightly sanded them. I removed any nails and screws and hammered the flange edges straight. Everything got several coats of black spray paint.

Wheel Wells, Before and After
Next up was the 2x4 floor joist that runs the length of the trailer. Since these have been exposed to over 60 years of road grime and water I decided to replace them as well. In actuality, they are smaller than 2x4 so I had to rip them down to size with a table saw. I used pressure treated lumber for this so again, make sure you wear a respirator. There are some blocking pieces as well. I just used the old pieces as a pattern to measure the new.

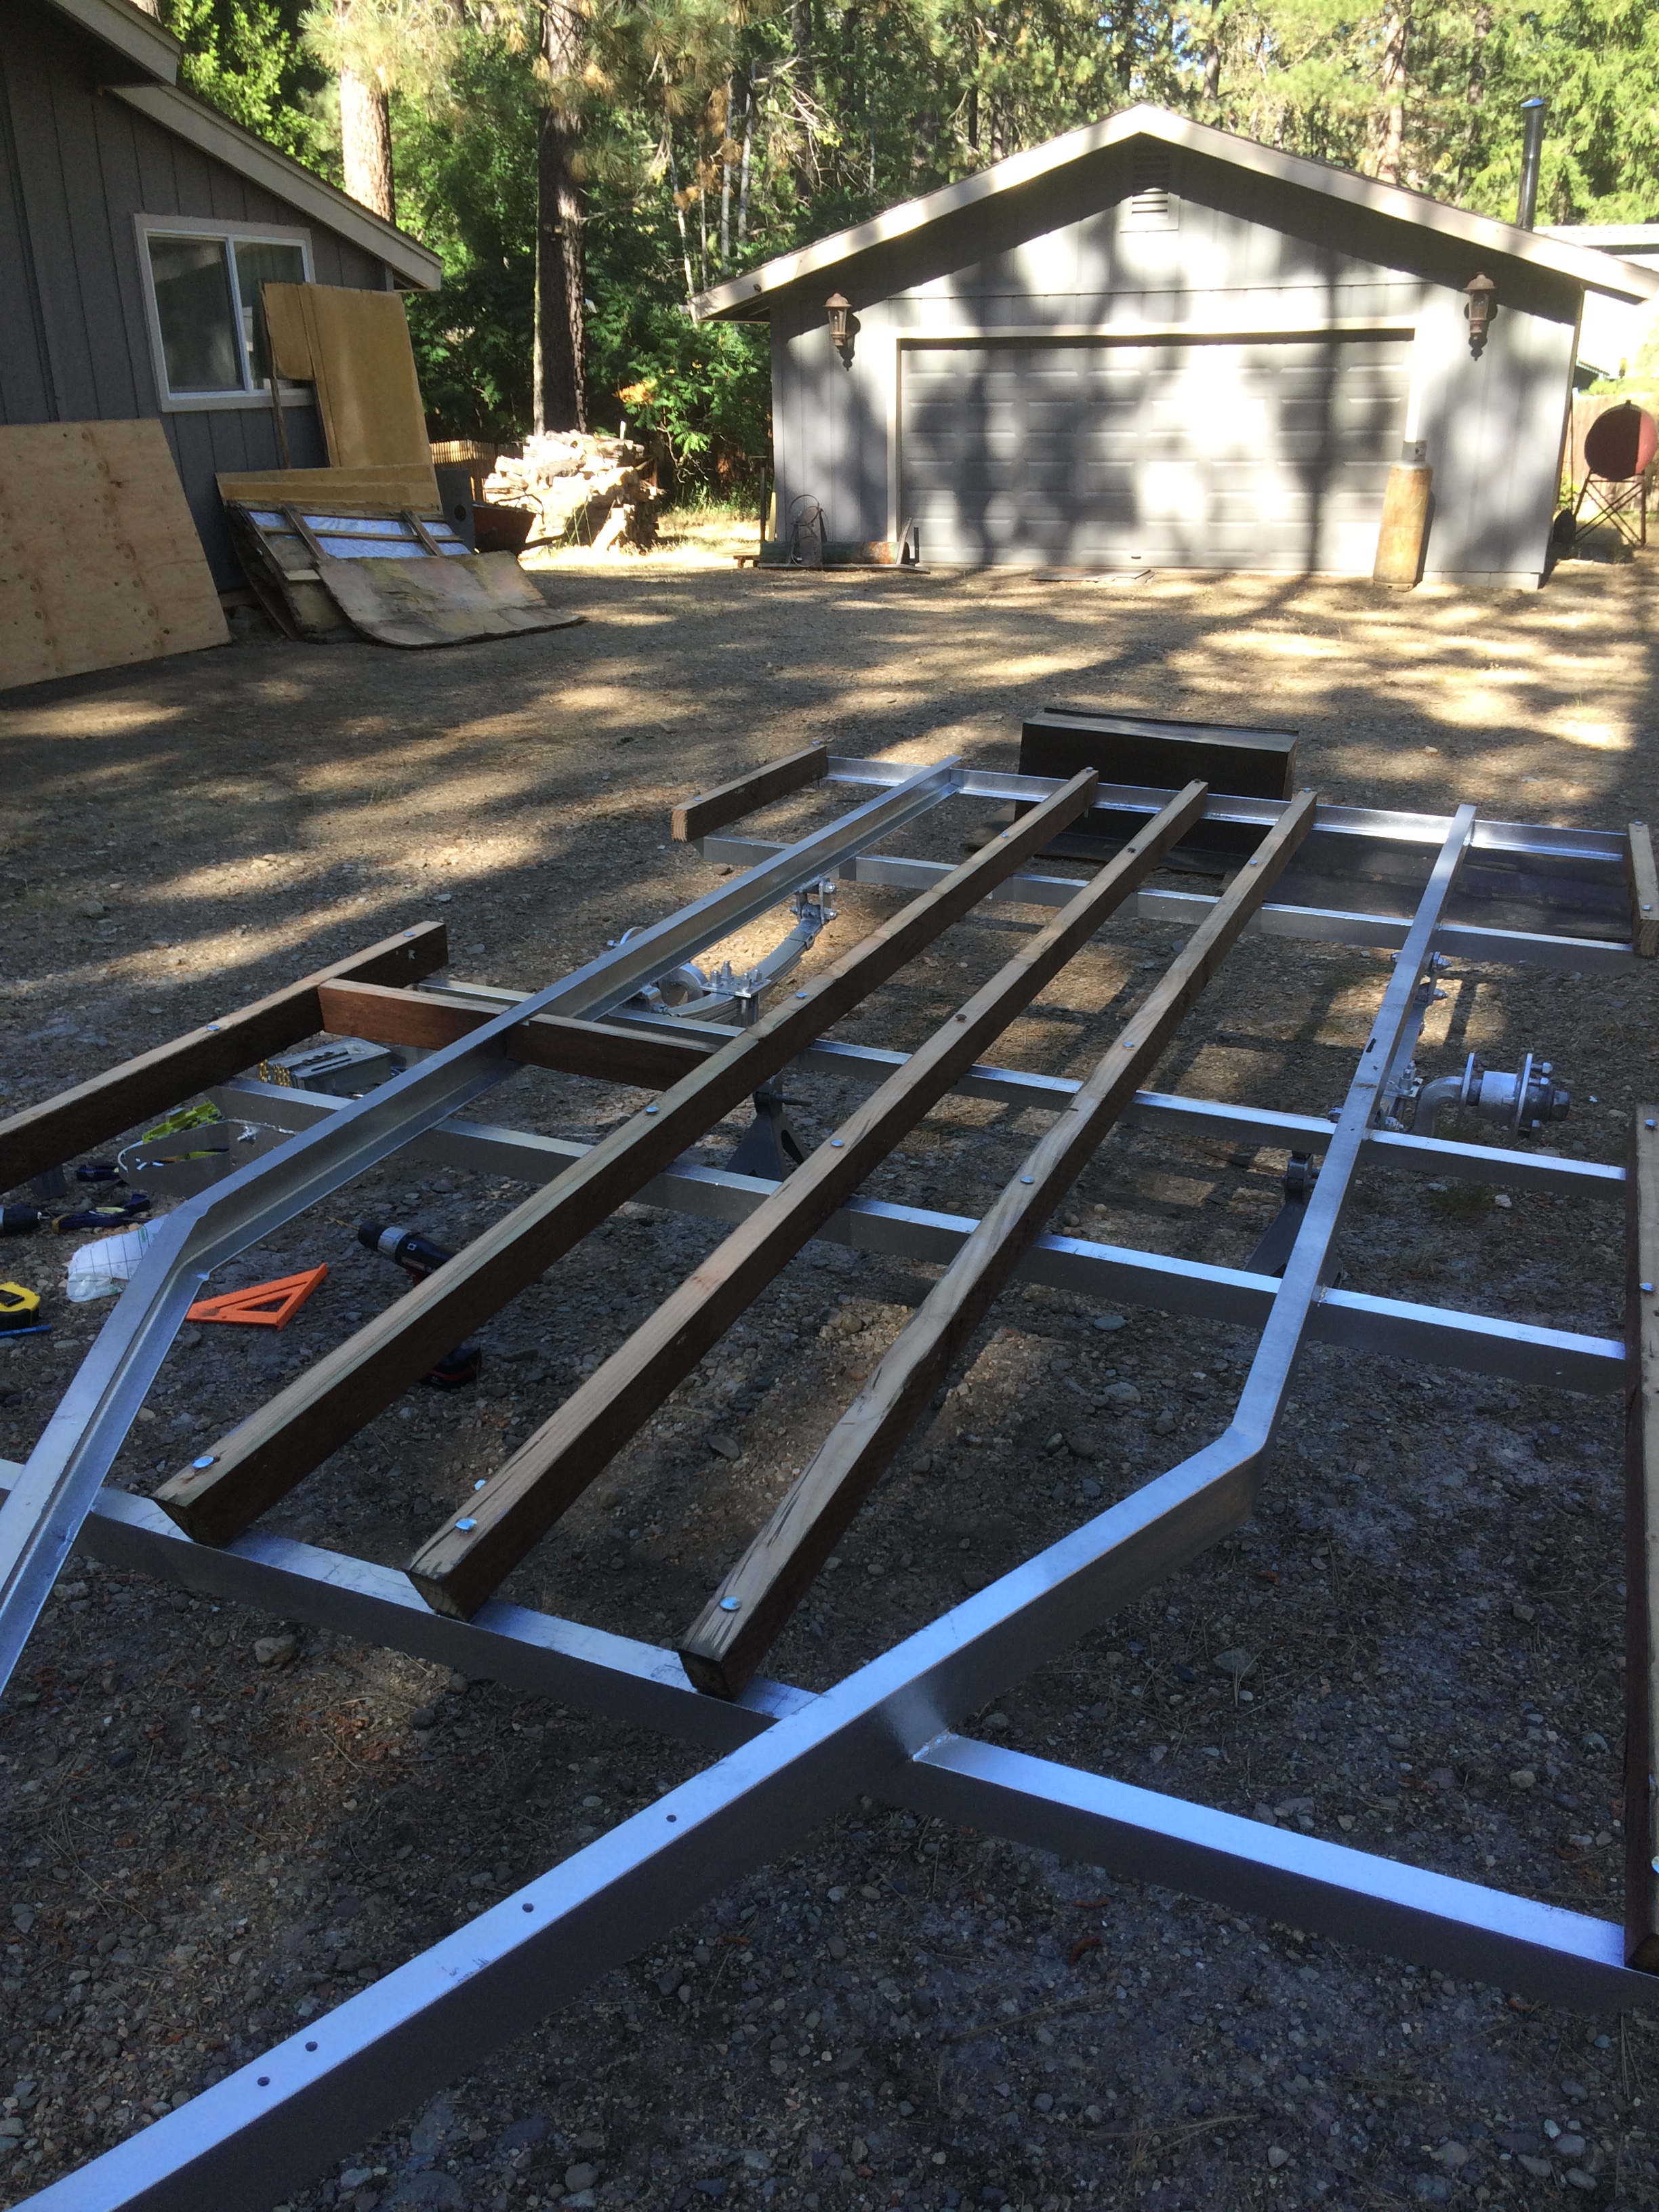
I bought new bolts, nuts, and washers, (mostly because I had to cut the old rusted ones off) and drilled holes in the 2x4s to receive them.
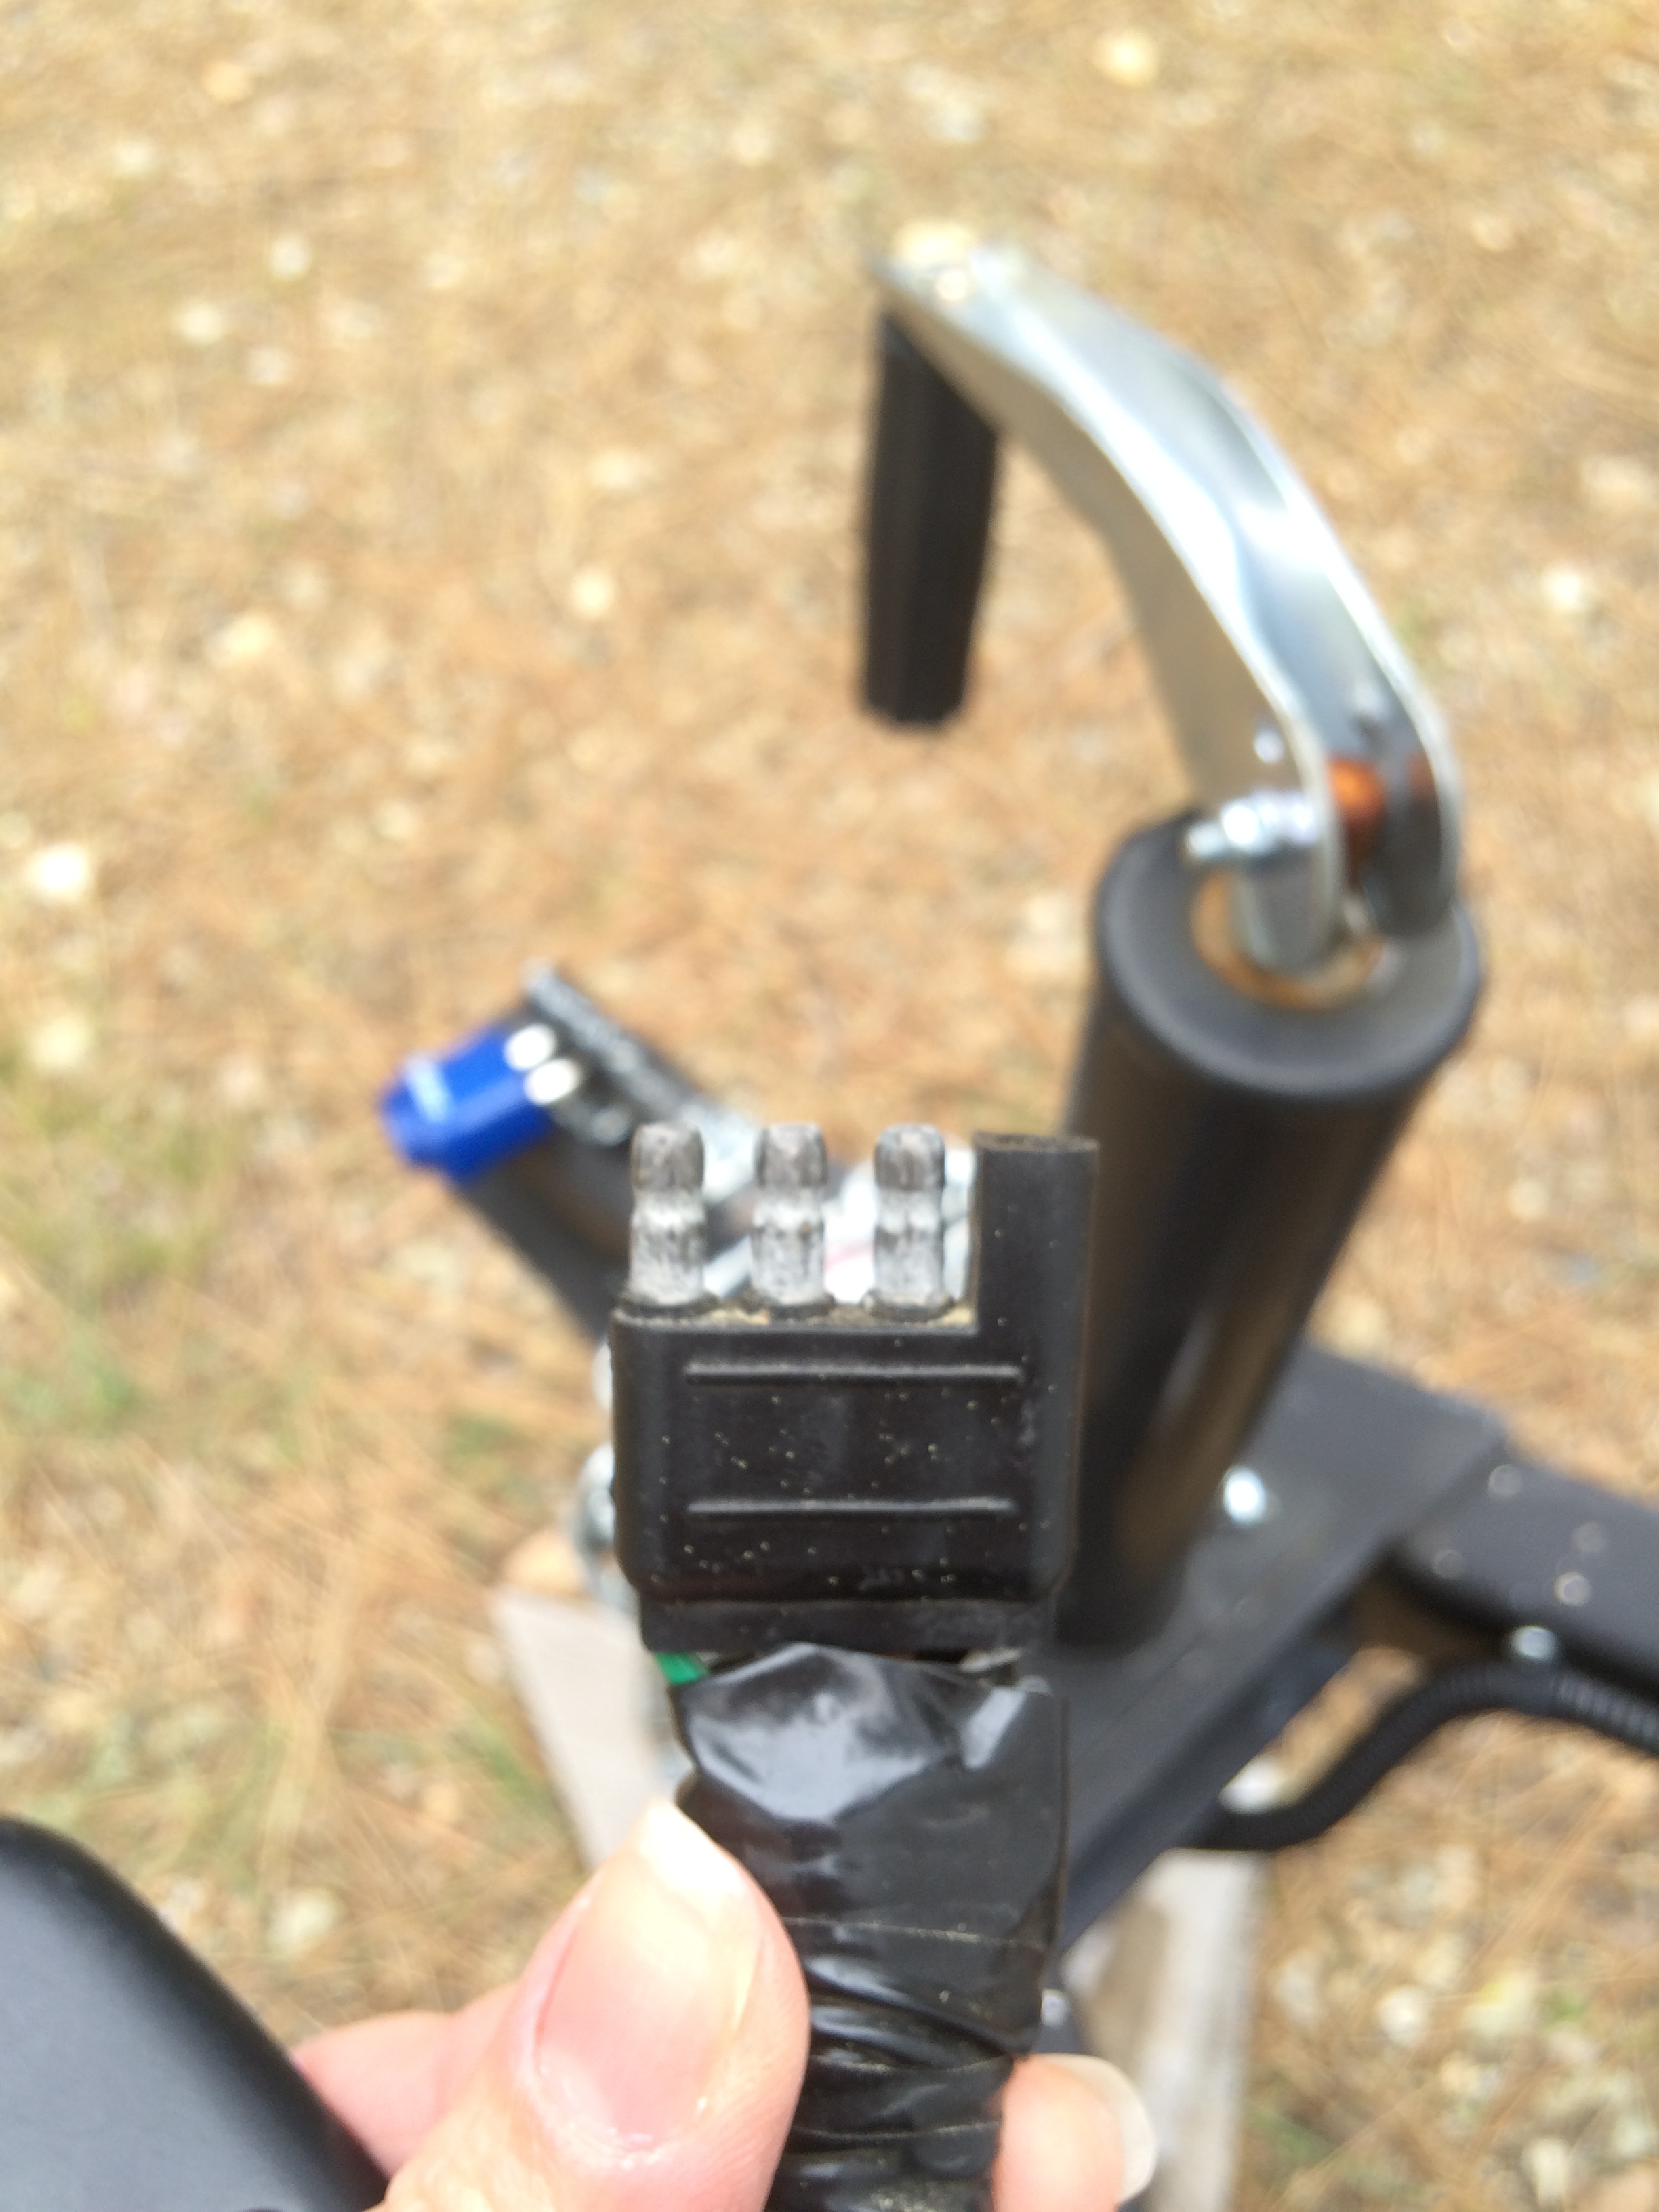
While access was easy I decided to run the trailer tail light package. The wires were just clipped under the old trailer and exposed to the road. So instead, I installed a length of conduit and fished the trailer light wire through it. It will be ready to wire the tail and marker lights when I get to that part of the project.
conduit running along the floor joist

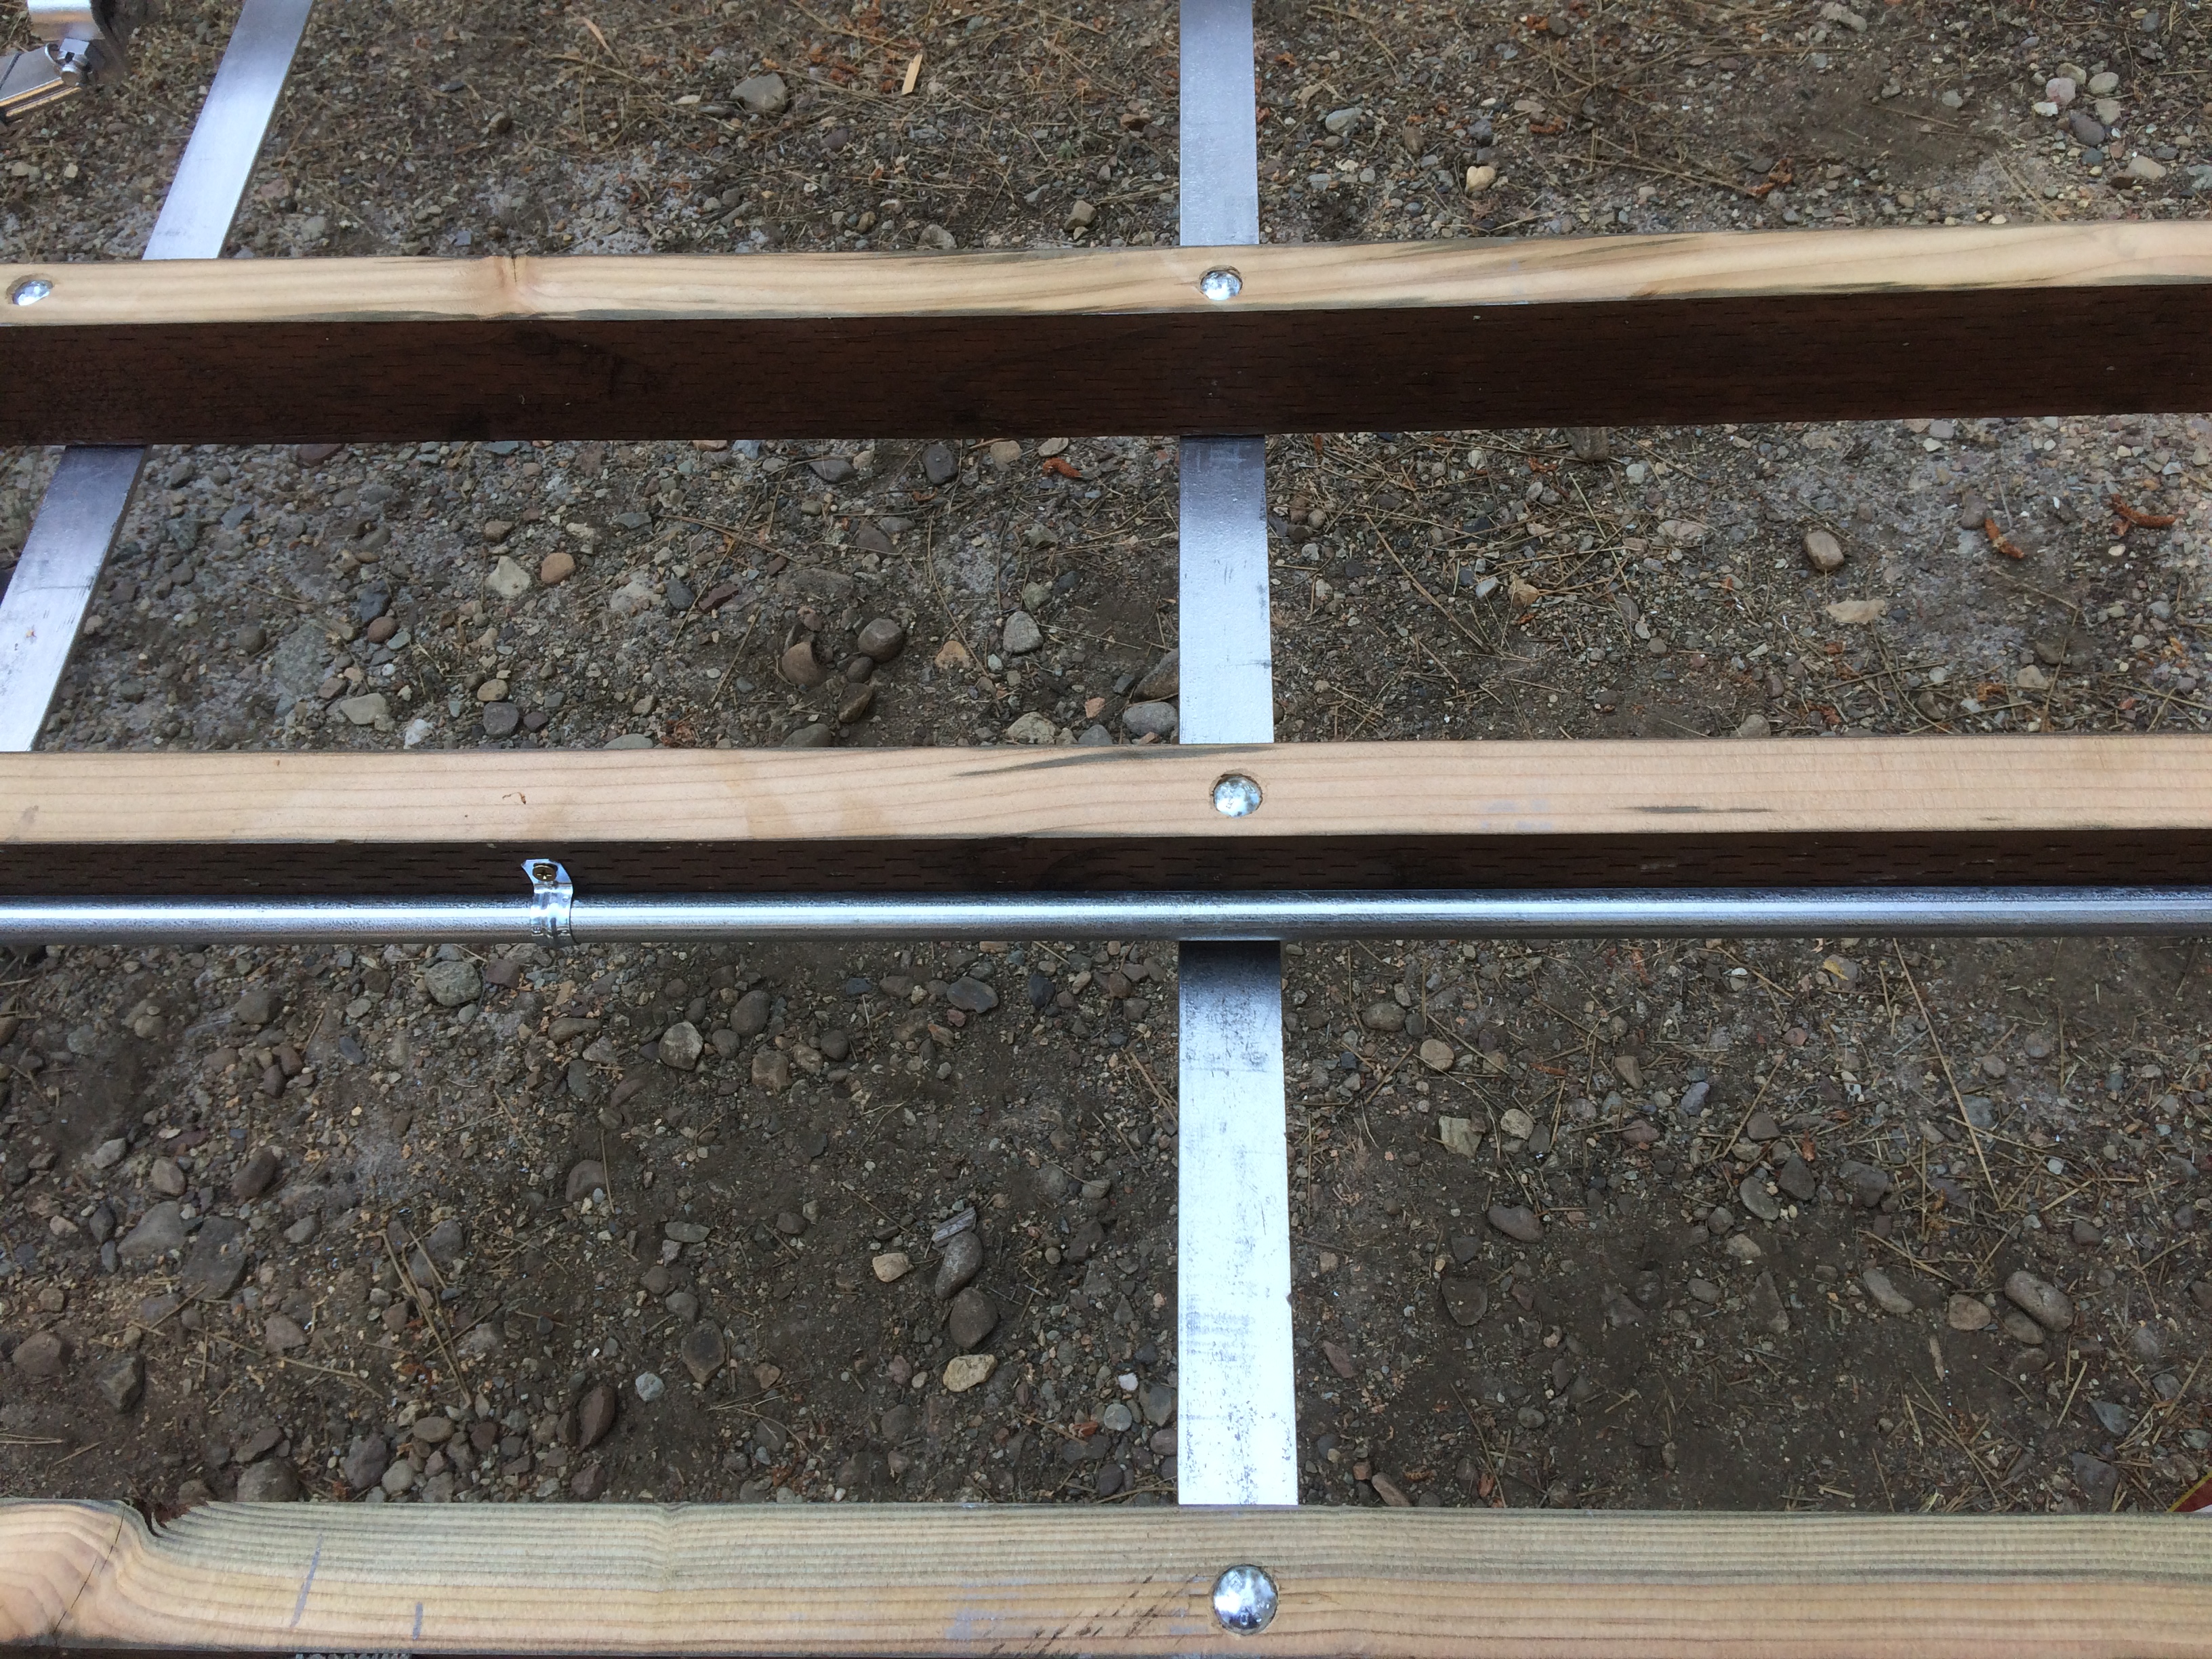
It was finally time to lay the plywood down. I was careful to use the same thickness as the old because I want everything to match up when I get to the walls and cabinetry. I used the old pieces of plywood as templates and cut everything to fit.

But...but...but... BEFORE I screwed the plywood down I flipped it over and applied a product known as "ice and water shield". This is used in roofing to prevent water and ice from creeping in. (You can find it in the roofing department of your home improvement store.) It comes on a roll and can be cut to size. It has a paper backing that you peel off to expose the sticky side. AND....It's super sticky! Its tar-like material is thick and water resistant.
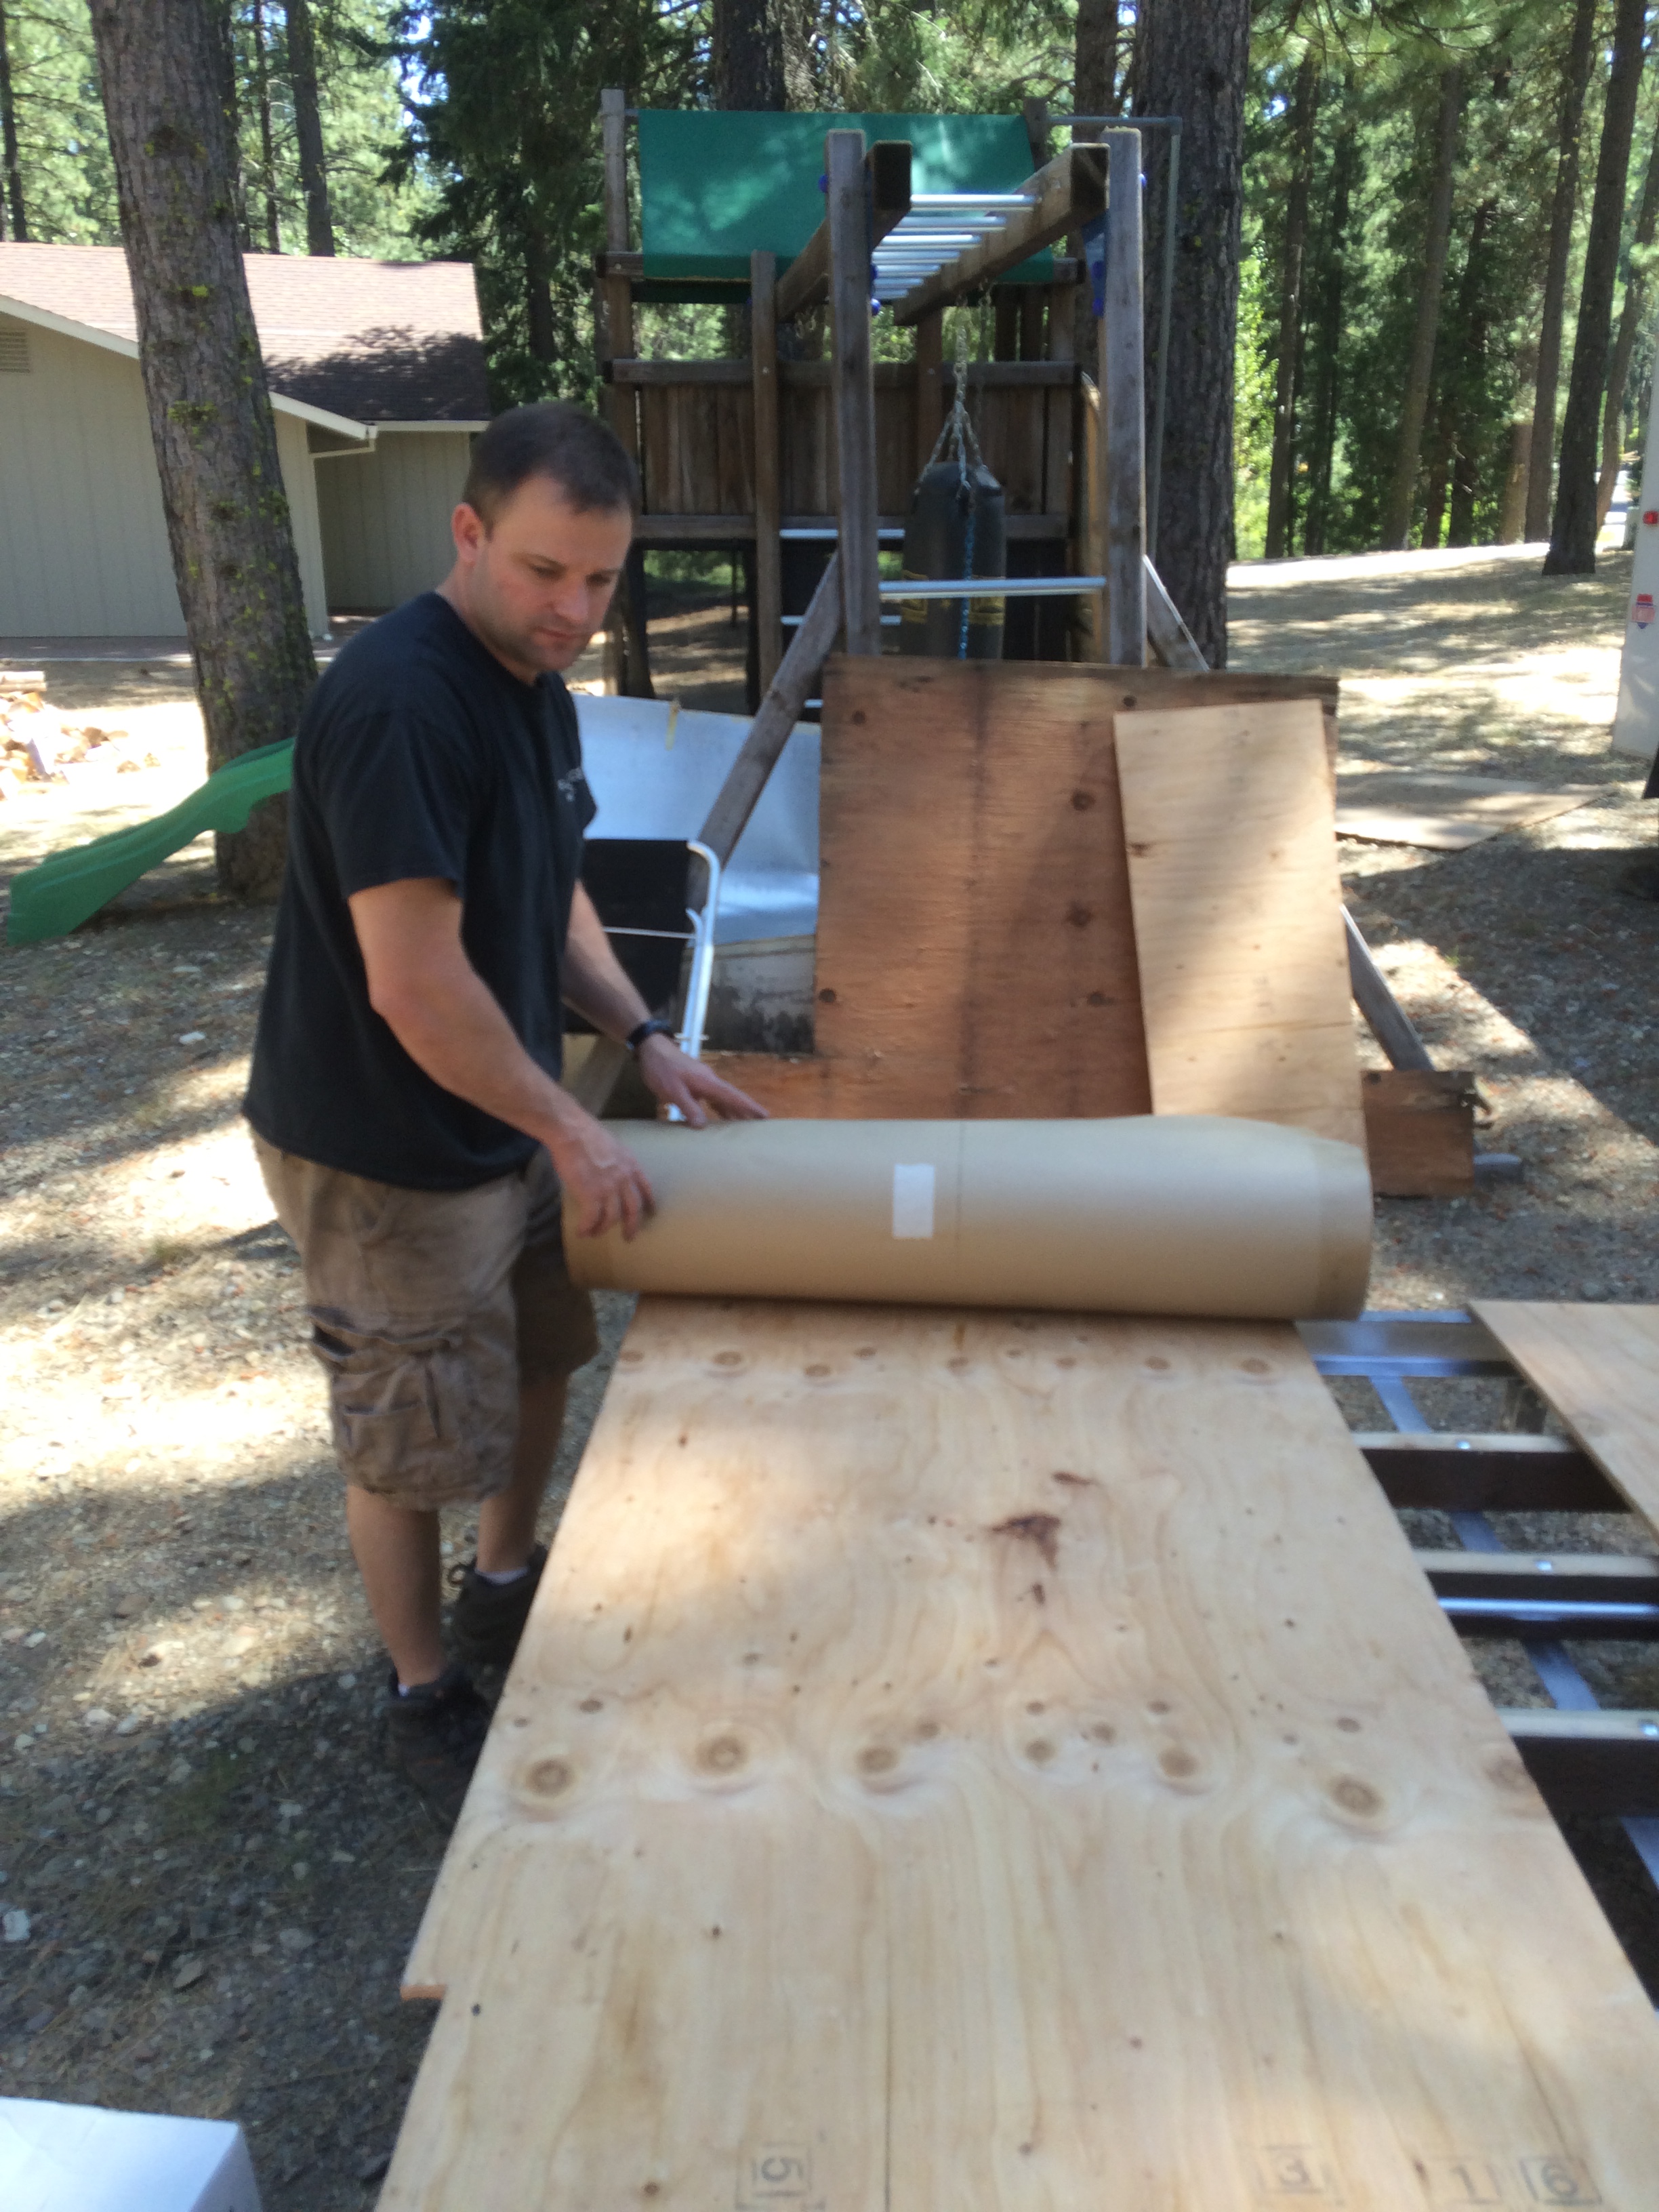
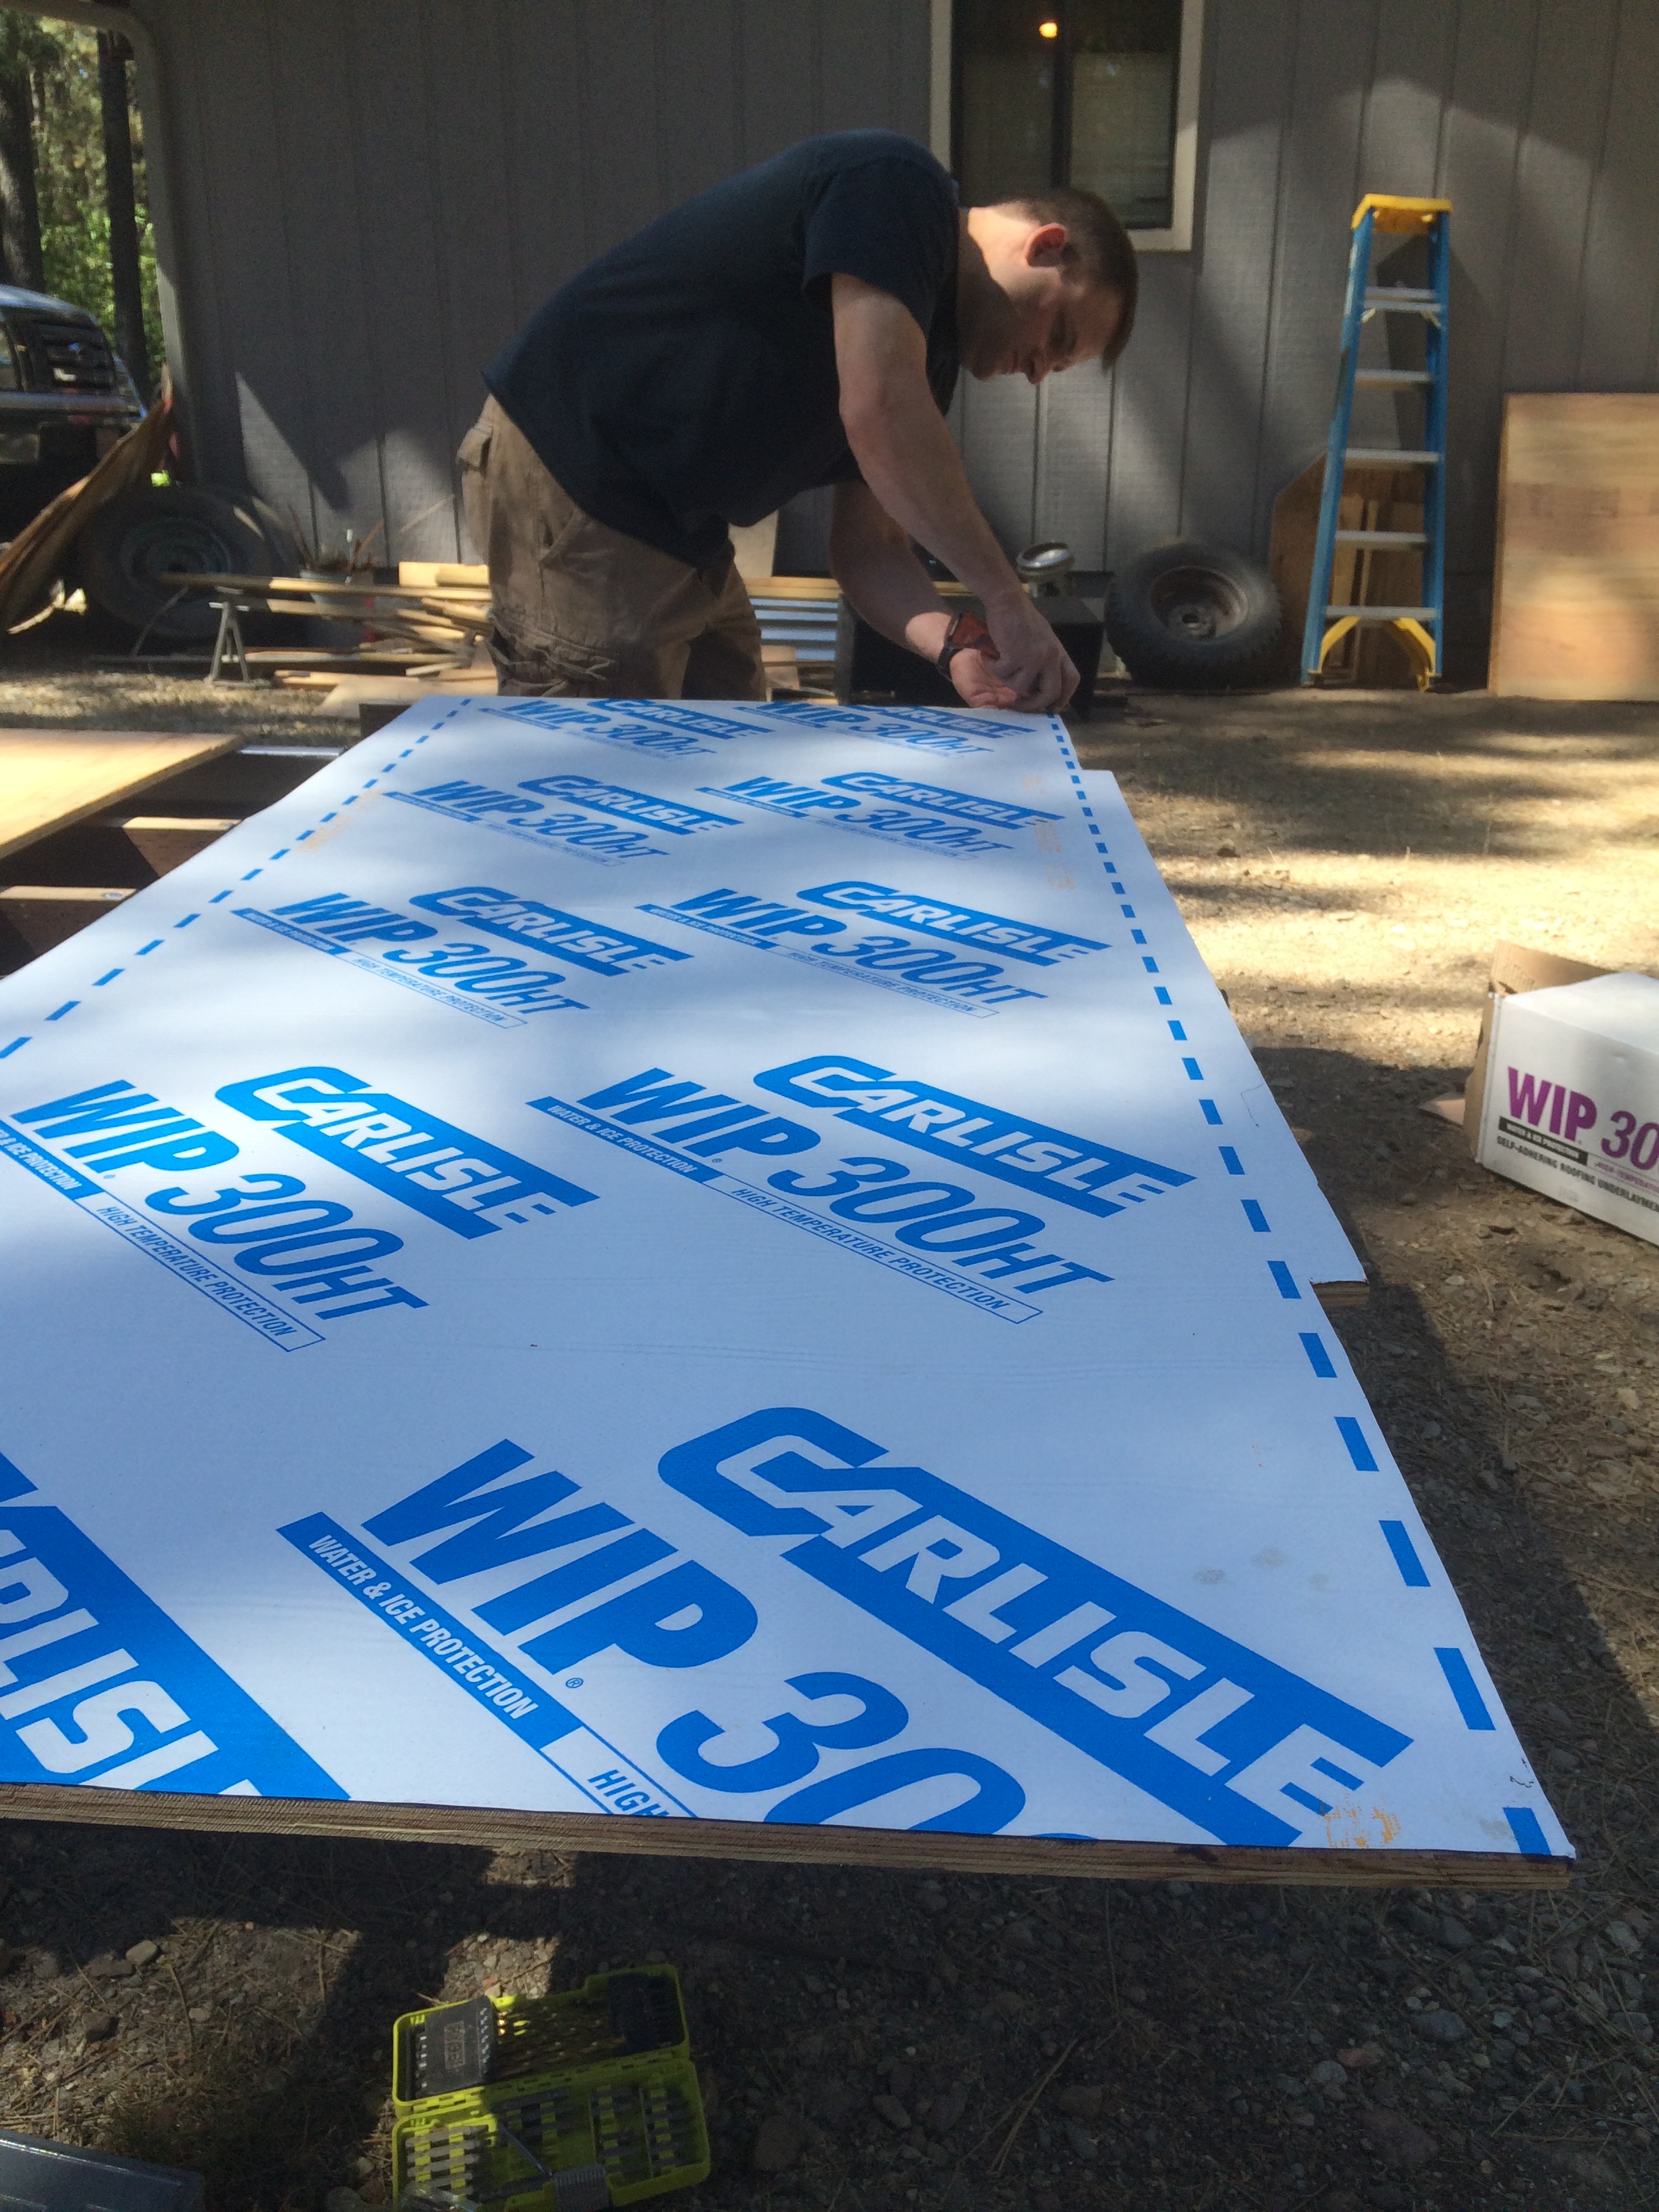
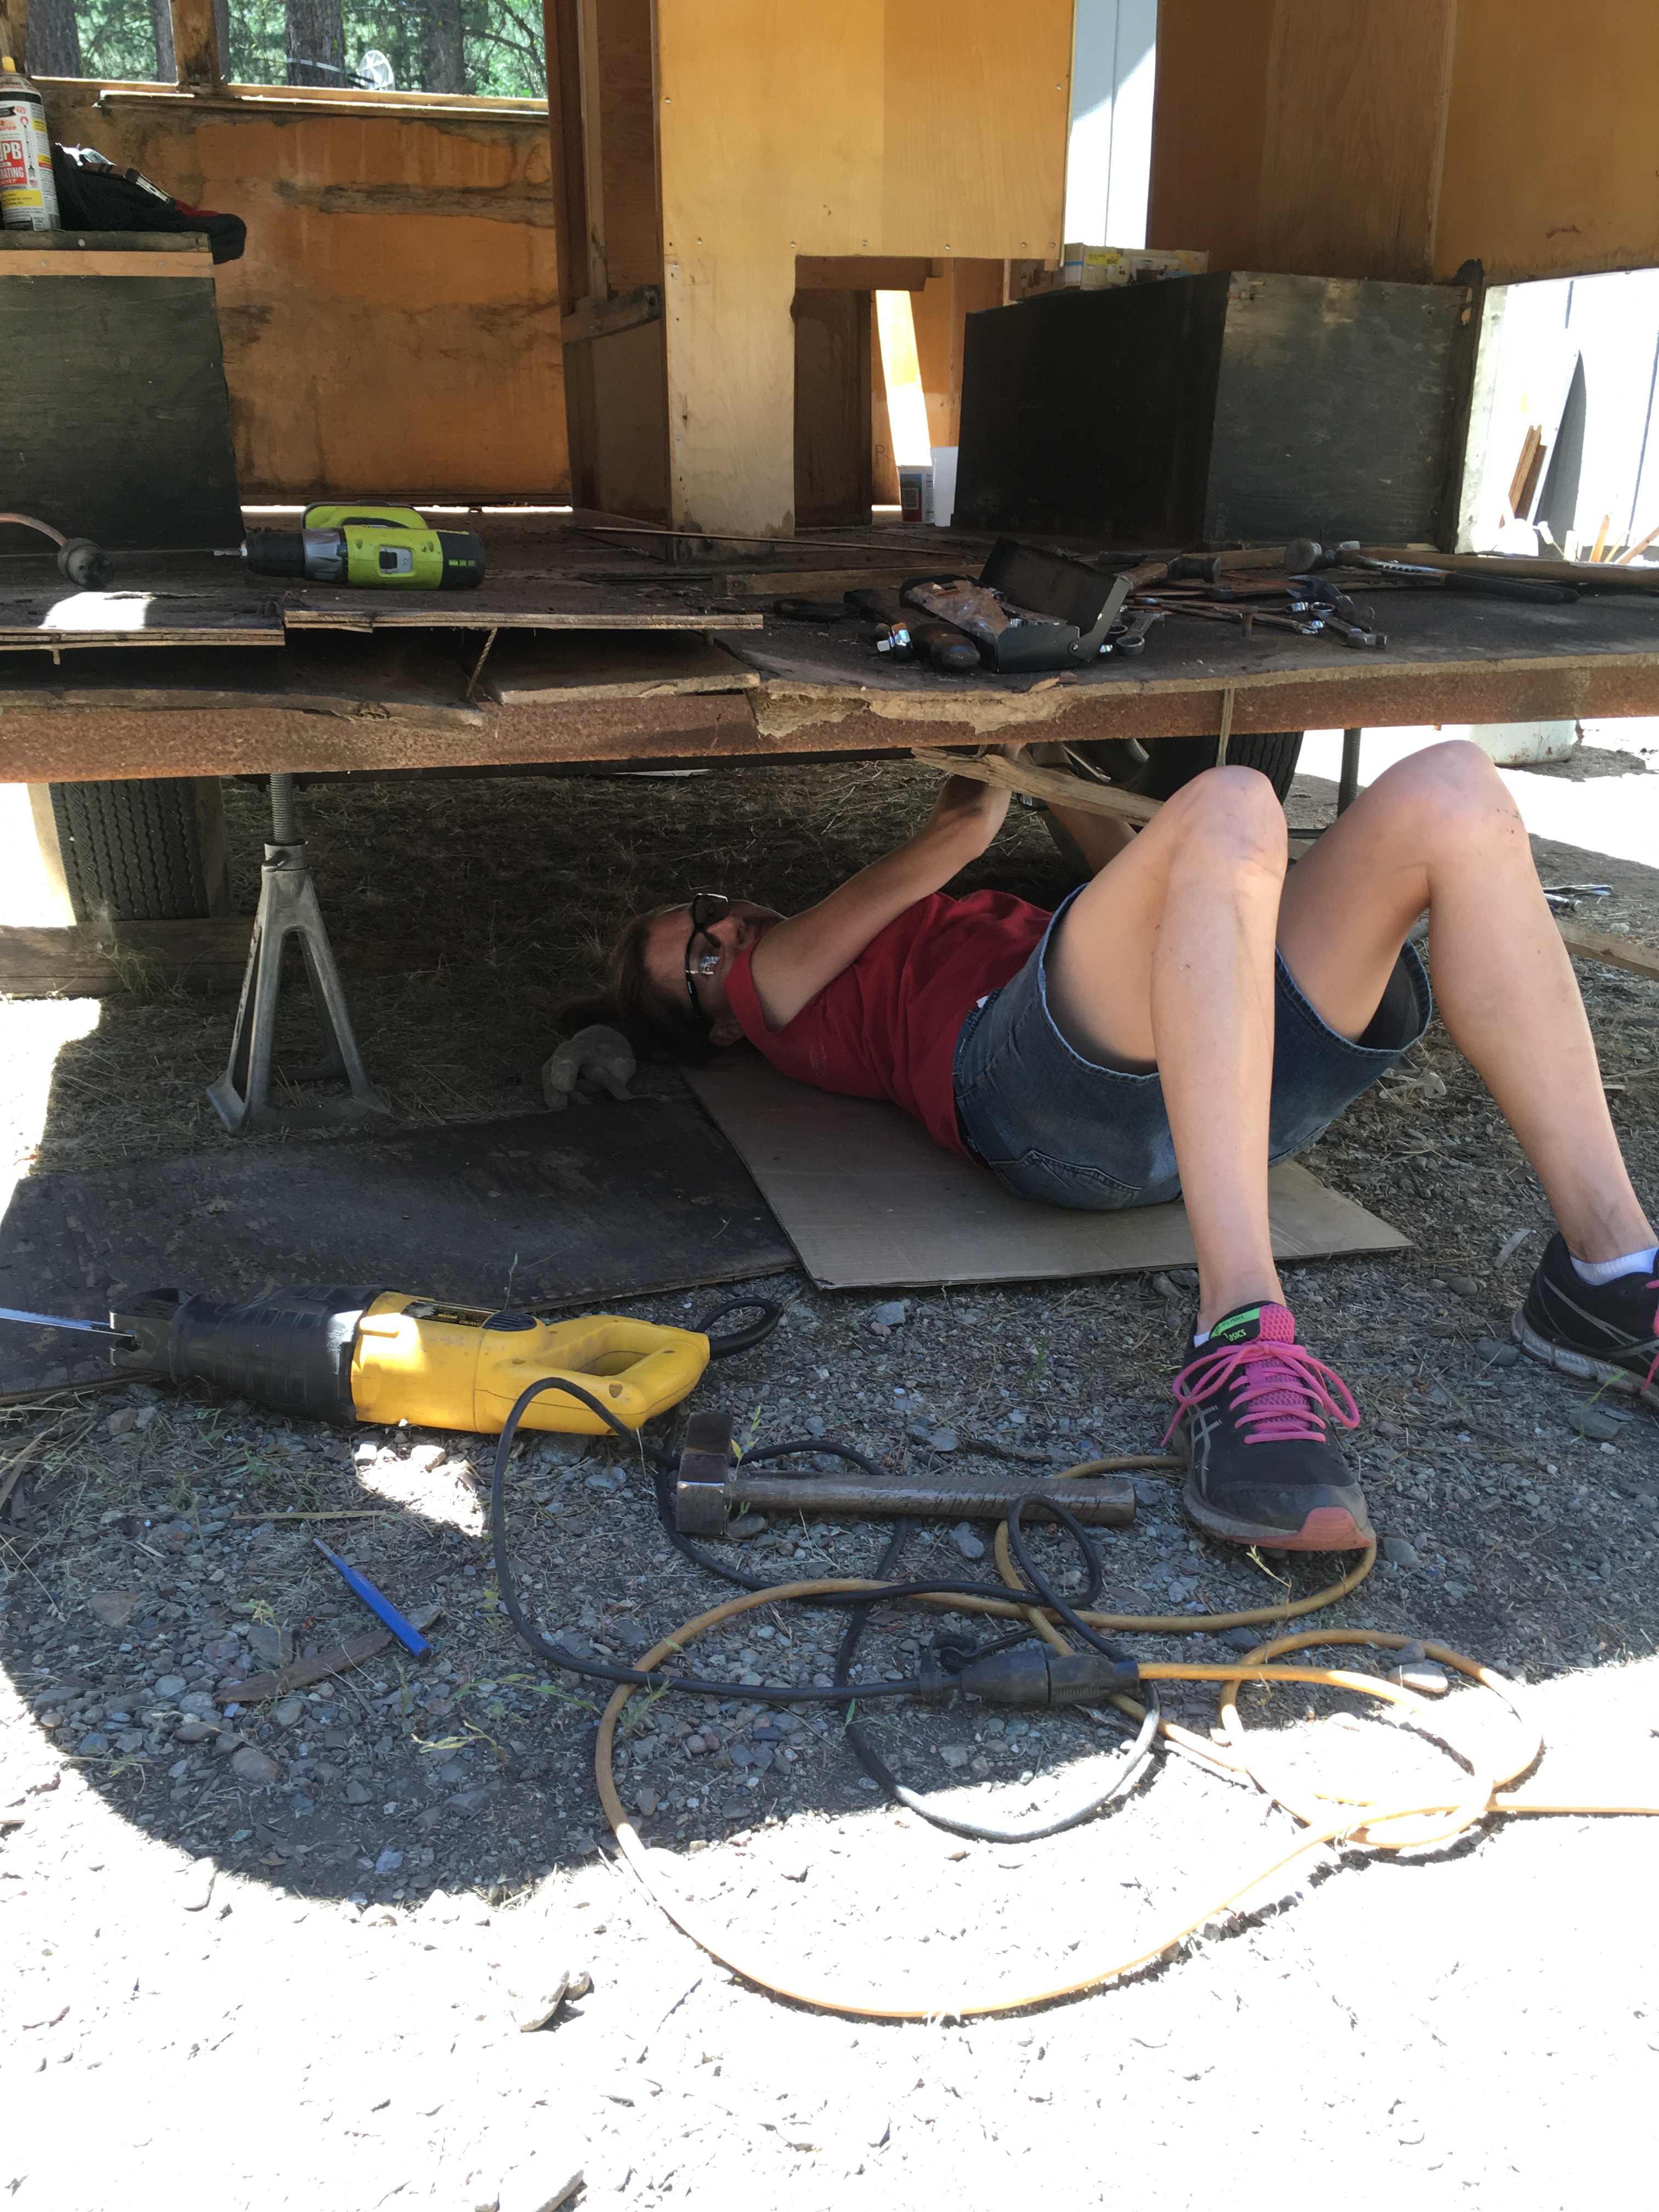
Because it's so sticky, my husband helped me put it in place. (I mean it's like fly-paper-sticky!) We applied it to each piece of plywood and then turned the pieces over so the water shield was facing the road. Then I cut 4-inch strips of the material and crawled under the trailer and placed them on the seams. After everything was in place I screwed the plywood down to the wood joist.
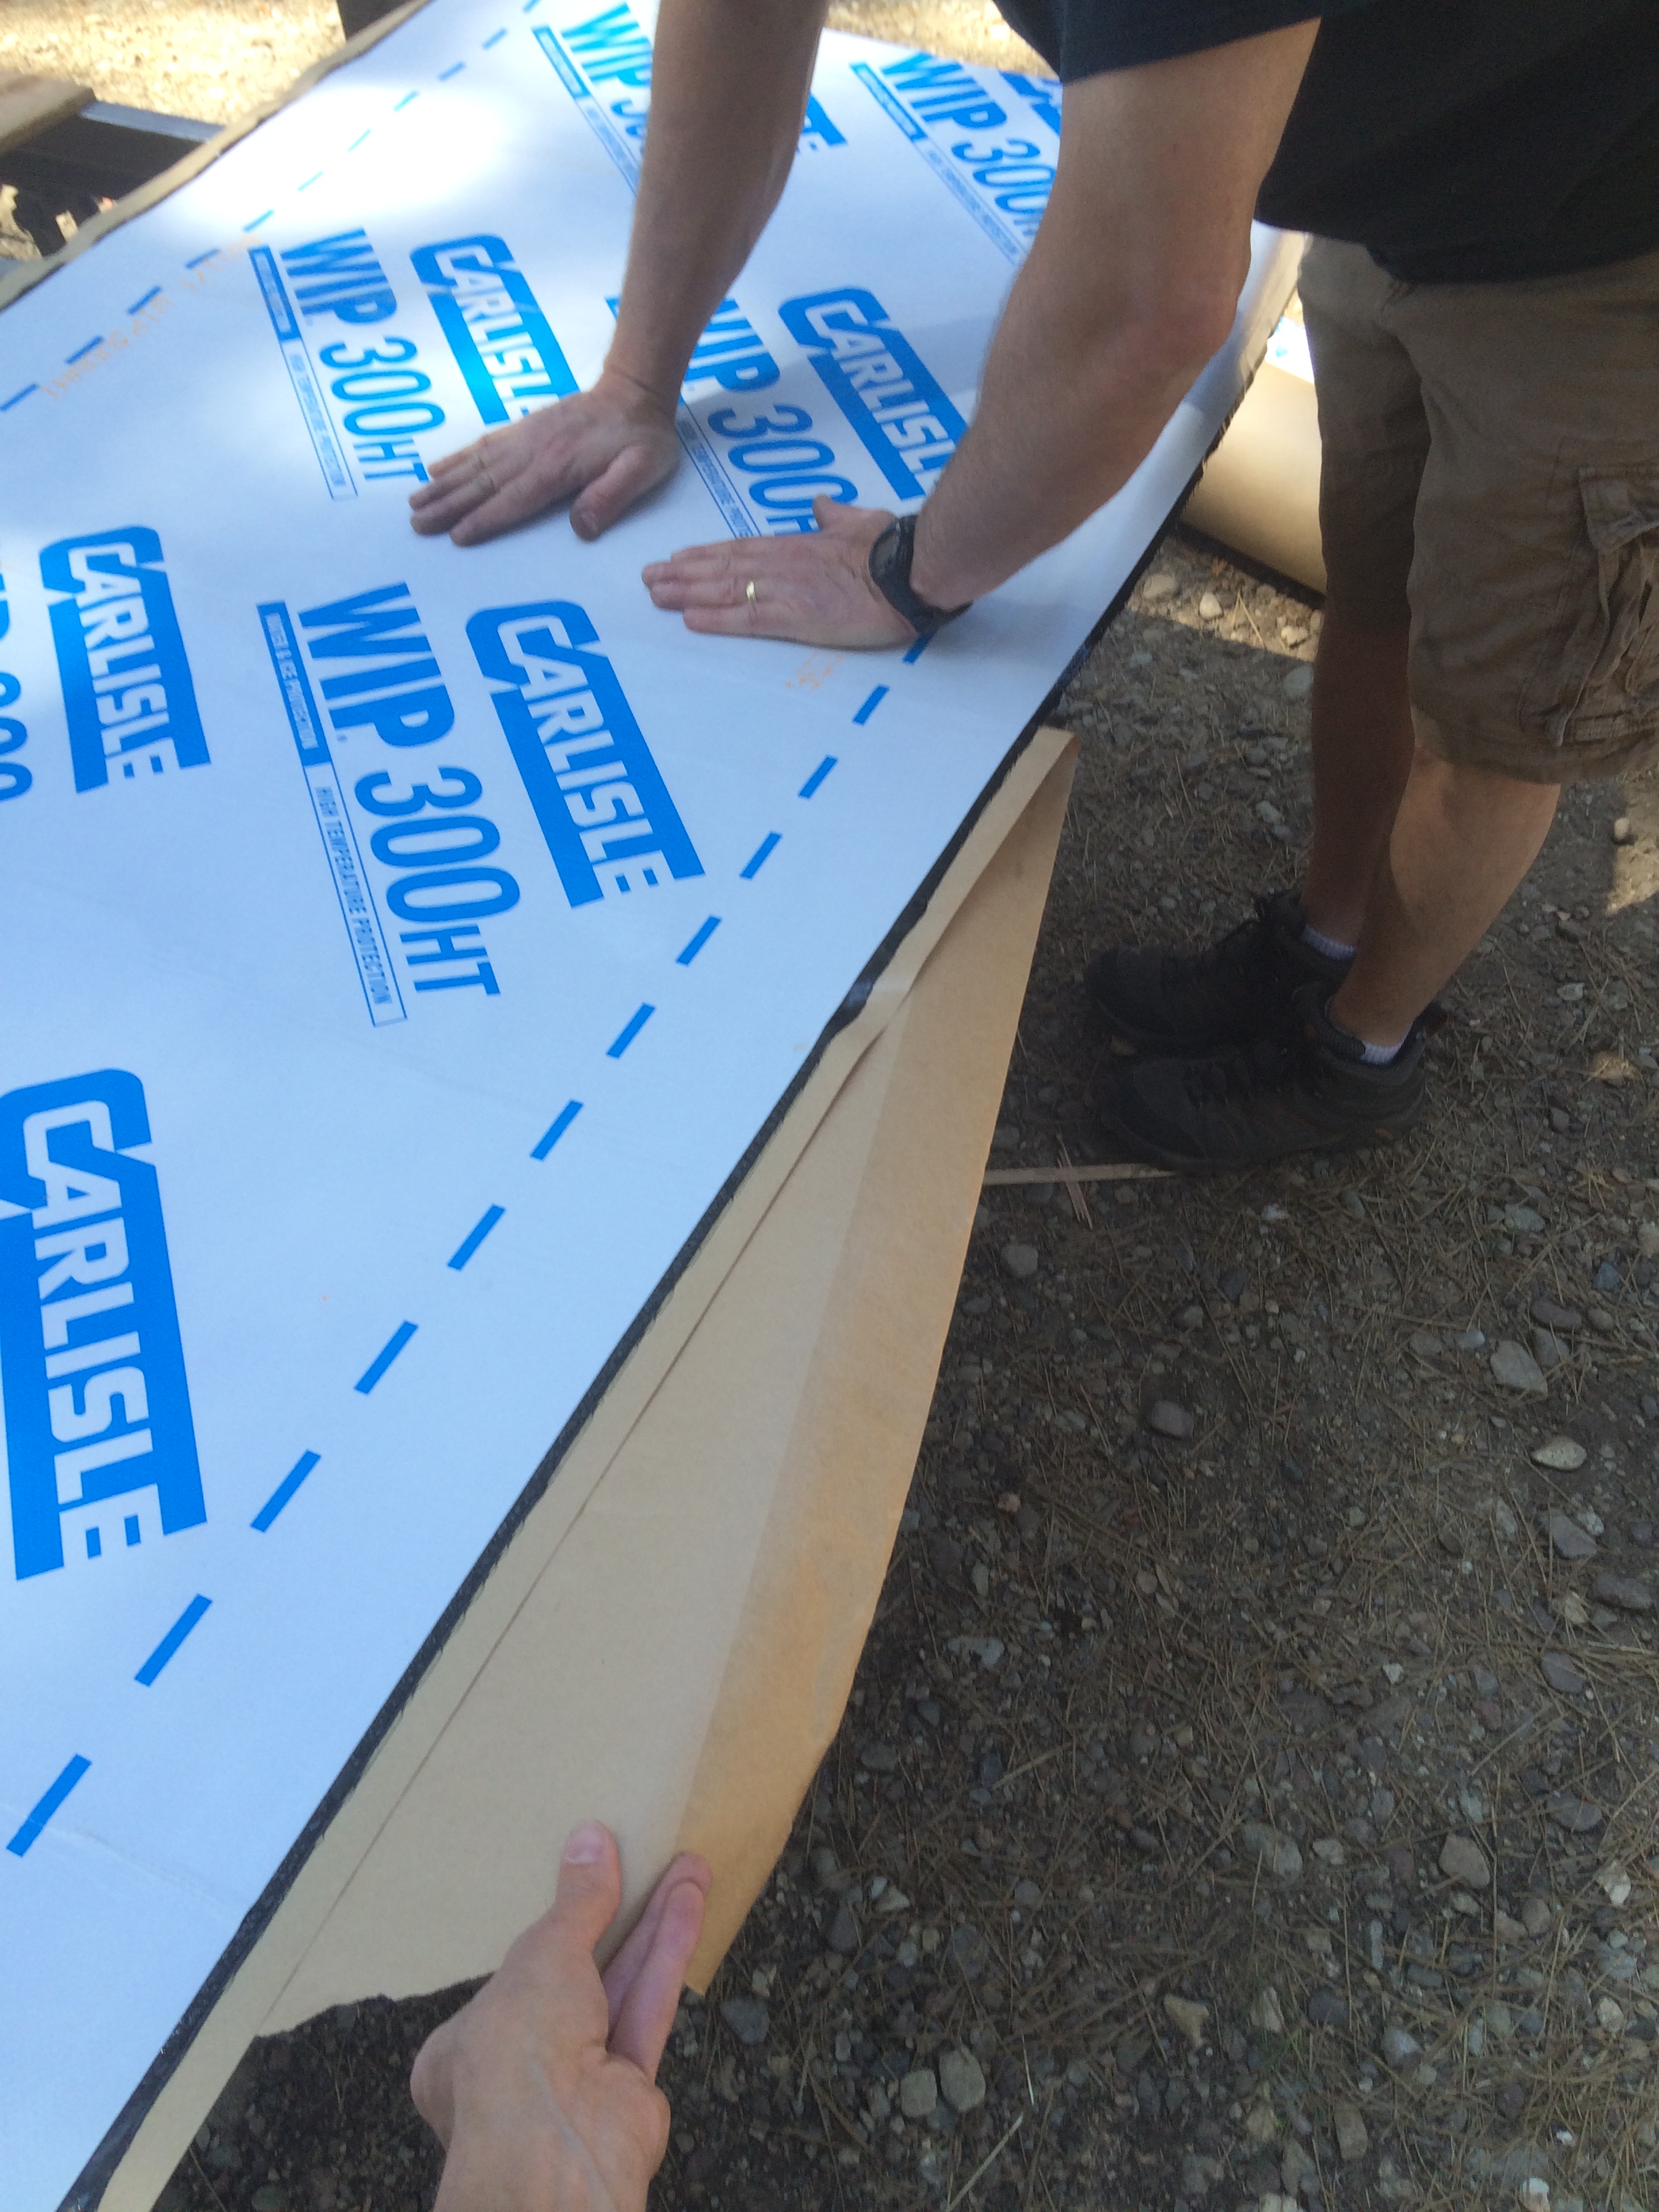
Peeling the paper backing off
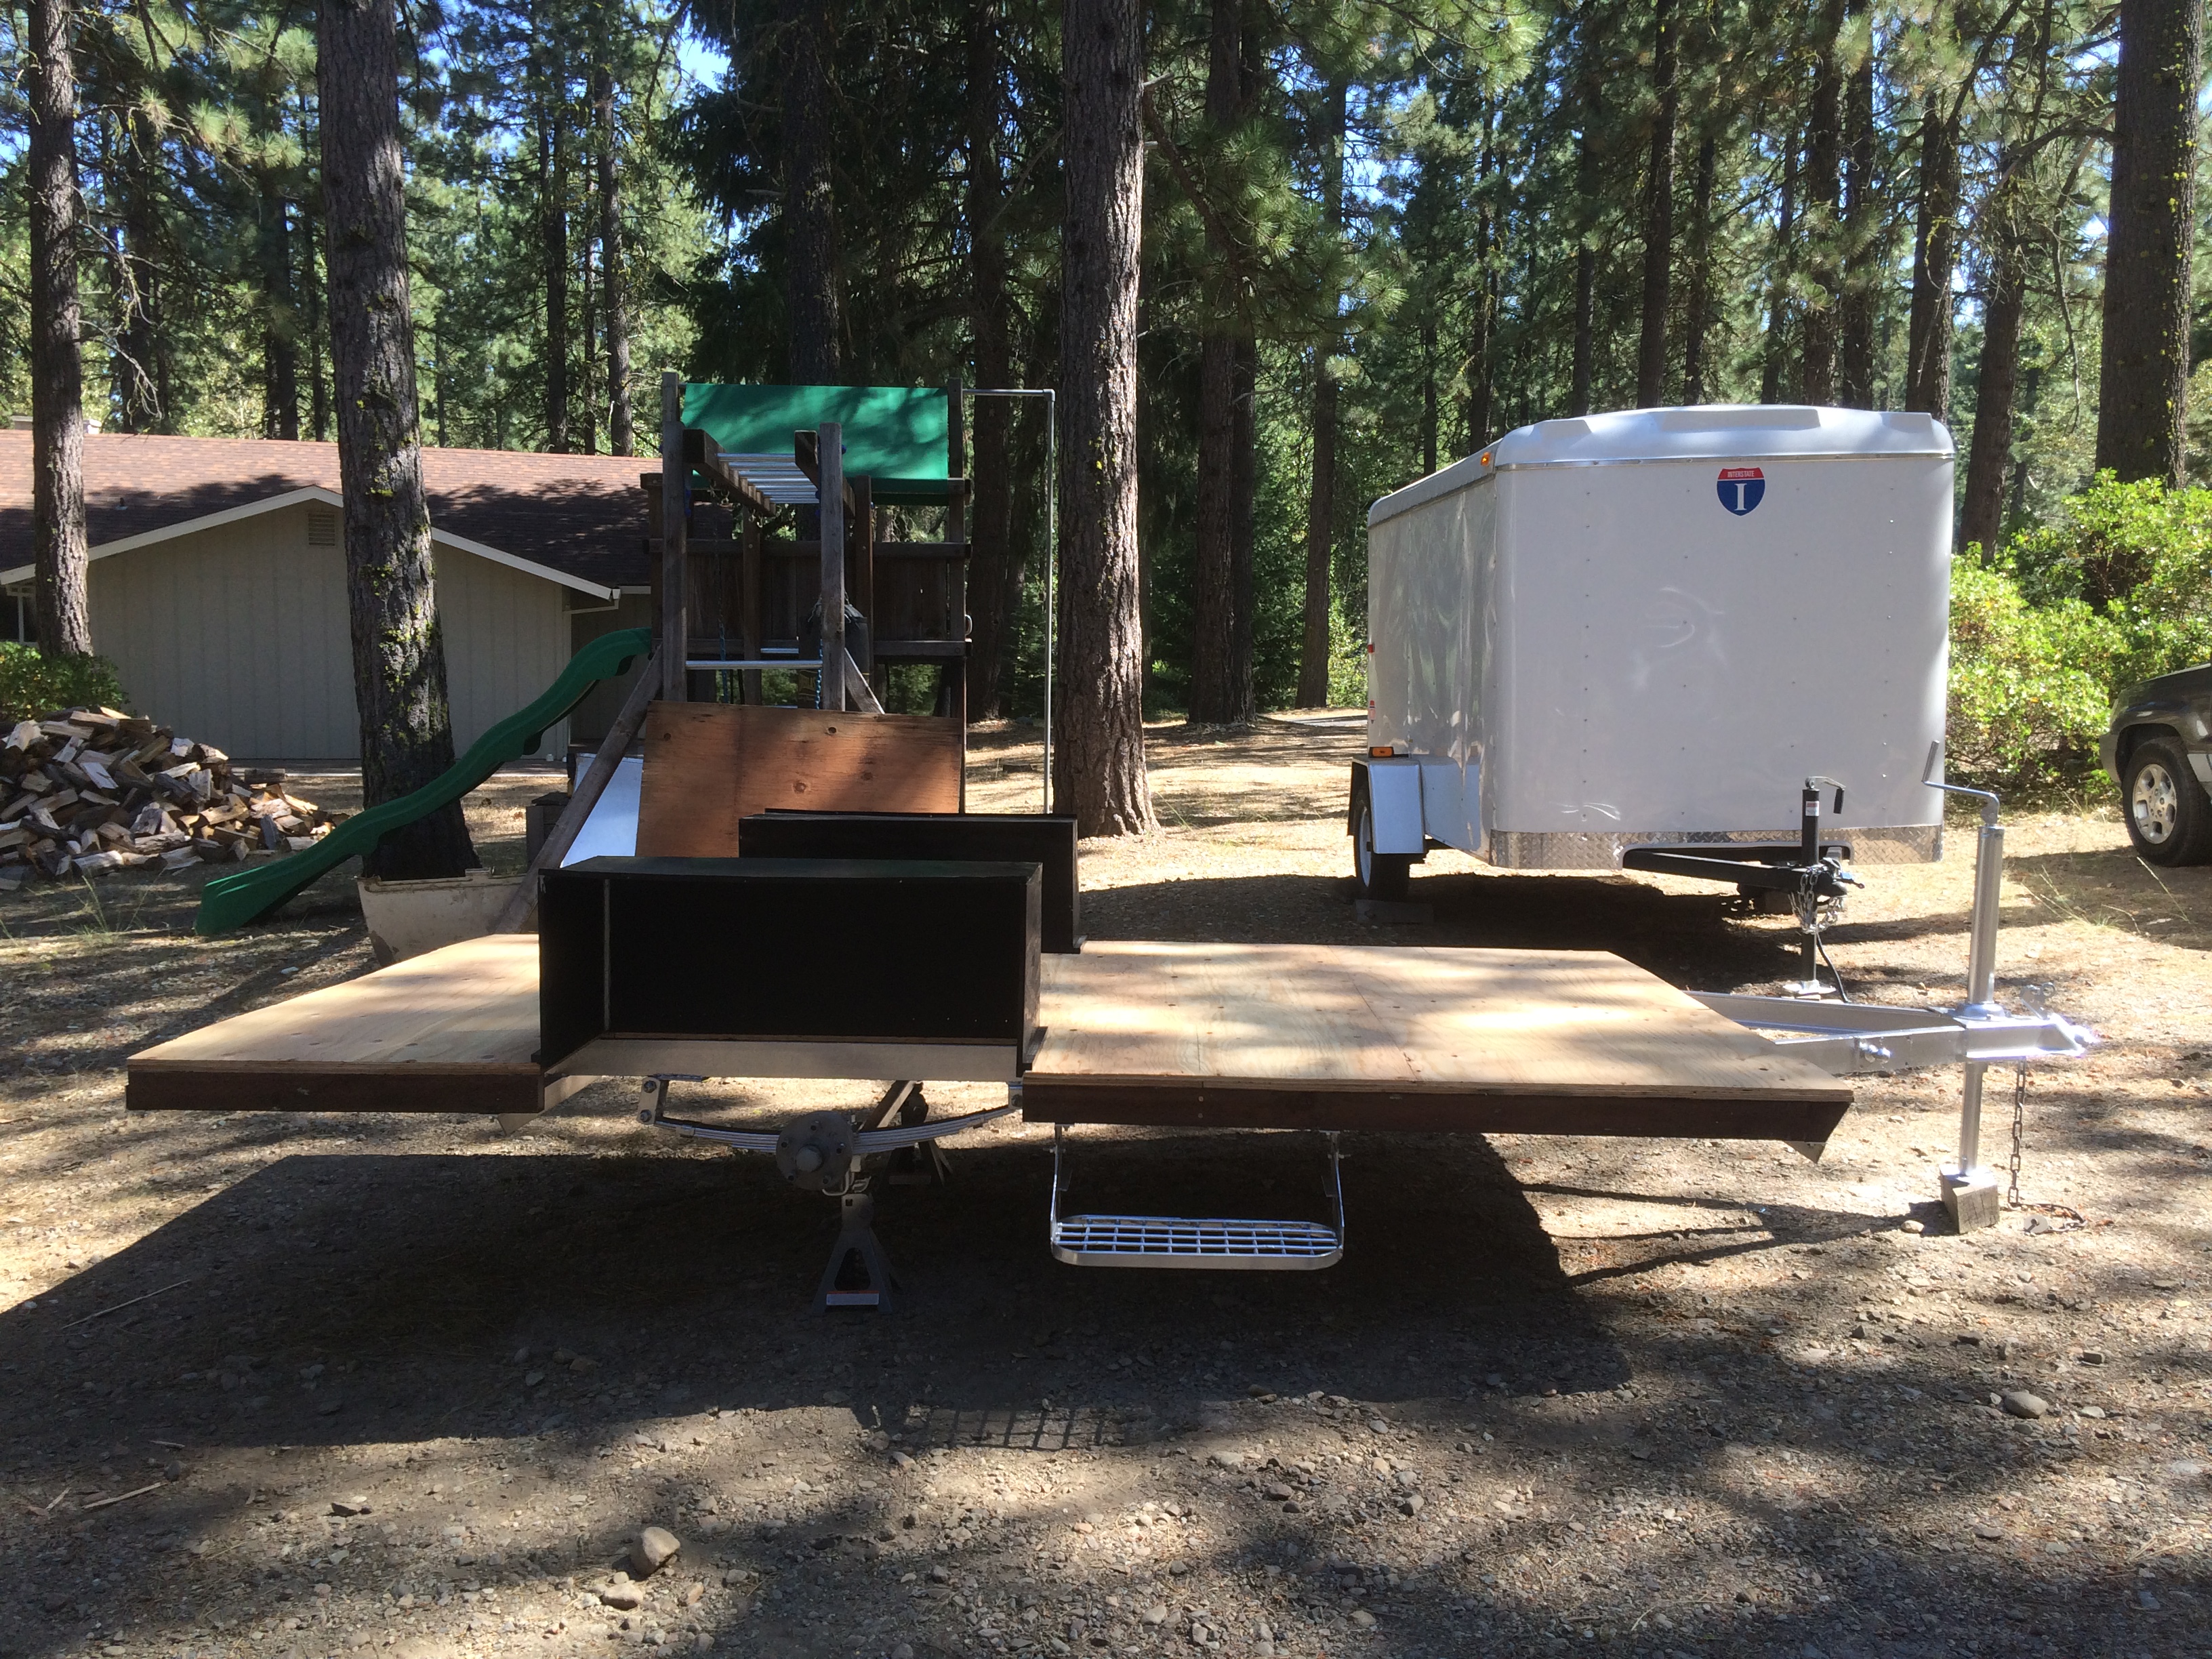
Finally, I installed the wheel wells. They take a bead of calking around the flanges to ensure a watertight seal as well.
Don't forget that this will all get another layer of plywood before the flooring goes down. I put another layer of plywood down making sure they were "bricked".
The wheel well flanges are now sandwiched in between the two layers of plywood.
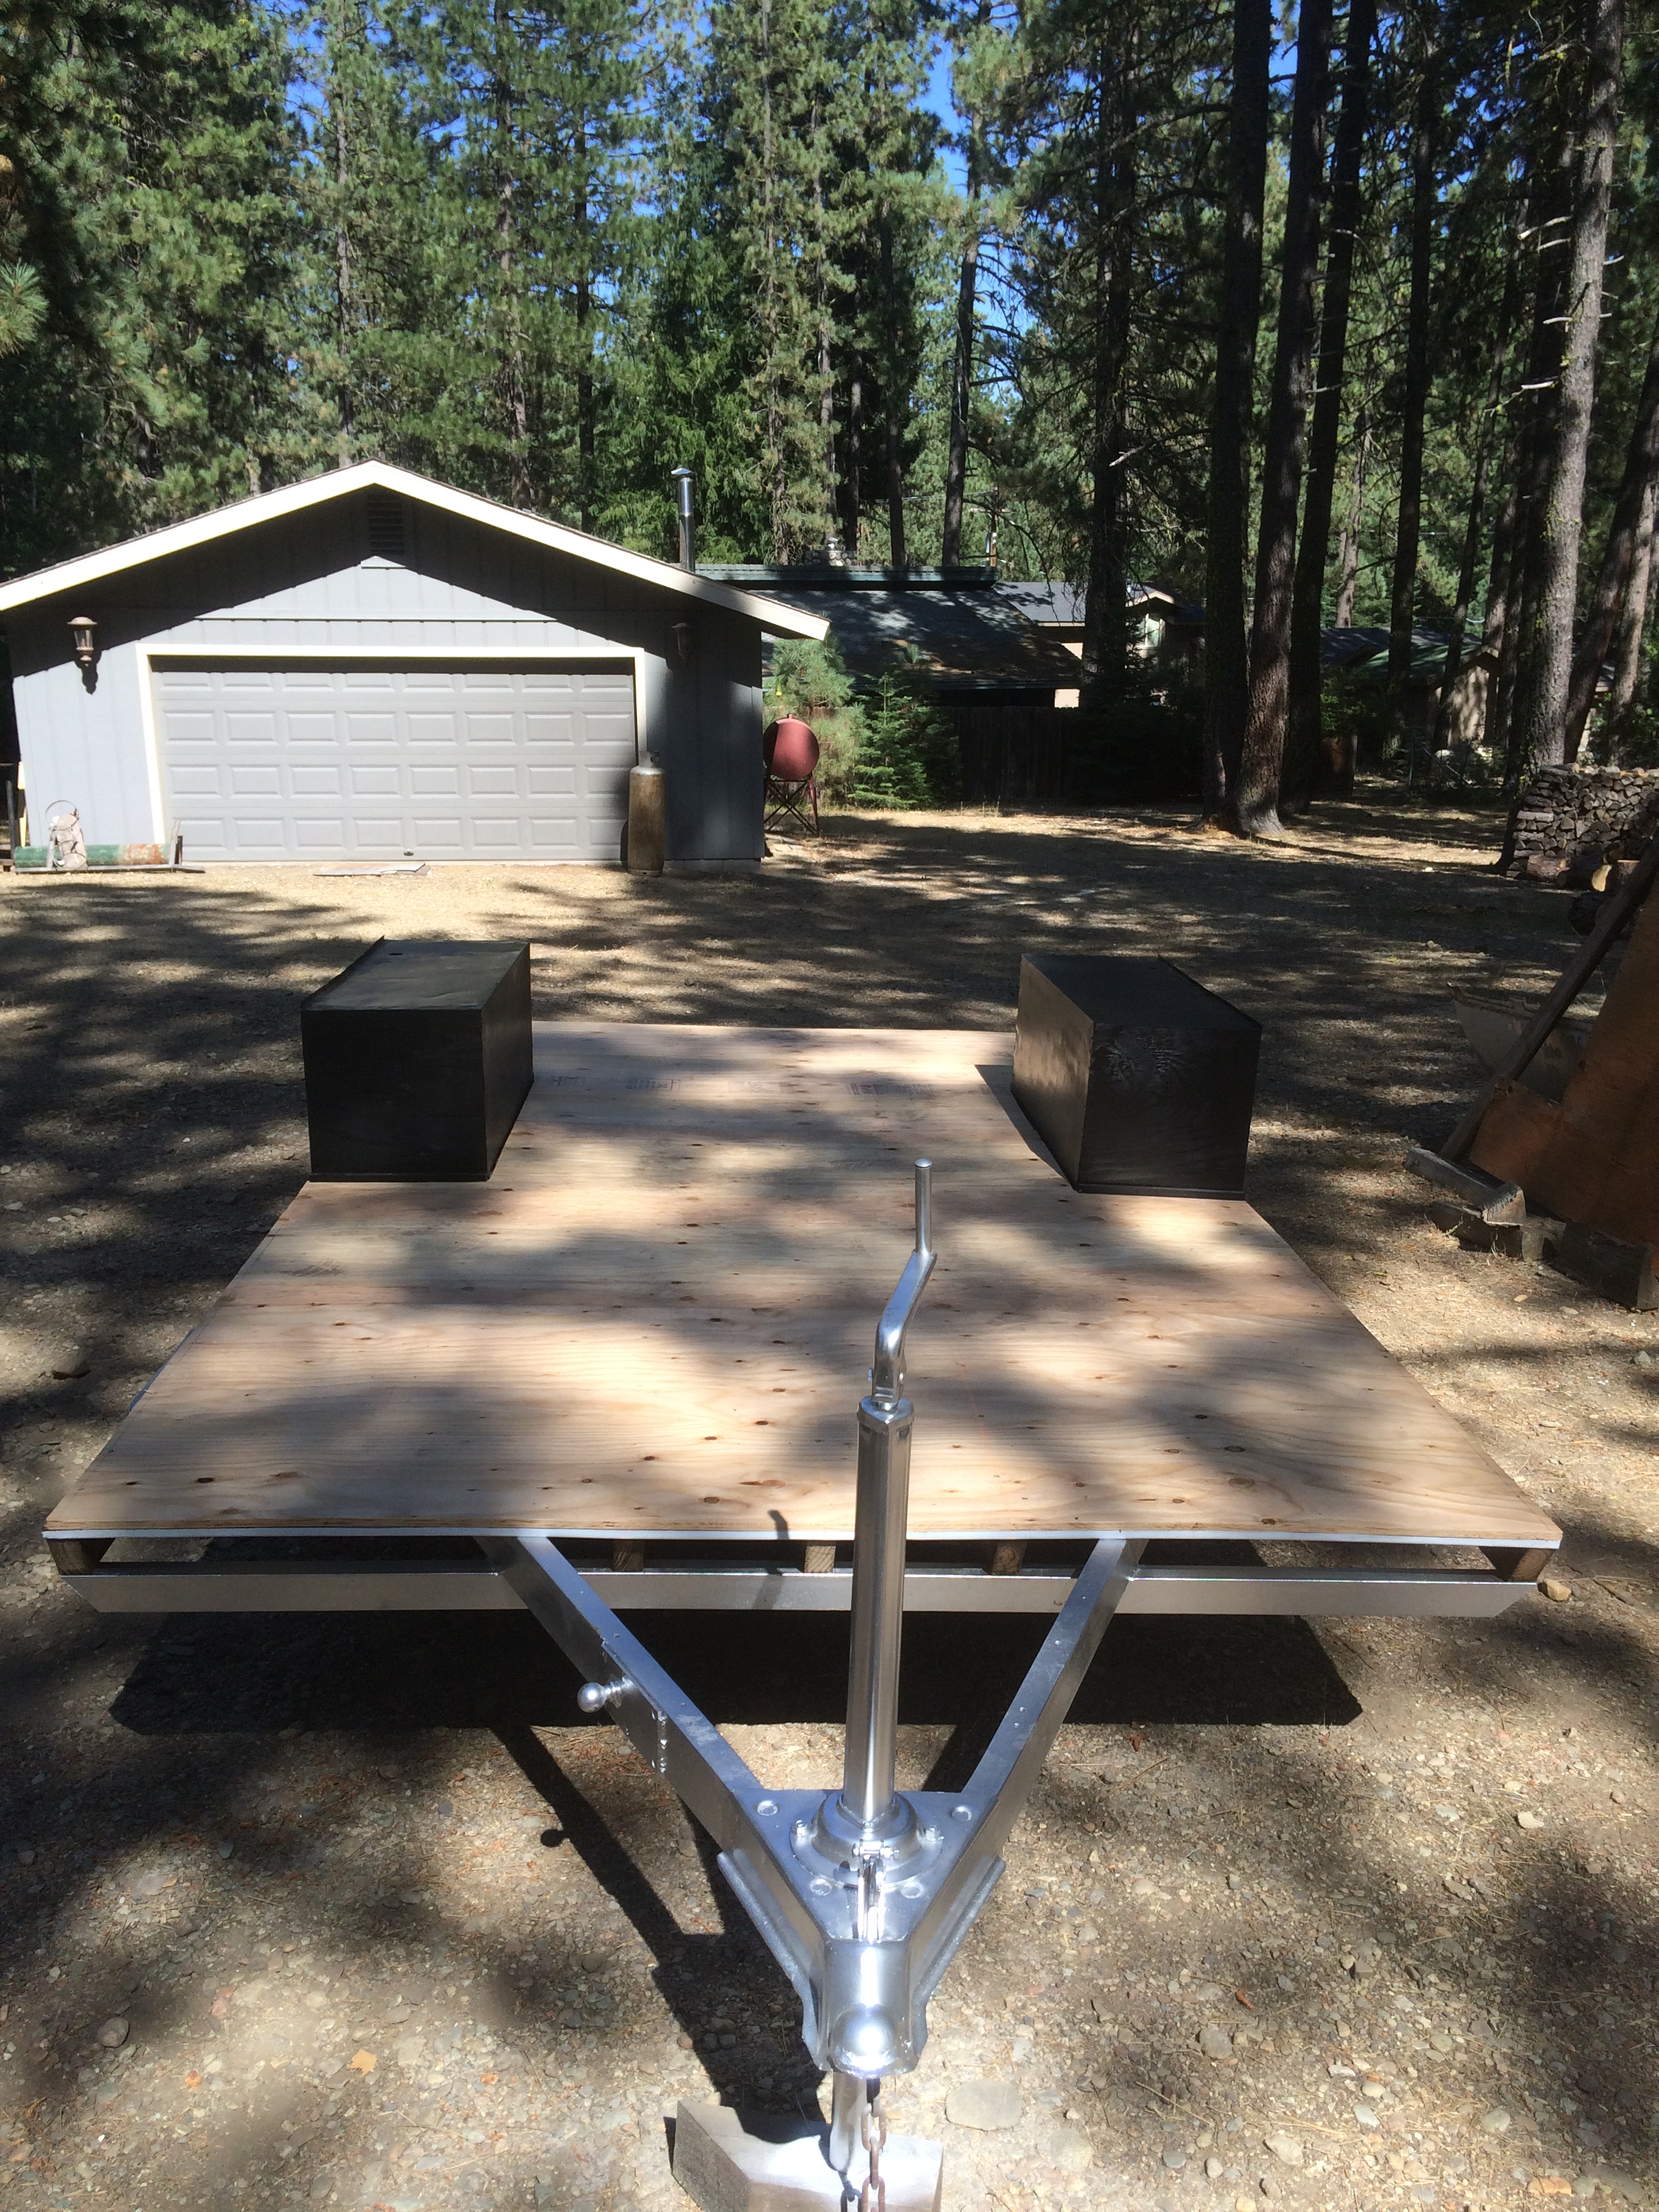
New sub-floor
trailer with new sub-floor
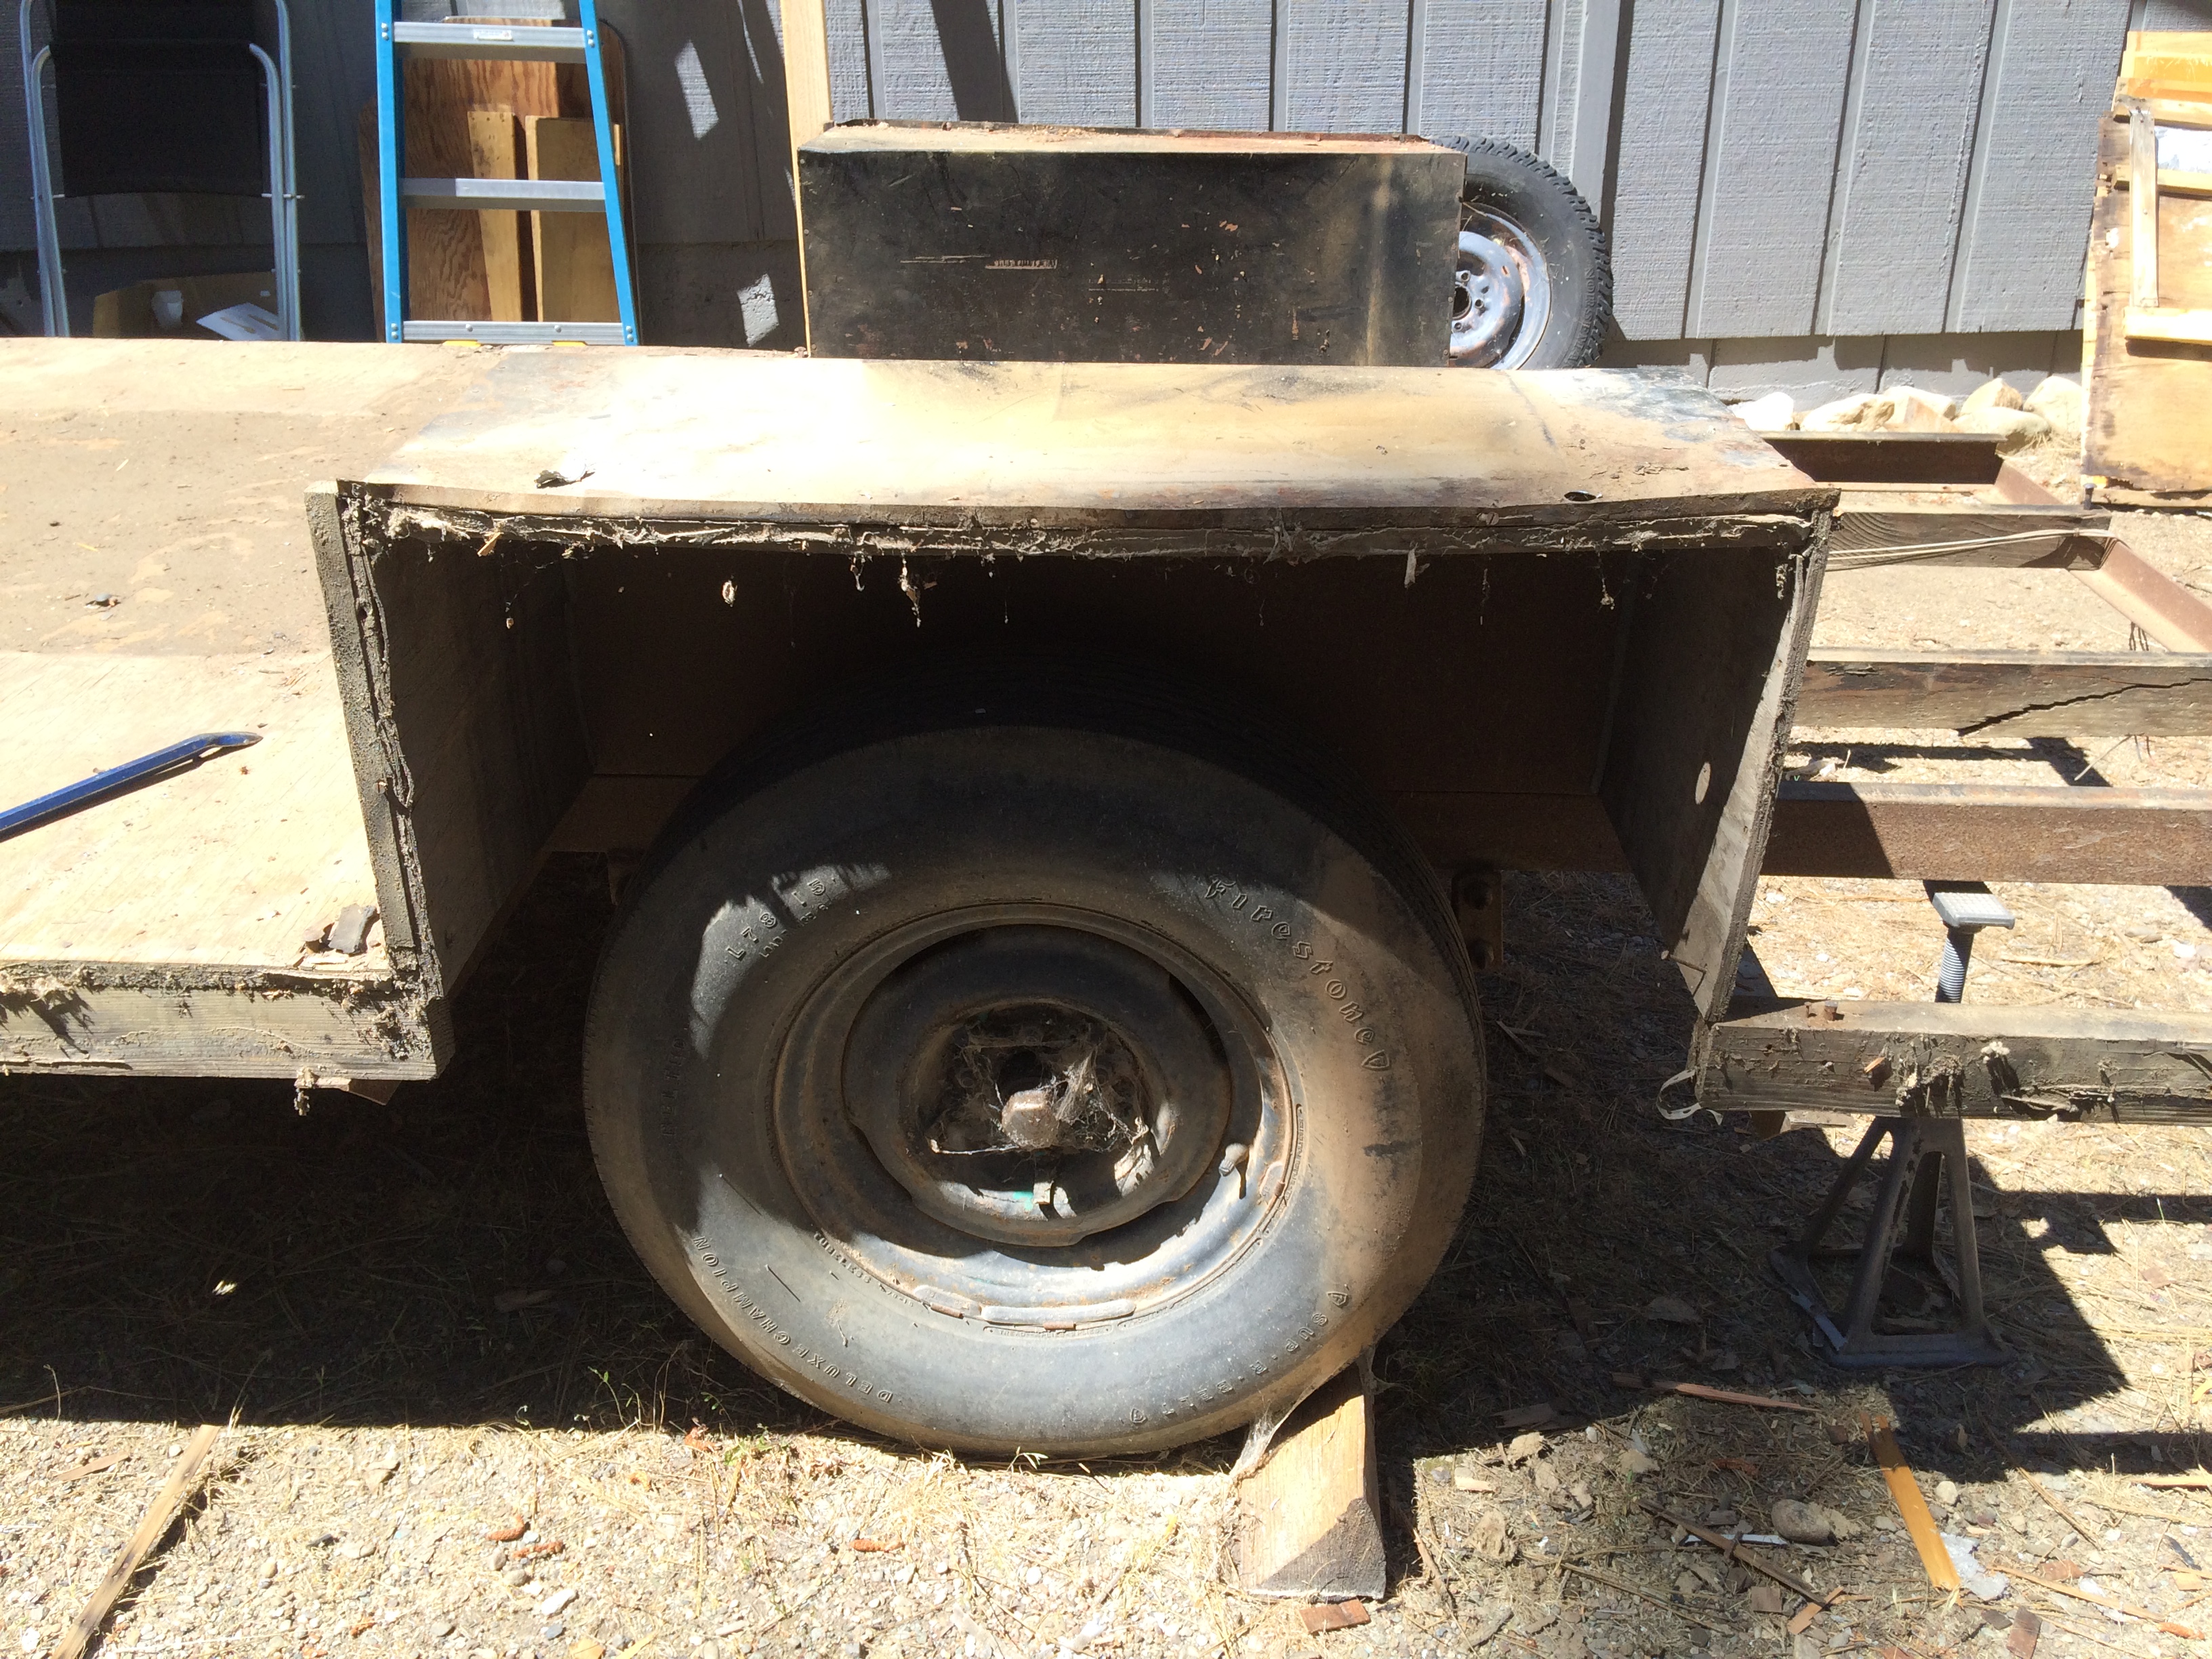
Wheel well- Before
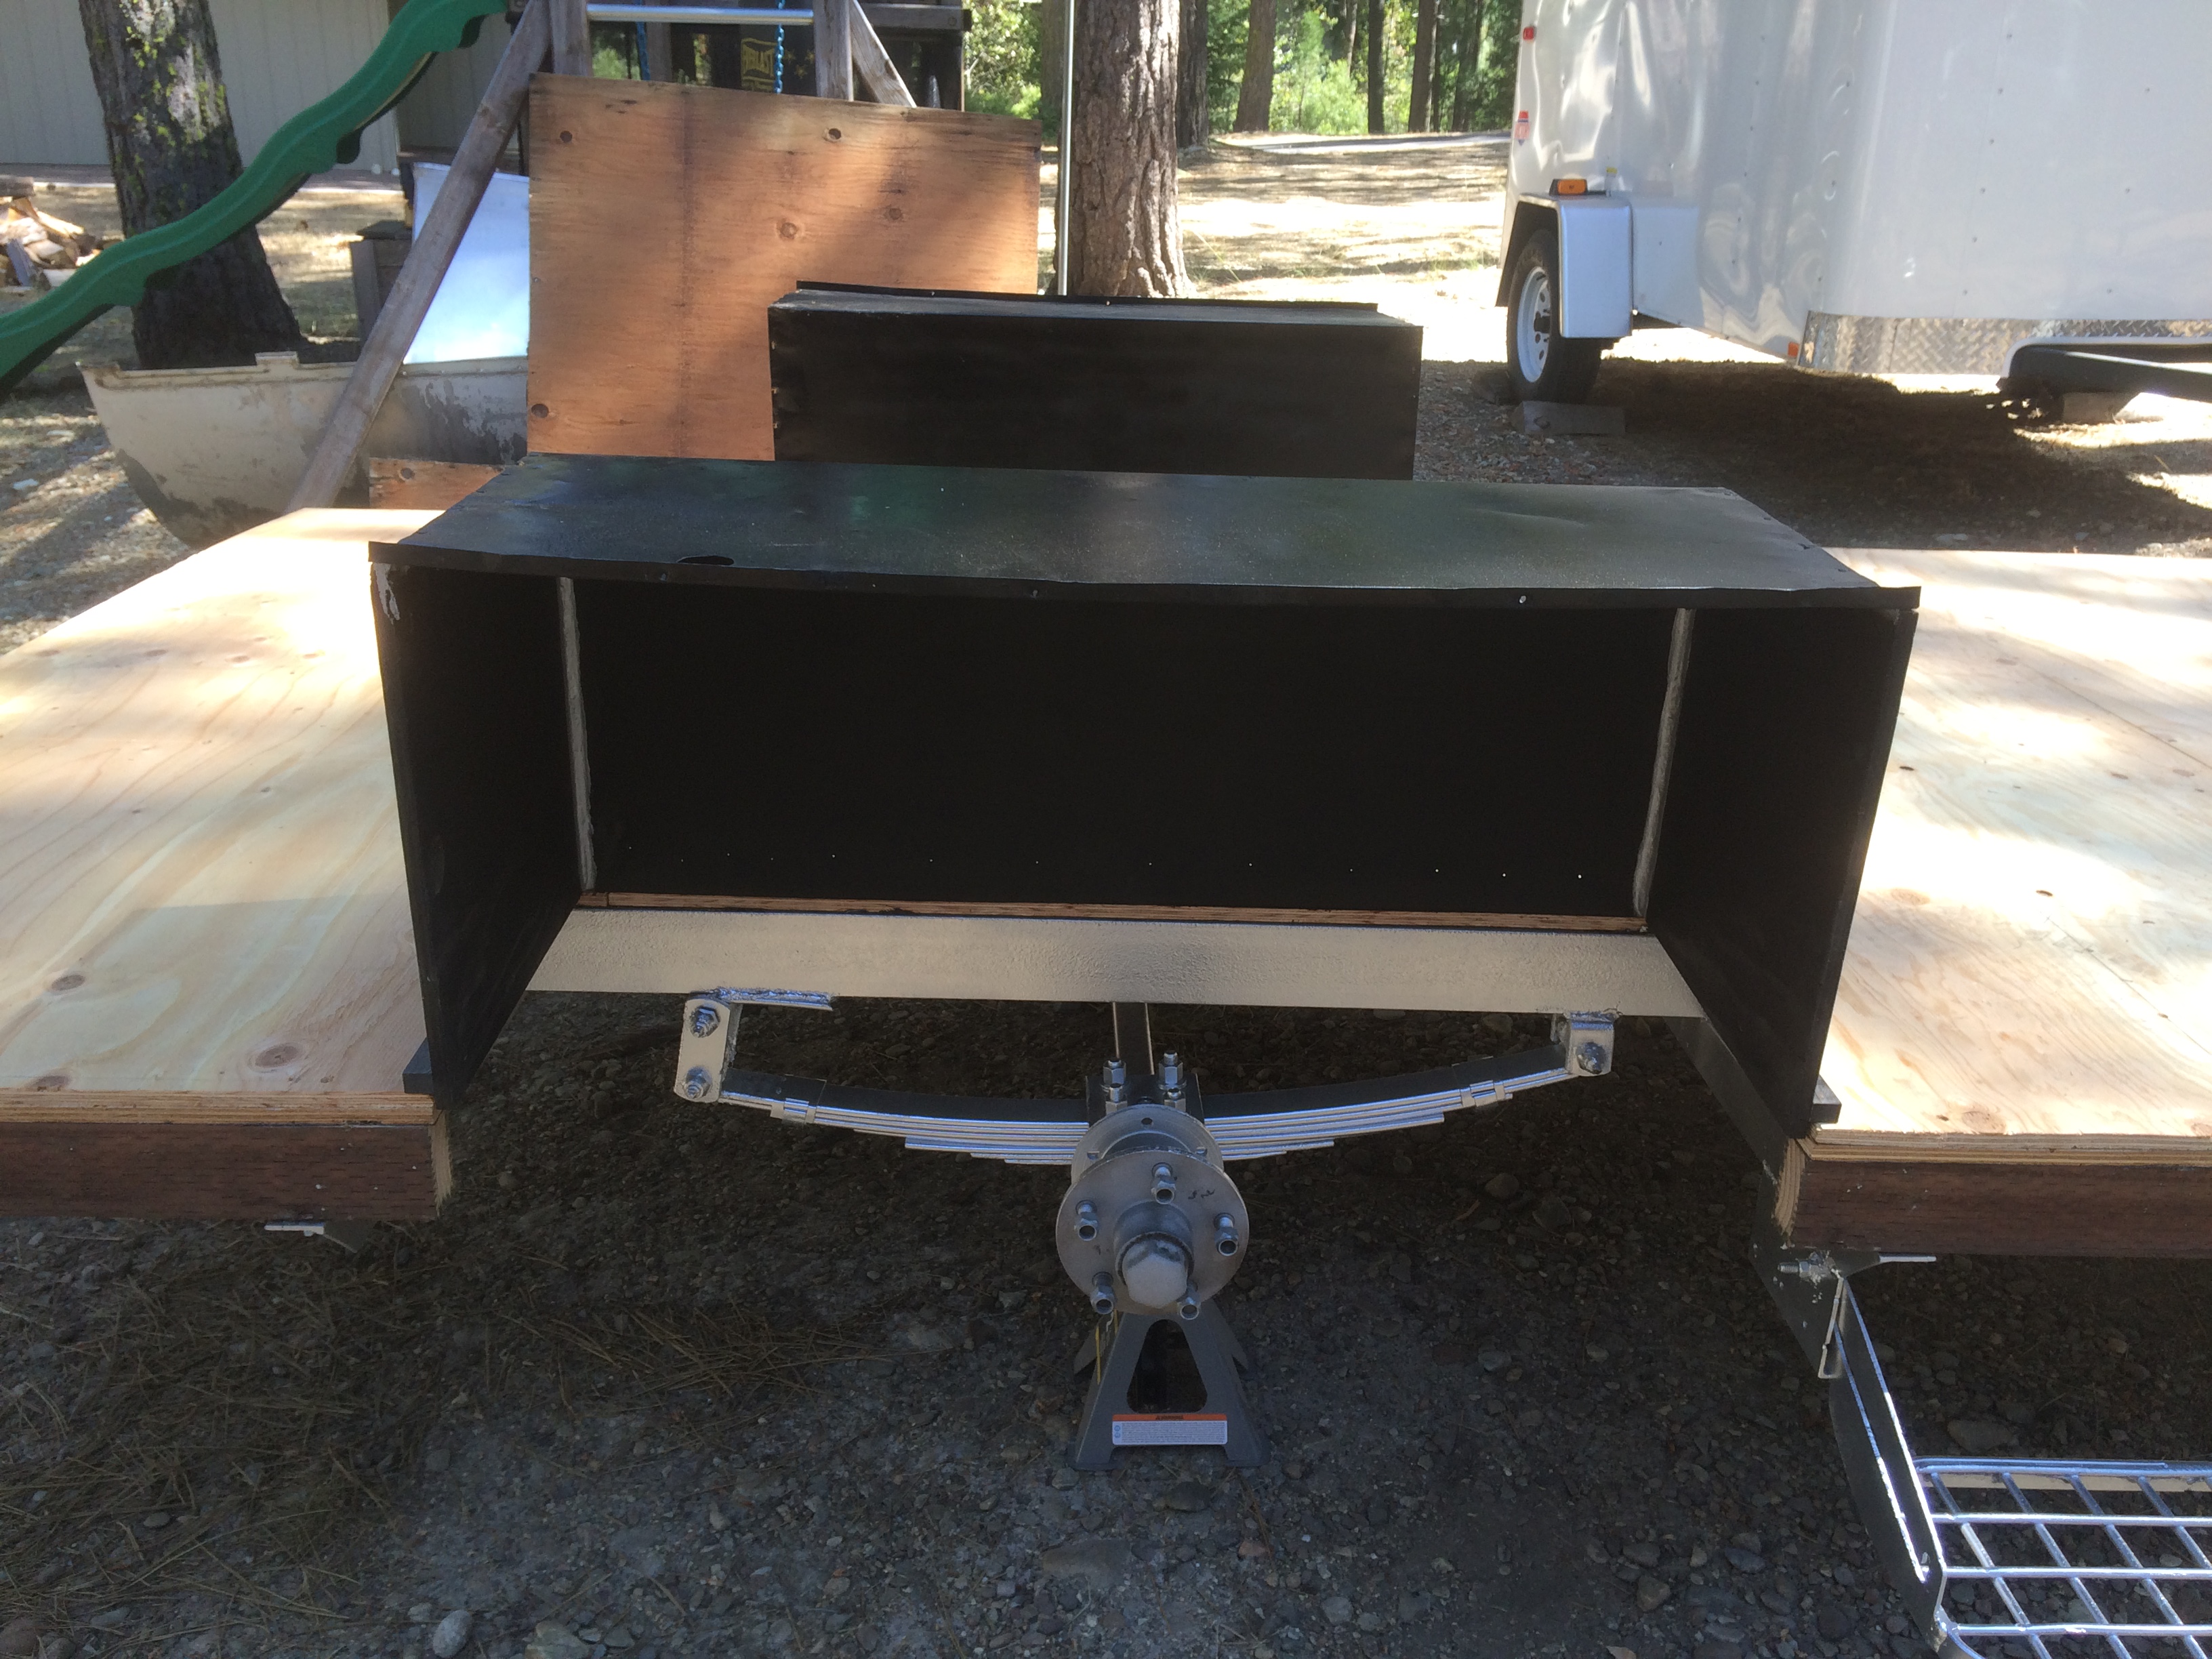
wheel well after
I definitely feel much better about the level of moisture protection my little camper has now. The next phase of this project is the flooring.
Check out my next blog post for how I did it.


Read More Here!
Related Posts
Related Posts
Copy of Retro Epoxy Counter Top

For the 1954 Airlight 1954 Airlight Bar Trailer Isn’t she…
Retro Epoxy Counter Top
For the 1954 Airlight 1954 Airlight Bar Trailer Isn’t she…
Flamingo Santa Hat DIY

I know my kids will think I’ve absolutely lost my…
Vintage Light Restoration

This is my favorite part of my work shop communication…