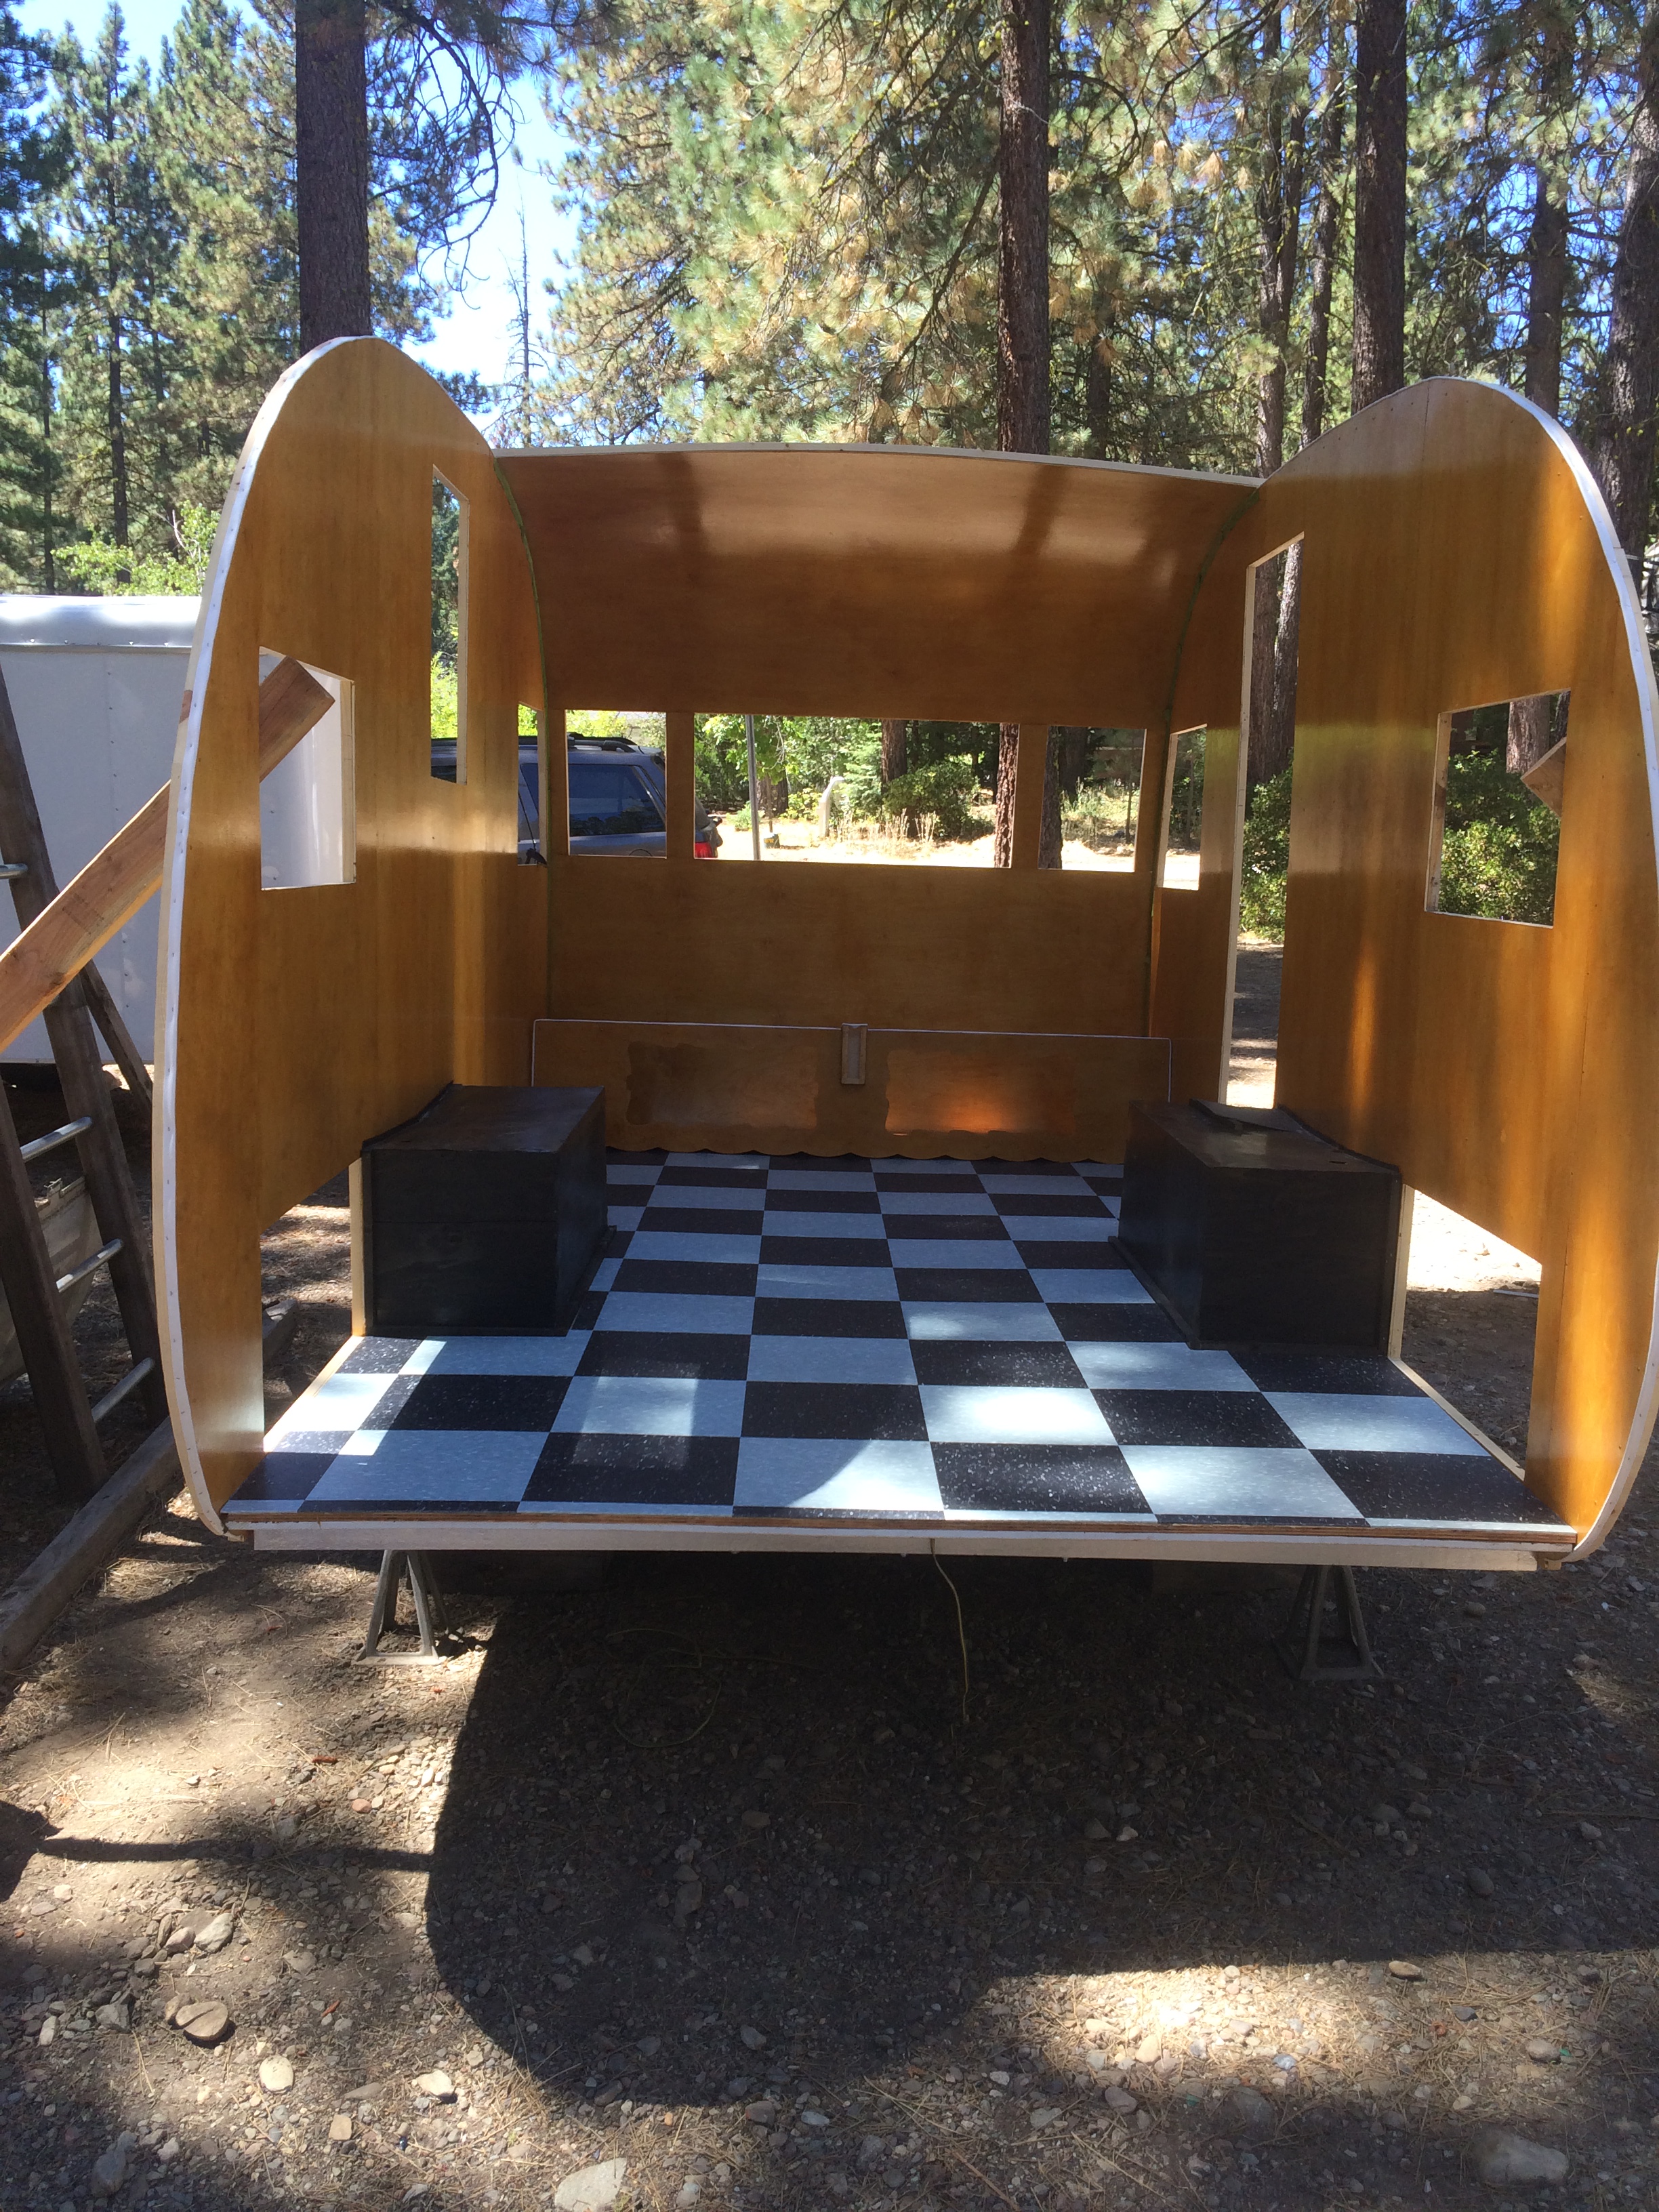
It’s time for my little camper to start taking shape. I’m so excited to get the walls up. This part of the project makes me feel like I’m really making serious progress.
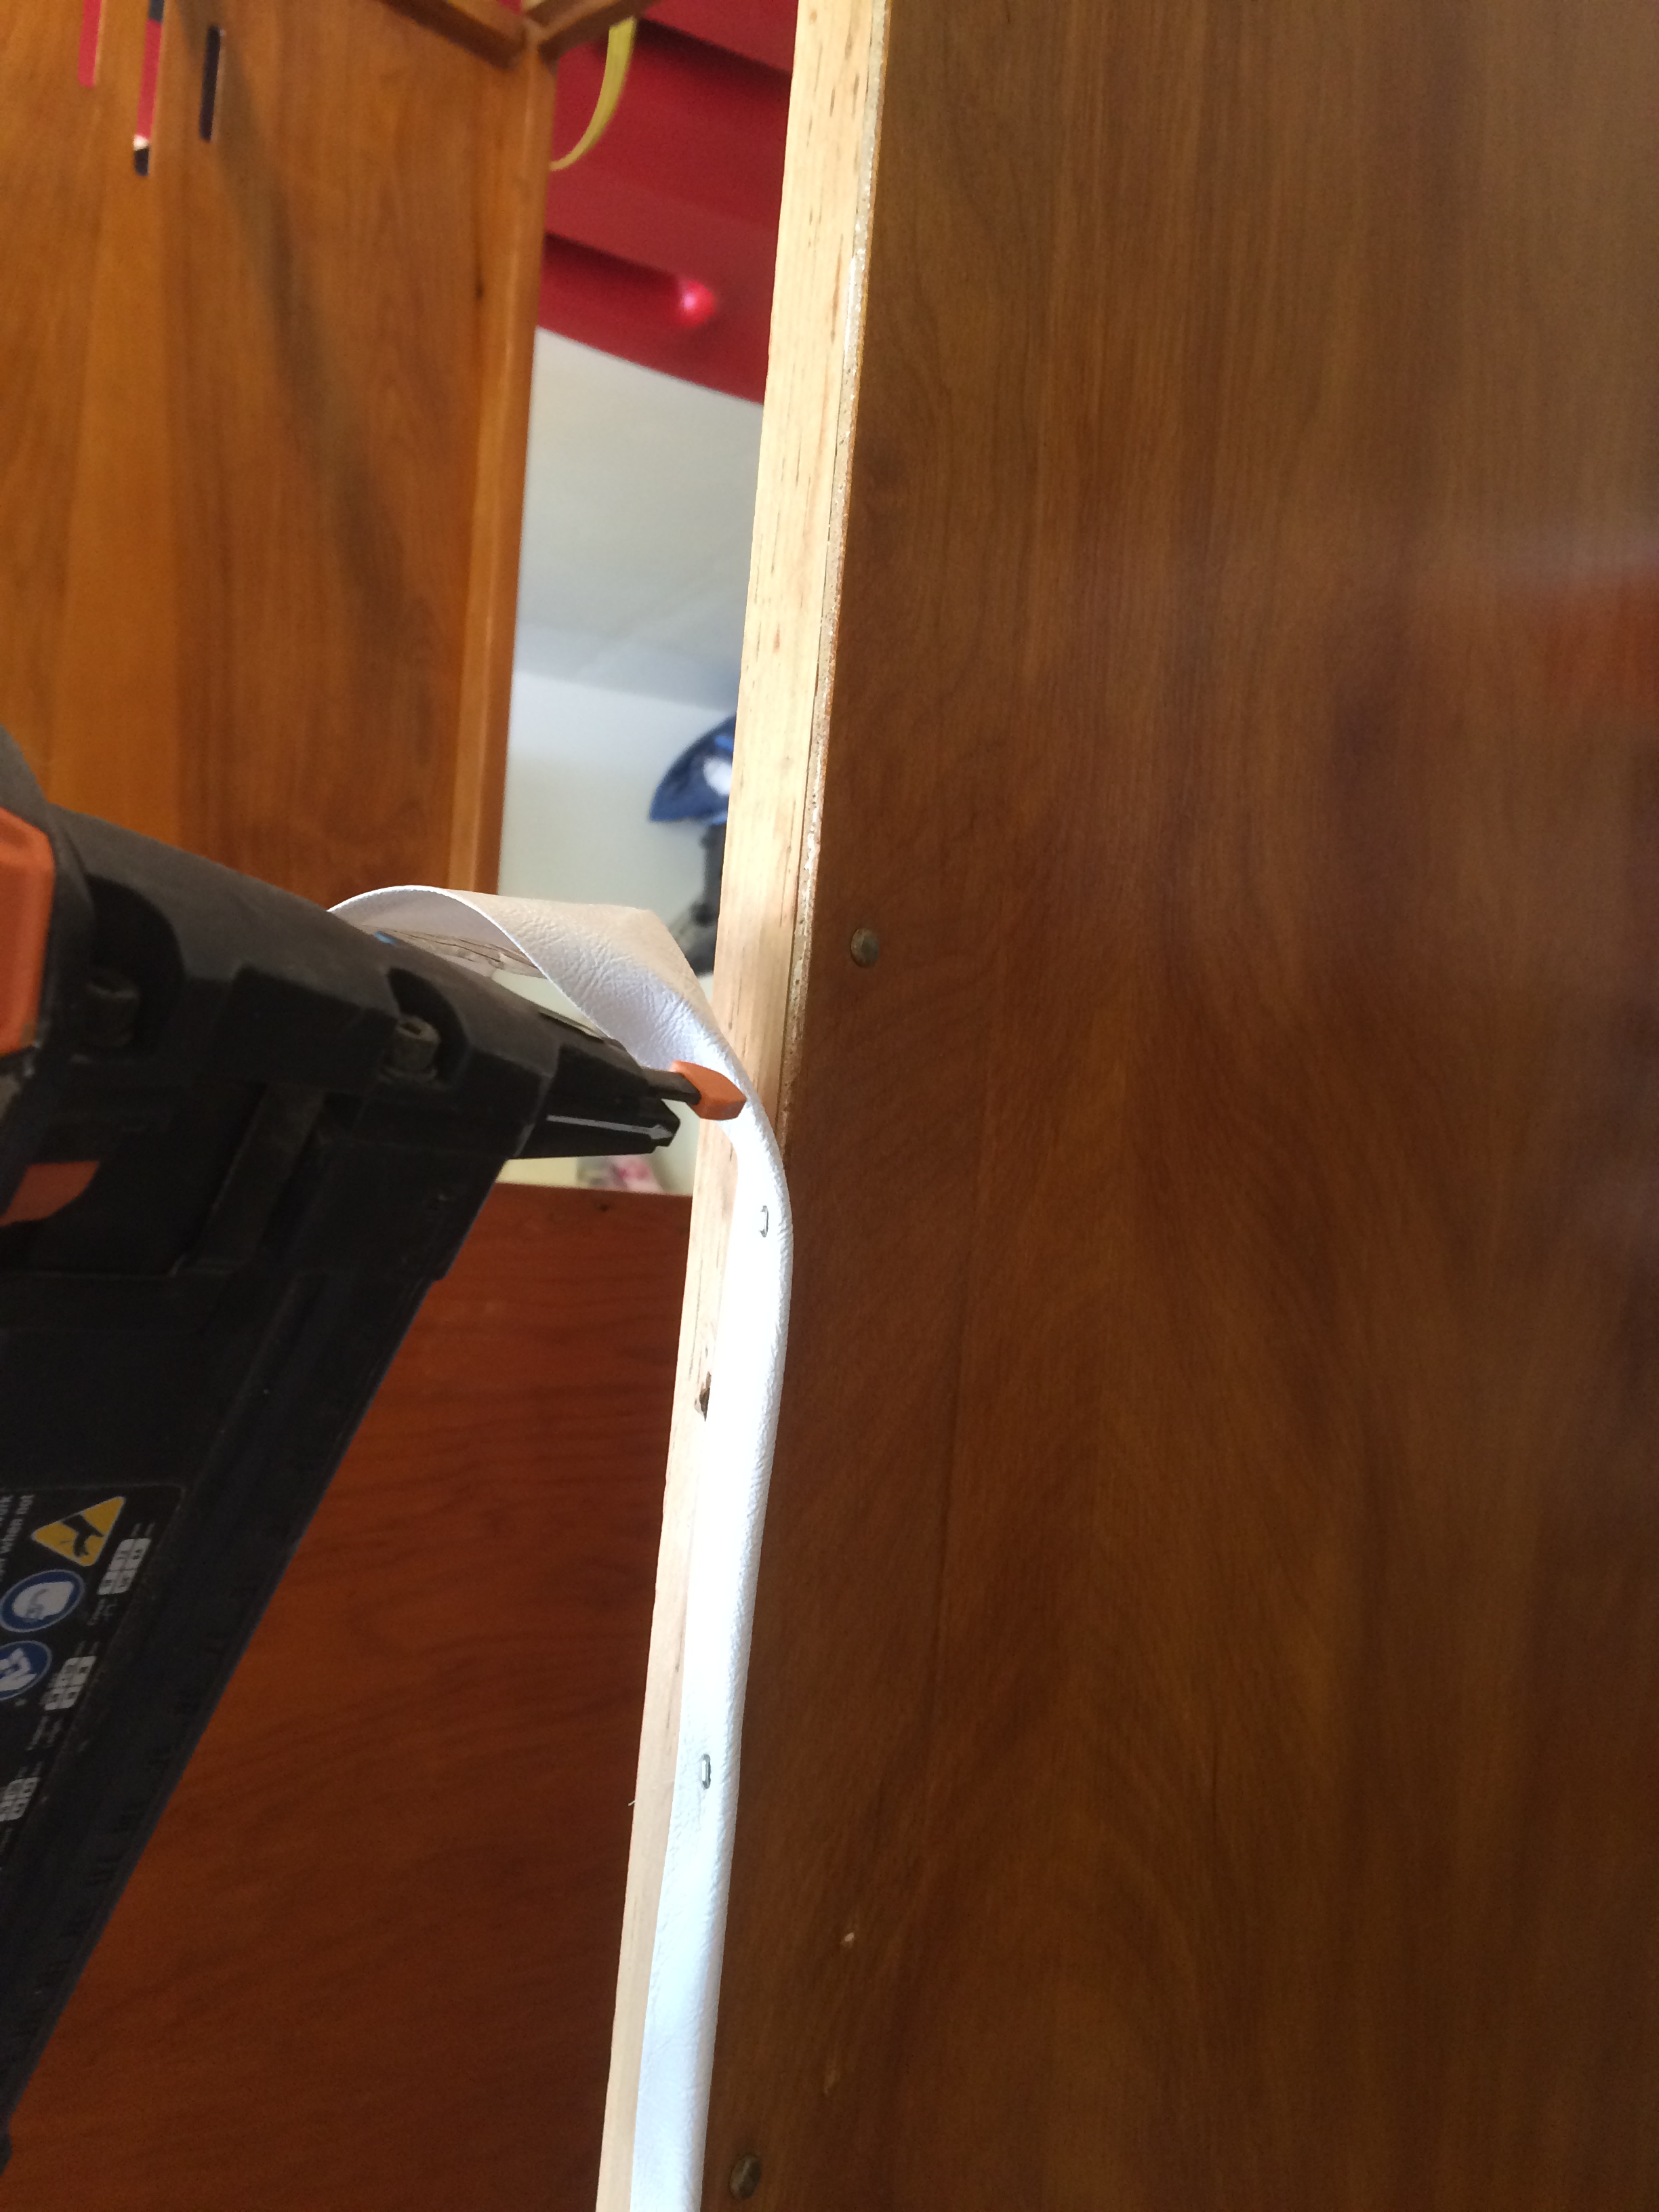
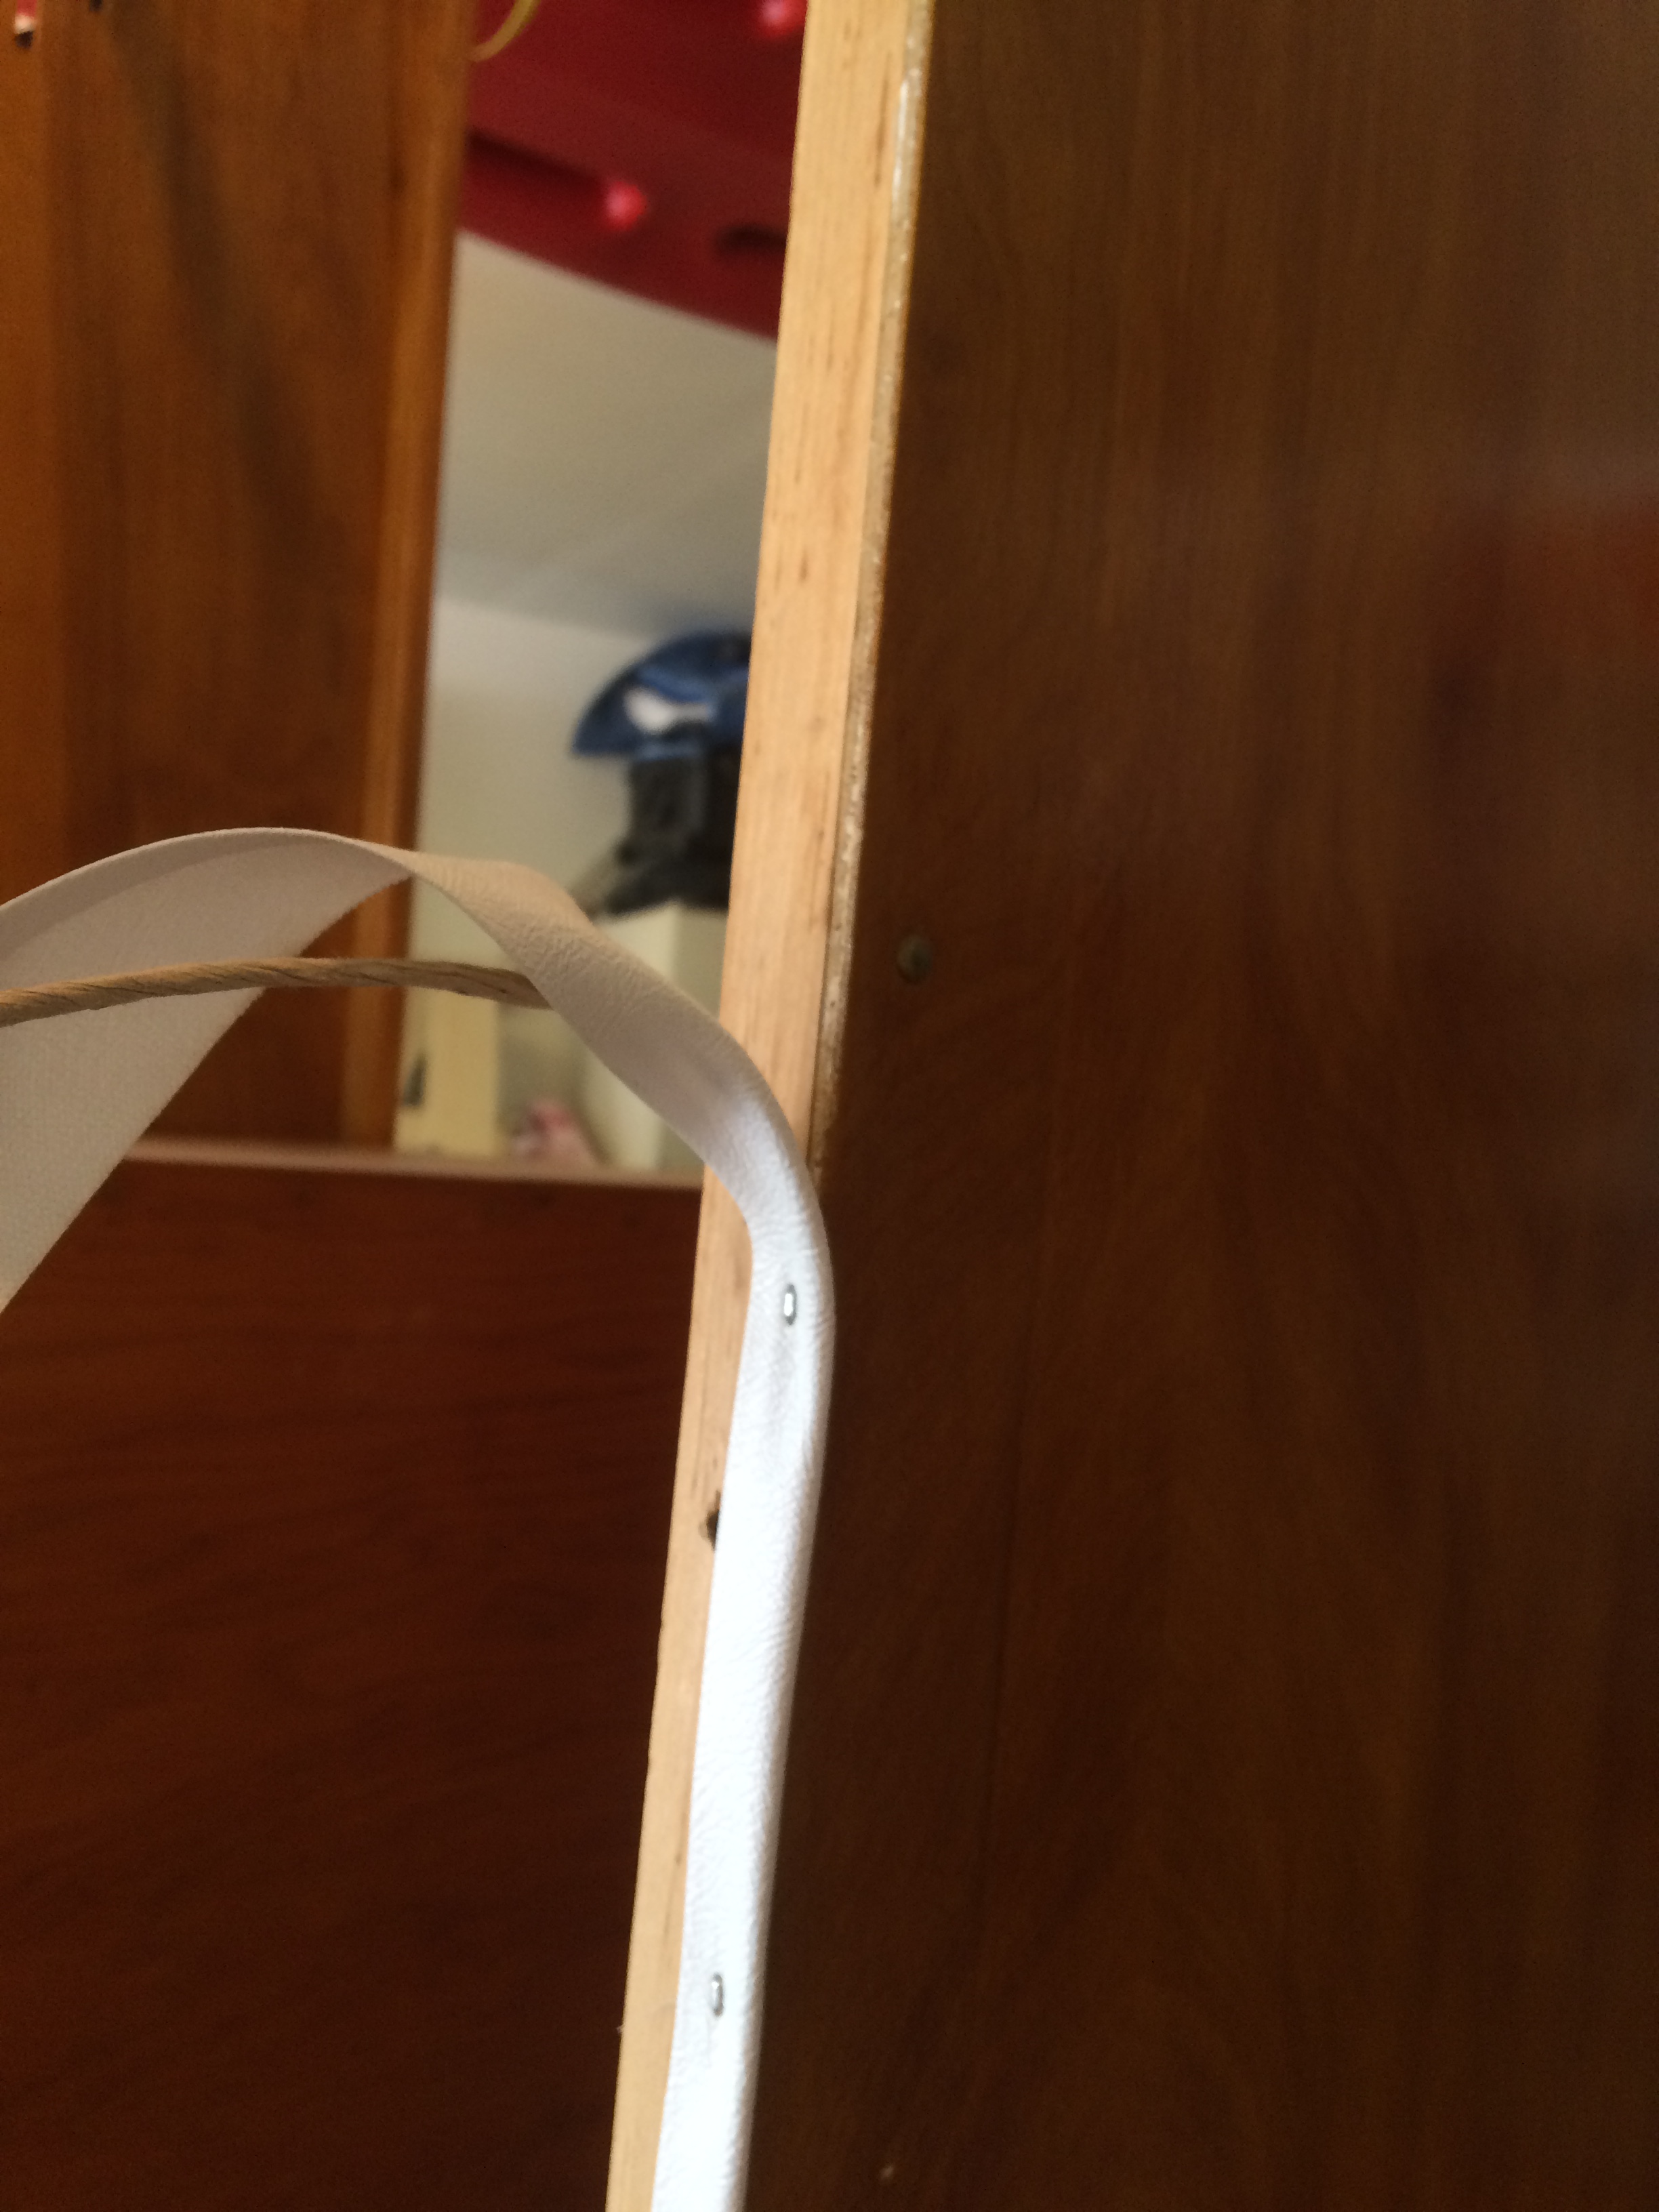
After the walls were framed and the Schlack was dry I applied the welting trim. My 1956 Shasta had white vinyl welting all around the walls and cabinets. This was the standard trim used to make a clean transition between walls and ceiling, and the cabinets. In your home you’d use baseboards or crown molding,… in vintage campers you use welting.
See my post on "Framing Your Vintage Camper; Part 1 The Walls
I found the material I needed at a local fabric/upholstery shop. It was super cheap as well. The vinyl was .50 per yard and the cord was a WHOPPING .10 per yard.
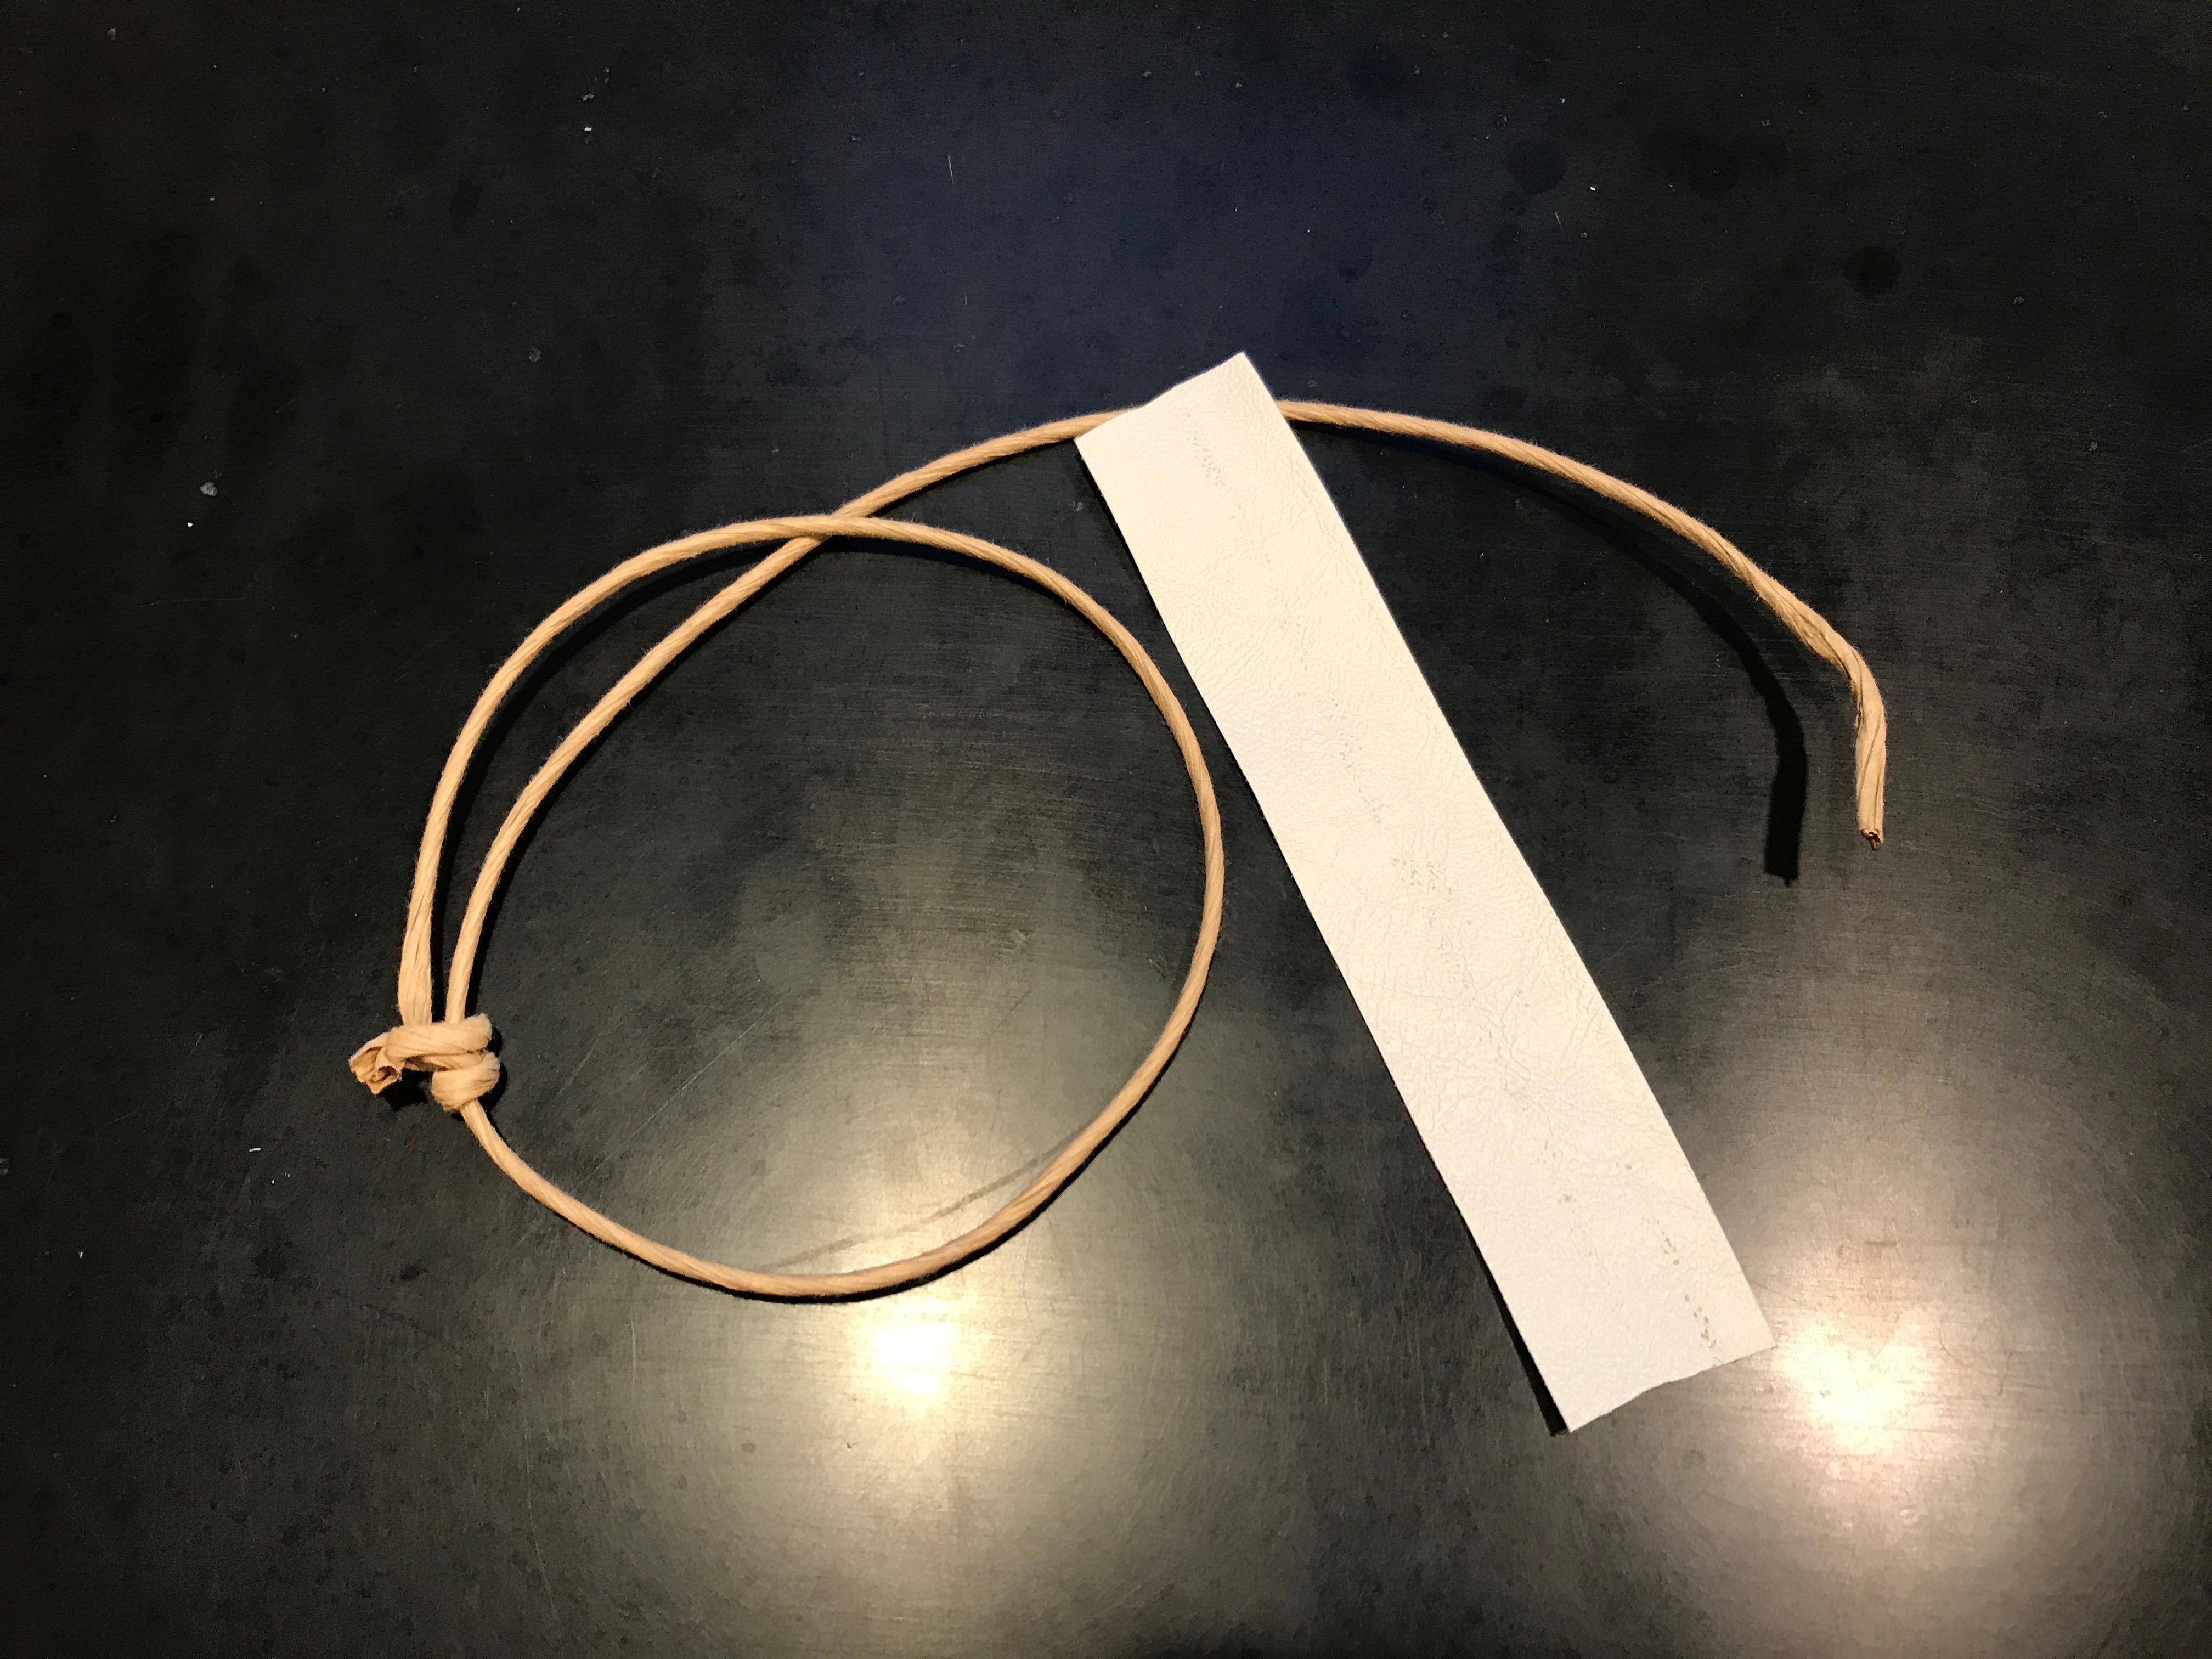
Cord and Vinyl Welting
I used a staple gun to attach it to the tops of the walls and along the cabinet backs. Simply wrap the vinyl around the cording and staple it along the wall edge making sure the welting rests just past the edge.
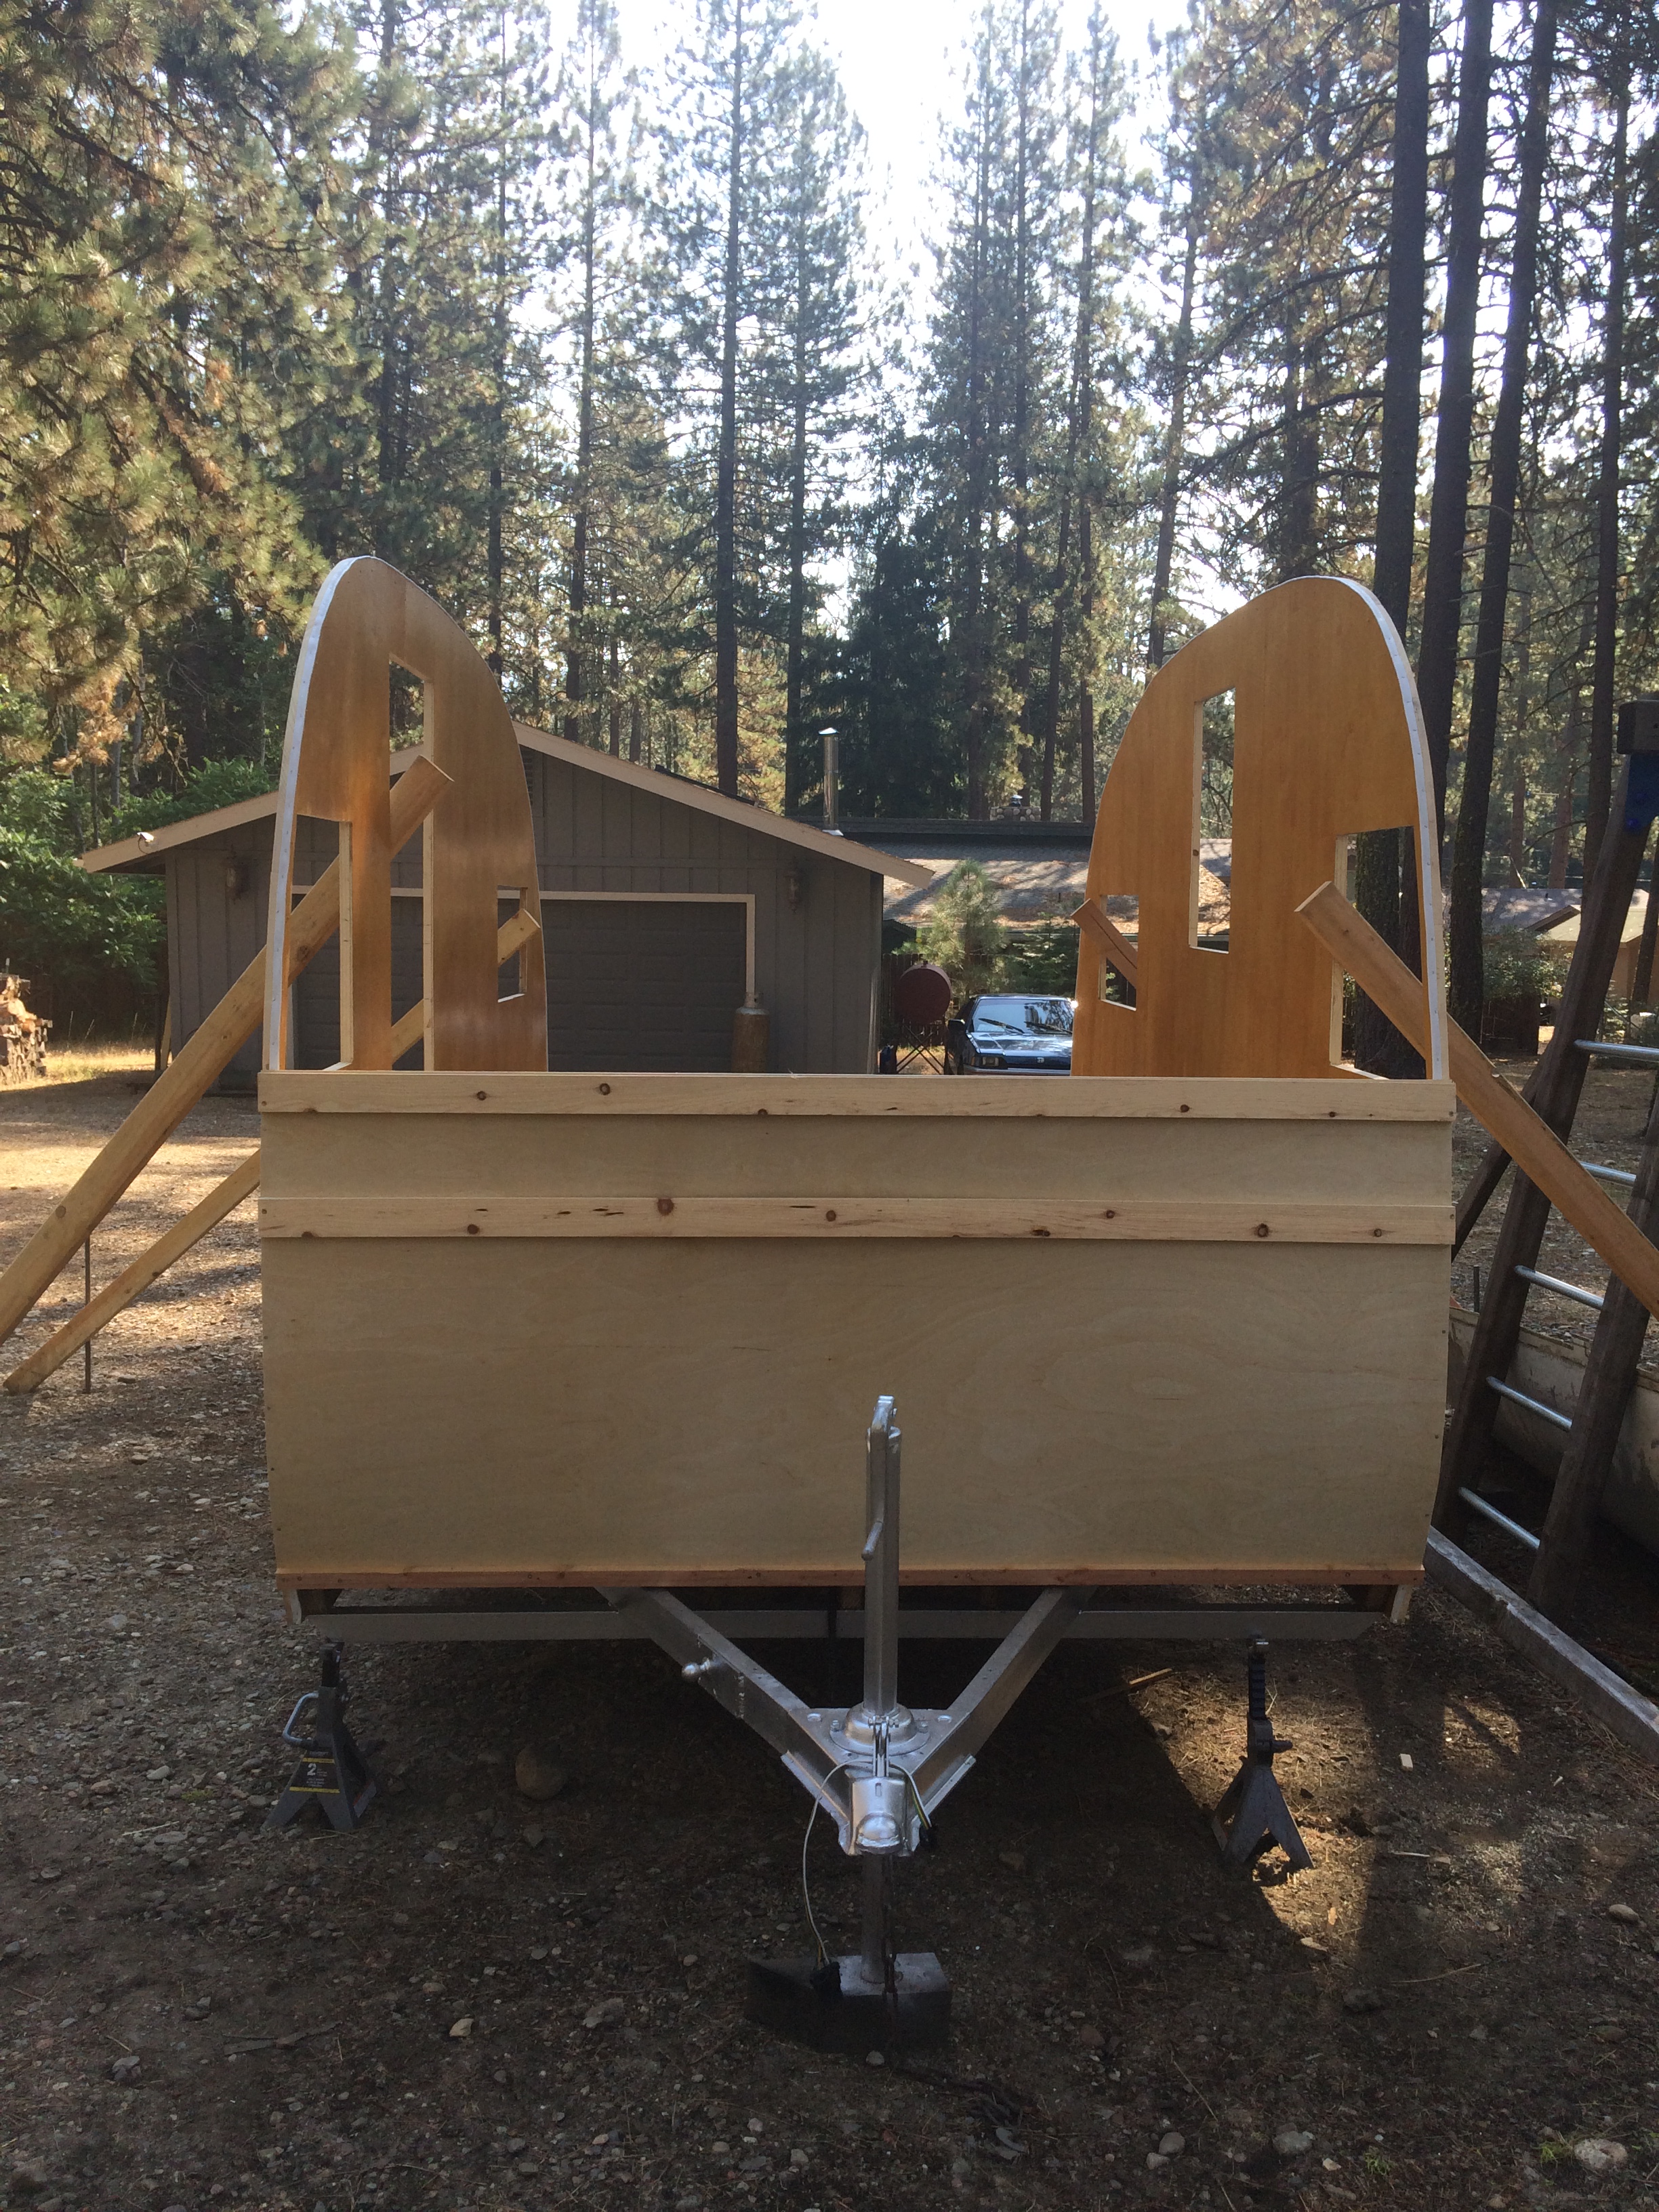
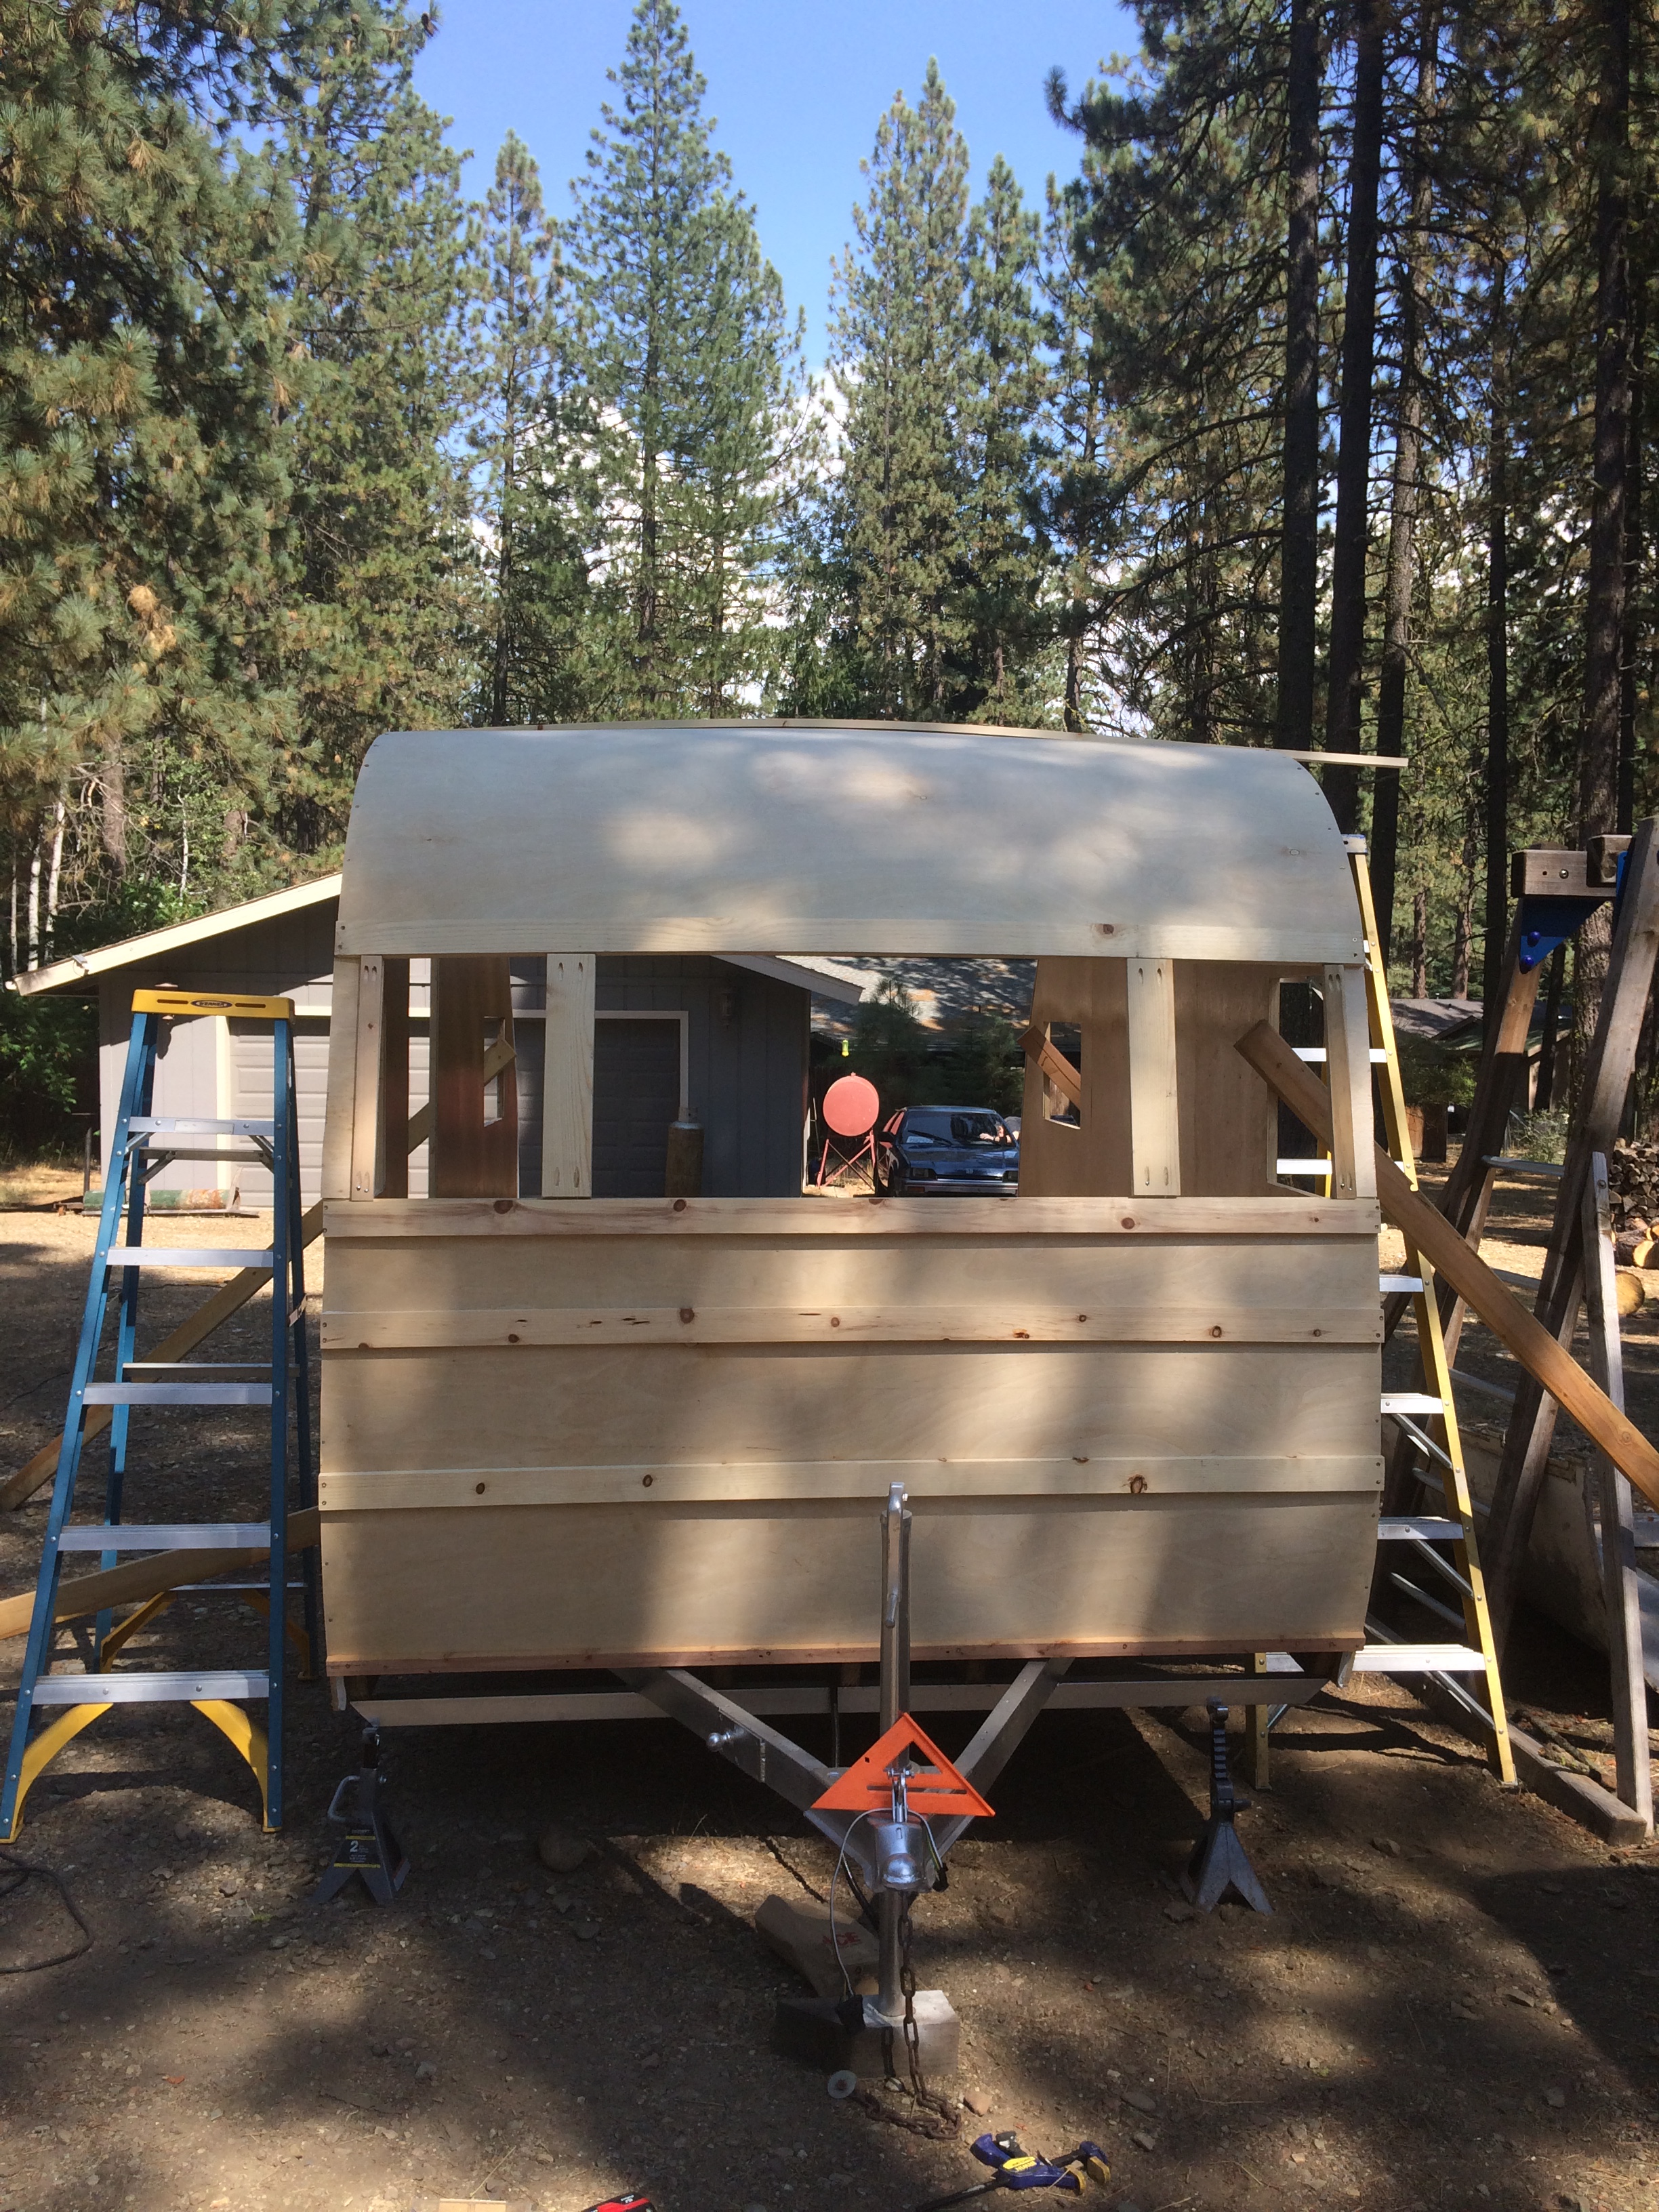
After the welting was in place, I got some help from my husband and daughter to attach the walls to the trailer sides. The walls were screwed into place and then braced with 2x4s until I could get the ceiling pieces in place.
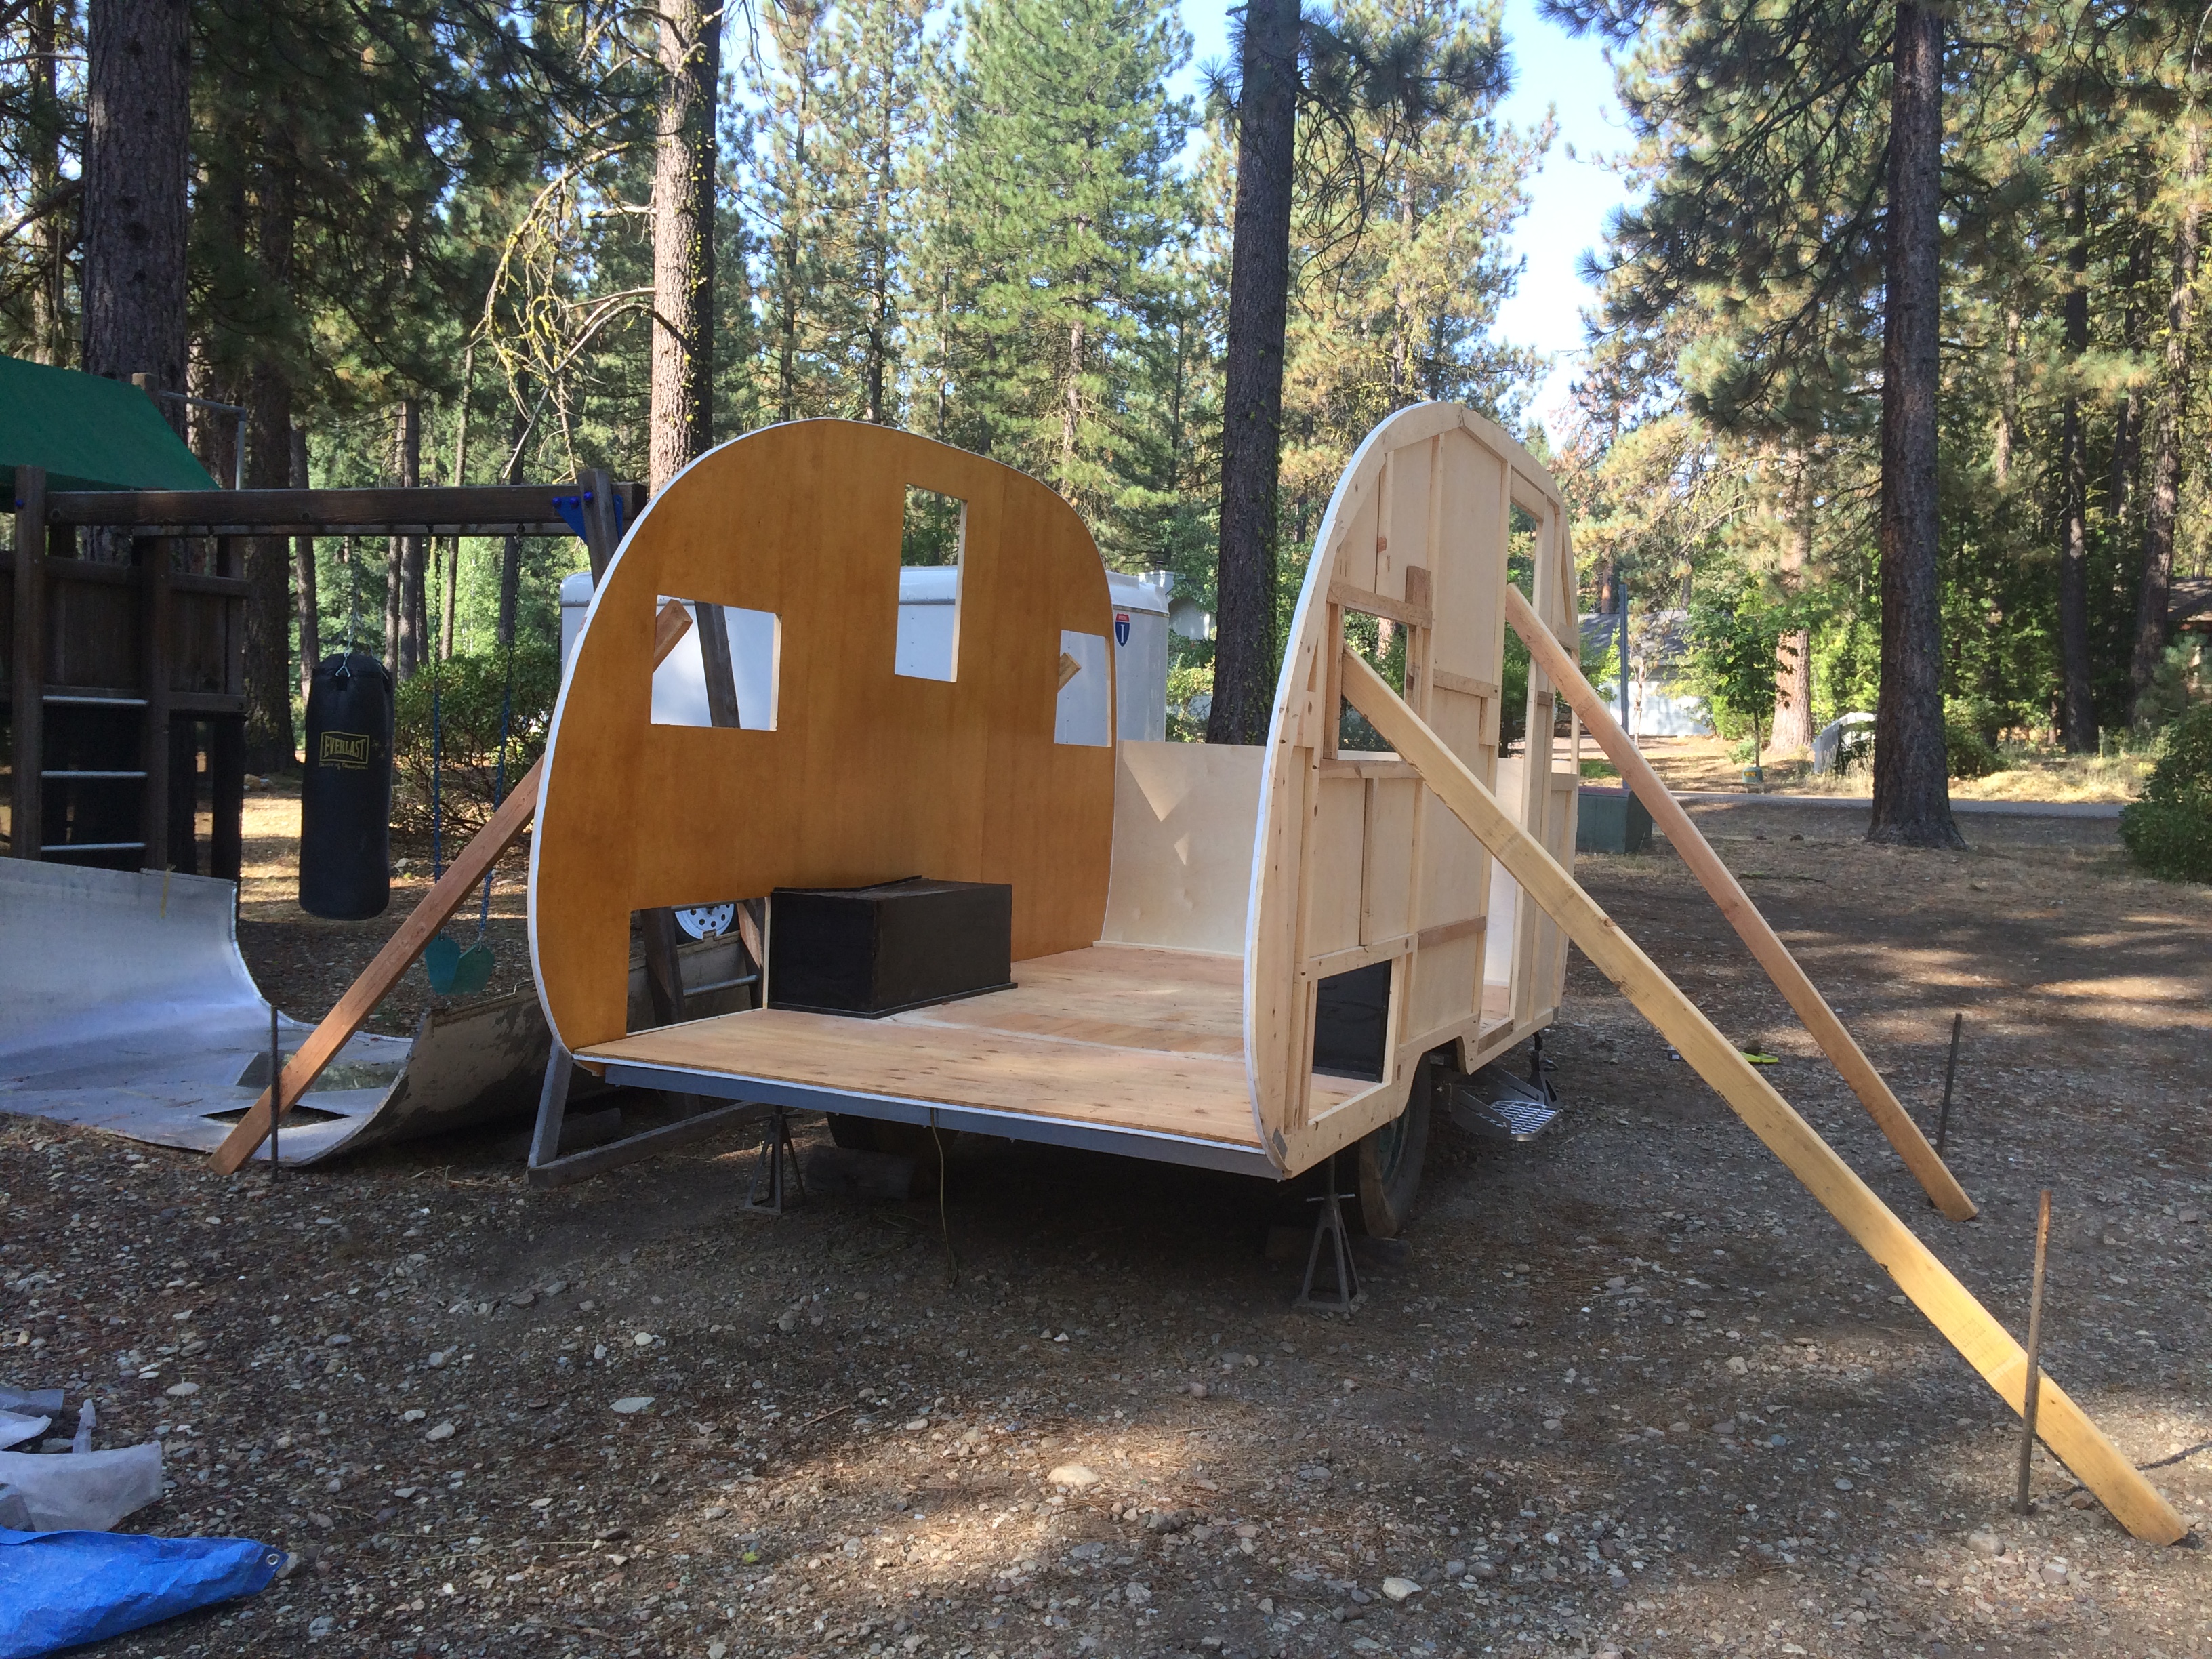
The walls are up and braces with 2x4 and stakes
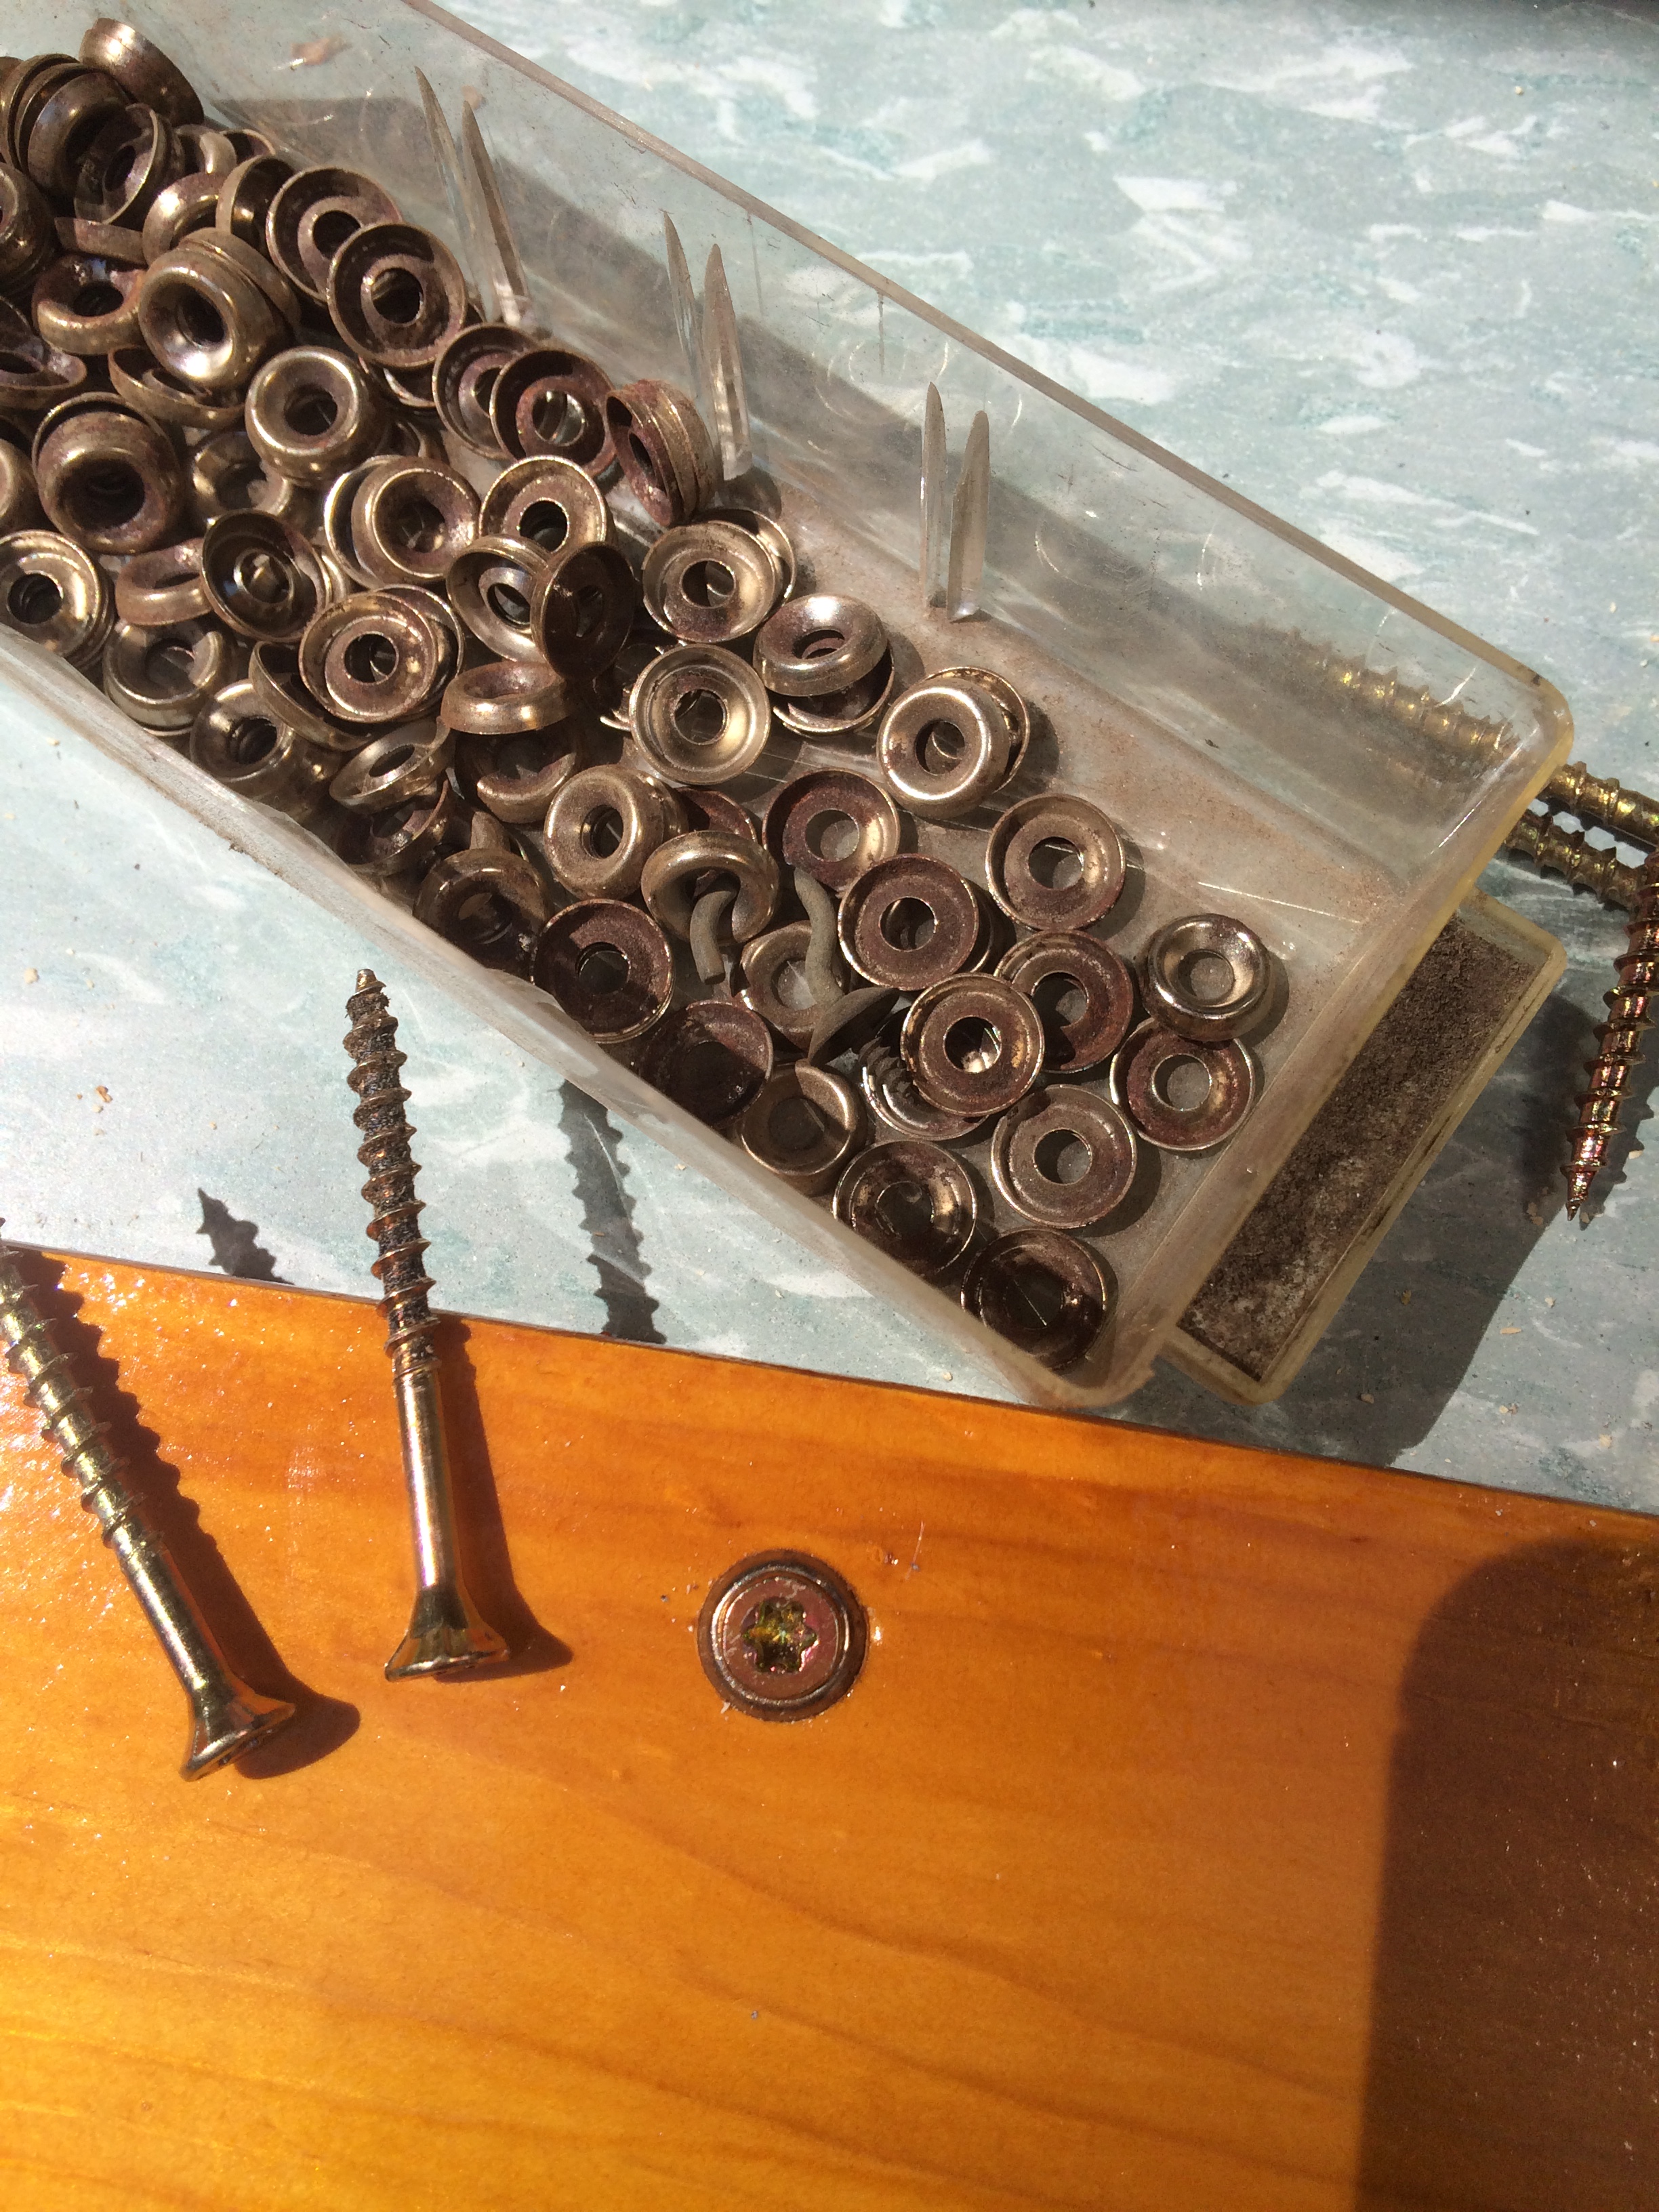
Next, I built the front end. I used the old pieces of the trailer as patterns for the new ones. I really liked using these cup washers on the screws that would be exposed on the interior of the camper. On both the front and rear ends there is a piece of 1x3 pine that supports the paneling and frames the floor. These took screws to attach them to the sub-floor. You can countersink the screws or simply use a cup washer (also known as a finish washer) to make them look pretty. 🙂
See my post on Tips and Tricks to Dismantle Your Vintage Camper
The font piece of paneling was cut to size and screwed in place.
Post-Project Tip: I used 1/8 inch birch paneling for the walls AND ceiling. If I had to do it again I would opt for the 1/8 inch for the walls but use 3/32 inch on the ceiling. It bends much easier.
Then the 1x3 and 1x4 rib pieces where screwed in place over the paneling. I carefully measured out my window height and openings and framed them. I used the pocket hole jig for the framing. The old framing had aluminum patches over the window-frame seams so I replicated that as well…it couldn’t hurt.

I lightly sanded the new paneling pieces and Schlacked them. (2-3 coats of amber Schlack.) Don’t forget to tape off the welting so the Schlack won’t stain it.
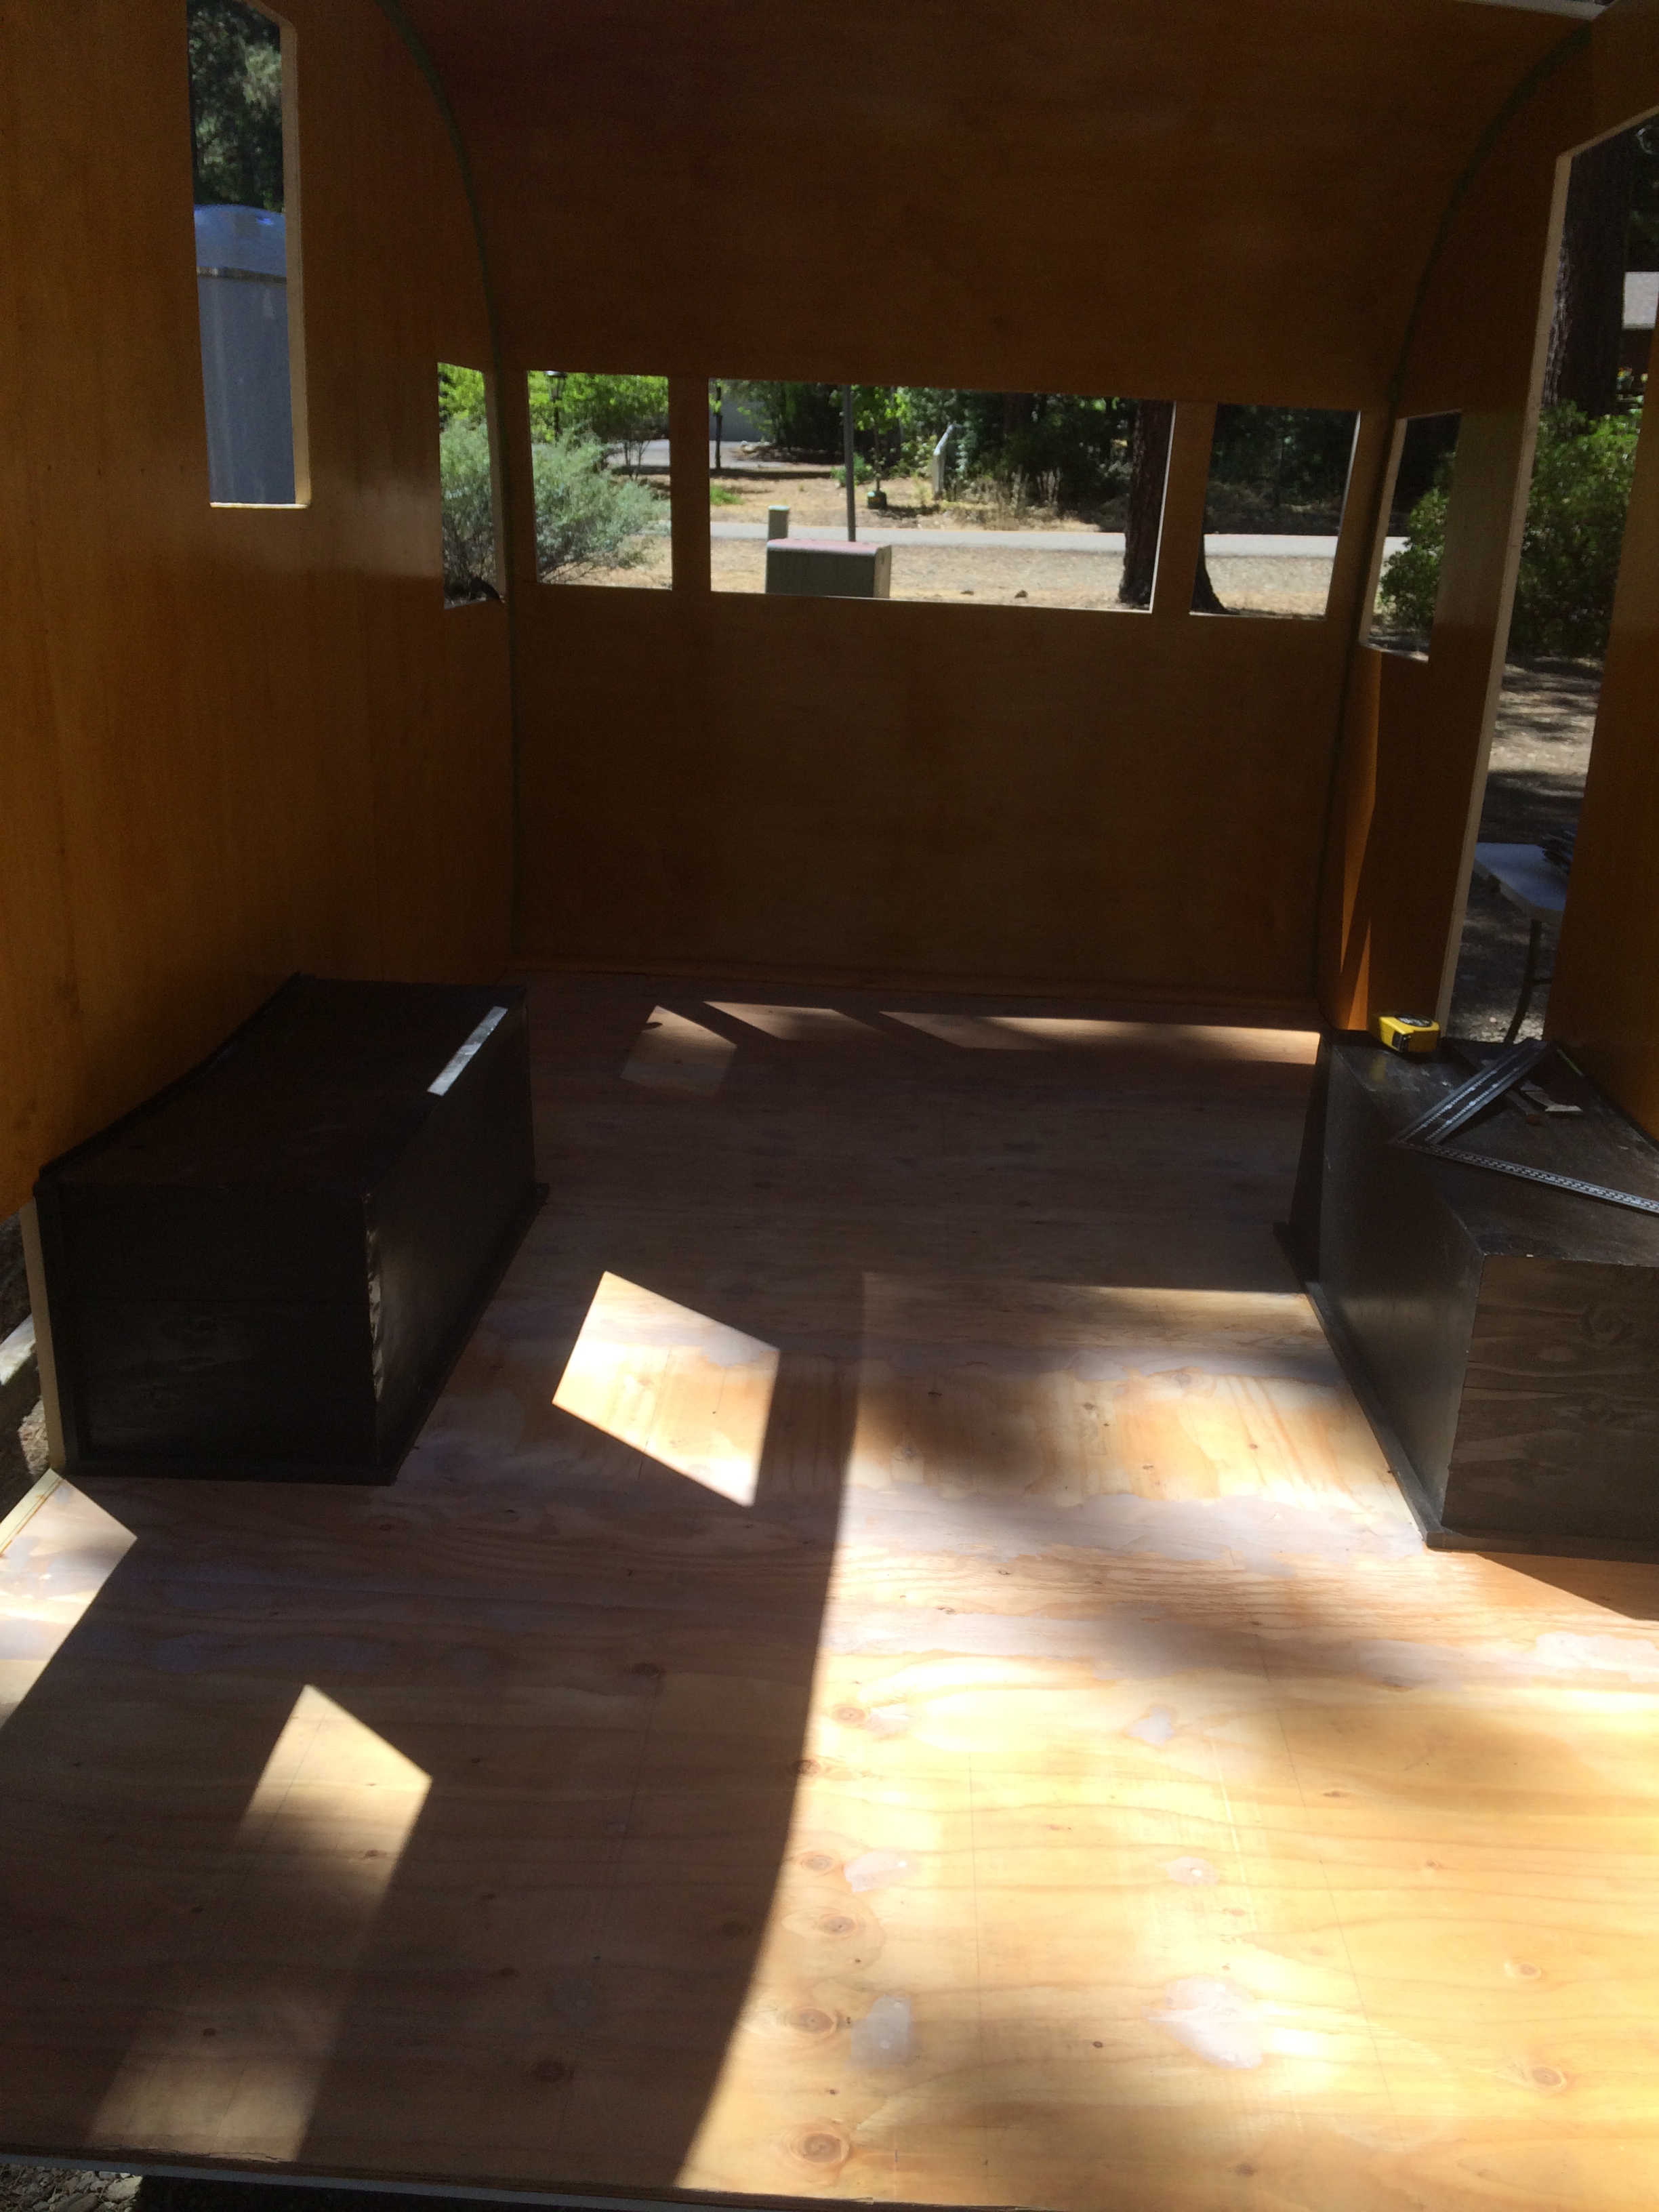
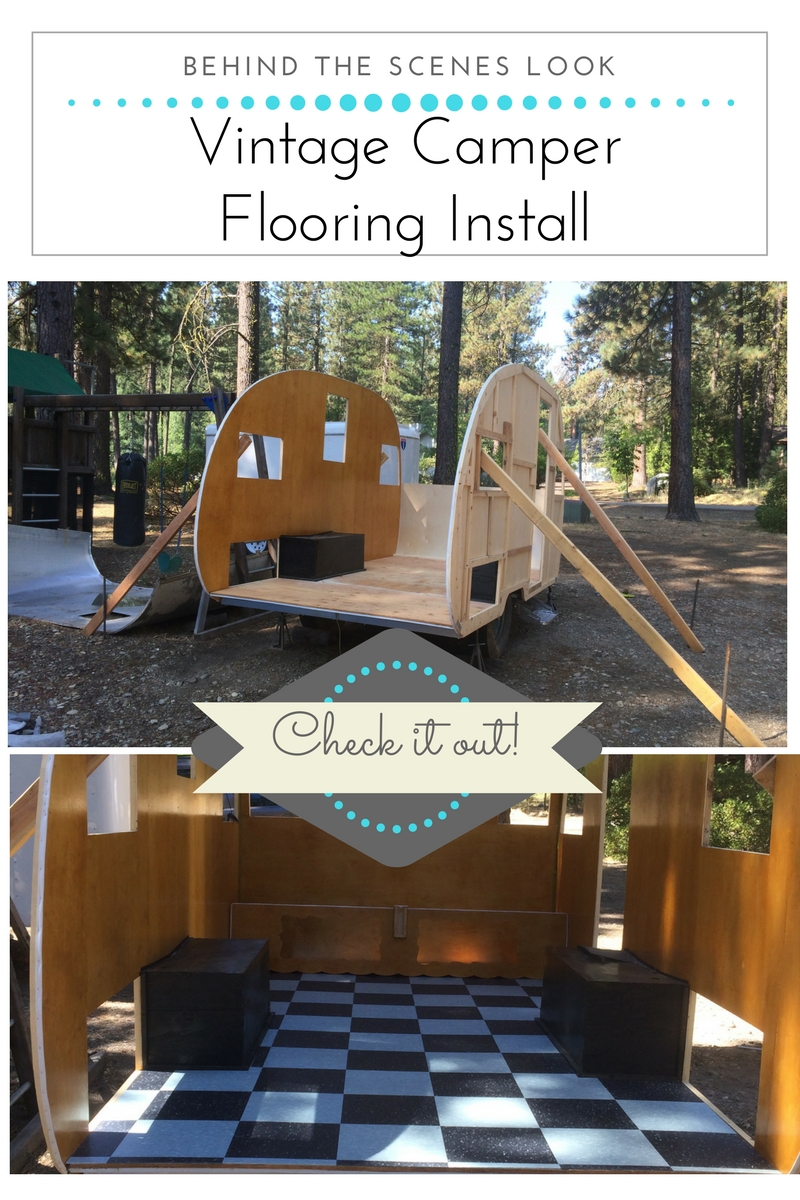
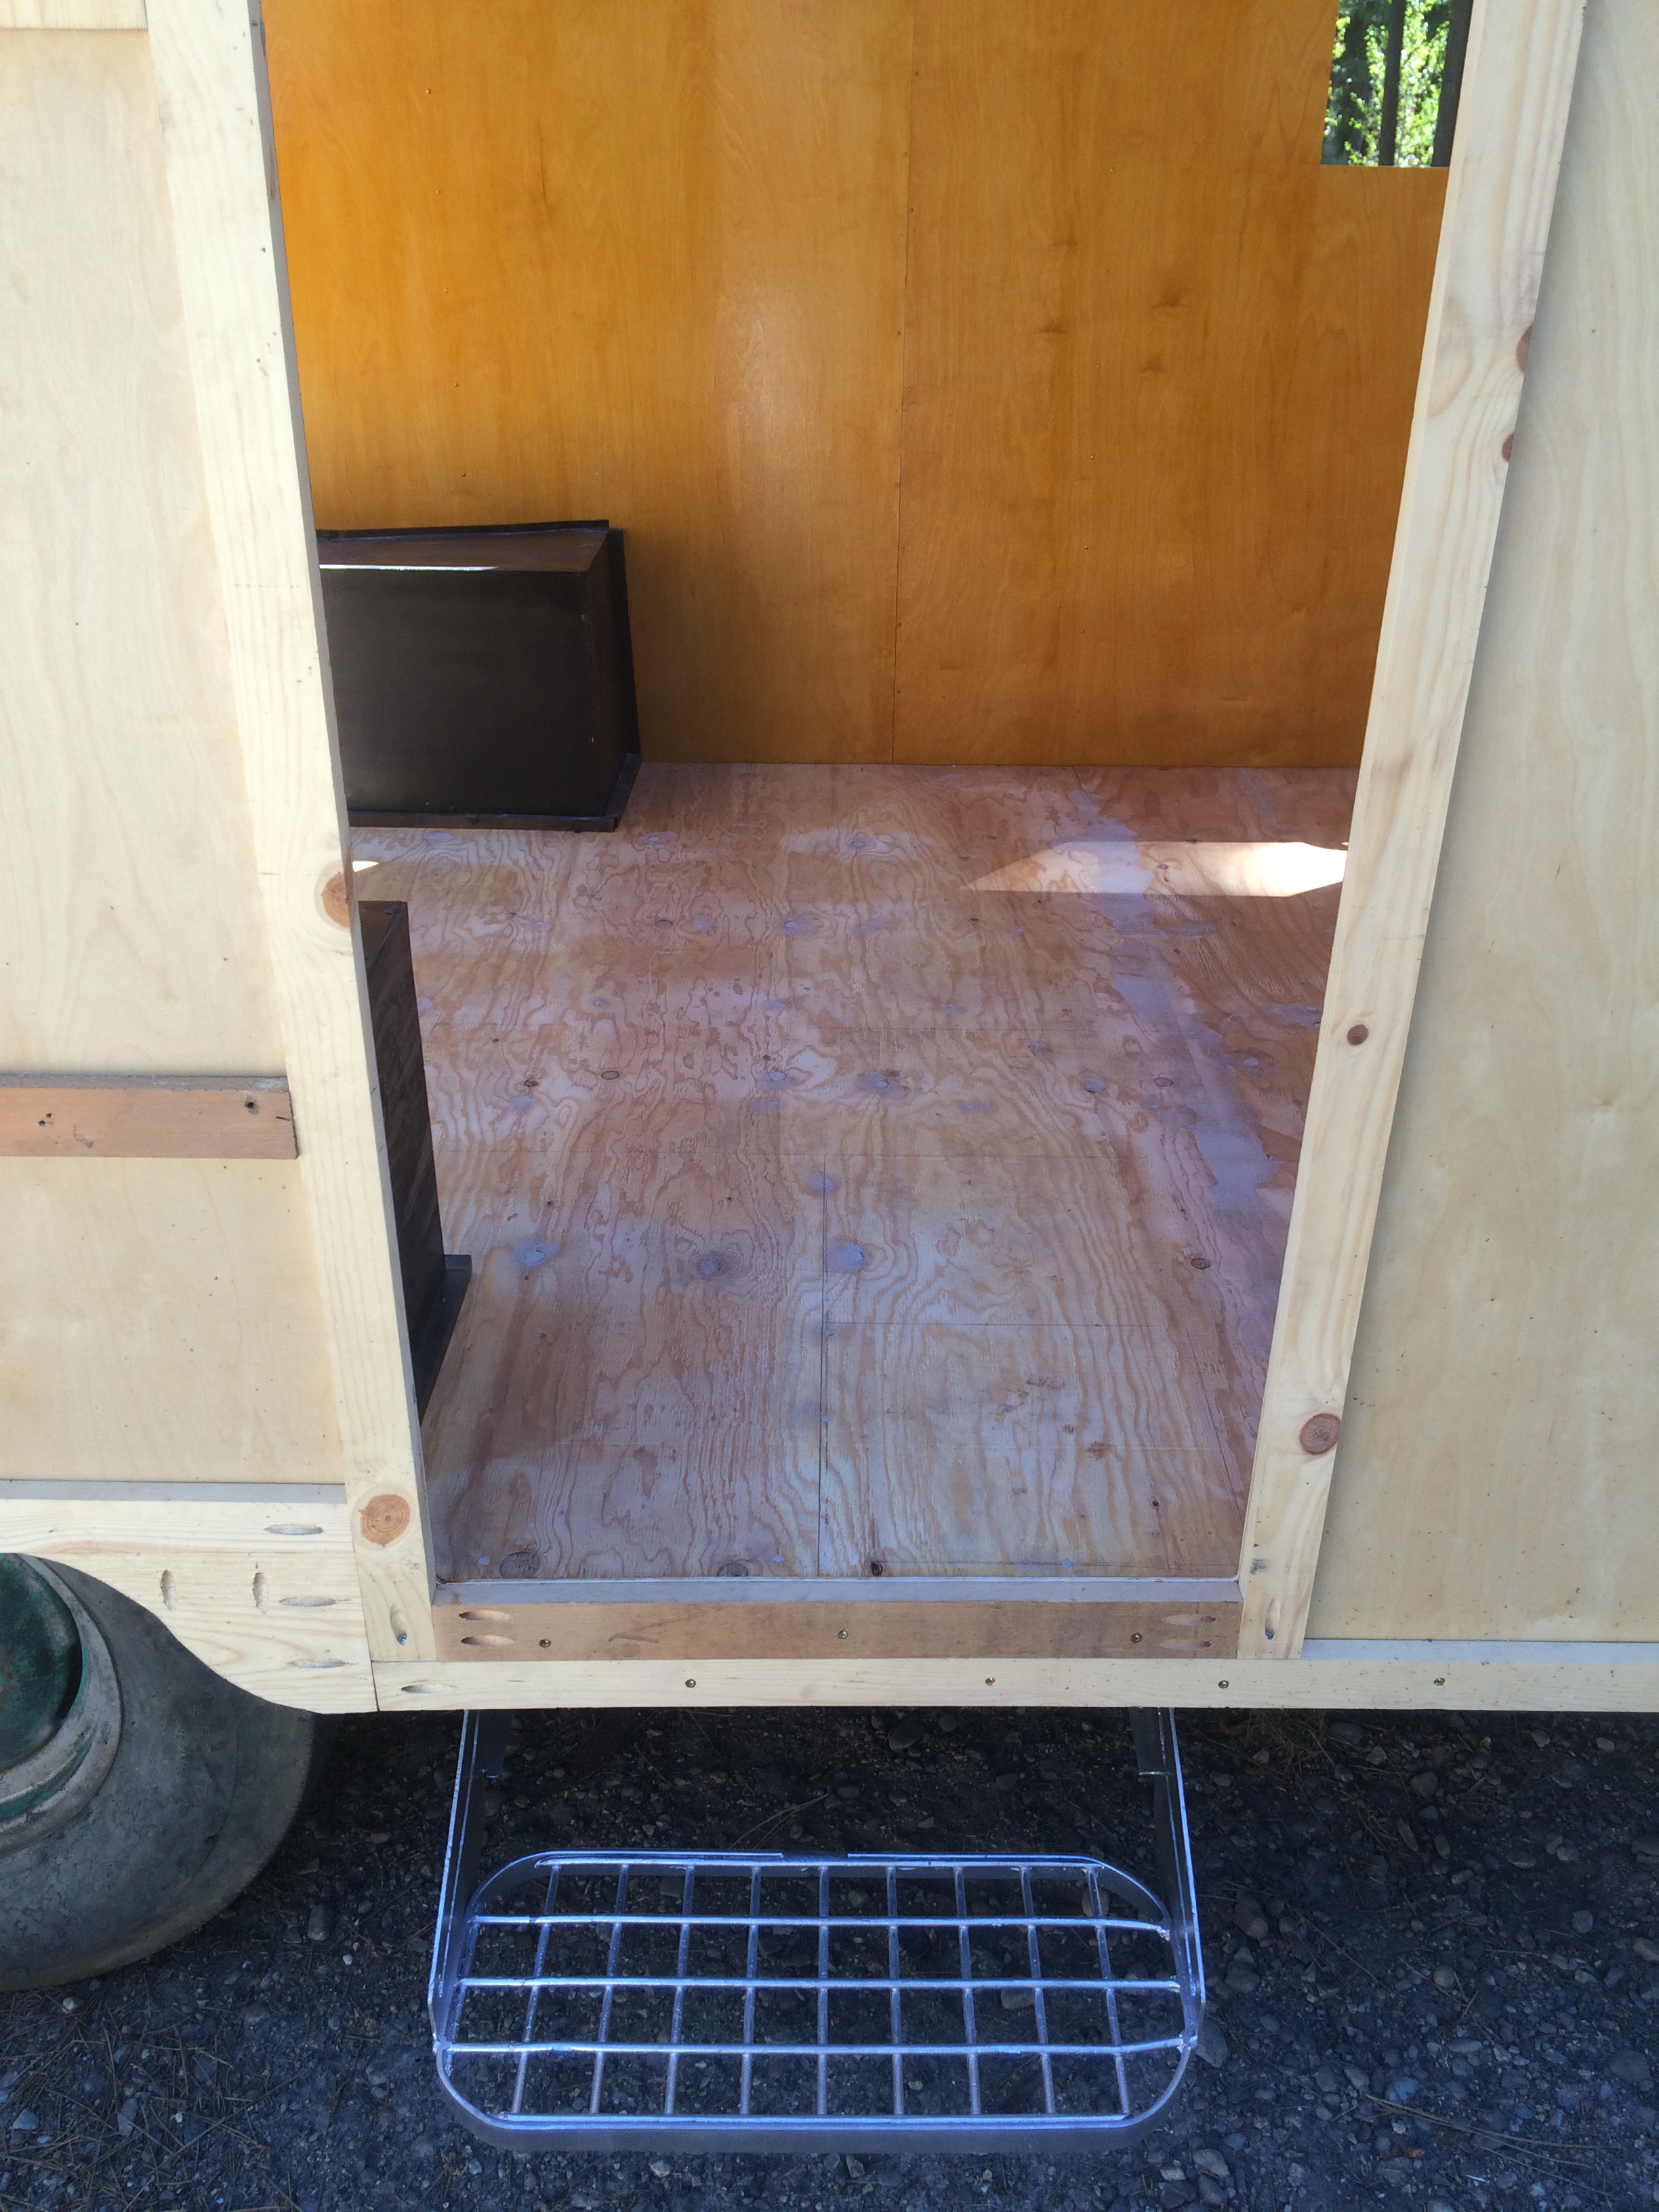
It’s finally time to lay the new flooring. Originally the flooring didn’t extend under the cabinetry. So, if you looked inside the lower cabinets and wardrobe you saw raw plywood. I wanted my flooring to go all the way under the cabinets so it was easy to keep clean. For this reason, I needed to install the floor before I went any further in the project.
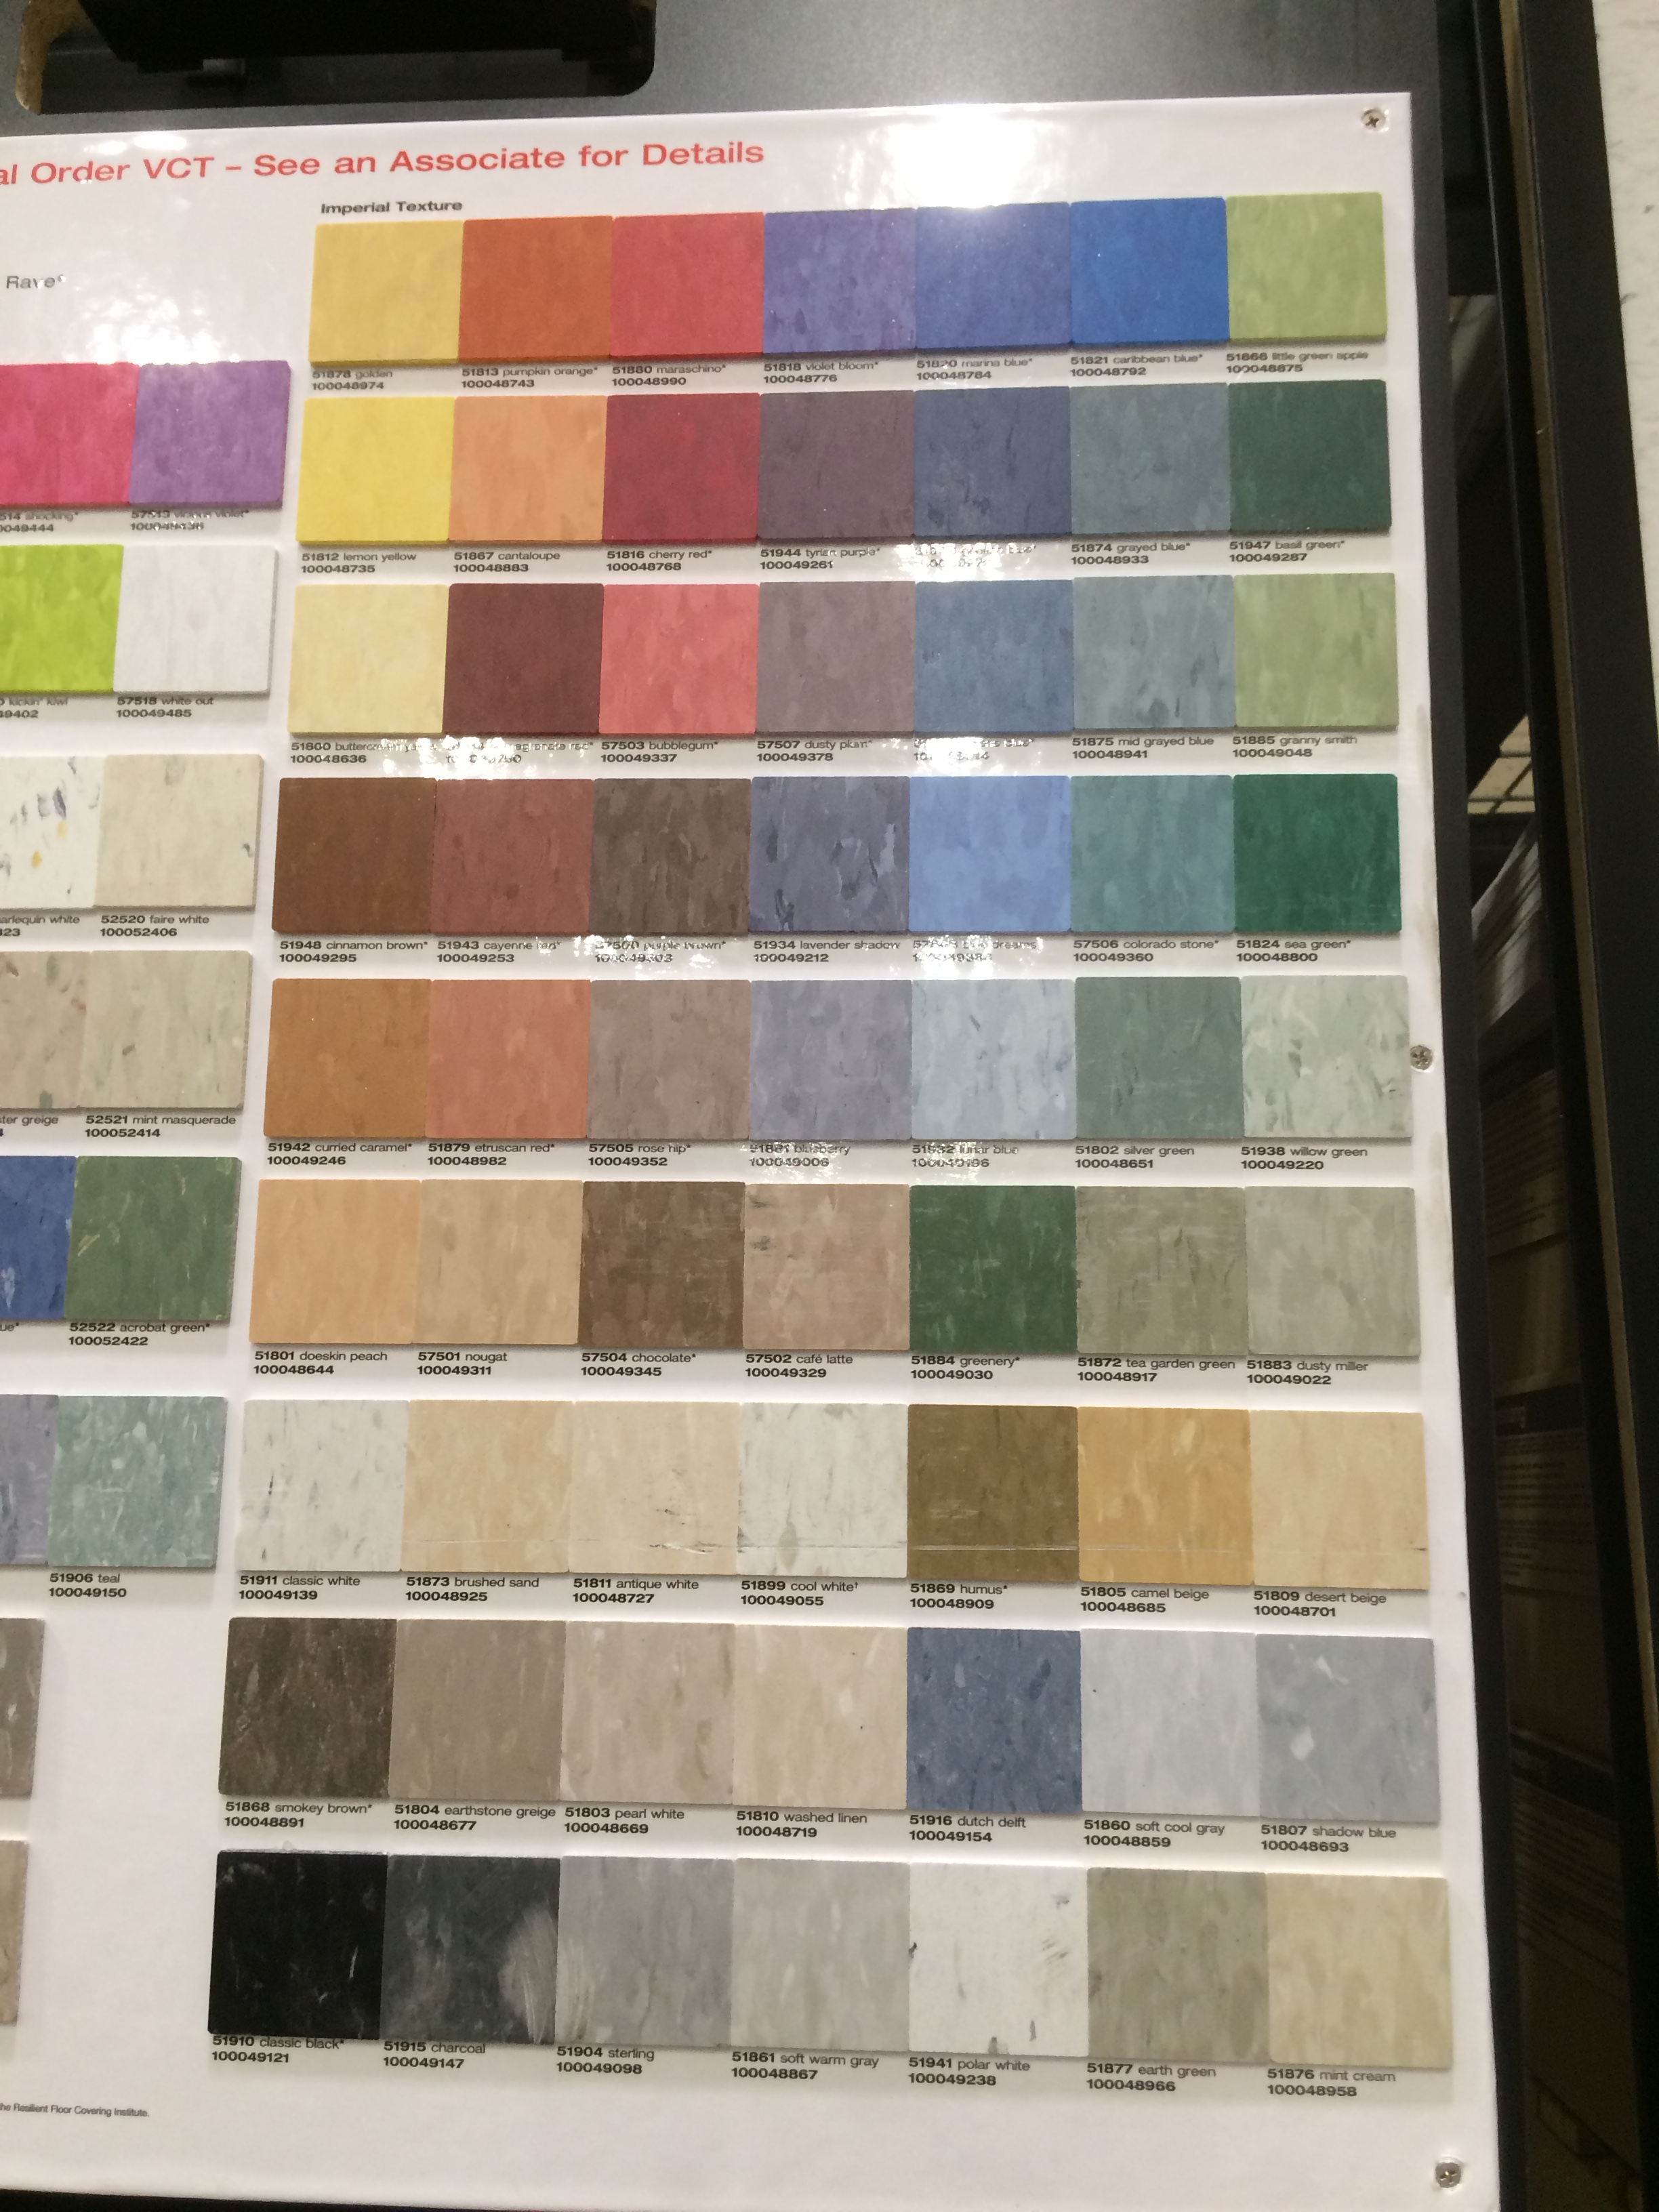
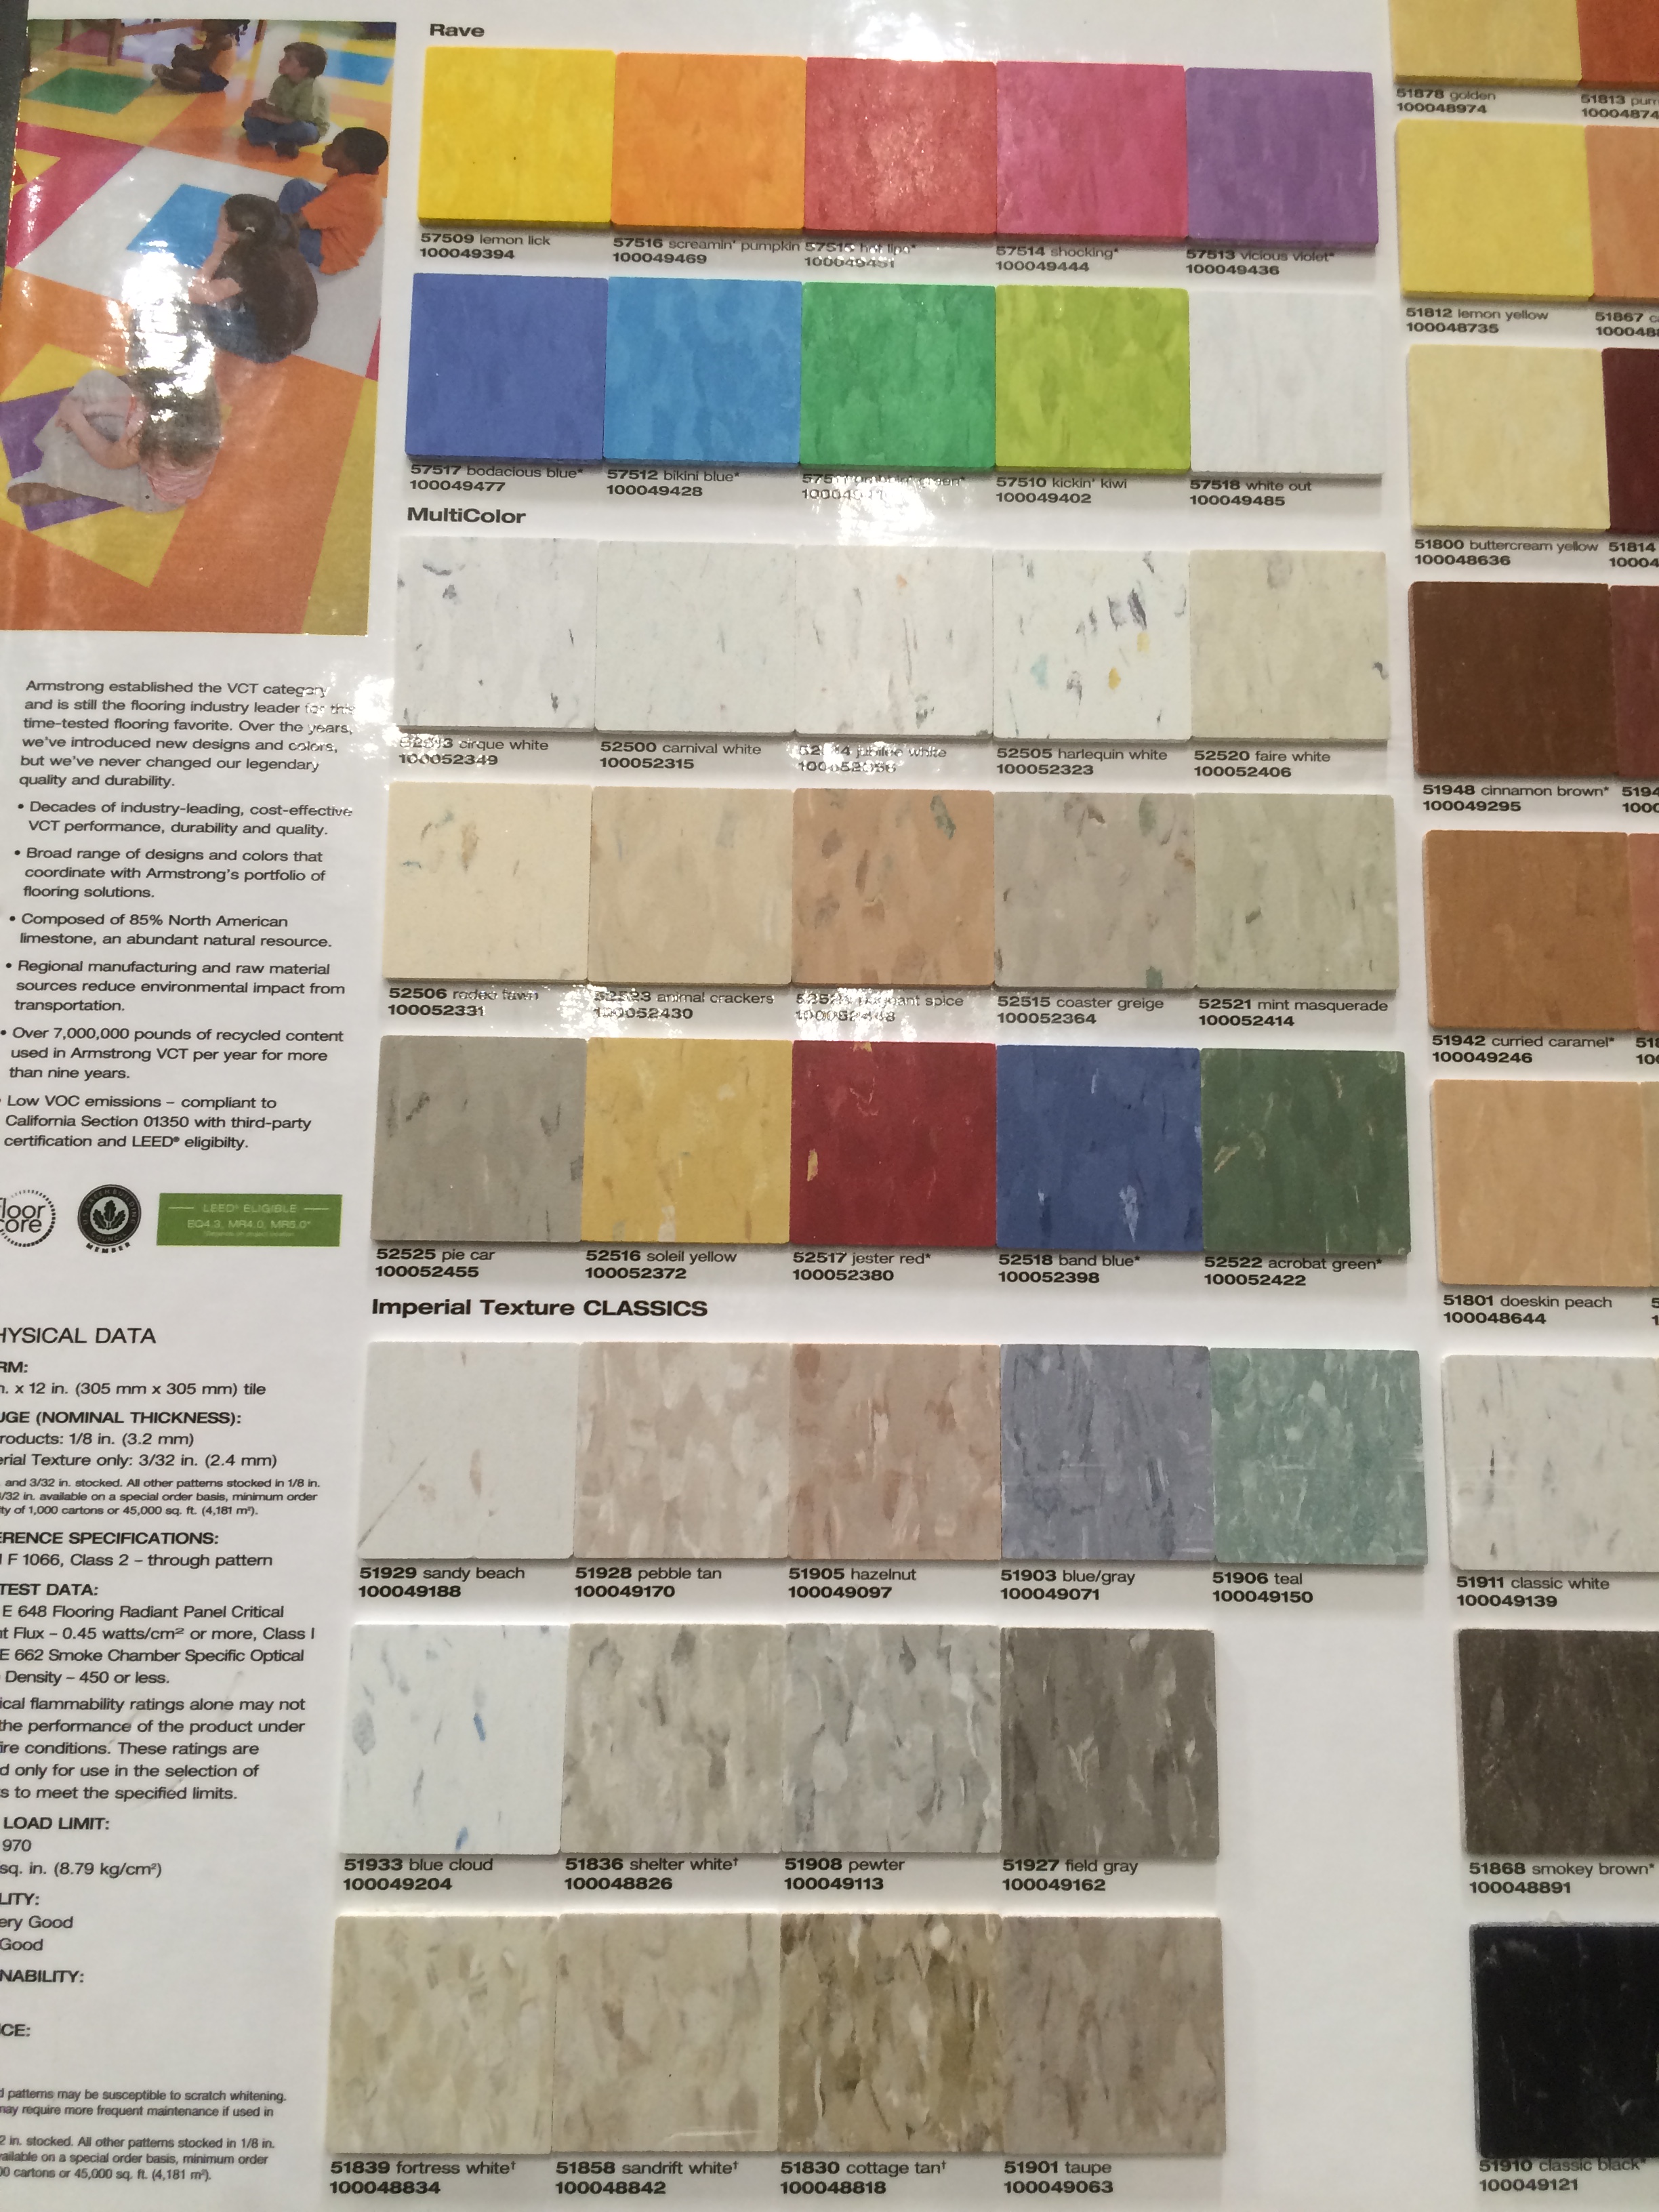
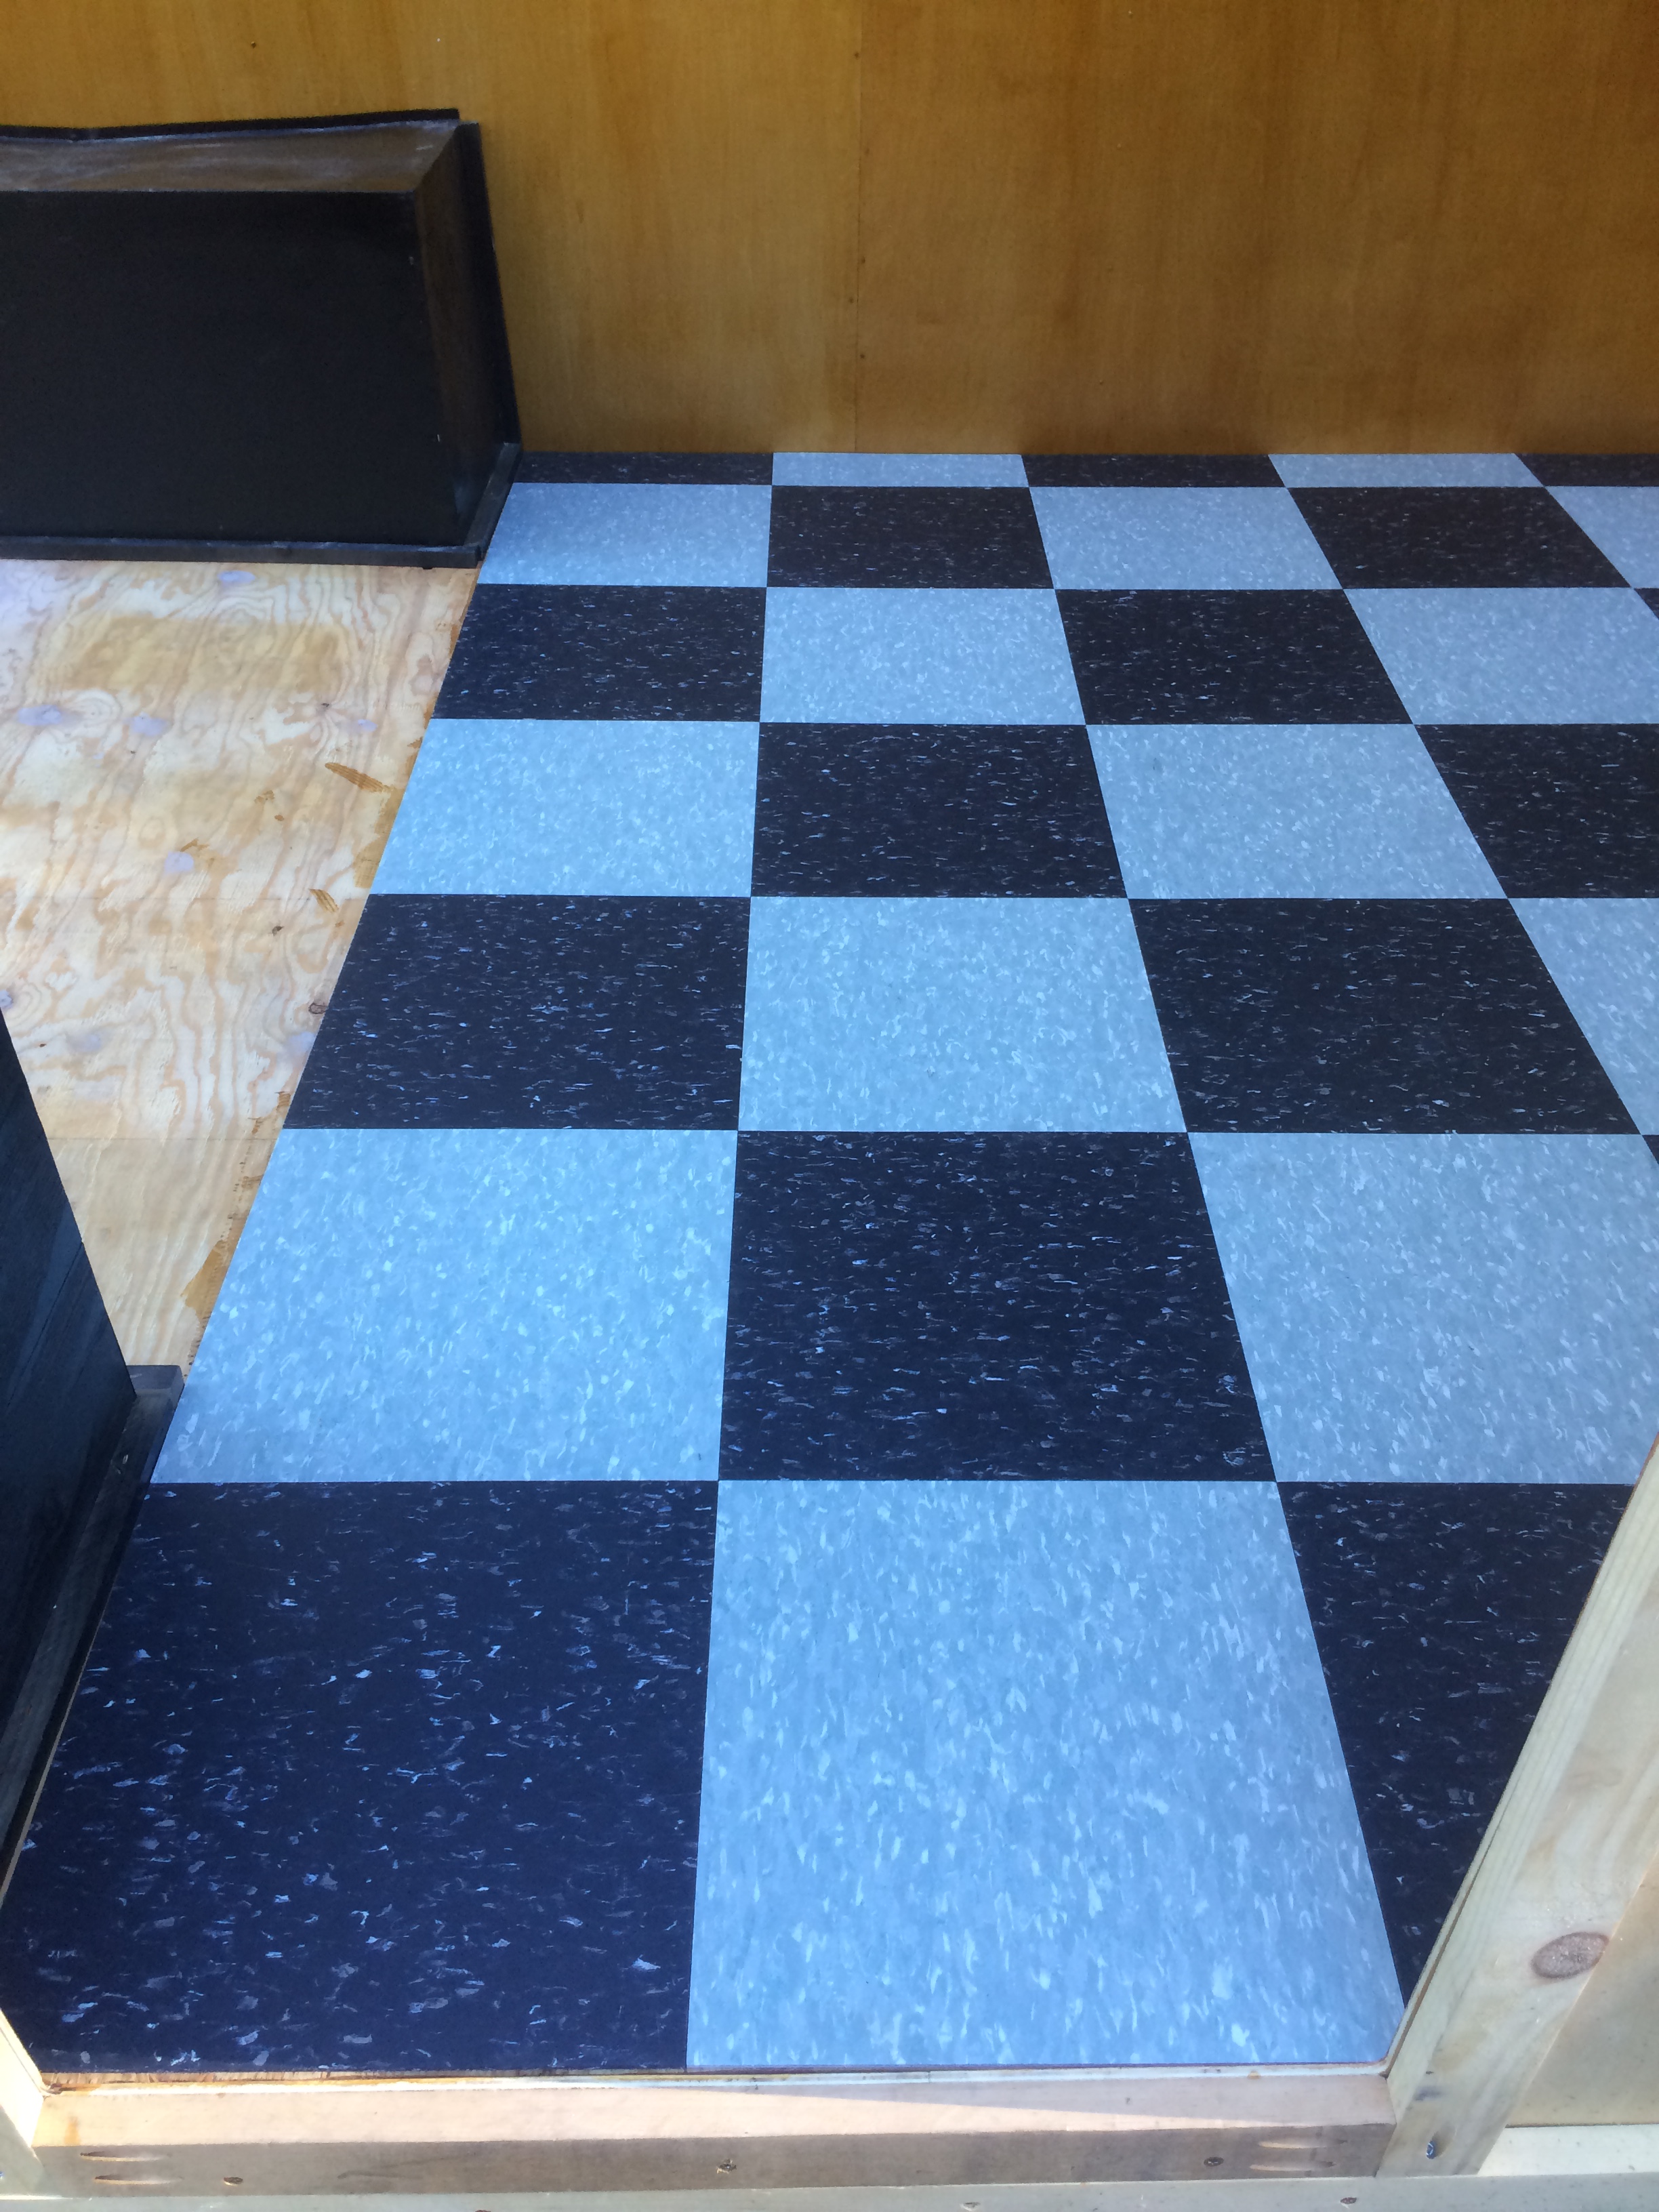
I chose a VCT tile in black and teal. I like the look of the checkerboard but didn’t want a solid linoleum product. Also, the durability of the VCT tile appealed to me. After all, it is in every elementary and high school cafeteria in America! It must be good.
I purchased my tile from Home Depot. The adhesive and black tile was in stock but they don’t carry all of the colors in their store so I had to order the teal online. It comes in a rainbow of colors. I snapped these photos at my local store and it helped with what shade to order.
There were lots of videos on YouTube to help with installation instructions too. Here’s the one I watched. He has great tips on layout and all the other skills need to use this product. https://youtu.be/86ja1L7zjew
I laid out a grid on the sub-floor. I cut all the tiles and laid them out without adhesive. They cut very easily. Just use a straight edge and a utility knife to score the tile, then snap it.
You can see the grid I laid out for my tile placement
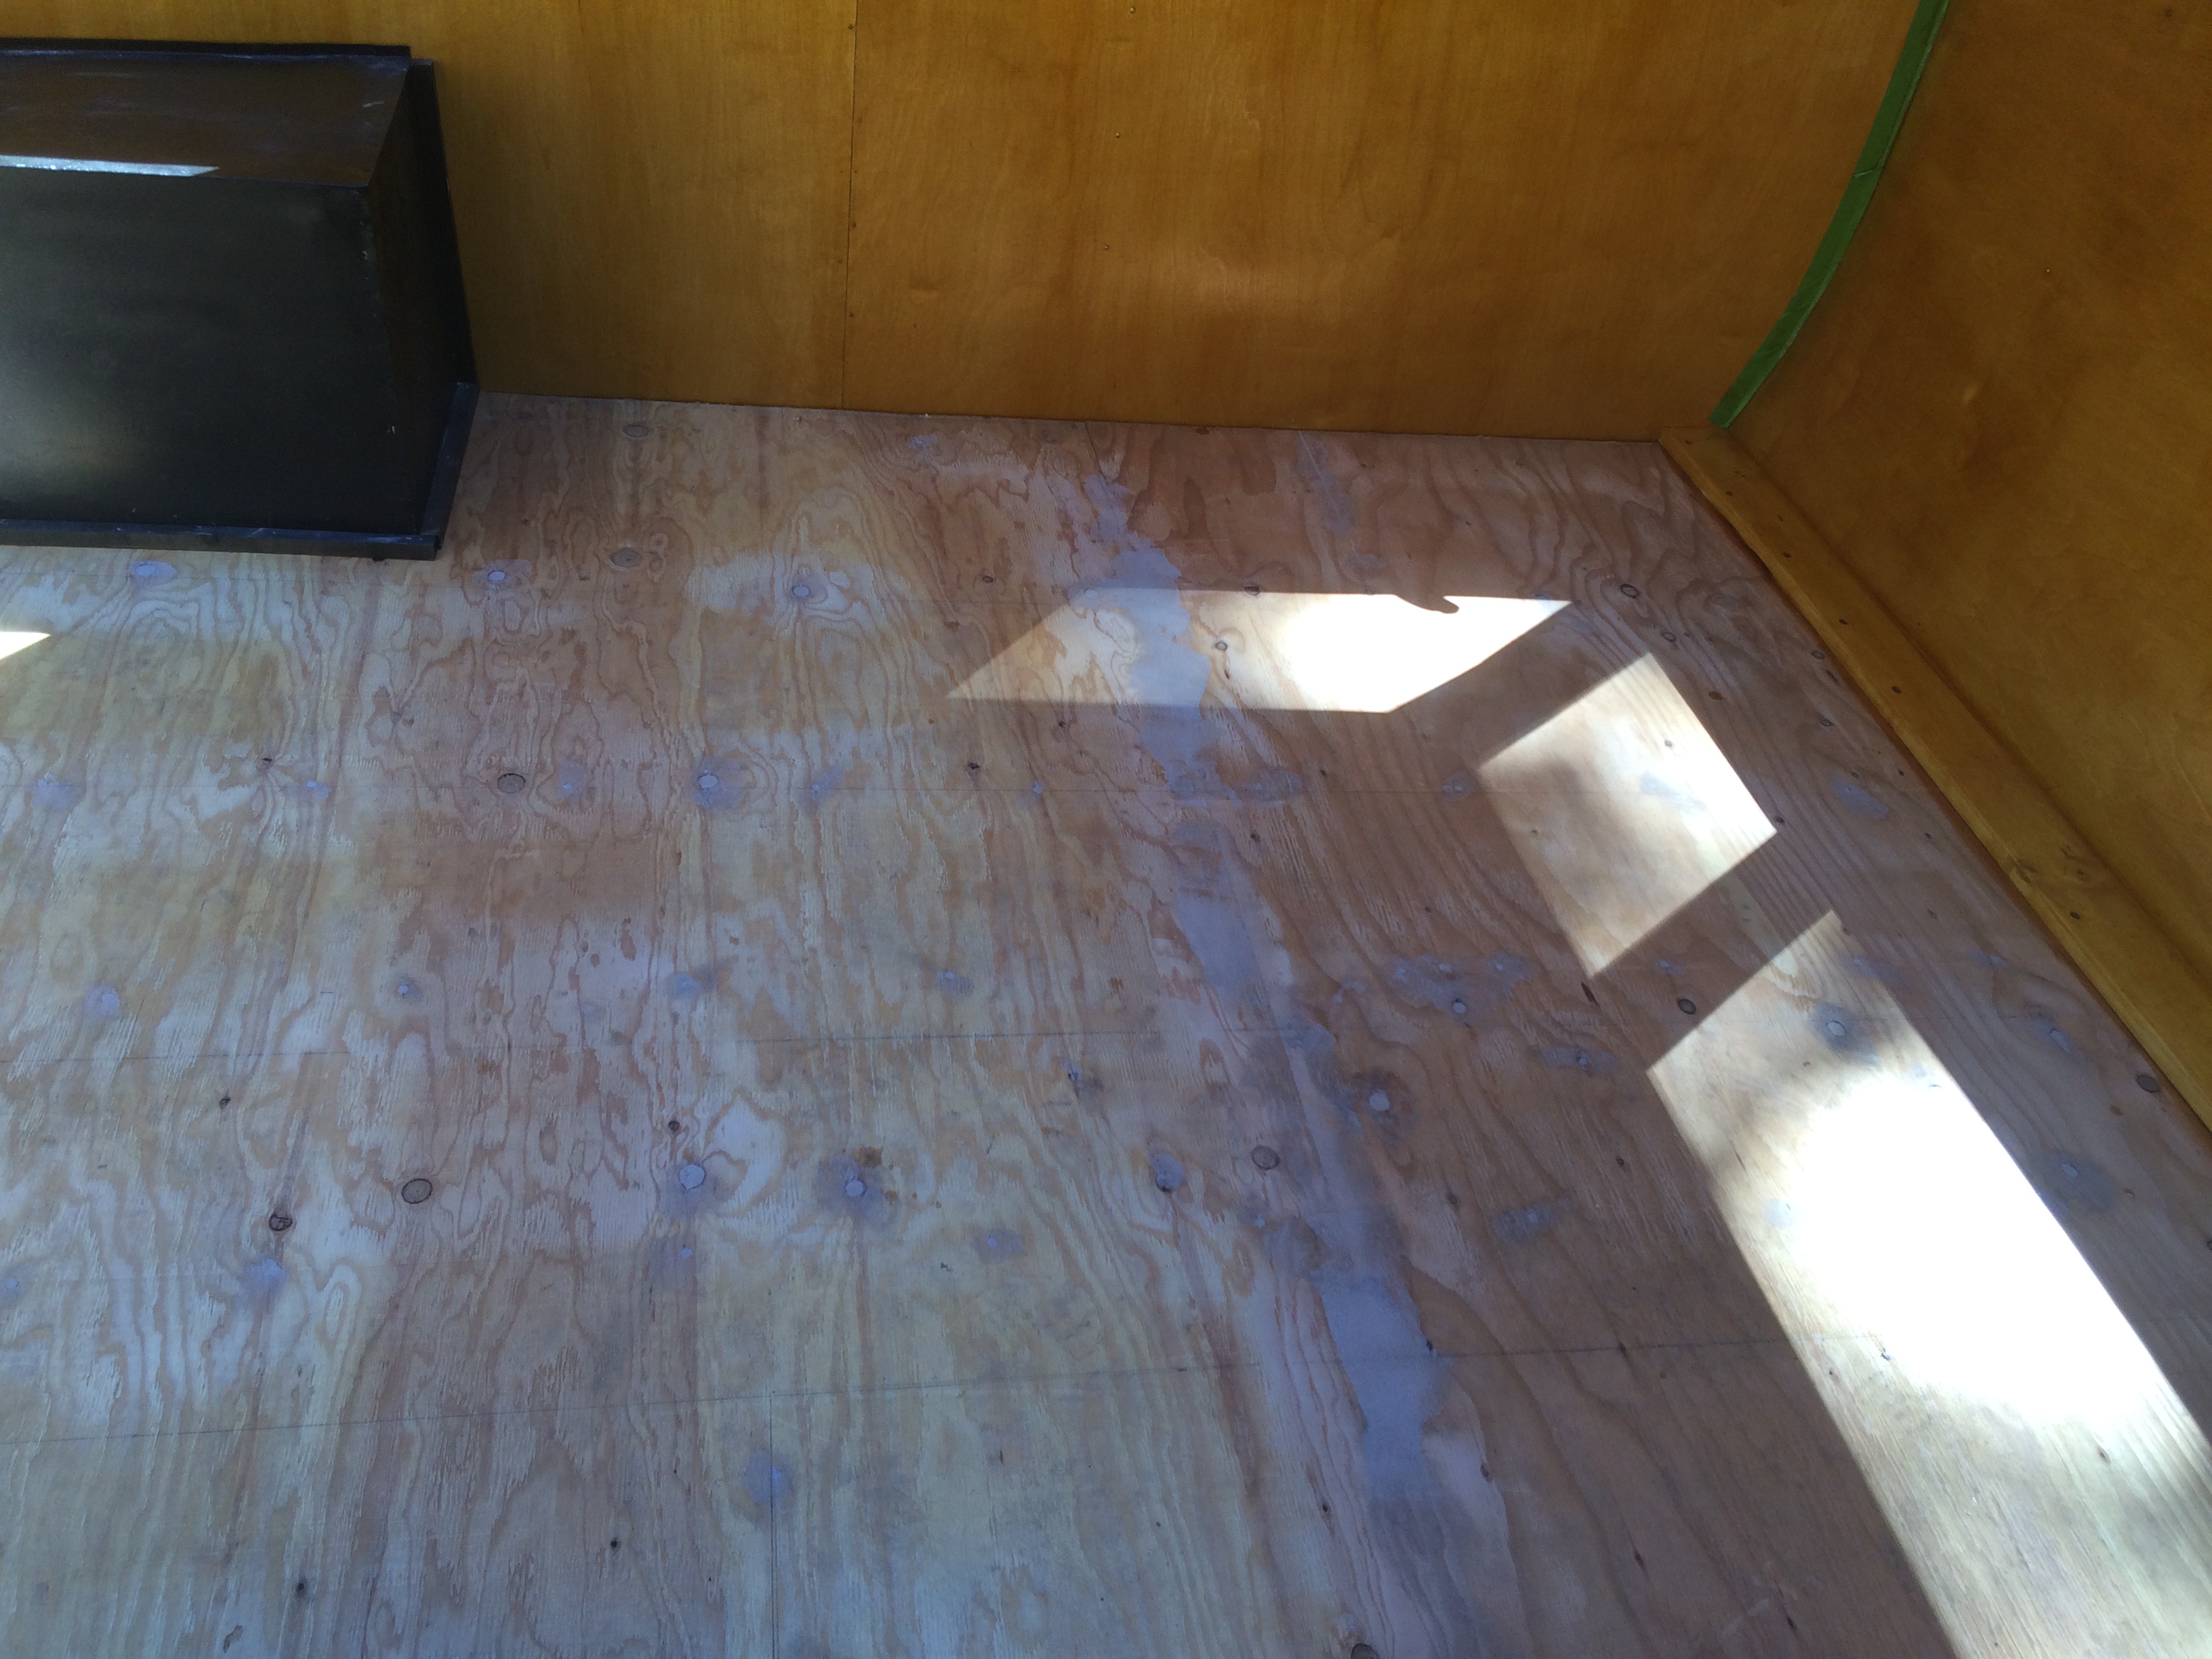
tile placement grid
Then the adhesive is applied. I worked in sections. It has to set up and become tacky before you lay the tile. It is spread on with a small-notched trowel. When the product turns clear you can set the tile. (Read all the information on your actual product for specific instructions.)
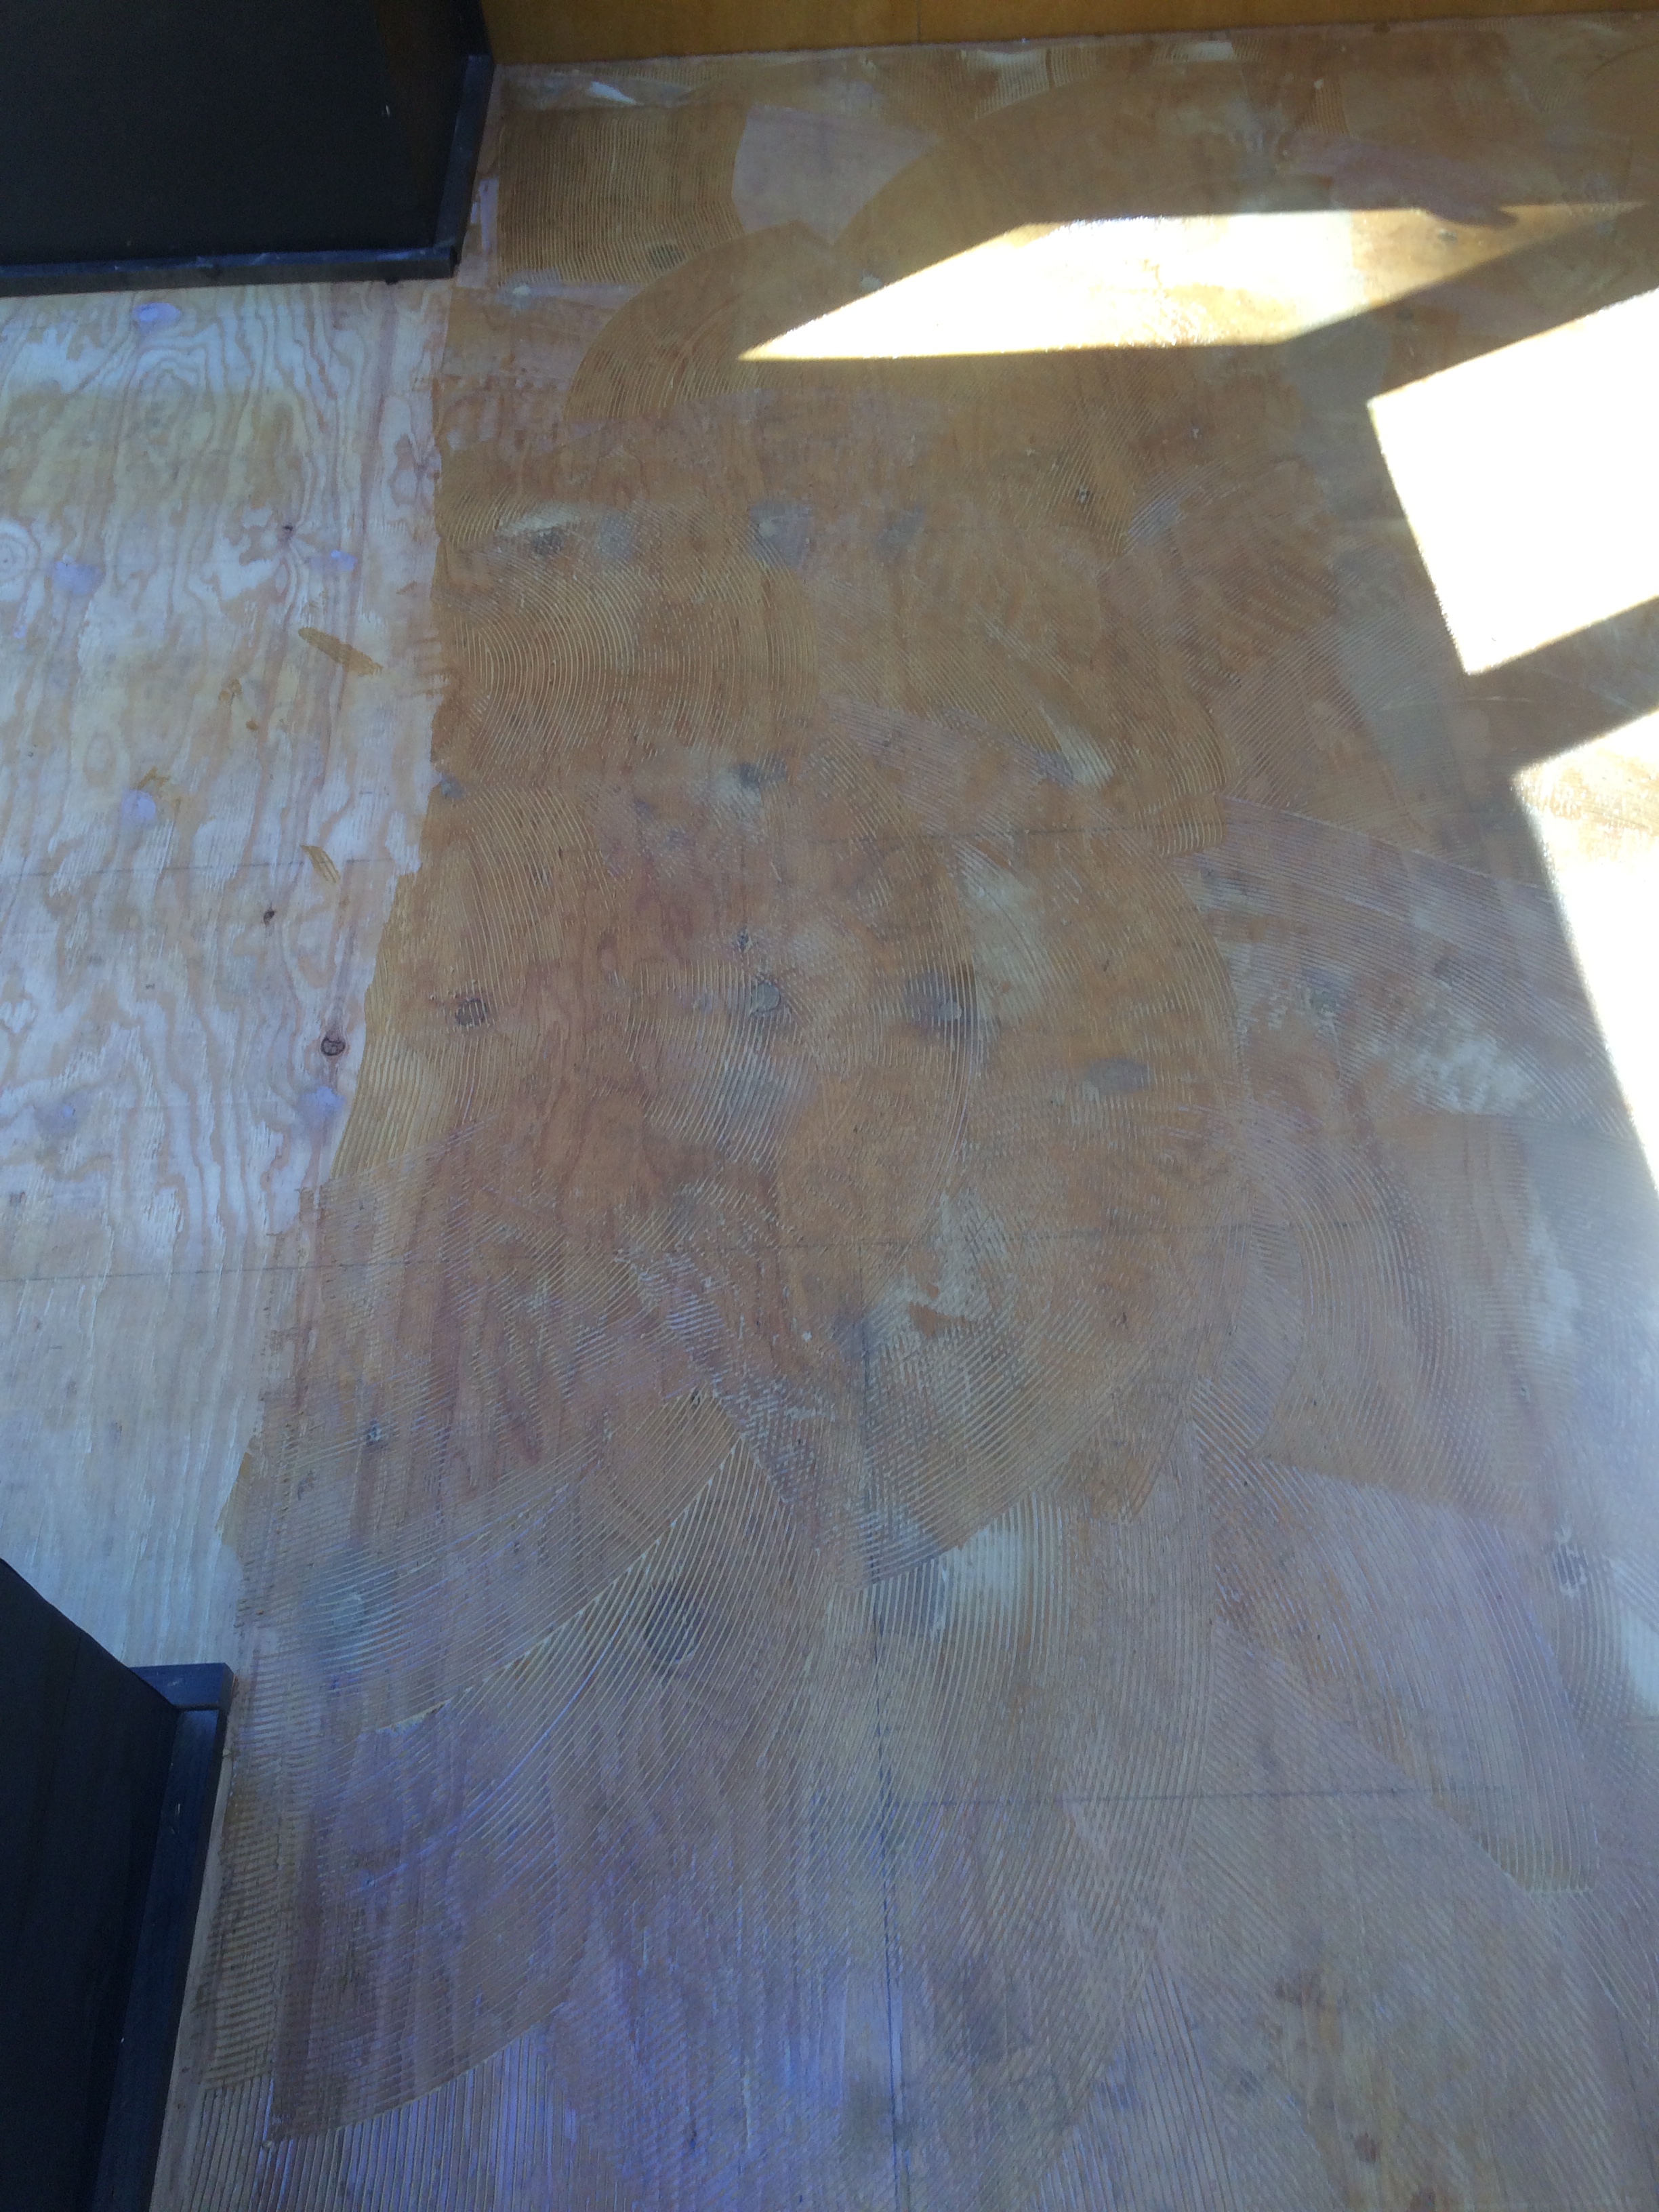
VCT tile adhesive setting up
Here's my first course.

I started at the door because I wanted a full tile there

The front half is done.
It's so pretty!
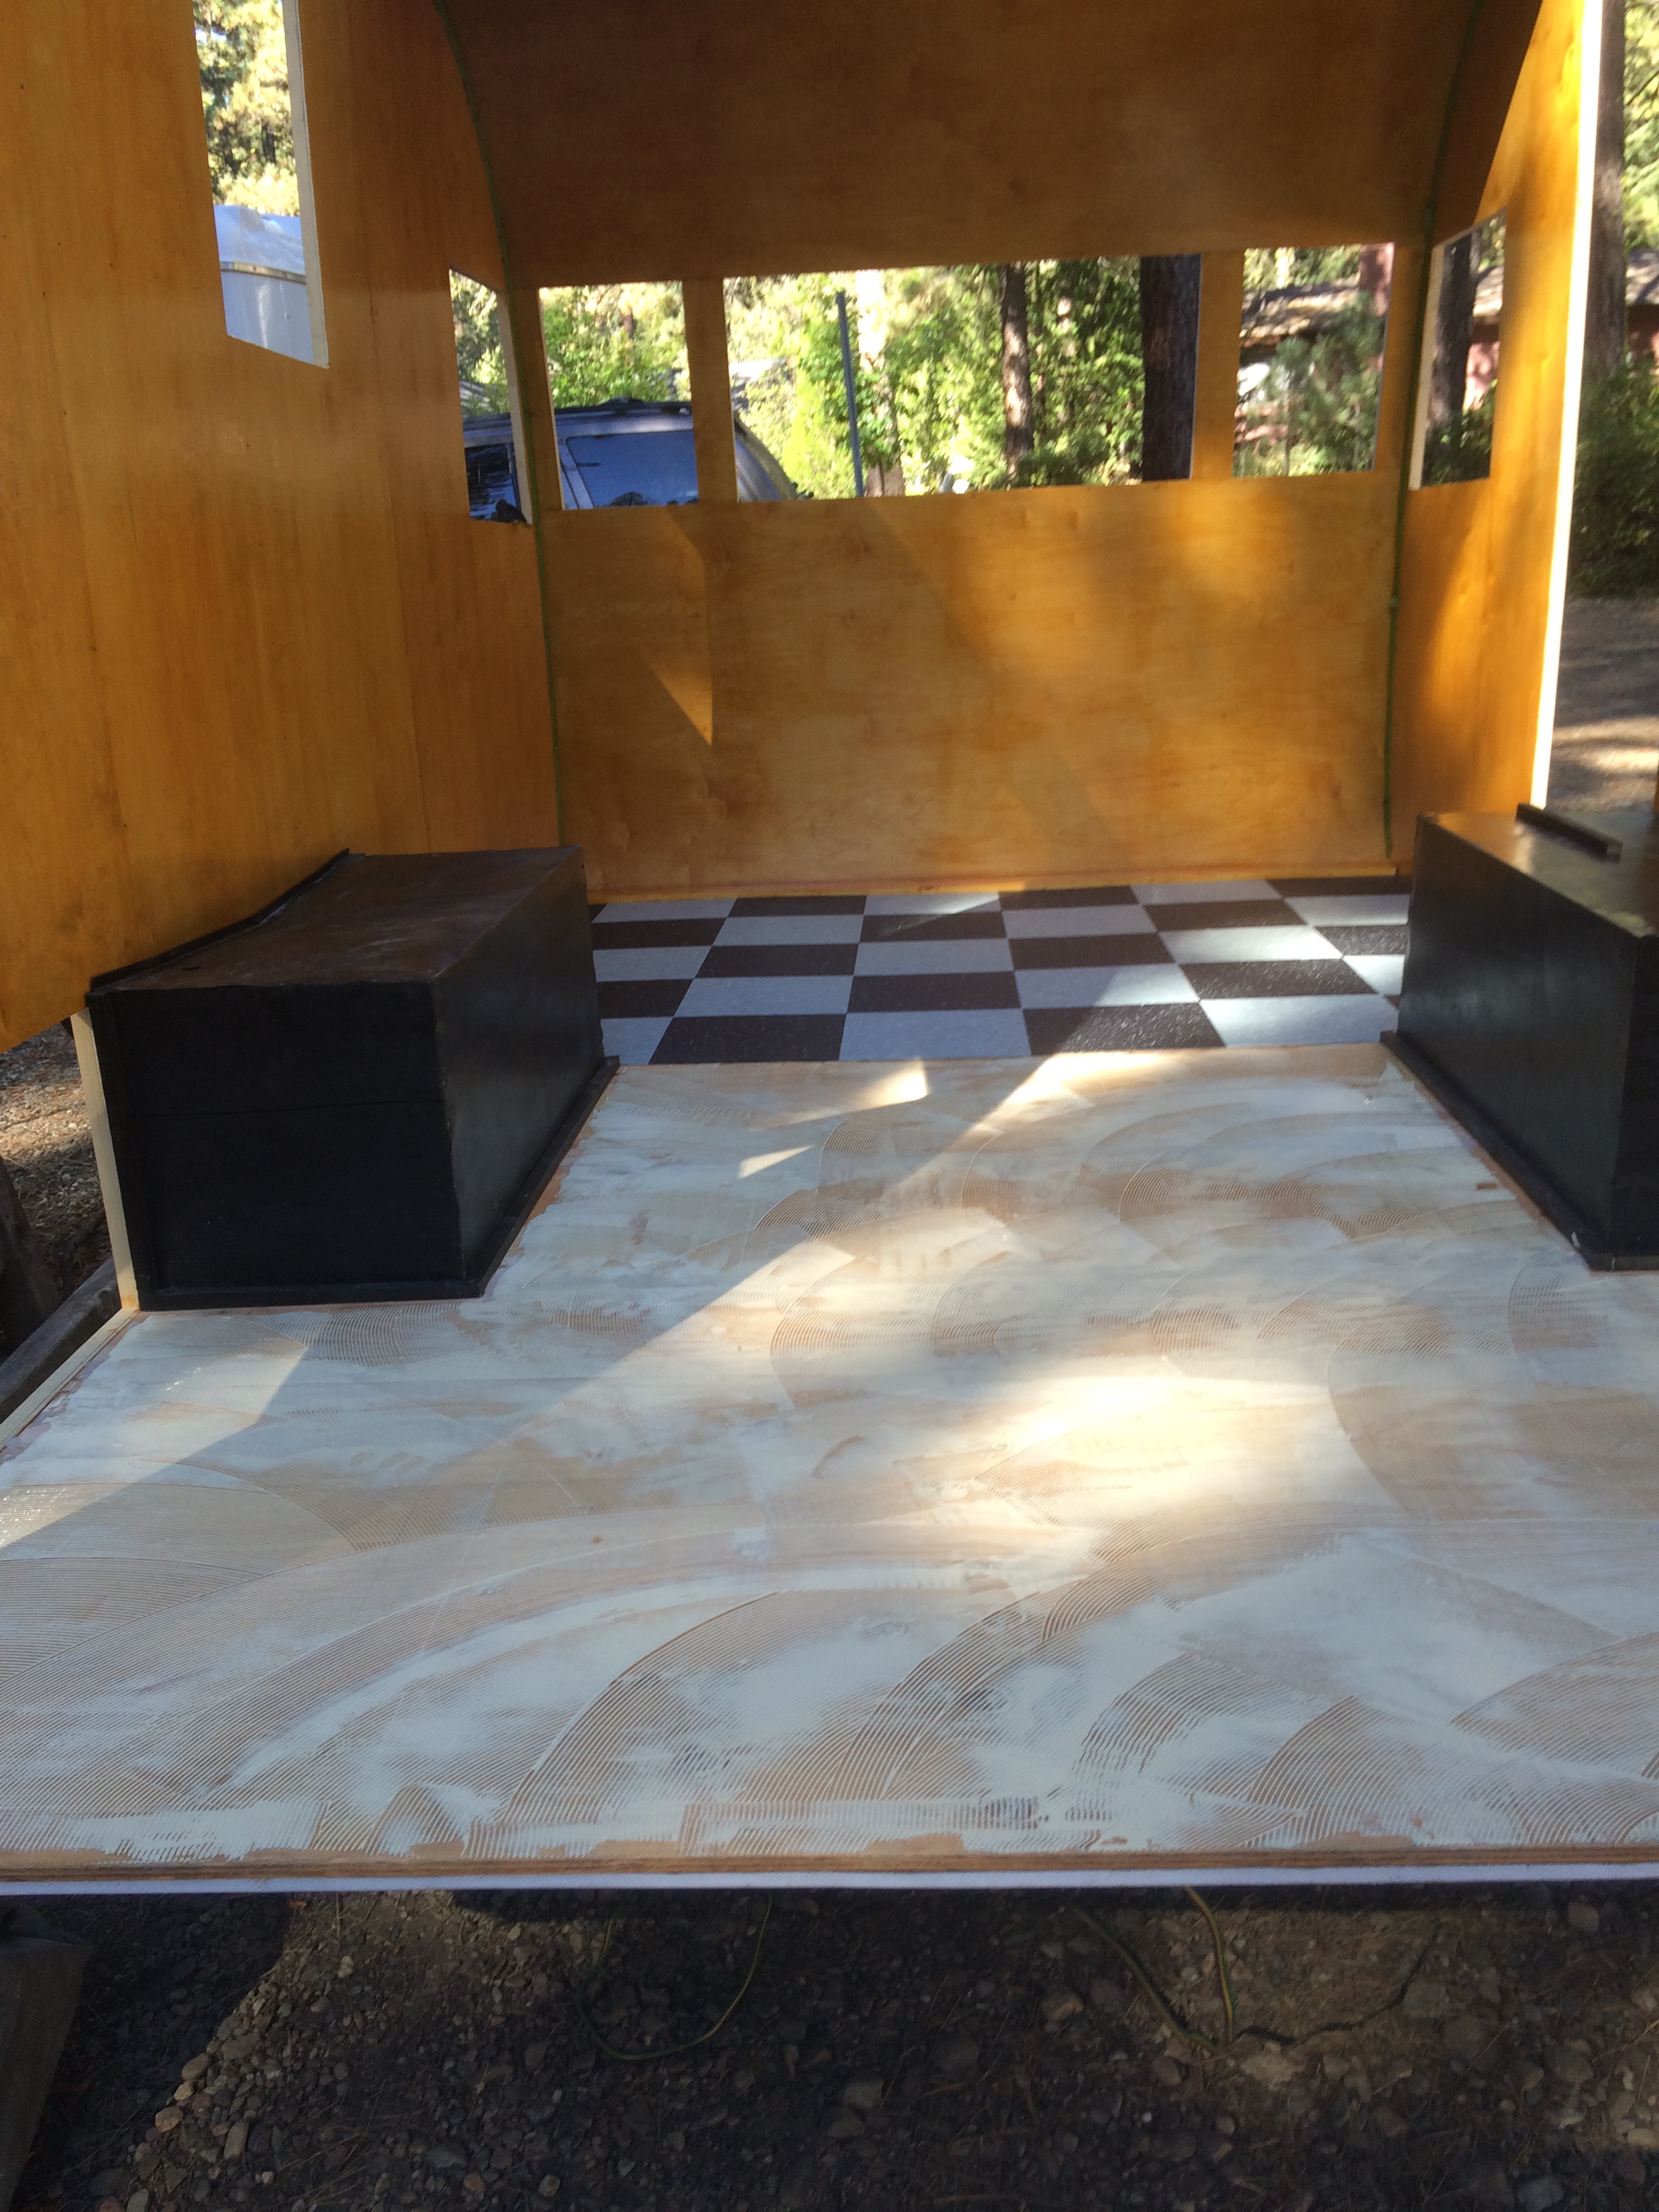
The back section has it adhesive applied. Now I'm waiting for it to turn clear.
All Done!

The install process was pretty easy and went very quickly. I guess I was nervous about it for nothing! Now I need to get the roof on. Something new to worry about I guess.
...AND I have to protect the floor while I complete the rest of the project.

Related Posts
Related Posts
Copy of Retro Epoxy Counter Top

For the 1954 Airlight 1954 Airlight Bar Trailer Isn’t she…
Retro Epoxy Counter Top
For the 1954 Airlight 1954 Airlight Bar Trailer Isn’t she…
Flamingo Santa Hat DIY

I know my kids will think I’ve absolutely lost my…
Vintage Light Restoration

This is my favorite part of my work shop communication…
How to Wire Your Vintage Camper

Vintage Camper Restoration DIY Did you know that there are…