Flamingo Santa Hat DIY

I know my kids will think I've absolutely lost my mind with this post.  LOL.  Oh well!

I've been preparing for a Christmas photoshoot with the '55 Airlight trailer and thought the pink flamingos didn't quite look festive enough.

In just a few minutes I created these little hats with NO SEWING.

image_50377985

Here's what you'll need.

  • 5 in x 6 in scrap of red fabric. (You can use anything; felt, velvet, or even an old t-shirt)
  • 1 in x 6 in piece of white fabric or fur
  • cotton ball
  • hot glue
IMG-9531

With the fabric facing right-side-up, run a little bead of hot glue on the 5 inch side of the square.


IMG-9561

Press down with your fingers and let dry.

This should form a tube.


IMG-9563

Turn the tube right-side- out.

Run a bead of glue along one free edge and place the fur down.

Gather the top of the hat and add a drop of glue between the folds.

IMG-9564
IMG-9565

Now just add the cotton ball to the gathered end and you're done!

image_50365953

Tip:  I used a drop of hot glue to keep the hat on the flamingo. The glue will peel off and not damage the flamingo for summer use.

Thanks for visiting.

kiss and signature
DIY wire Christmas wreath

How to Make a Real Wreath

My family and I are lucky enough to live in a very beautiful place.  Our home, in the middle of the Plumas National Forest, is scenic and full of wonderful things to do all year long.

One of my daughter’s favorite things to do at Christmas time is to cut a real tree.  Although she is in college, she made me promise to wait for her to return home so she could be a part of this family tradition. We all get bundled up and pull on our snow boots.  This year there was just a couple of inches of snow but the temp was about 37 degrees outside. Brrrrr.

We fill the thermos with cocoa and pack snacks for the outing and the hunt is on. This year I decided to bring along some wreath-making supplies and kill two birds with one stone.  While the family was searching for the perfect tree, I set up a little workbench on the tailgate of the truck and got to work making a wreath.

talegate wreath making

This is my kind of tailgating

Here’s what you’ll need to bring on your outing;

  • Wire coat hanger
  • Pruning clippers
  • Loppers or a small handsaw for larger branches
  • Spool of wire
  • Wire cutters

Start by cutting a few low hanging branches. I used a variety of pine, cedar, and manzanita for mine.

Tip: If you don’t have access to a national forest you can try asking your local tree farm or lot for the branches they trim off.

Form the wire hanger into a wreath shape.  I used a dry cleaner's hanger that had the cardboard tube on the bottom.  I removed it and crimped the two ends together.  I like that this wreath is a smaller size.  It makes the project go much faster and is the perfect size for a gift.


Next, I clip the branch tips into 8-inch lengths.

wreath, wire hanger

Cut greens

Take the wire and wrap it around the hanger at the top to anchor it.

Then bundle your greens together.  I layer pine, then cedar and finally a sprig of manzanita. Place this on your wireframe where you anchored the wire.

Wrap the bundle snugly three times.  Be careful not to pull too tight and break the wire.  (I’ve done that before.)

wreath, wire

wrap the bundle snugly around the wire ring.

Make your next bundle and place it about two inches from your last one. Wrap it snugly three times.

Keep doing this process and work your way around the wire frame.

wreath wire hanger

The last bundle can be a challenge.  Tuck it in close and wrap it so that you can’t tell where the last one ends and the first one began.  Give it a few extra wraps, cut the wire, and tuck in the loose end.

Now hold up your beautiful wreath and admire your work.  You can trim any greenery that is sticking out too long. If you have a sparse area, you can always tuck in and wire in a small bundle.

I add a bow to the top and this always helps hide the start/stop area.

I was able to make two wreaths before the fam came bounding back with the tree. It took about 15 minutes for each of them.

The girls are great models

The girls are great models

Now it’s time for cocoa and snacks, and of course a quick photo session.


wreath crown

"Let me straighten your crown!"


wreath crown

Silly Girls!

I just love how fresh the pine scent is.  My hands might get a little sappy but it’s worth it.  The truck smells amazing all the way home. My heart is full!

front door with wreath


I just love how it looks on my front door.  I finally feel ready for the holidays!

front door wit wreath


kiss and signature

Related Posts

Easy Lettering Technique That Doesn’t Take a Vinyl Cutter

Easy lettering technique

I see so many cute and clever wooden signs on Pinterest and when shopping at my favorite craft stores. I wanted to make some for my home and for gifts but didn't want to invest in a vinyl cutter.

If this sounds like you then this easy technique is the perfect answer. It's so easy that your kids can make them too.  My nieces and I had a blast making some together.

Niece Bryana and her sign

Here's what you need to create letting on almost any surface:

Computer with Microsoft office or other text editing software.

  • Printer paper
  • Chalk
  • Pencil
  • Tape
  • Craft paint
  • Craft paint brushes
  • Any wood project surface

Step-by-Step
1. Open up Microsoft Office and type in your text
2. Size your text and select your favorite font. (I use this website to find great free fonts. http://www.1001fonts.com/)
3. Print it out.

Tip: On large designs, I print each word or element on a separate piece of paper.

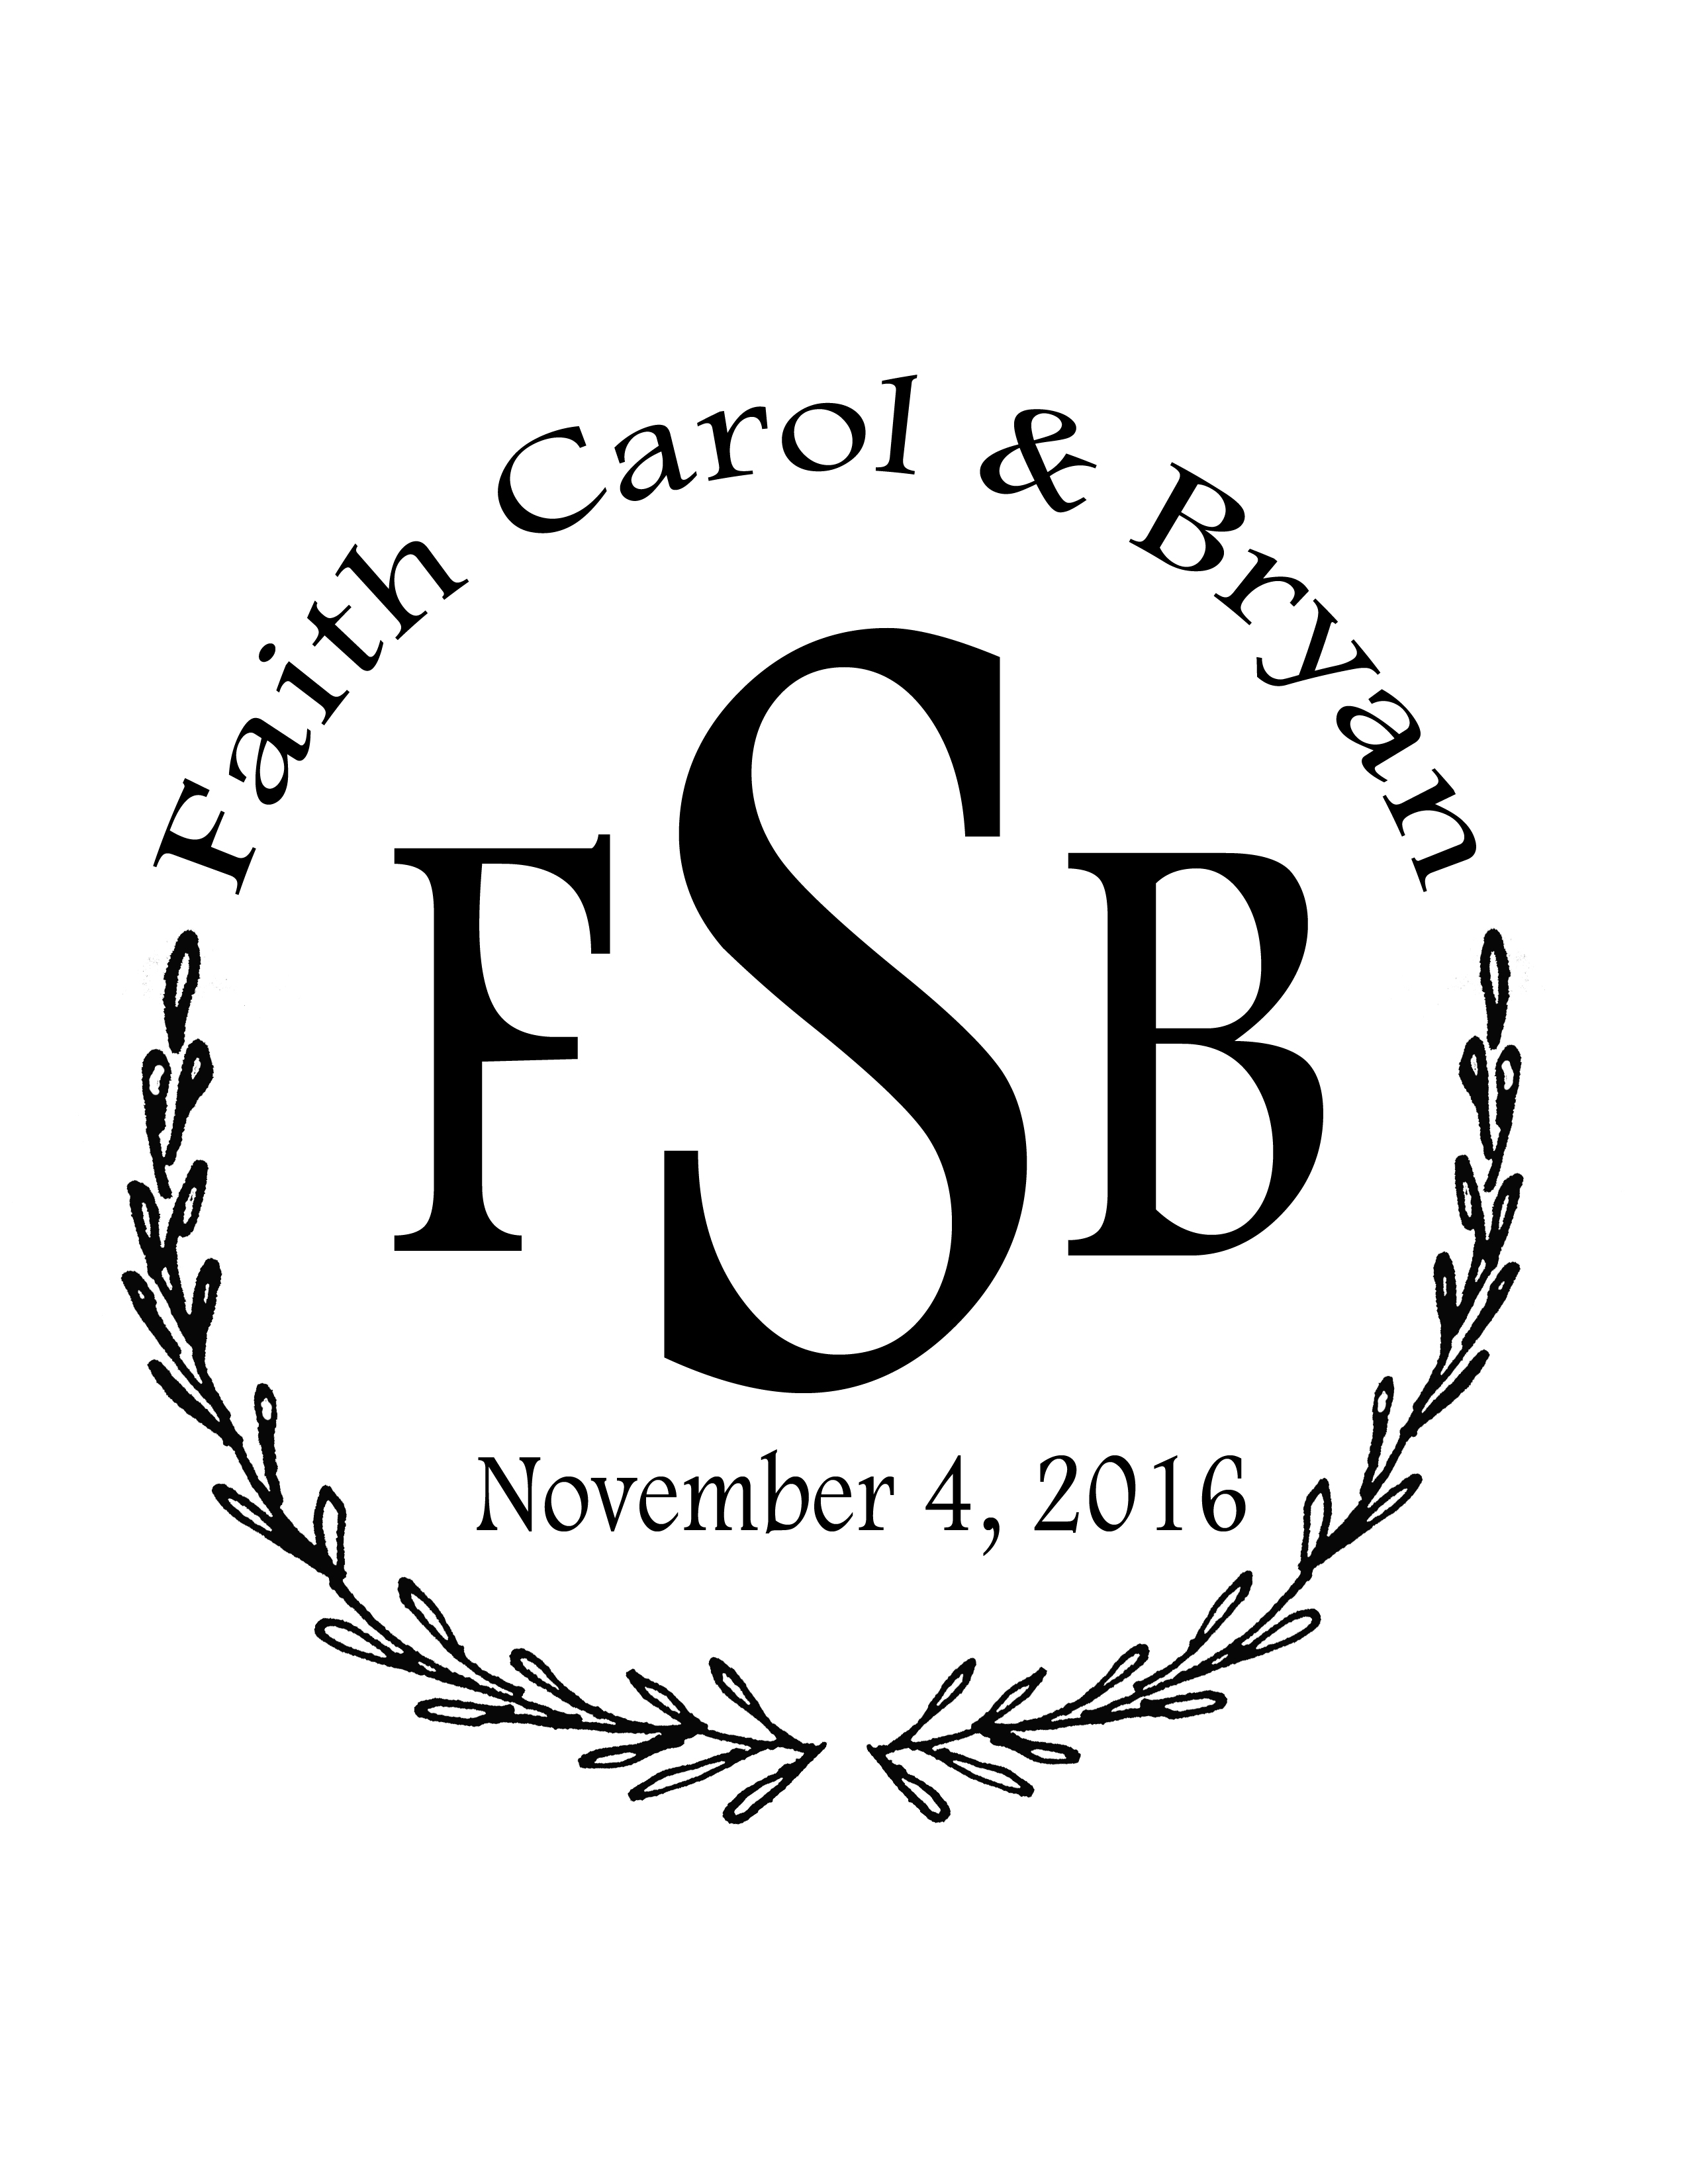
Monogram printed on white paper

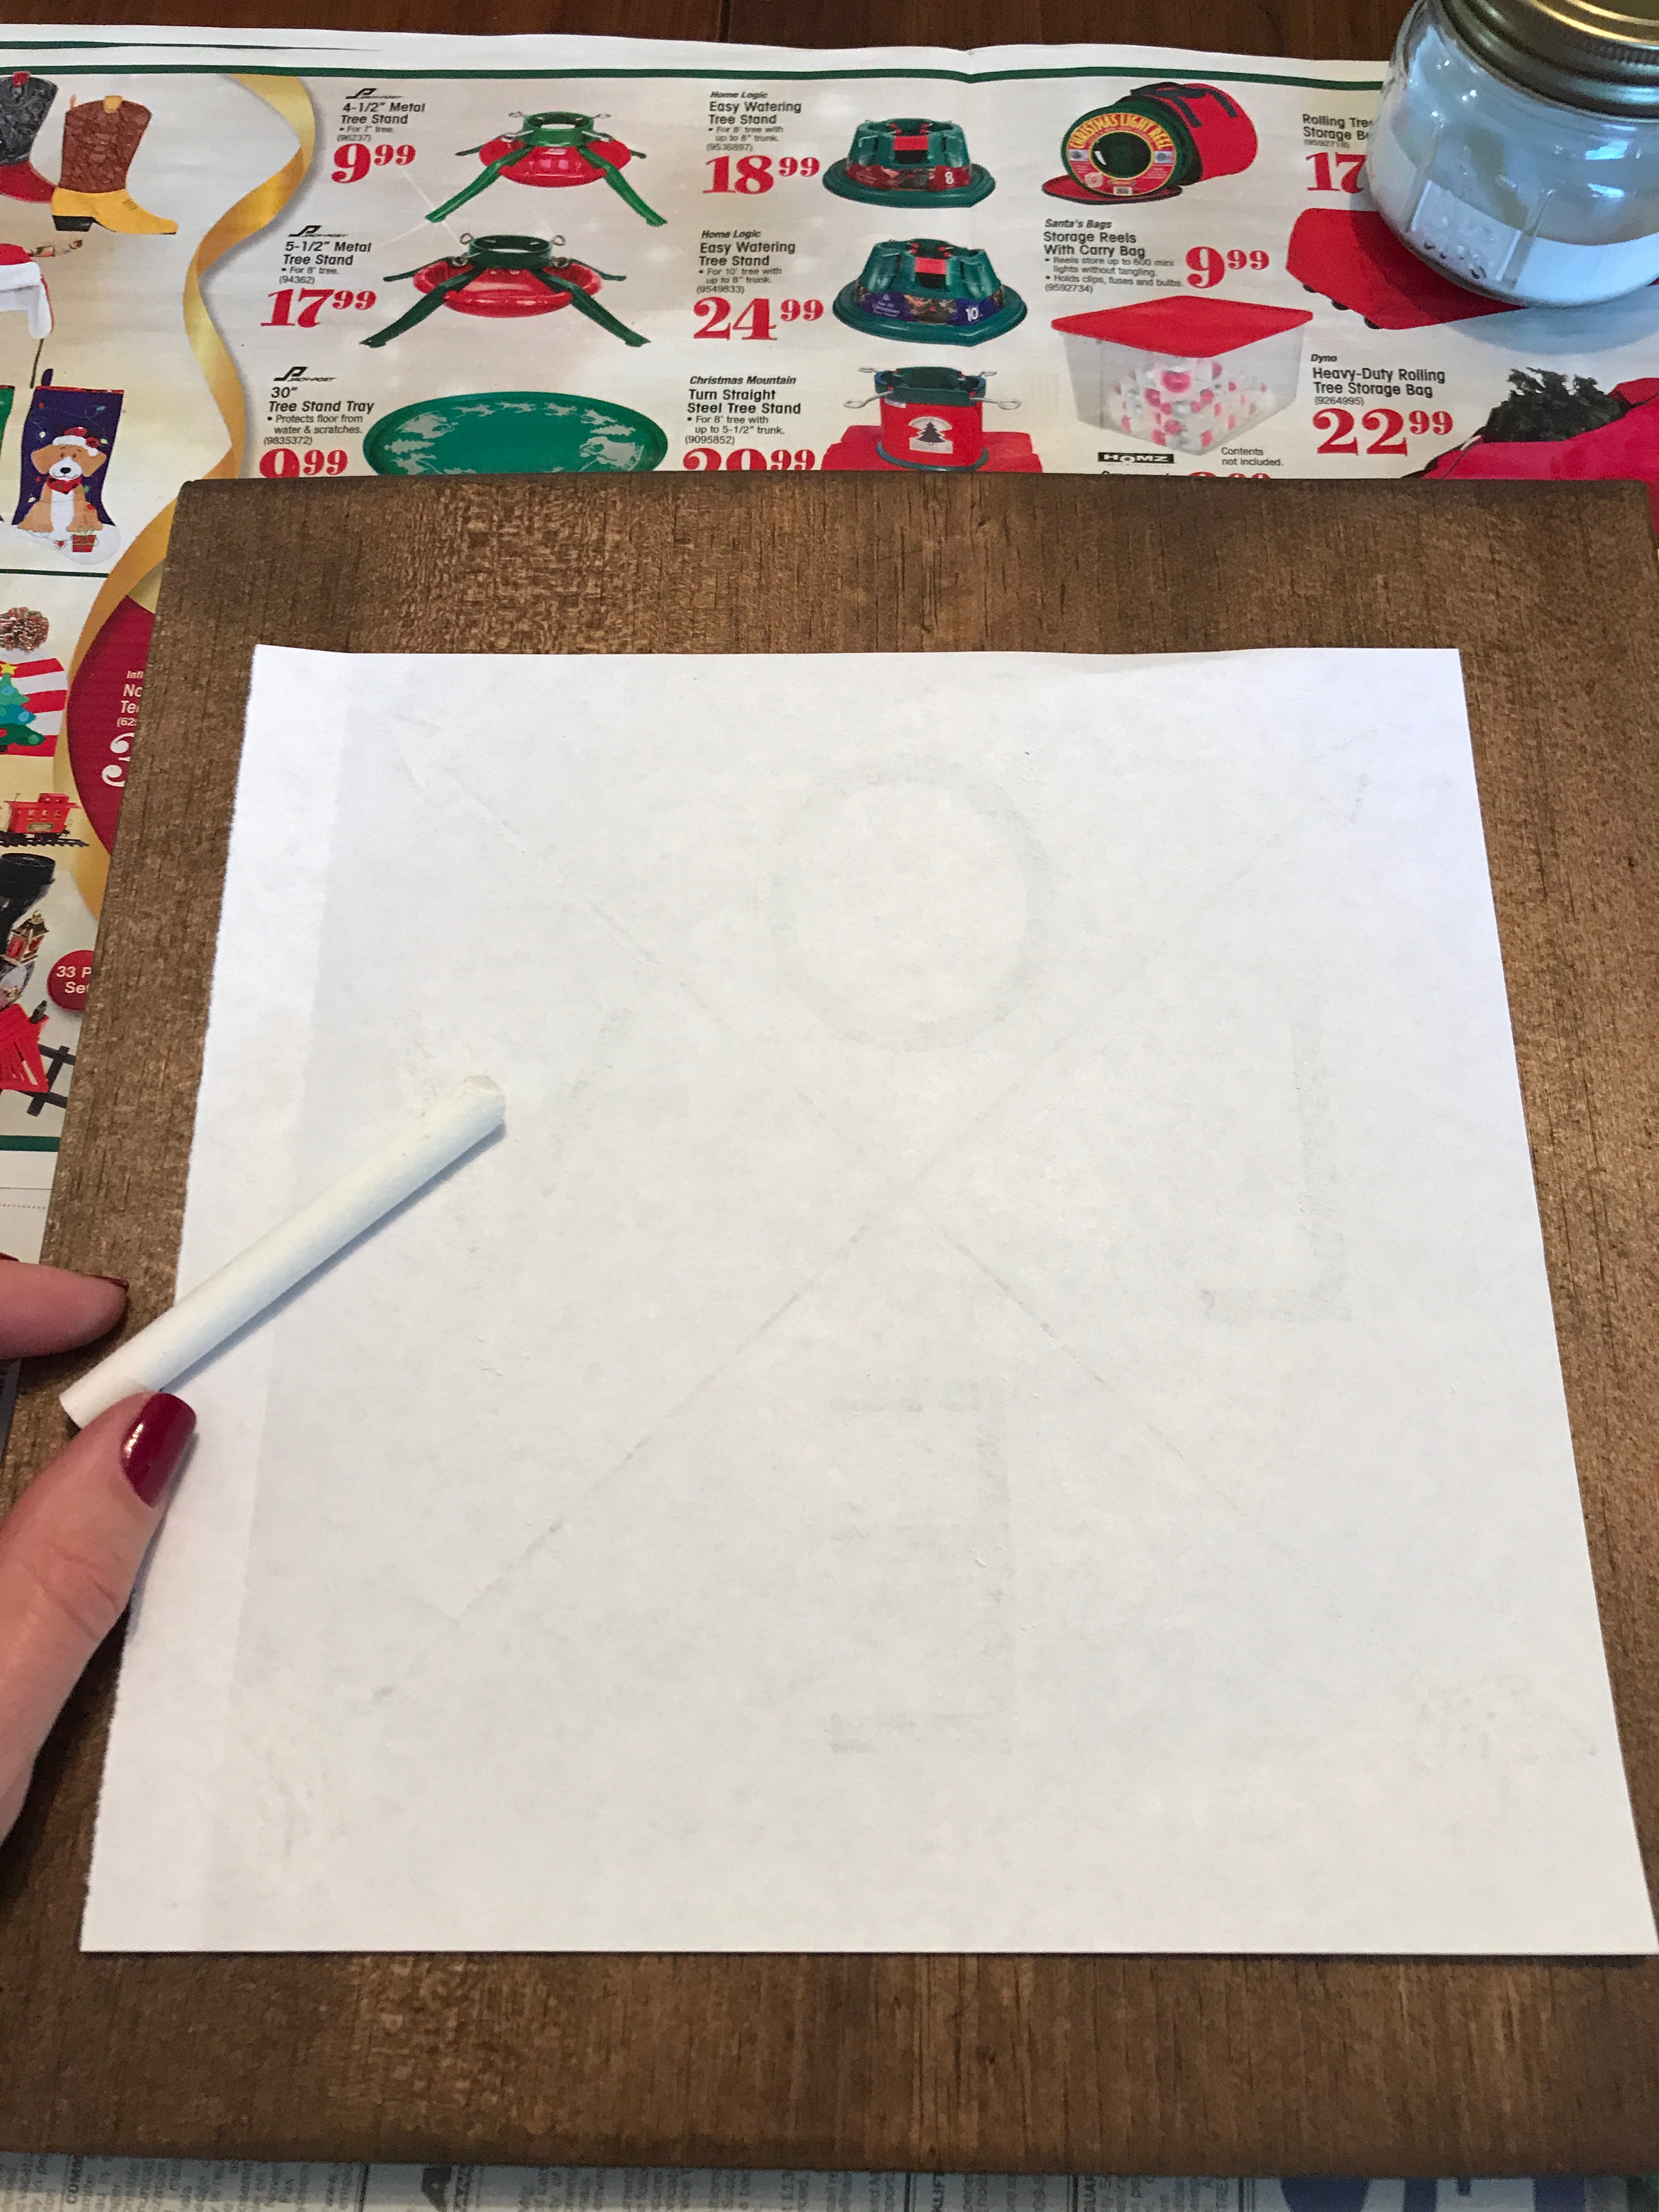
4. Rub chalk on the back of the paper that has your lettering printed on it. (You only have to put chalk where the letters are. It's not necessary to cover the entire paper.) Apply a lot of chalk so that it will transfer.


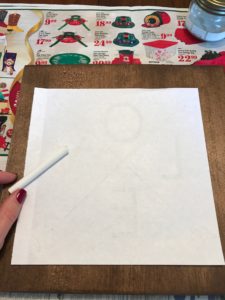
5. Place the paper (Chalk side down, Lettering side up) on your project surface and tape the corners in place.
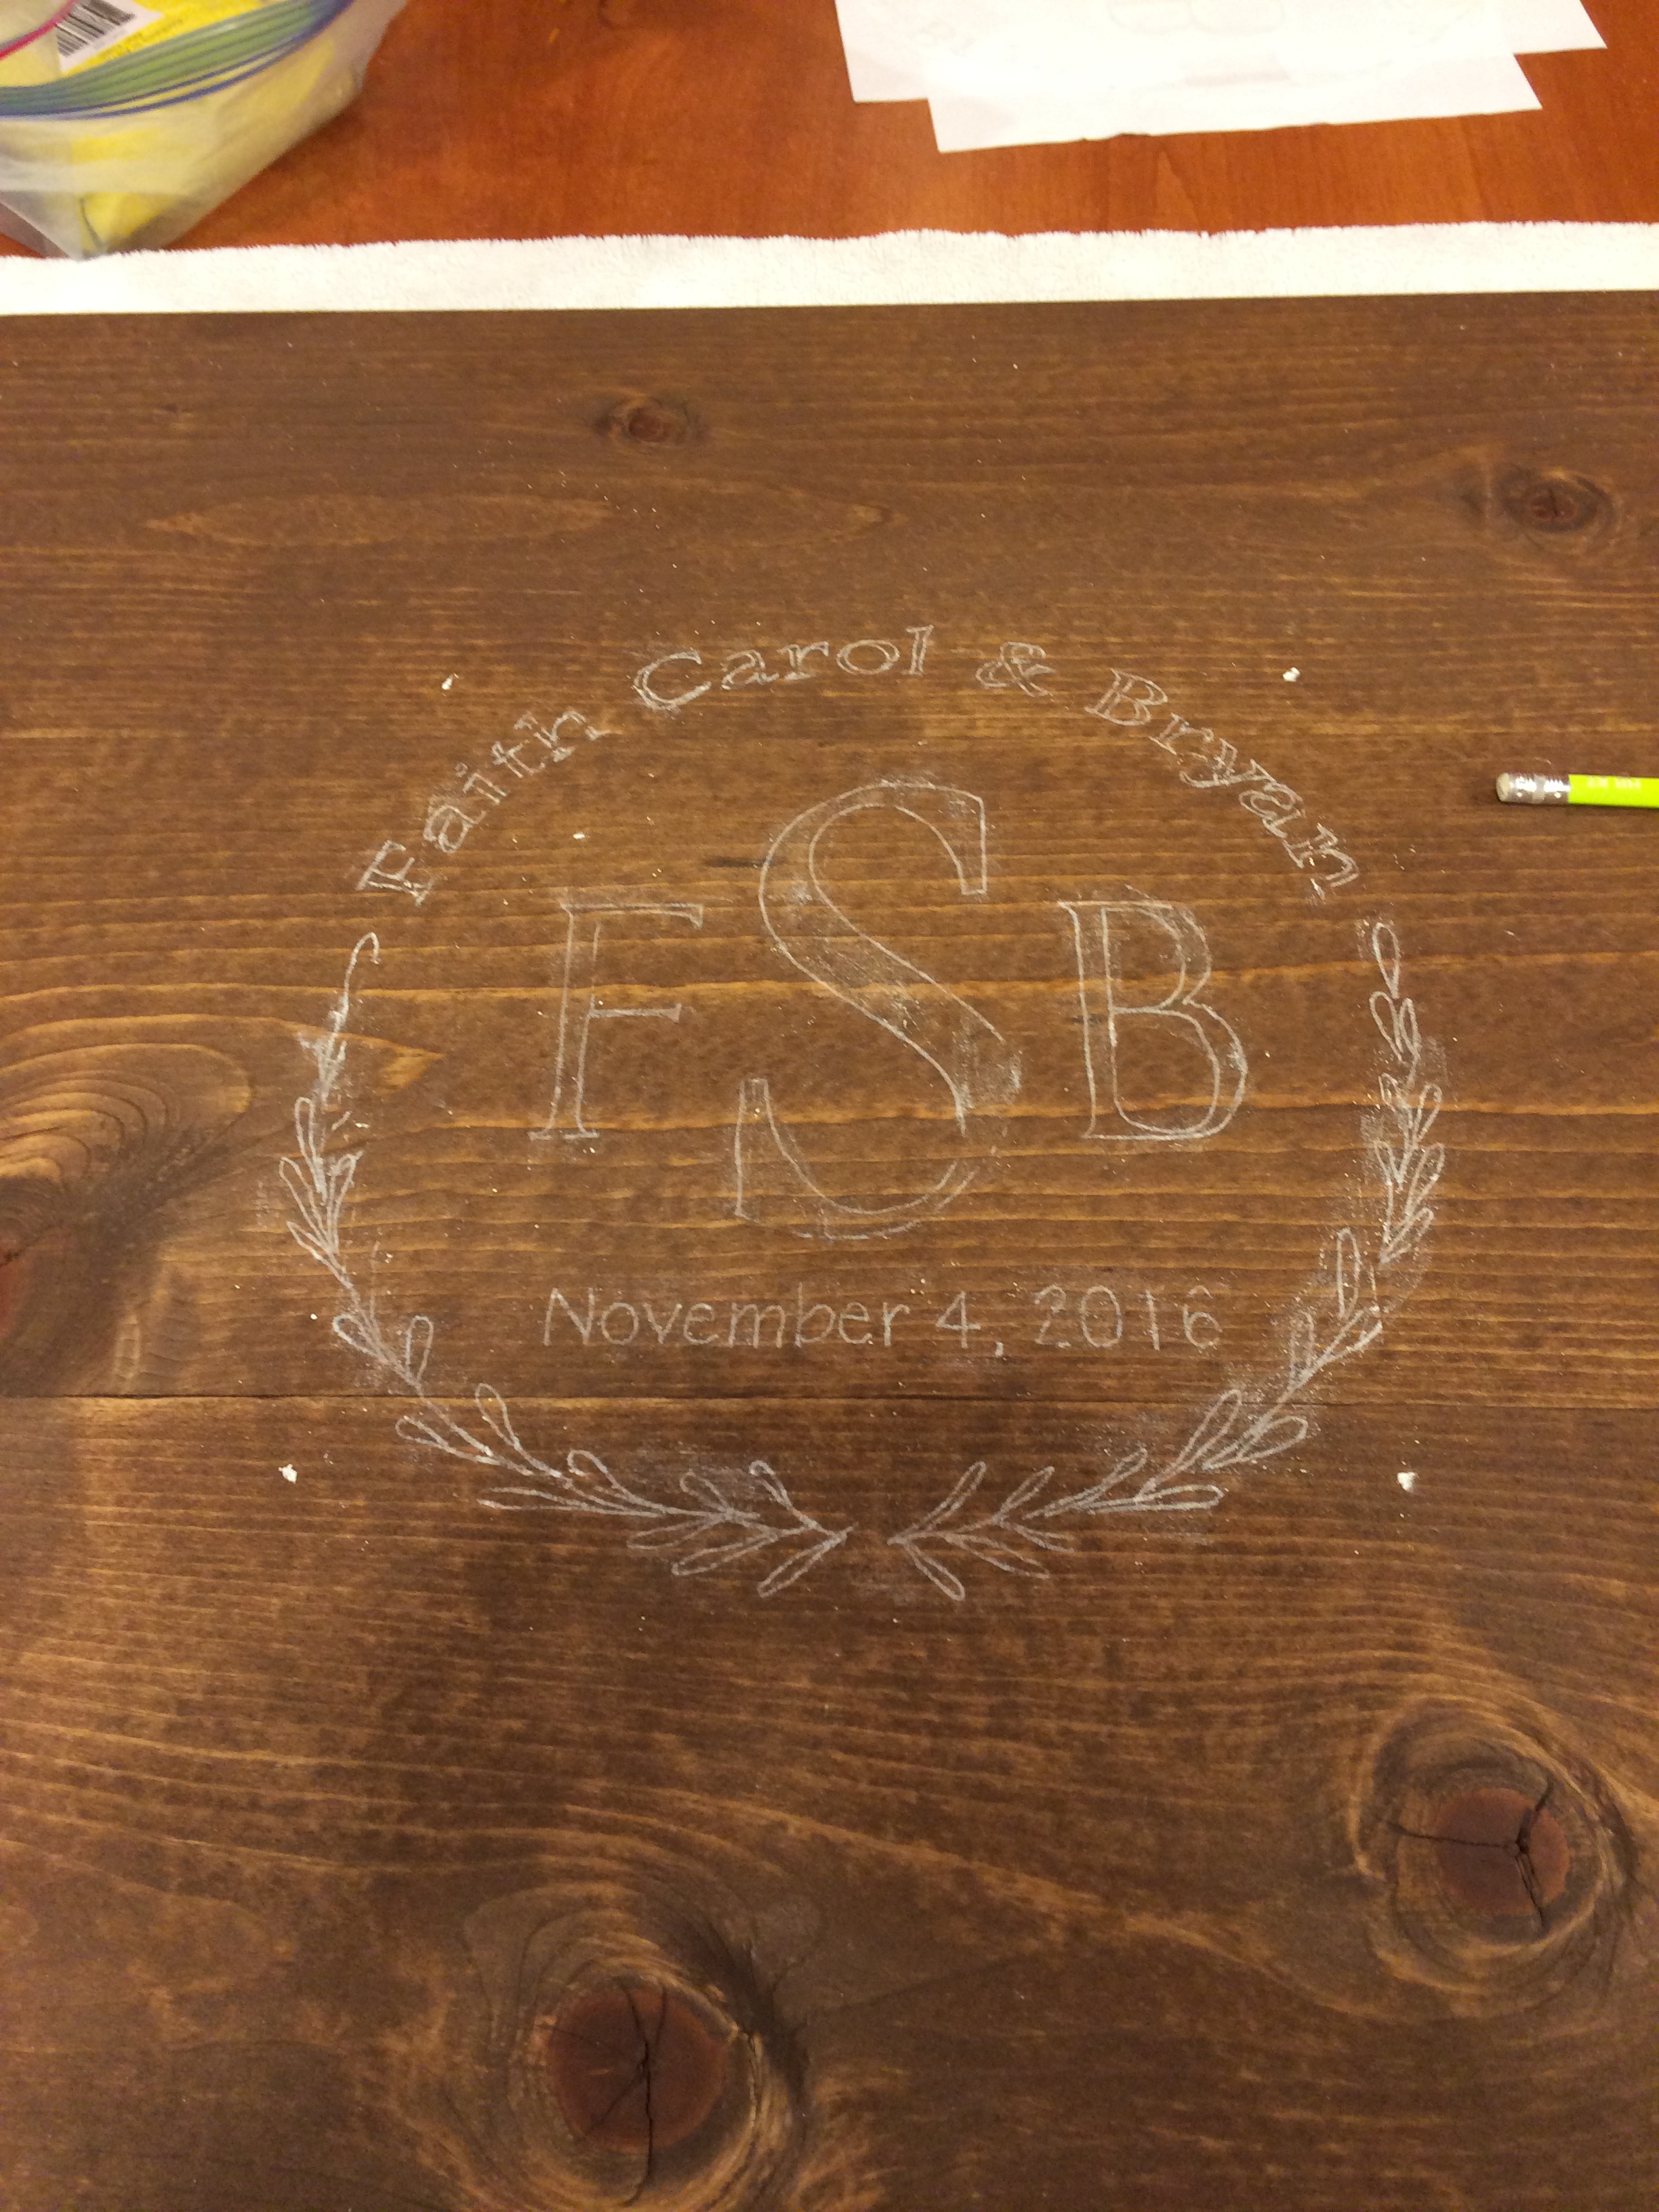
6. Trace the lettering with a pencil. Press hard enough to transfer the chalk to the project surface.
7. Carefully remove the paper to reveal the chalk lettering. Check to make sure you can see all the lettering clearly.


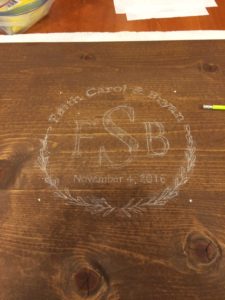
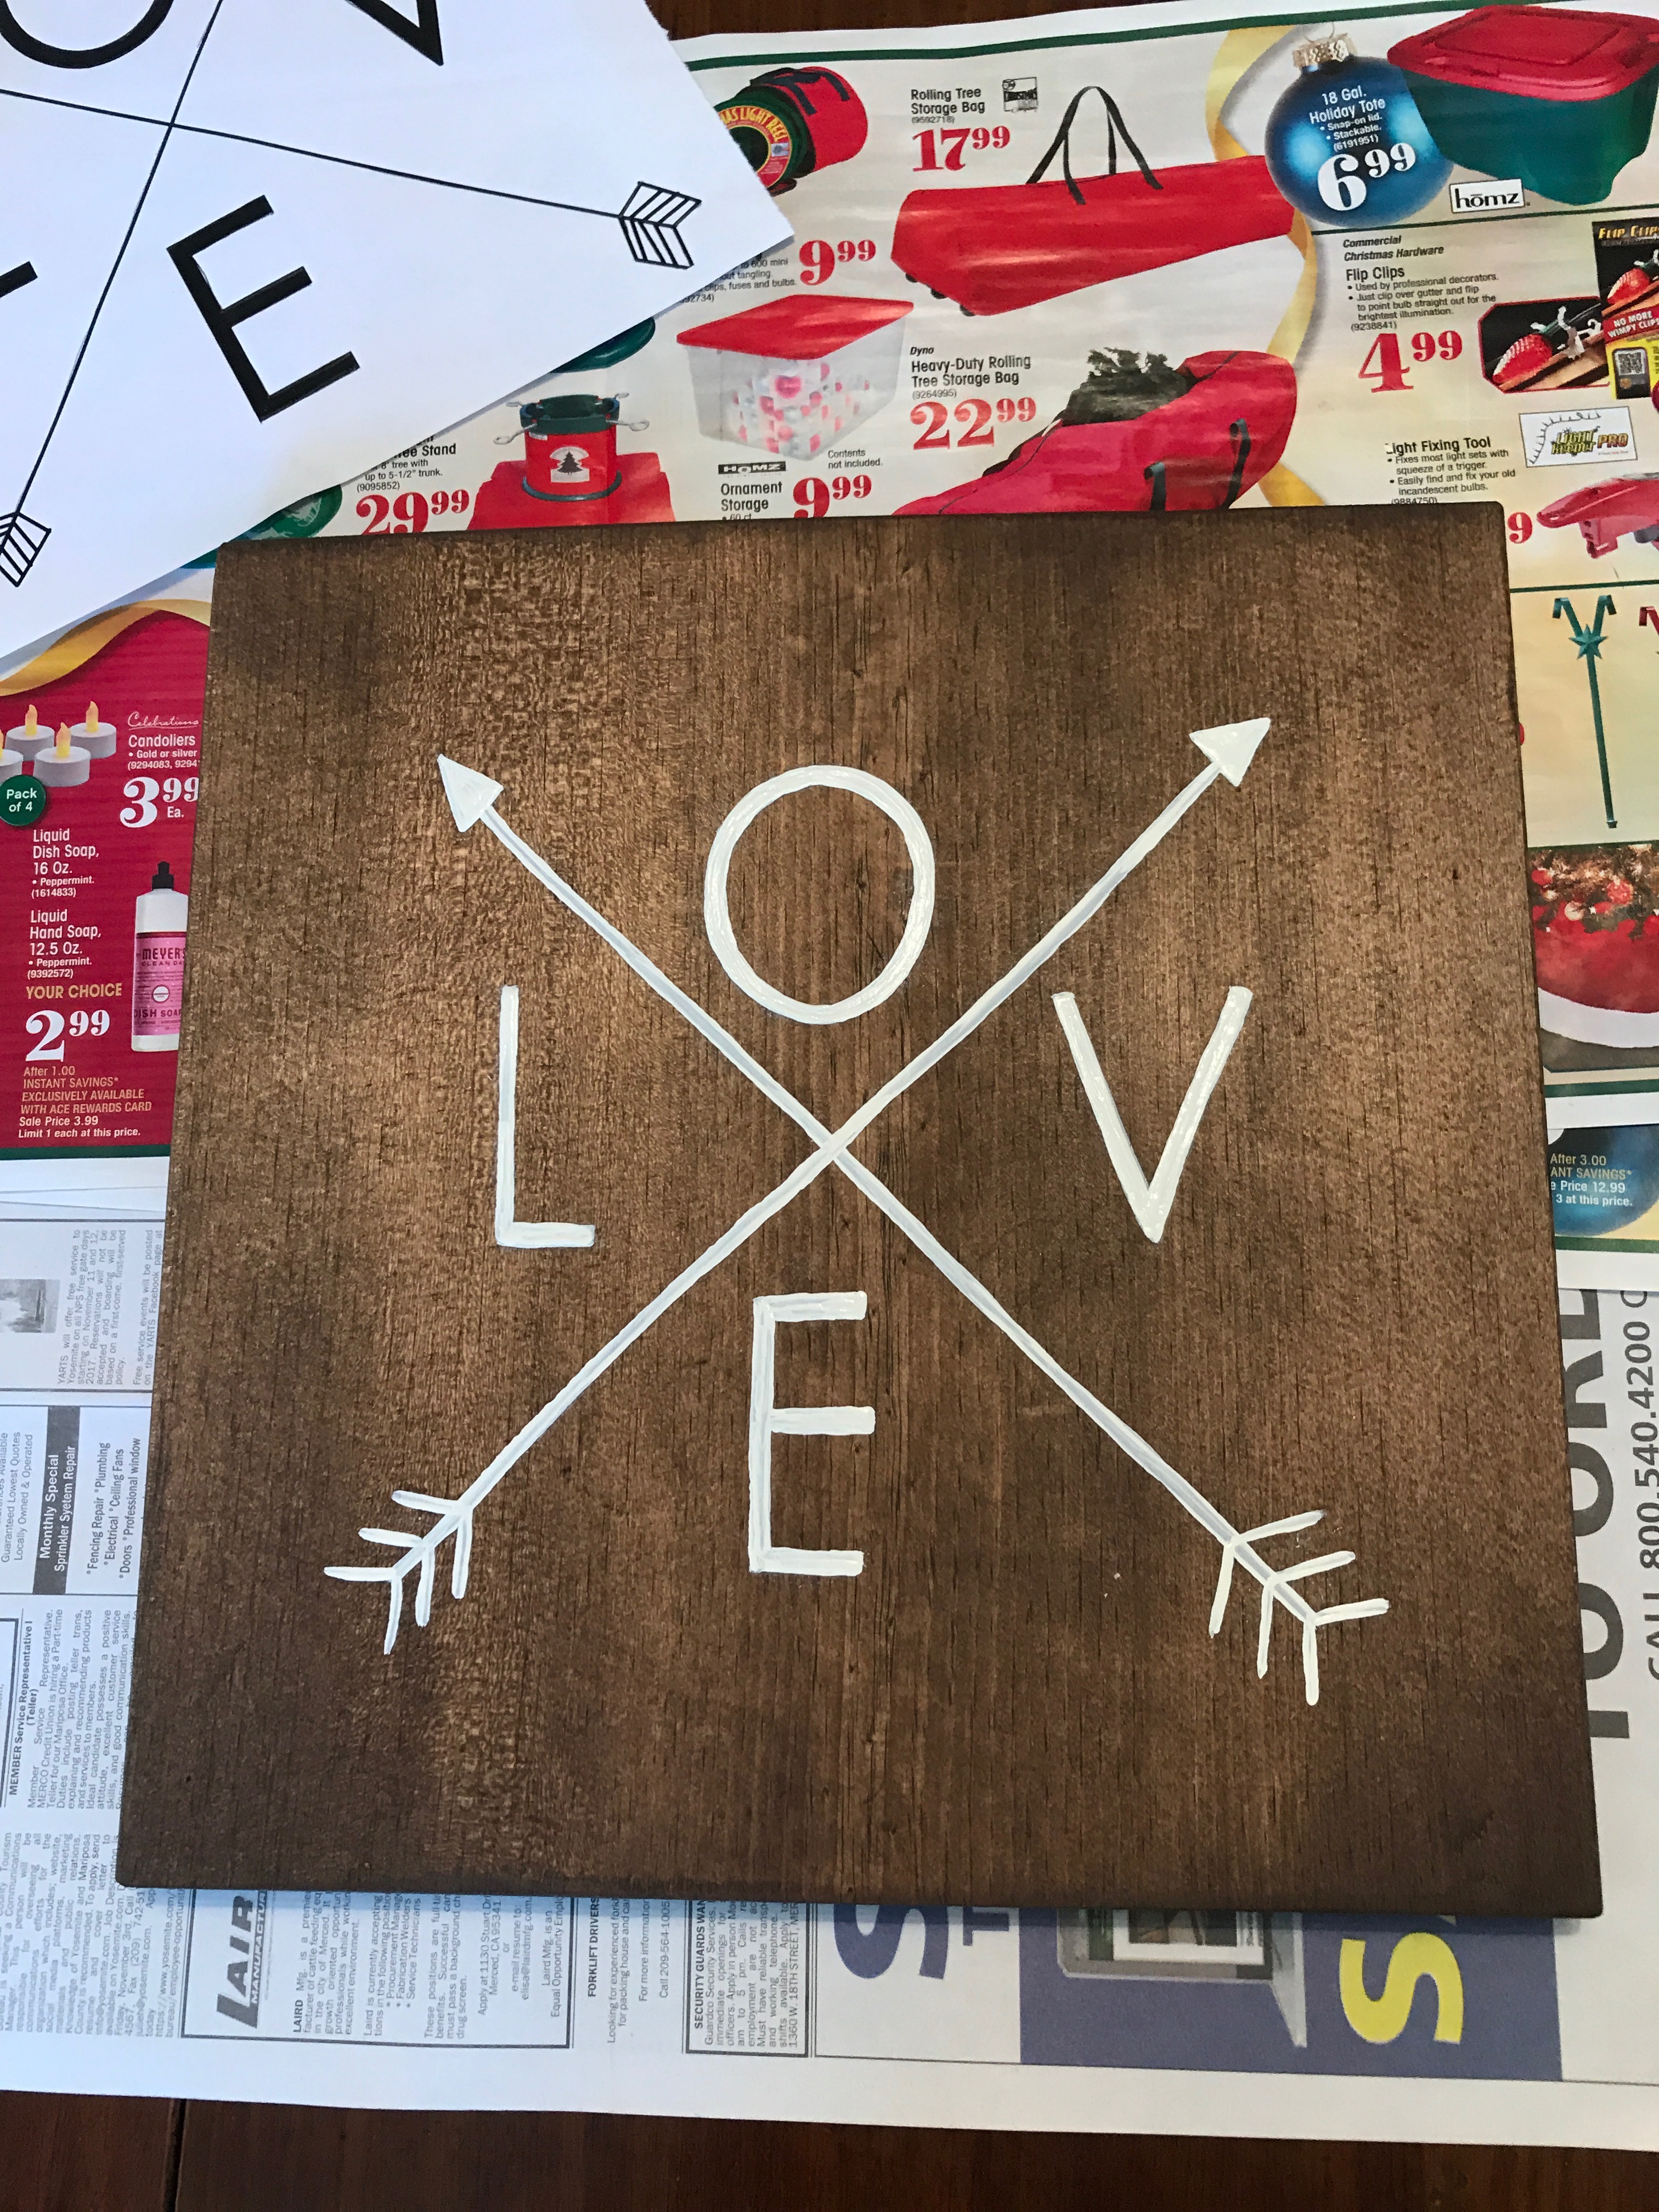
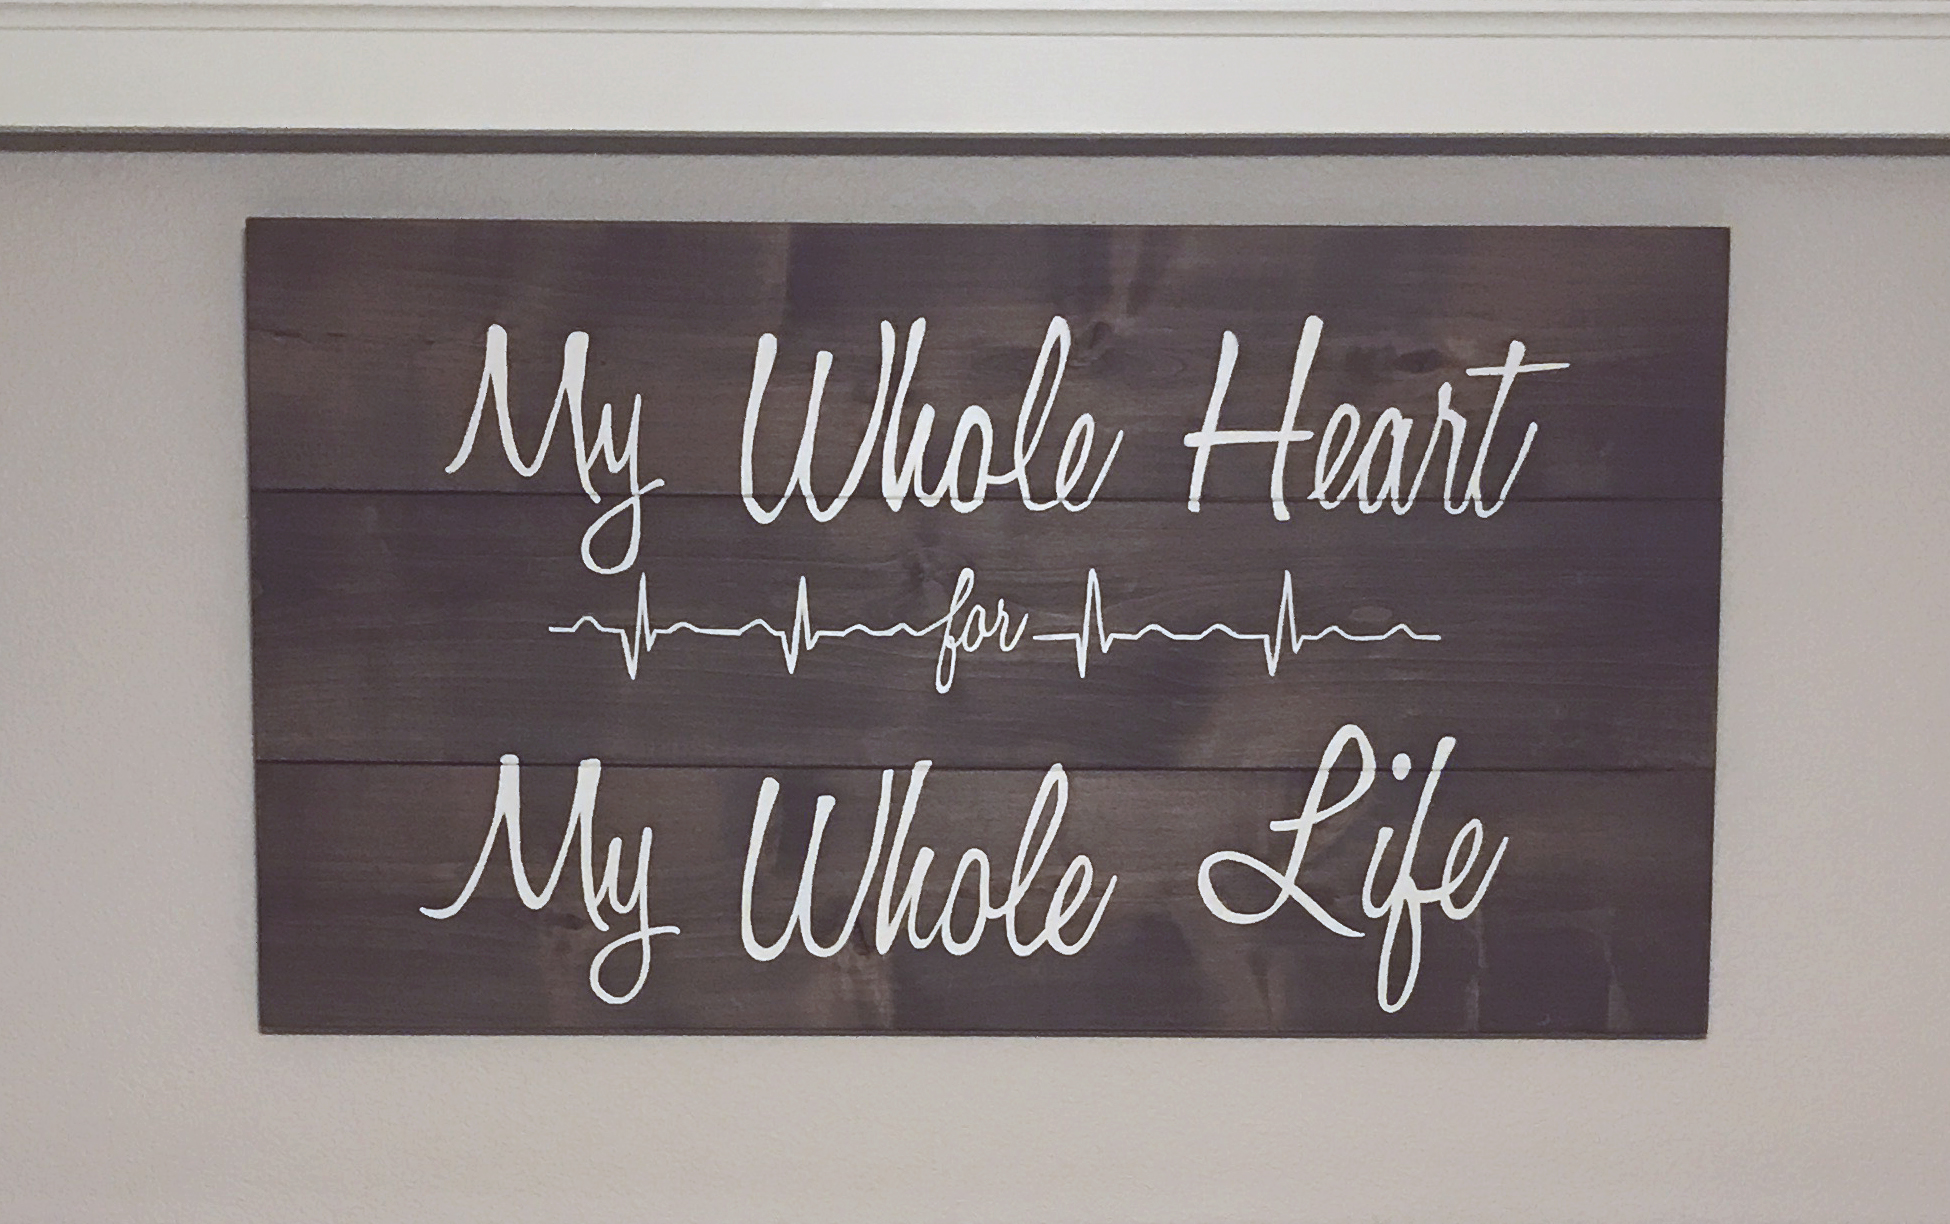
8. Paint over the chalk outline with craft paint.

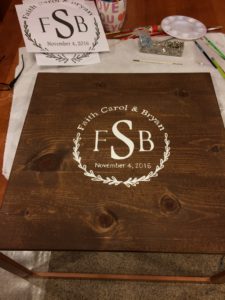
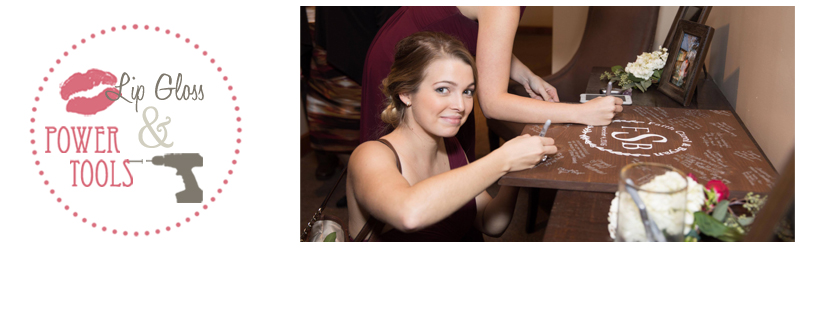
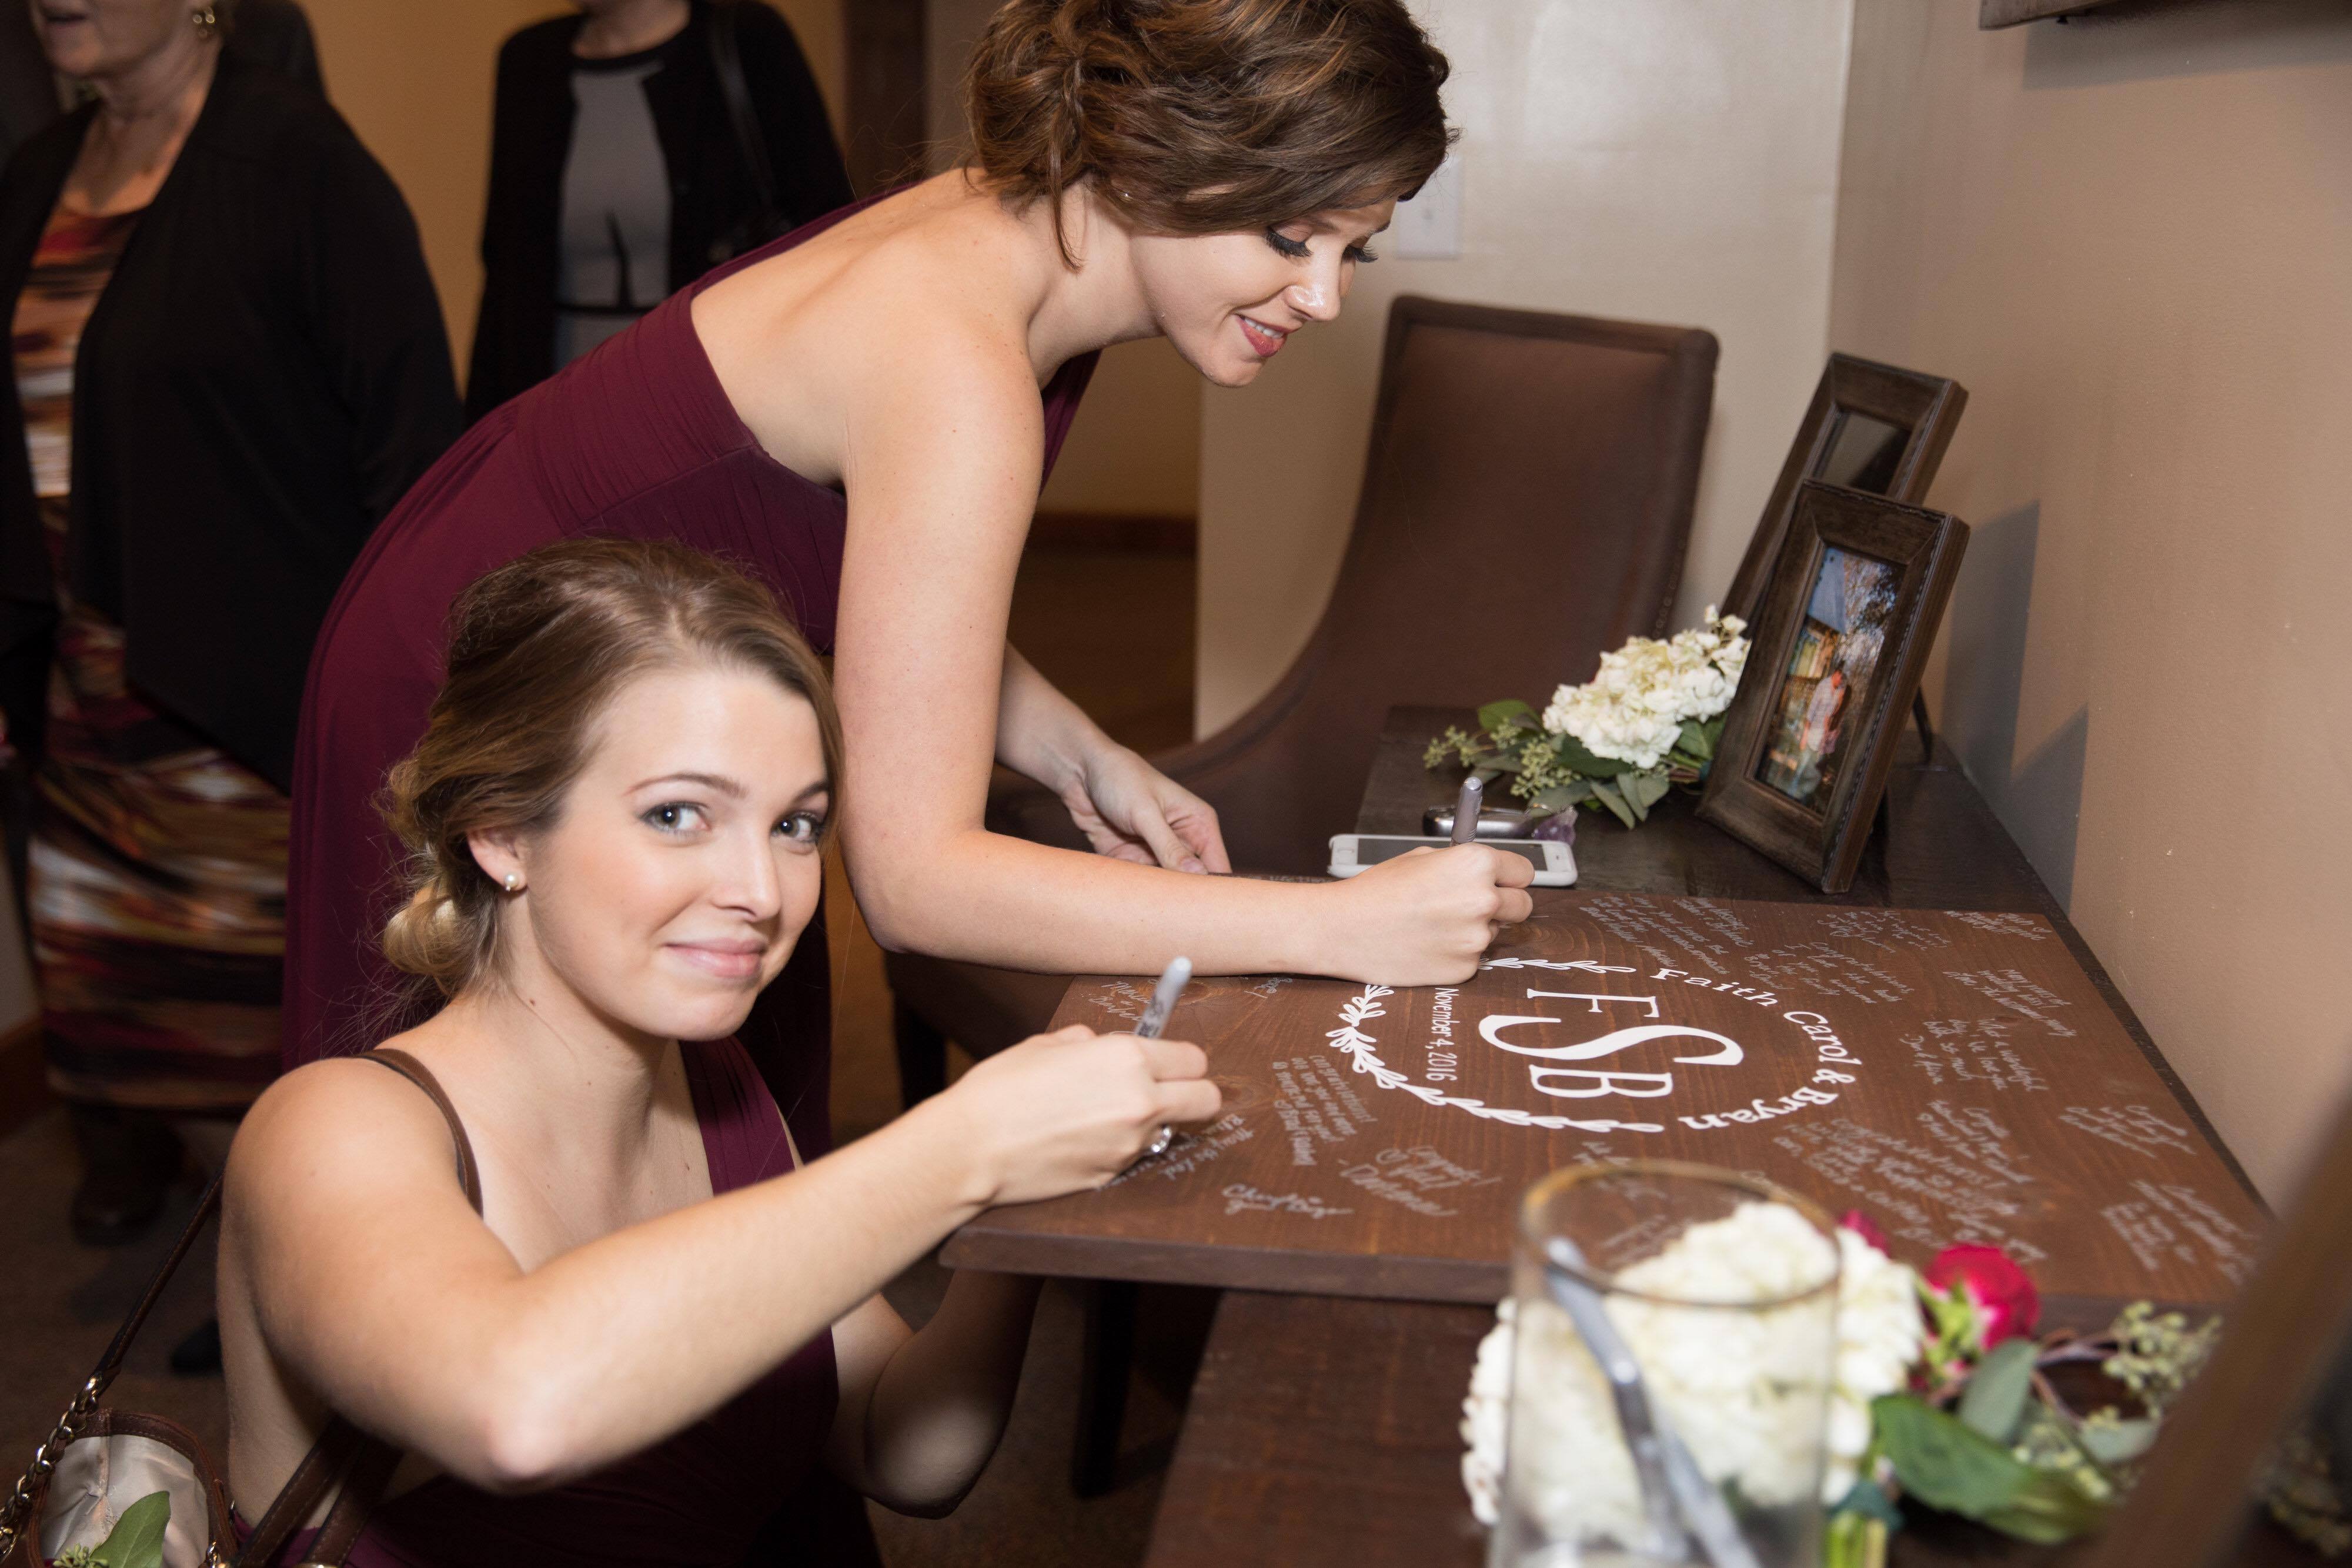
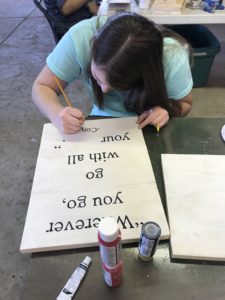
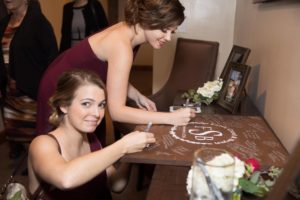
This sign was made for a wedding. The guests signed the wood as a keepsake for the bride and groom. It's a great alternative to a guest book.

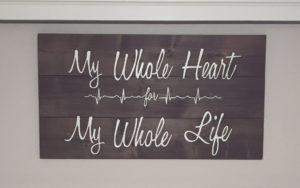
Graphic design tip: It's fun to mix font types and add design elements...Script with printing, tall letters and short letters, caps and lowercase. Adding arrows, dots, flowers or vines is a great way to fill spaces and add separation.

Have fun with it!

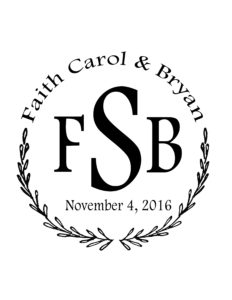
I made this monogram sign for my lovely friend, (she's more like a daughter to me) Faith Carol, for her wedding.  She used it as her guest book.  Now it hangs in her home as a reminder of her special day.

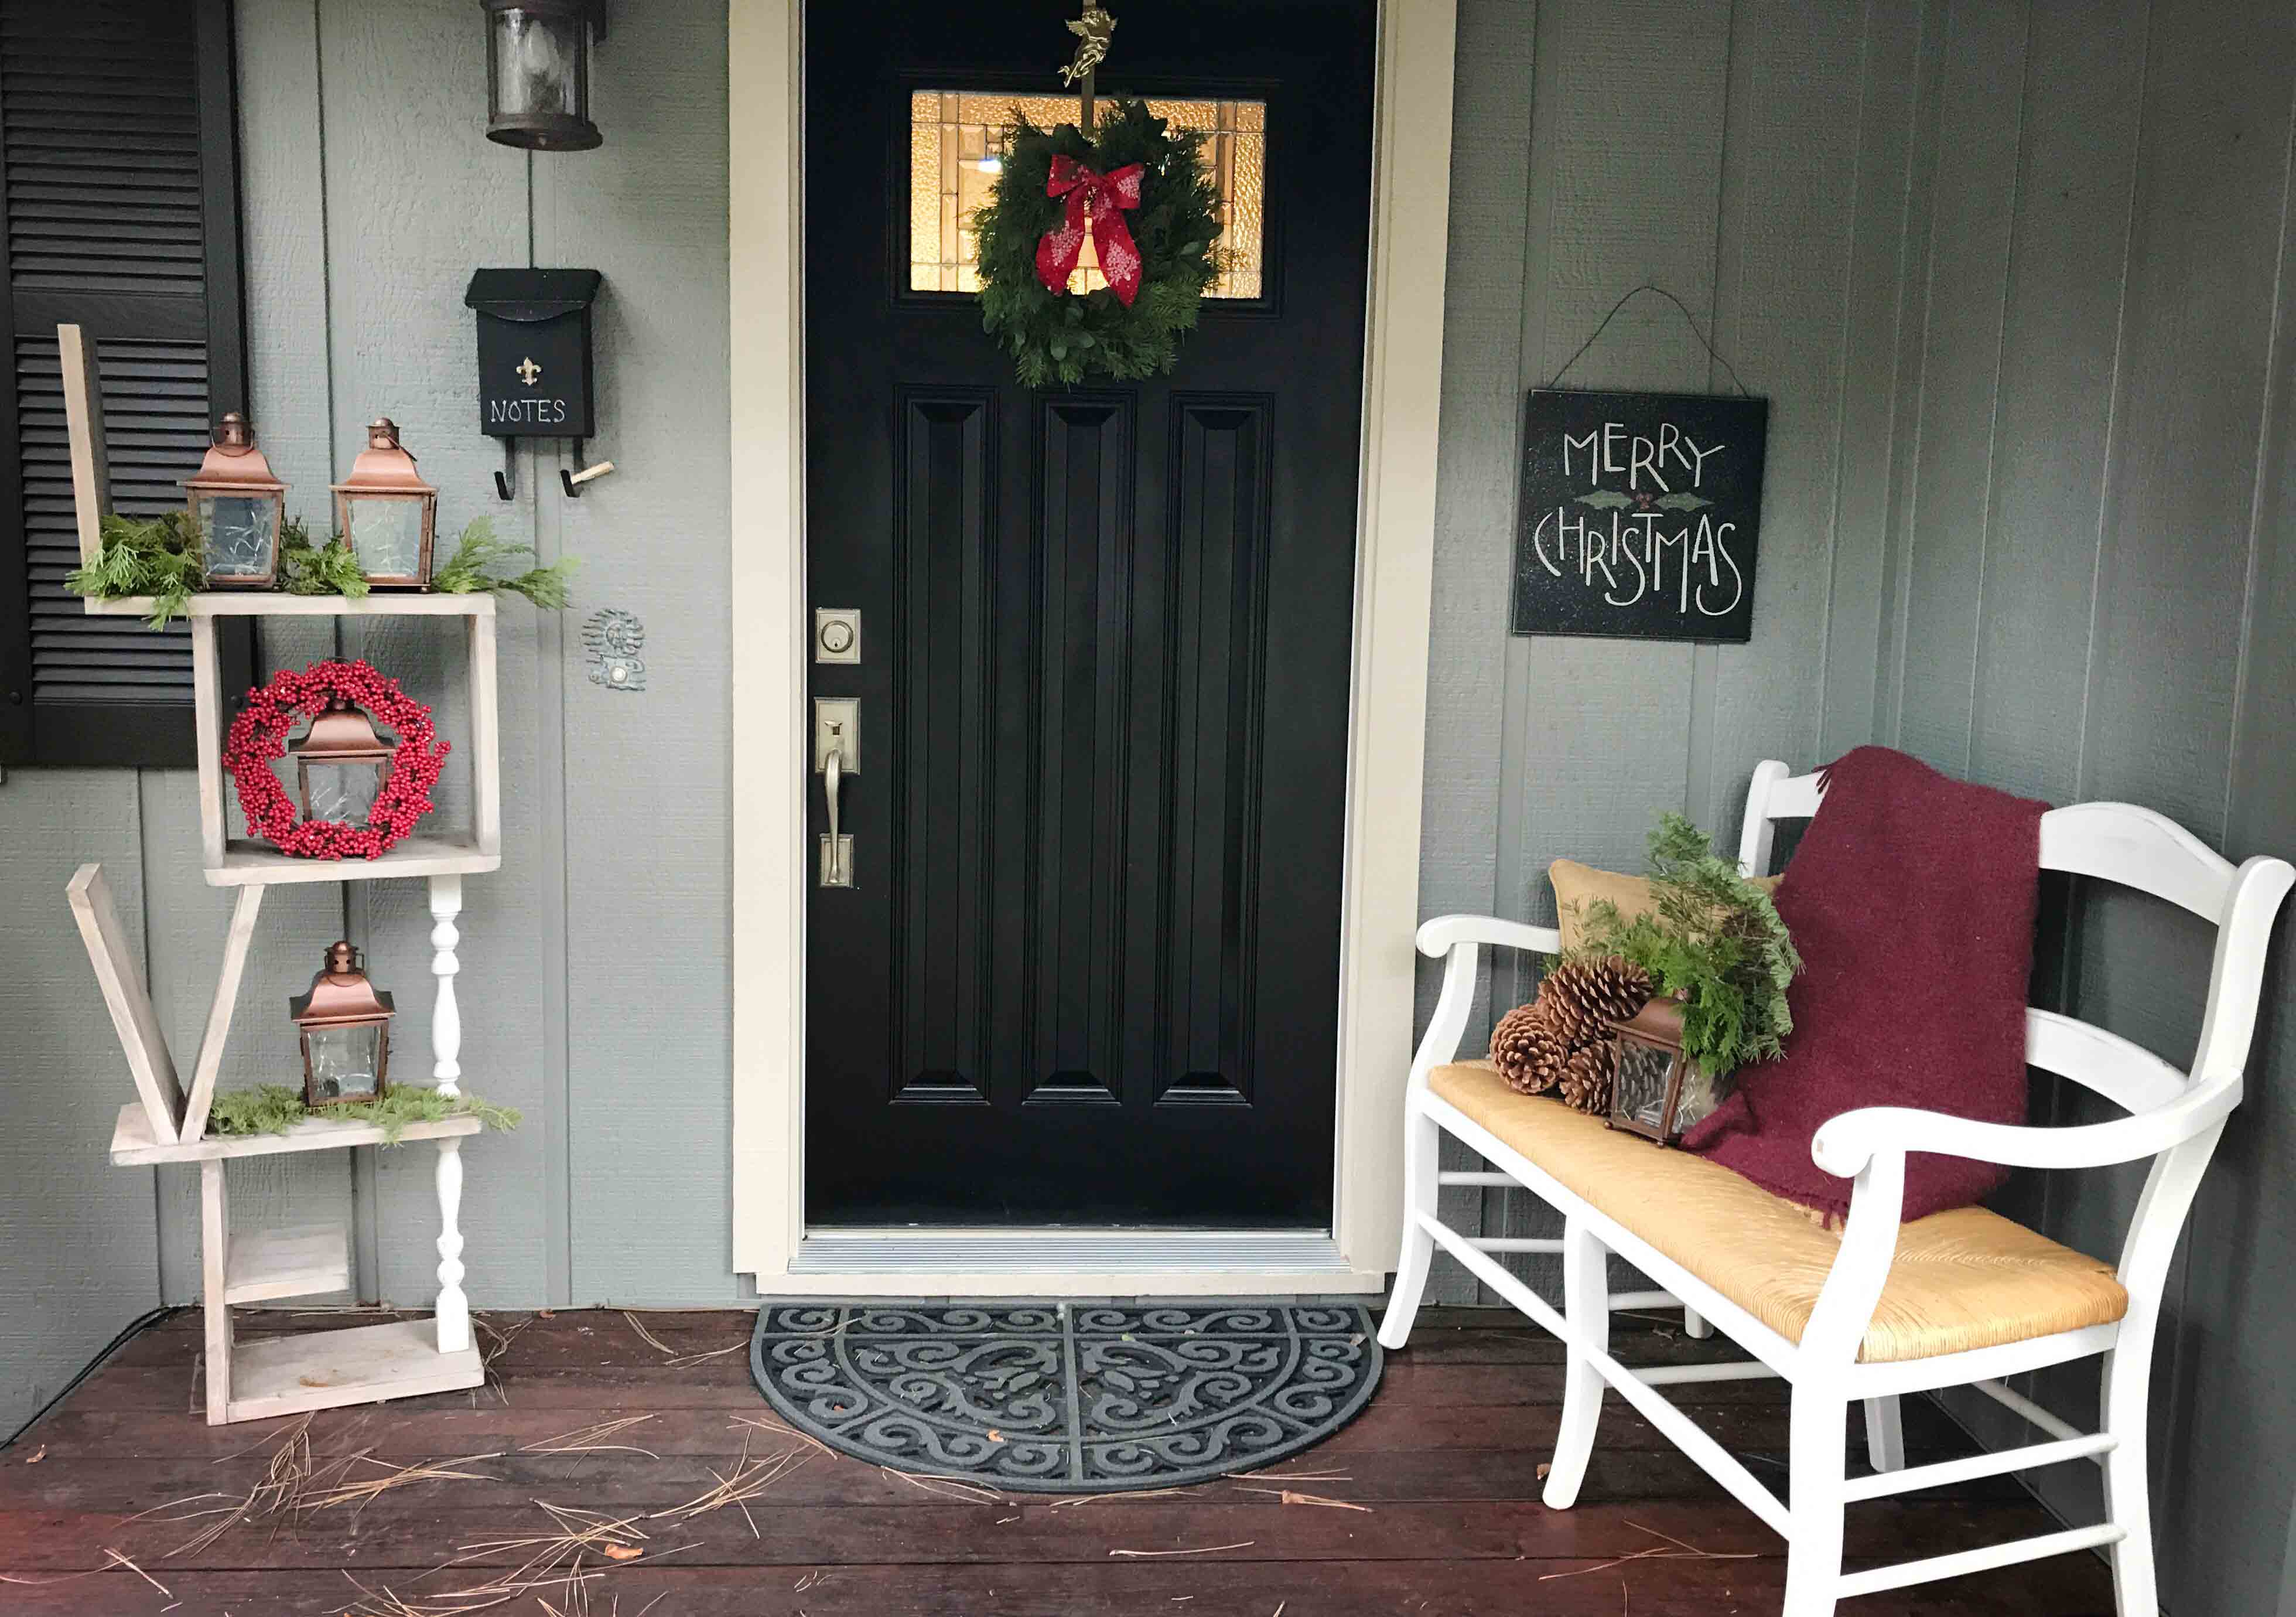
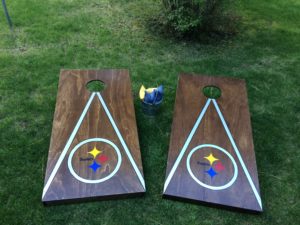
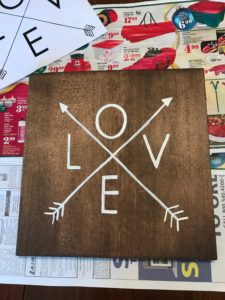
Here are some of my projects:


I'd love to see some of your projects so please post photos in the comment section.

kiss and signature