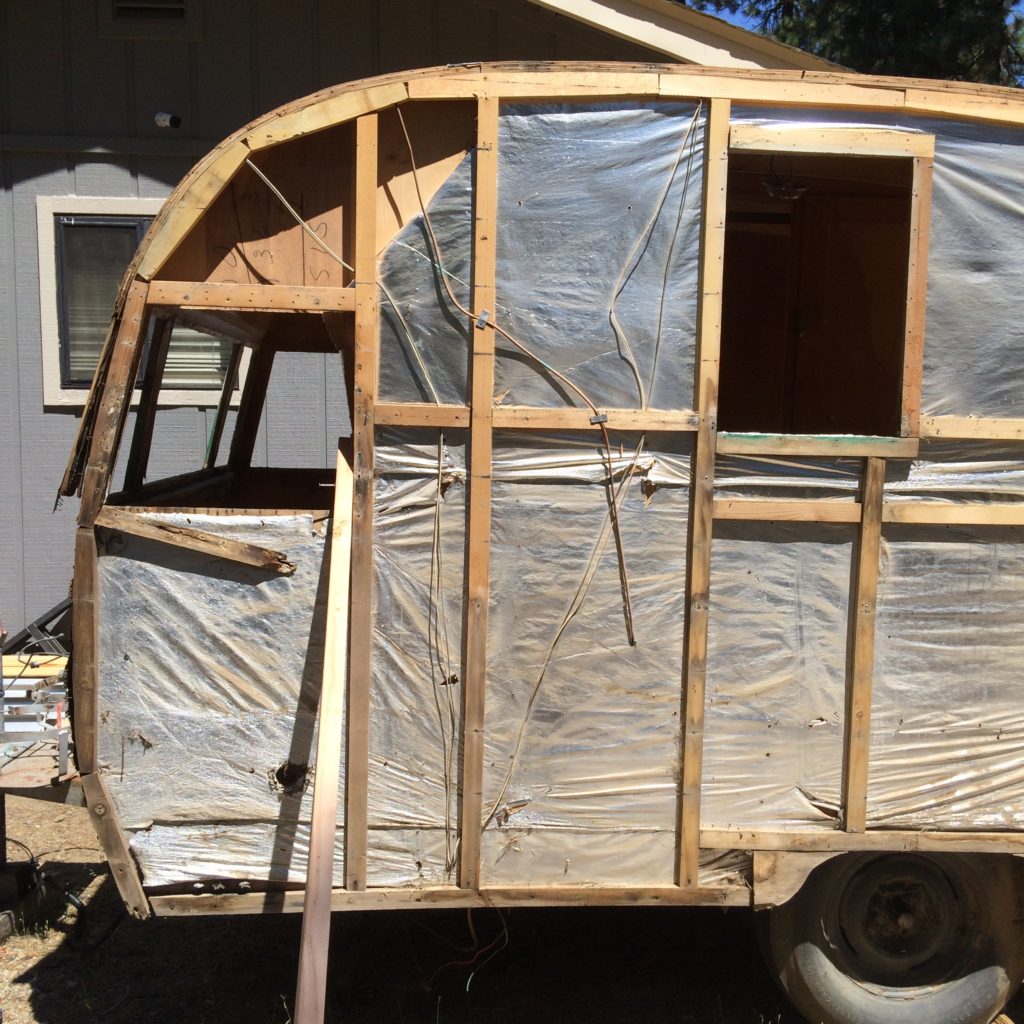
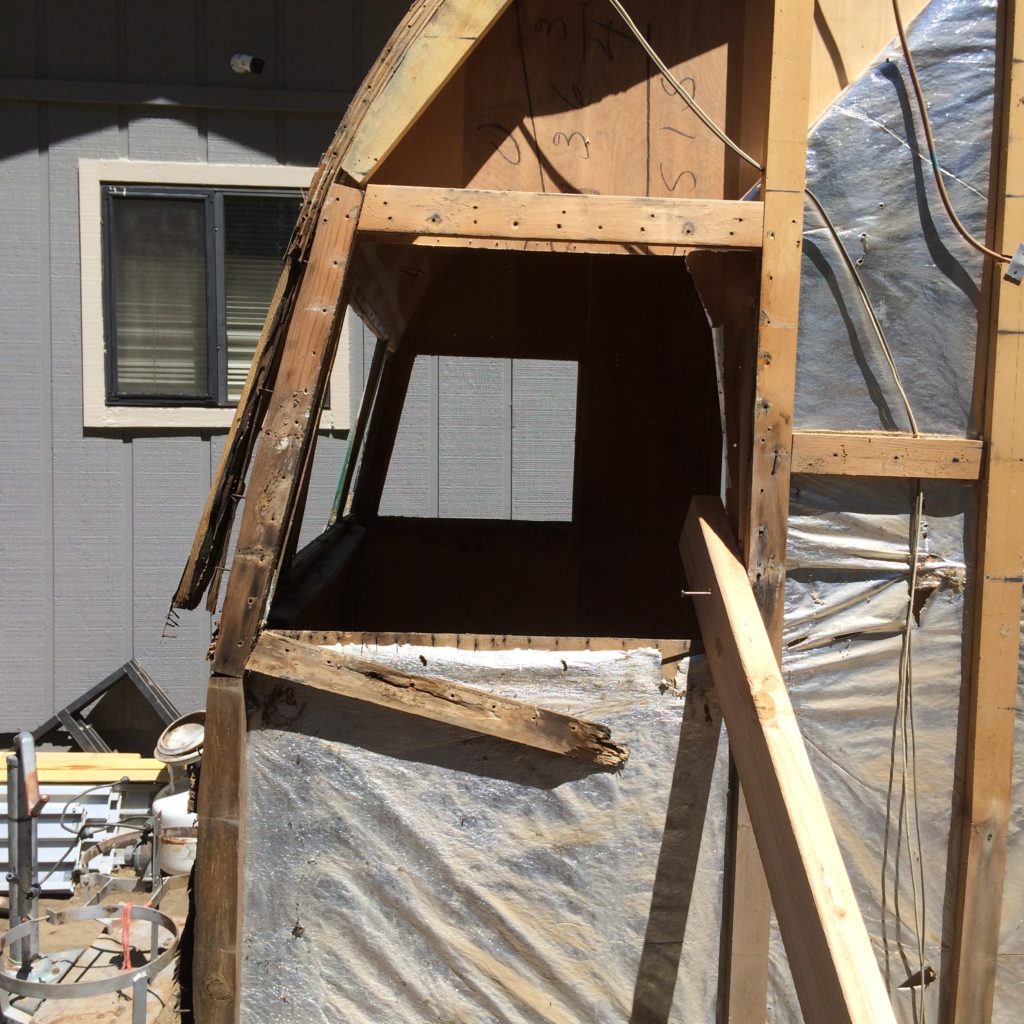
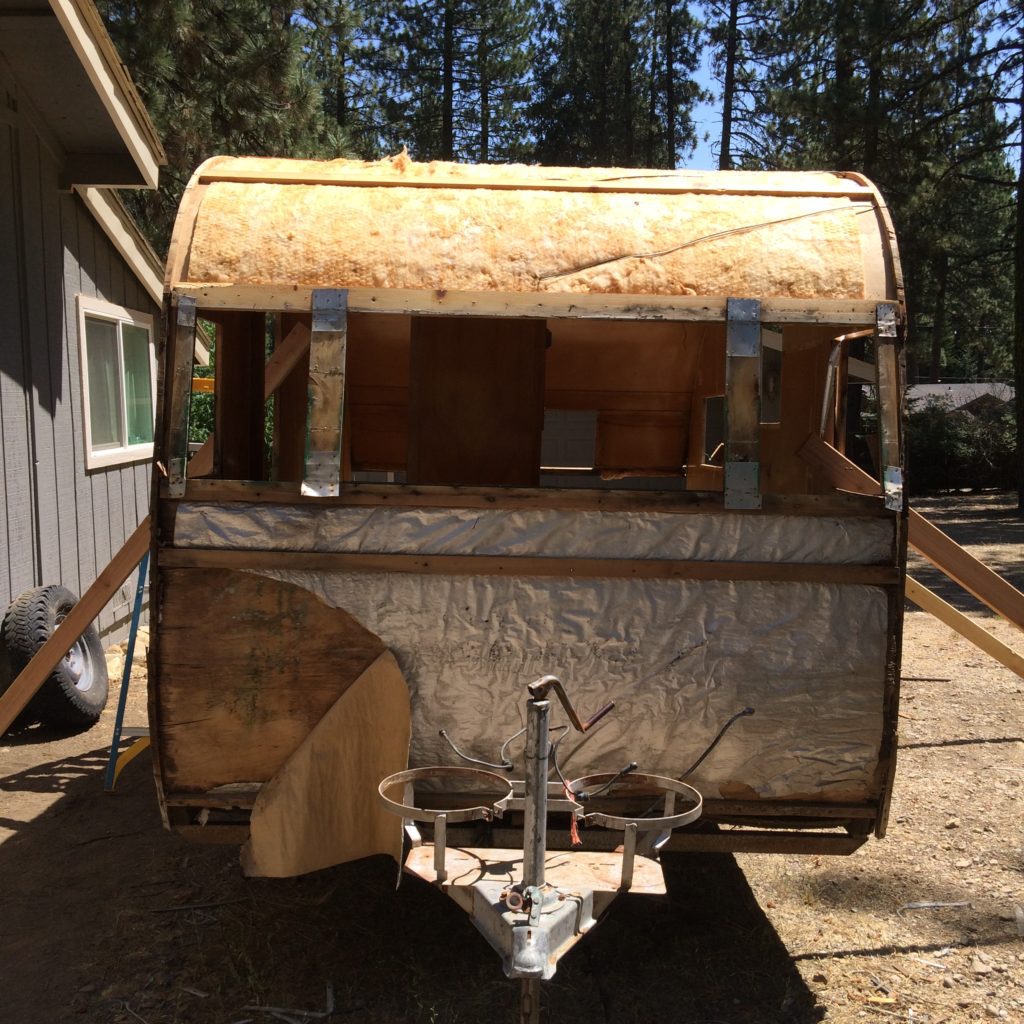
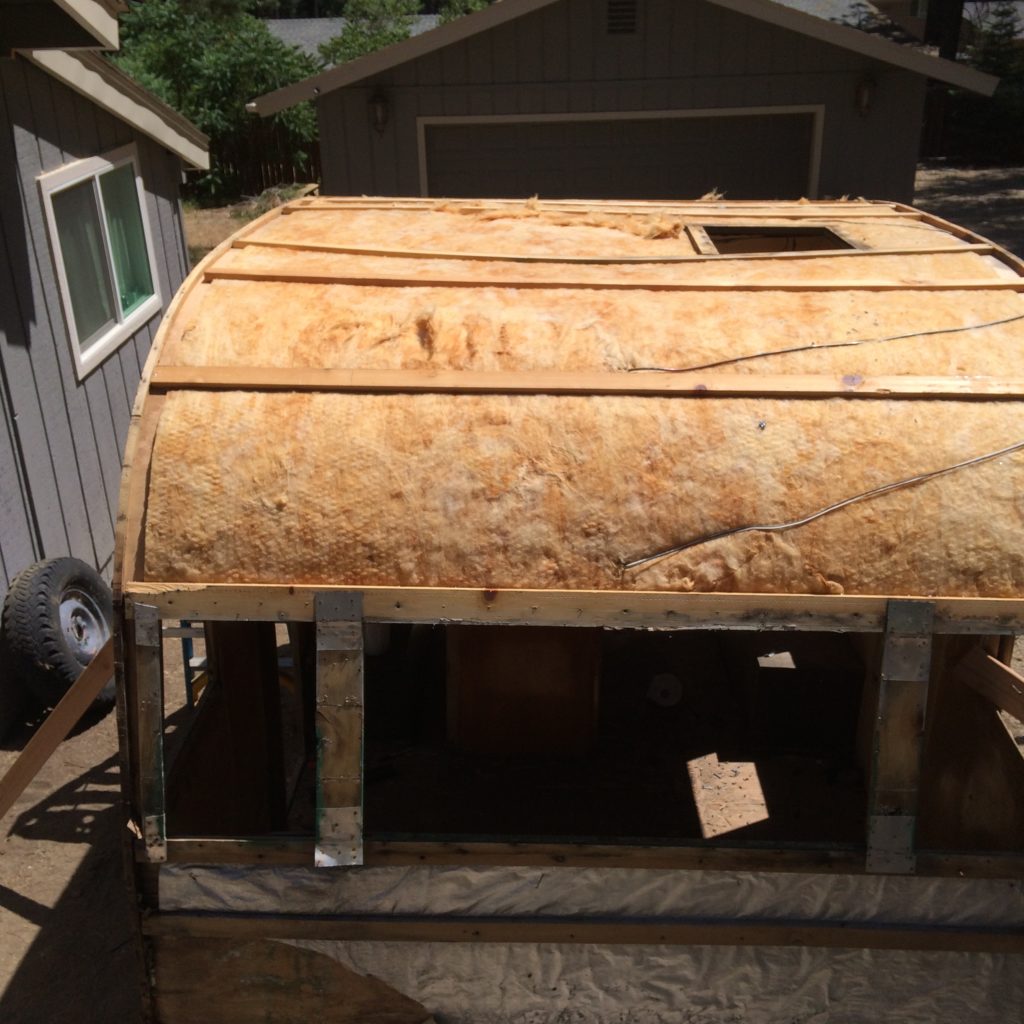
how to wire - featured image copy

How to Wire Your Vintage Camper

Vintage Camper Restoration DIY

Did you know that there are three different wiring systems in your vintage camper?  I did NOT!  I soon found out as I was faced with rewiring all of them in my 1956 Shasta rebuild.

Luckily, my little vintage camper was somewhat simple.  Since this was my first rebuild, I was glad I didn’t have to deal with a fan, air conditioner or other appliances.  Here’s the rundown of the systems;

  • Trailer lights- these illuminate when you drive.
  • 12-volt system –battery-powered interior lights and water pump.
  • 110-volt system - runs your lighting and outlets when you're plugged into shore power.

I’ll be the first to admit that this area makes me nervous and I didn’t really enjoy the process.  Because this was my first wiring job, I did a lot of research and talked to several of my construction friends.  My father-in-law is an electrician so I enlisted his help as well.  By the end of the research process, I think I had four wiring diagrams and several pages of notes.

Please note that this is how my vintage 1956 Shasta camper is wired and yours may be different.

Disclaimer: The information contained in this website is for general information purposes only. The information is provided by Lip Gloss and Power Tools and while we endeavor to keep the information up to date and correct, we make no representations or warranties of any kind...[read more]

Tools you’ll need

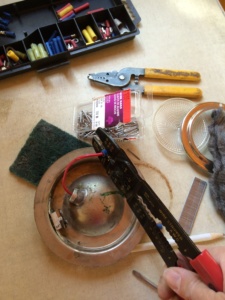
  • Wire cutter/crimpers 
  • Connectors (I used a variety of 12 and 14-gage types)

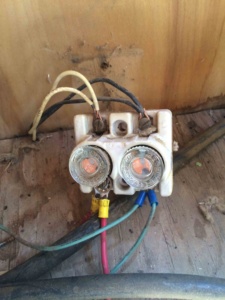
I really couldn’t use the old wiring as a template for the new because I just didn’t trust it.  The old system had glass fuses and old wiring.

Old Glass Fuses

Old Glass Fuses


So, here’s how I installed each system.


Trailer lights

By this, I mean the lights that illuminate when you drive; tail lights, marker lights, and blinkers.

In a previous post, I showed you how I prepared the trailer lights by running a length of conduit pipe under the trailer frame.  Check out my post on that, here.

vintge trailer water tight

How to Make your Vintage Camper's Floor Water-tight

Supplies you’ll need:

  • Trailer light assembly wire kit
  • Tail and marker lights ( I used my old ones but VintageTrailersupply.com has new ones if you need them.

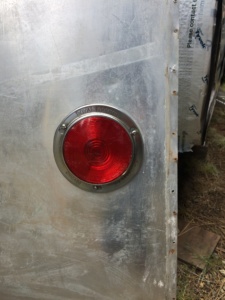
I ran the wiring through the conduit and made the plug connection at the hitch.  Now I’ll finish up by connecting the tail and marker lights.

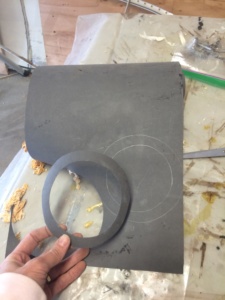
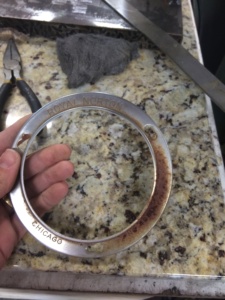
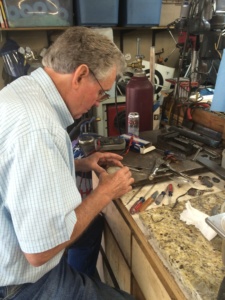
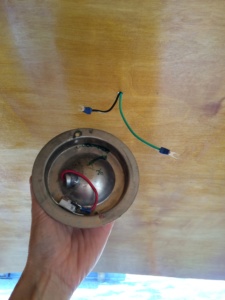
I was lucky enough to have my father-in-law, Dave, over and he showed me how to clean up the light cans and get them ready to reinstall.  He tested each light and labeled the wire before we installed it.

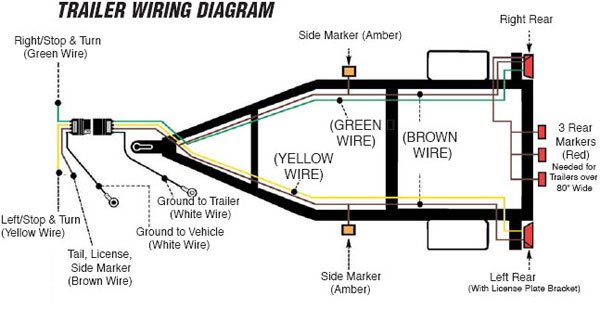
Here’s a diagram that I used for reference. My '56 Shasta doesn't have side marker lights so I was able to run the wire through a single piece of conduit in the middle of the trailer frame.


Check out the tinyrevolution.us website for full instructions.  This is where I got the diagram.  These instructions are really great.


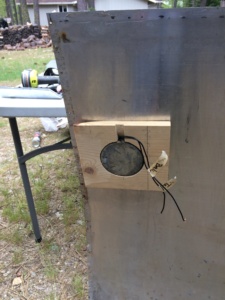
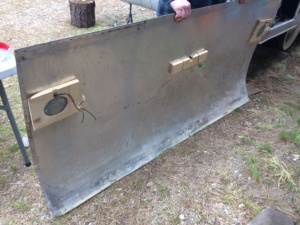
Dave used the old tail light wood blocks as templates and cut new ones for me.  What a guy!!! I’m so thankful for his help with this.

The blocks were installed on the aluminum siding and the lights were placed in them. This next part took two people because we had to connect the wires and hold the aluminum siding at the same time.  After the connections were made, I put the panel up with a couple of screws and tested them out.

Don’t forget about the ground wire.  If you’re having trouble with your trailer lights not illuminating, check to see if your ground wire is properly installed.


12v System

Supplies you’ll need

  • Battery
  • Battery charger
  • Water pump  
  • 12-v socket (cigarette lighter-type receptacle)
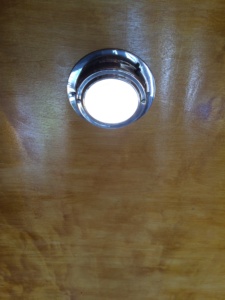
  • A puck-type light that goes over the bed. I purchased a new LED one because the old one kept shorting out. [Vintagetrailersupply.com]

This runs your water pump, and for me, a light above the bed.  I added a socket to run a fan or charge a cell phone.

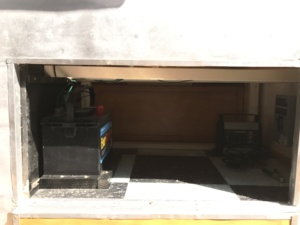
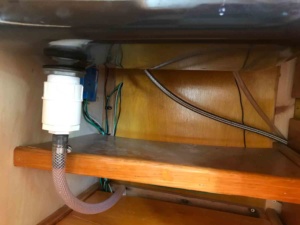
I chose a deep cycle marine battery from Walmart.  The wires run inside the lower kitchen cabinet to the water pump and socket.  The light wires run under the cabinet, through the wall and over the top of the camper. I used 12-gauge stranded wire and ring connectors. Stranded wire is more flexible and easier to run under the cabinets and around tight bends.

The wires are run to the corresponding posts on the battery. I installed an in-line fuse on the negative side.

I use a trickle charge battery charger and carry it with me in the cargo compartment.


110-v System

This system will run your interior lights and plugs and will connect to shore power.

Remember the glass fuses that I found when I dismantled the camper? This will replace them.

Supplies you’ll need:

  • Wire (12-gauge stranded in black, green, and white)
  • Wire (14-gauge stranded in black, green, and white)
  • Two-gang metal breaker box with cover
  • 15-amp breaker
  • 20-amp breaker
  • Plastic outlet remodel box (I installed two.)
  • Outlet
  • Outlet cover
  • Shore power outlet
  • Shore power cord 

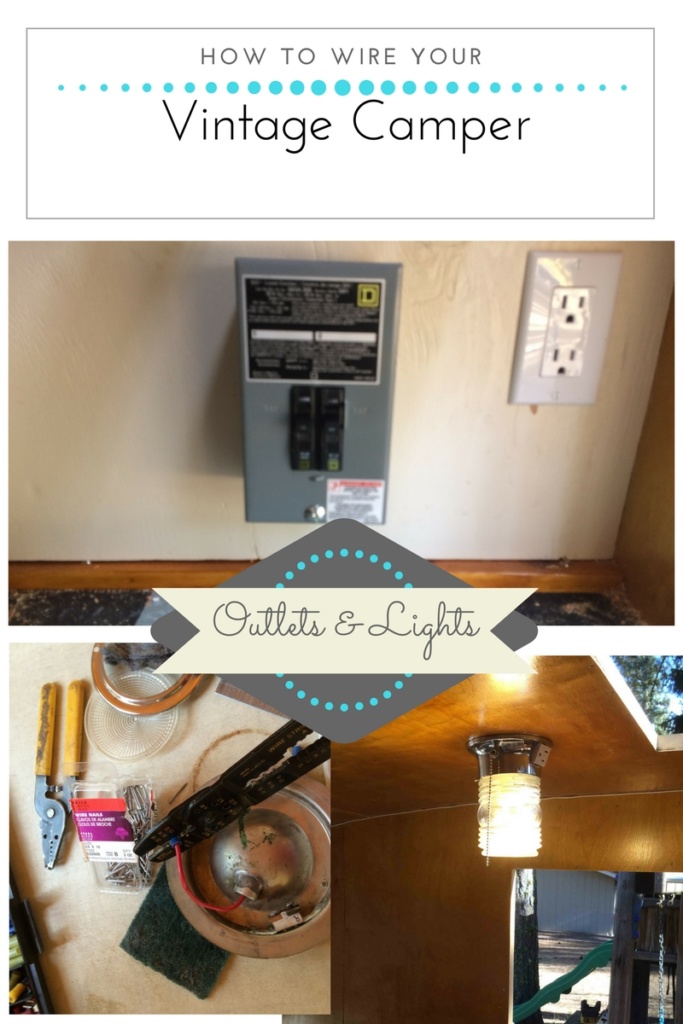
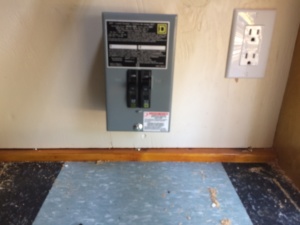
I installed a breaker box that replaced the old glass fuses. I got help from my husband, Mike for this.  He wired his shop with 110-v and 220-v,  so he has some experience.  I bought a two-gang breaker box and two breakers (one 15-amp and one 20-amp).

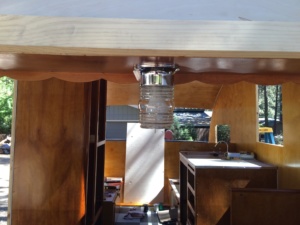
My camper has two light fixtures.  There’s one above the kitchen sink and the other above the dinette.

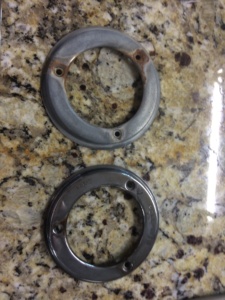
Originally, these lights had a base that contained an outlet.  When I dismantled the camper I noticed that the outlets didn’t have a ground wire.  I decided to replace the light bases with new, modern ones.  I found the exact same base on Amazon. ...AND it fit the vintage glass dome perfectly.  I feel much better about the outlet now.


Here‘s a link to the light fixtures that worked for my rebuild.

Those outlets on the light fixtures were the only ones the camper had.   …and they are in the ceiling, not very convenient. For this reason, I opted to add an outlet by the bed and one in the cargo area for outdoor string lighting.


Installing the metal breaker box

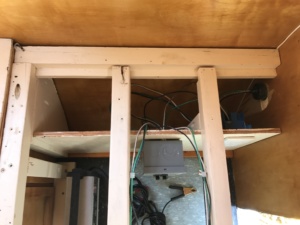
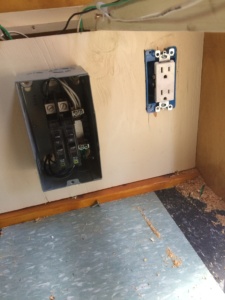
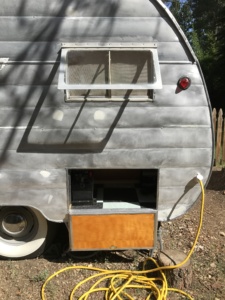
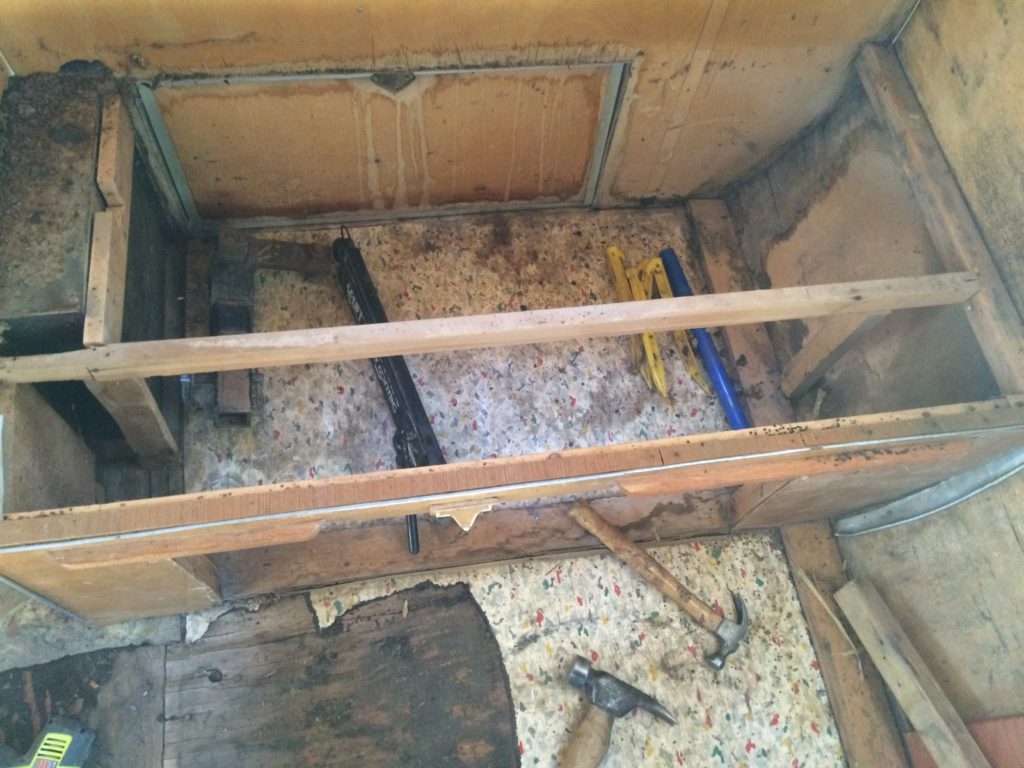
I added a piece of plywood to create a compartment in the cargo area.  This partition would conceal the wires and act as a mount for the breaker box. I chose this location because it's in the same cargo area as the battery and it's where I wanted the shore power outlet to be placed as well.

Bird's eye view of the compartment created by adding a piece of plywood

I mounted the breaker box, then cut a hole in the partition that would fit the outlet.  I also cut a hole for the outlet by the bed.

The outlets were easy to wire; again I used 12-g stranded wire.  Outlets have a hot, neutral and a ground.  They are marked respectively.  This YouTube video was very helpful in clarifying the process.

How to install an electrical outlet box

How to wire an electrical outlet

The lights were wired to the 15-amp breaker and the outlets were wired to the 20-amp.

Typical installation guidelines; Use a 15-amp breaker with 14-g wire for light fixtures.
Use a 20-amp breaker with 12-g wiring for outlets.

But…because my light fixtures had an outlet on the base, this was a problem.  I knew I wouldn’t run a microwave or other load-hungry appliance from the outlet on the ceiling so I opted to keep it at the 15-amp/14-g configuration.

Finally, I installed the shore power outlet to the exterior of the camper.  It was scary cutting into the siding of the camper.  I didn’t want to mess it up.  I used a hole-saw the exact diameter of the outlet and took my time.  Then I used a file to make it a bit bigger and ensured a snug fit. I placed a bead of caulking around the outlet to seal out any water and road grime.

Because my 1956 Shasta wasn’t equipped with a shore power outlet, this was all new to me.  After I purchased the outlet, I realized that I needed a power cord to go with it…duh!  It took me a while to find the right one and in the process learned that it’s very important that you have the correct one for your camper.

Here’s a link to the one I have.  Hope this is helpful to you for your rebuild or remodel.

After everything was installed and tested, I took the time to make the wiring look neat and clean under the sink and cargo area.  My husband and kids know how I hate to see wiring that is messy.  It’s a big pet peeve of mine.  With a few clips and zip ties, I could finally look under the sink and keep my OCD at bay.  Mischief Managed!!!

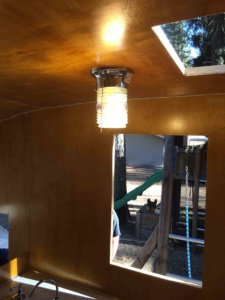
LOOK!  I MADE LIGHT! 🙂

The next order of business is to connect the water tank, install the faucet, water hand-pump, and drain. How hard could that be?  (These words have gotten me into lots of trouble over the years!!)


kiss and signature

Related Posts

DIY wire Christmas wreath

How to Make a Real Wreath

My family and I are lucky enough to live in a very beautiful place.  Our home, in the middle of the Plumas National Forest, is scenic and full of wonderful things to do all year long.

One of my daughter’s favorite things to do at Christmas time is to cut a real tree.  Although she is in college, she made me promise to wait for her to return home so she could be a part of this family tradition. We all get bundled up and pull on our snow boots.  This year there was just a couple of inches of snow but the temp was about 37 degrees outside. Brrrrr.

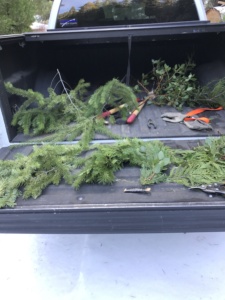
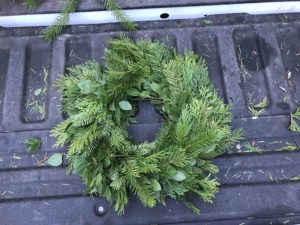
We fill the thermos with cocoa and pack snacks for the outing and the hunt is on. This year I decided to bring along some wreath-making supplies and kill two birds with one stone.  While the family was searching for the perfect tree, I set up a little workbench on the tailgate of the truck and got to work making a wreath.

talegate wreath making

This is my kind of tailgating

Here’s what you’ll need to bring on your outing;

  • Wire coat hanger
  • Pruning clippers
  • Loppers or a small handsaw for larger branches
  • Spool of wire
  • Wire cutters

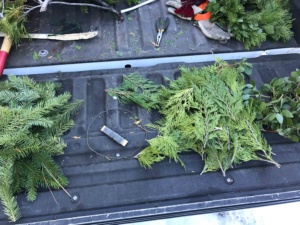
Start by cutting a few low hanging branches. I used a variety of pine, cedar, and manzanita for mine.

Tip: If you don’t have access to a national forest you can try asking your local tree farm or lot for the branches they trim off.

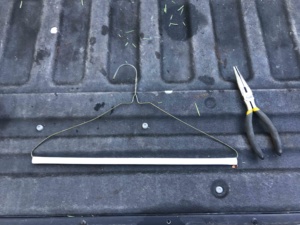
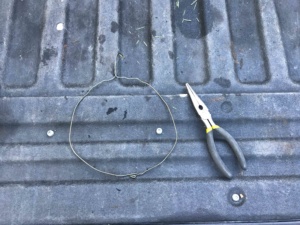
Form the wire hanger into a wreath shape.  I used a dry cleaner's hanger that had the cardboard tube on the bottom.  I removed it and crimped the two ends together.  I like that this wreath is a smaller size.  It makes the project go much faster and is the perfect size for a gift.


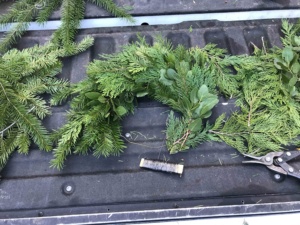
Next, I clip the branch tips into 8-inch lengths.

wreath, wire hanger

Cut greens

Take the wire and wrap it around the hanger at the top to anchor it.

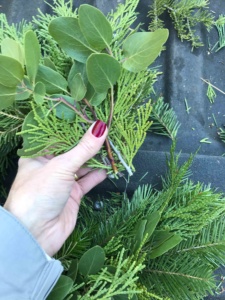
Then bundle your greens together.  I layer pine, then cedar and finally a sprig of manzanita. Place this on your wireframe where you anchored the wire.

Wrap the bundle snugly three times.  Be careful not to pull too tight and break the wire.  (I’ve done that before.)

wreath, wire

wrap the bundle snugly around the wire ring.

Make your next bundle and place it about two inches from your last one. Wrap it snugly three times.

Keep doing this process and work your way around the wire frame.

wreath wire hanger

The last bundle can be a challenge.  Tuck it in close and wrap it so that you can’t tell where the last one ends and the first one began.  Give it a few extra wraps, cut the wire, and tuck in the loose end.

Now hold up your beautiful wreath and admire your work.  You can trim any greenery that is sticking out too long. If you have a sparse area, you can always tuck in and wire in a small bundle.

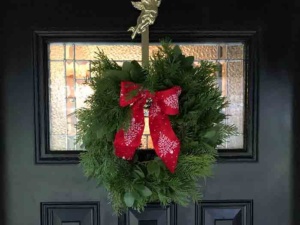
I add a bow to the top and this always helps hide the start/stop area.

I was able to make two wreaths before the fam came bounding back with the tree. It took about 15 minutes for each of them.

The girls are great models

The girls are great models

Now it’s time for cocoa and snacks, and of course a quick photo session.


wreath crown

"Let me straighten your crown!"


wreath crown

Silly Girls!

I just love how fresh the pine scent is.  My hands might get a little sappy but it’s worth it.  The truck smells amazing all the way home. My heart is full!

front door with wreath


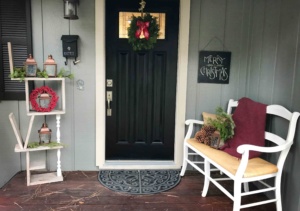
I just love how it looks on my front door.  I finally feel ready for the holidays!

front door wit wreath


kiss and signature

Related Posts

flooring install

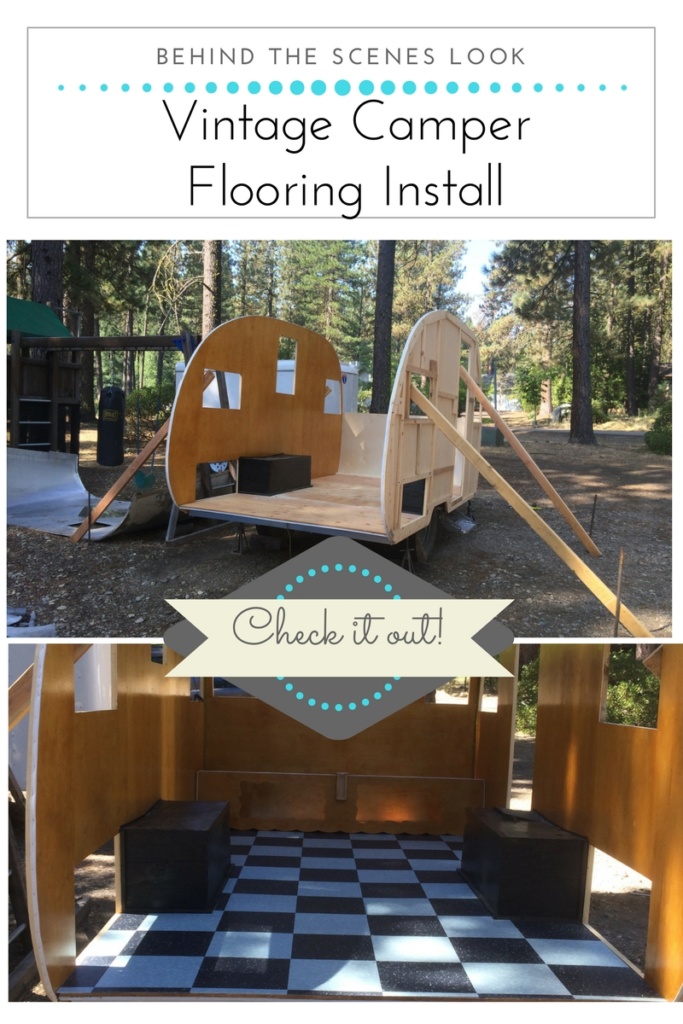
Behind the Scenes Look at My Vintage Camper Flooring Install

It’s time for my little camper to start taking shape.  I’m so excited to get the walls up.  This part of the project makes me feel like I’m really making serious progress.

After the walls were framed and the Schlack was dry I applied the welting trim.  My 1956 Shasta had white vinyl welting all around the walls and cabinets.  This was the standard trim used to make a clean transition between walls and ceiling, and the cabinets.  In your home you’d use baseboards or crown molding,… in vintage campers you use welting.

See my post on "Framing Your Vintage Camper; Part 1 The Walls


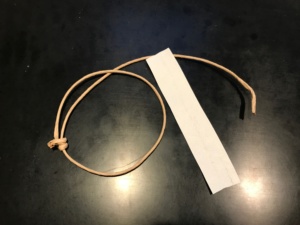
I found the material I needed at a local fabric/upholstery shop.  It was super cheap as well.  The vinyl was .50 per yard and the cord was a WHOPPING .10 per yard.

Cord and Vinyl Welting

Cord and Vinyl Welting


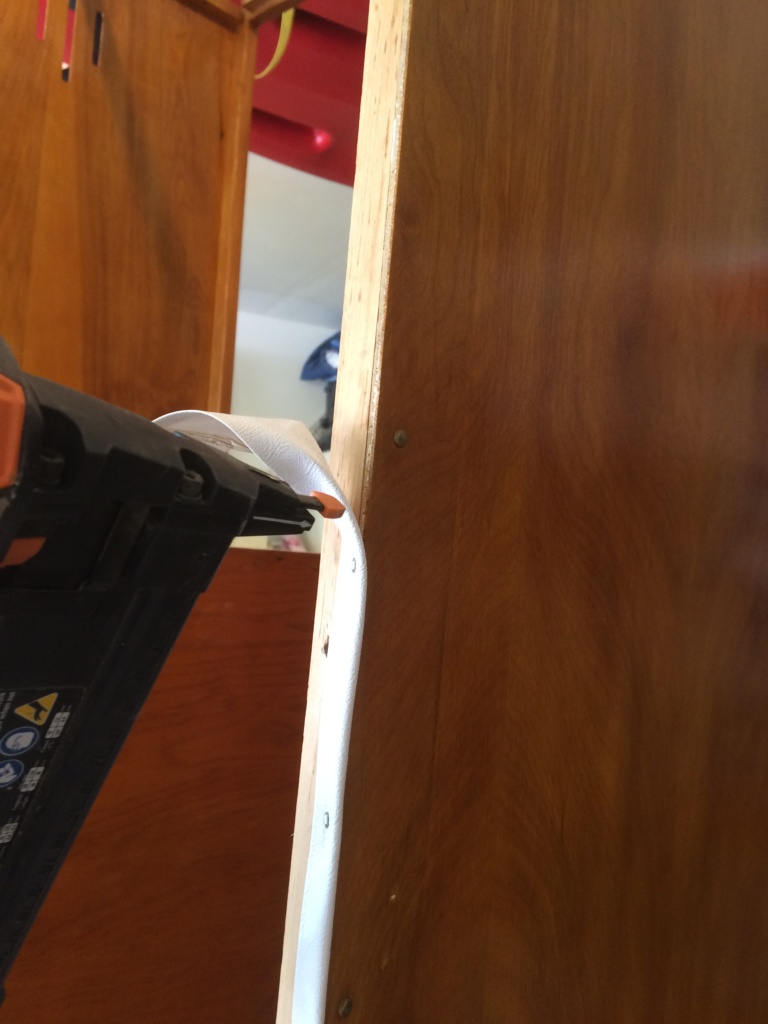
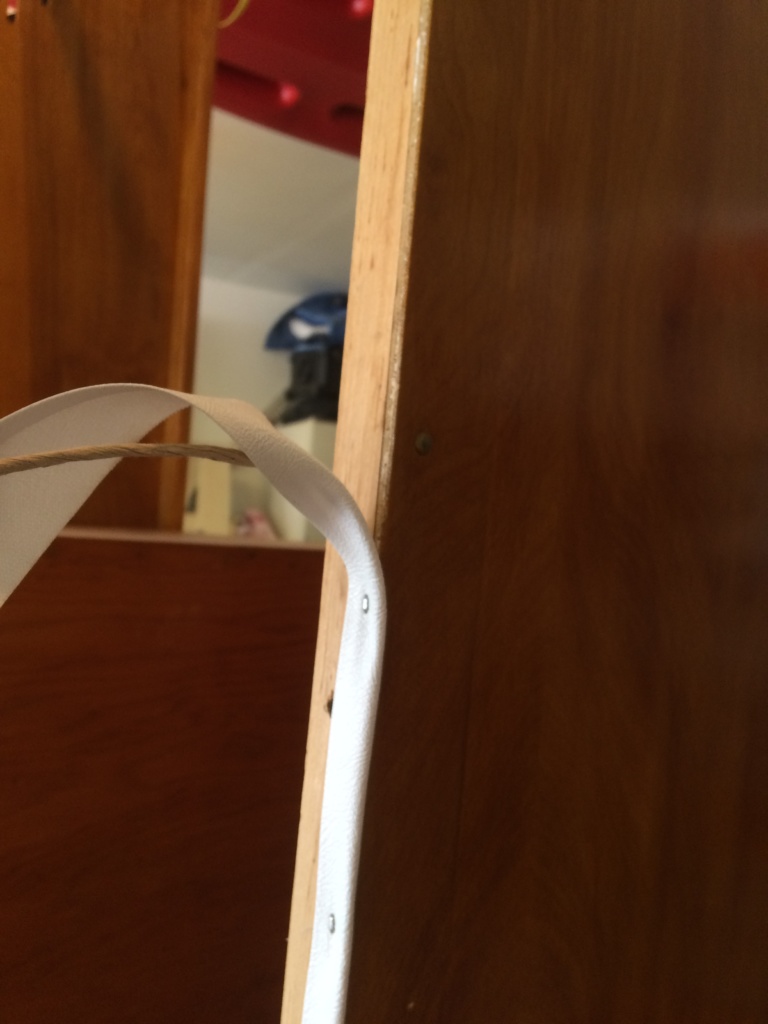
I used a staple gun to attach it to the tops of the walls and along the cabinet backs. Simply wrap the vinyl around the cording and staple it along the wall edge making sure the welting rests just past the edge.


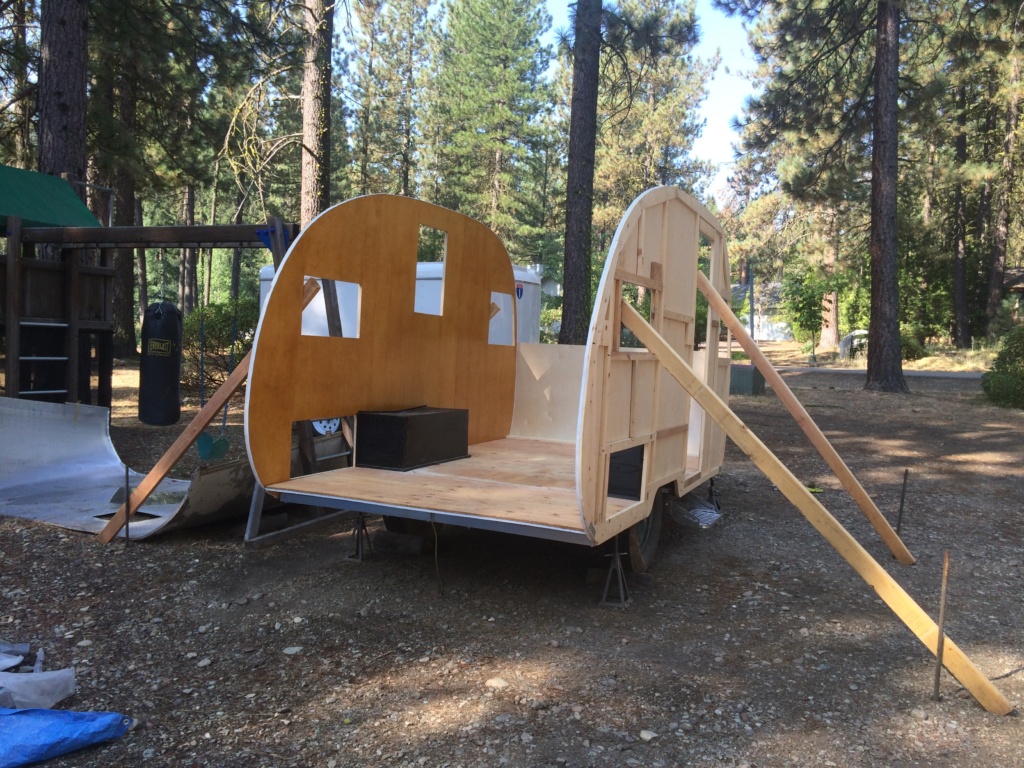
After the welting was in place, I got some help from my husband and daughter to attach the walls to the trailer sides. The walls were screwed into place and then braced with 2x4s until I could get the ceiling pieces in place.

The walls are up and braces with 2x4 and stakes

The walls are up and braces with 2x4 and stakes

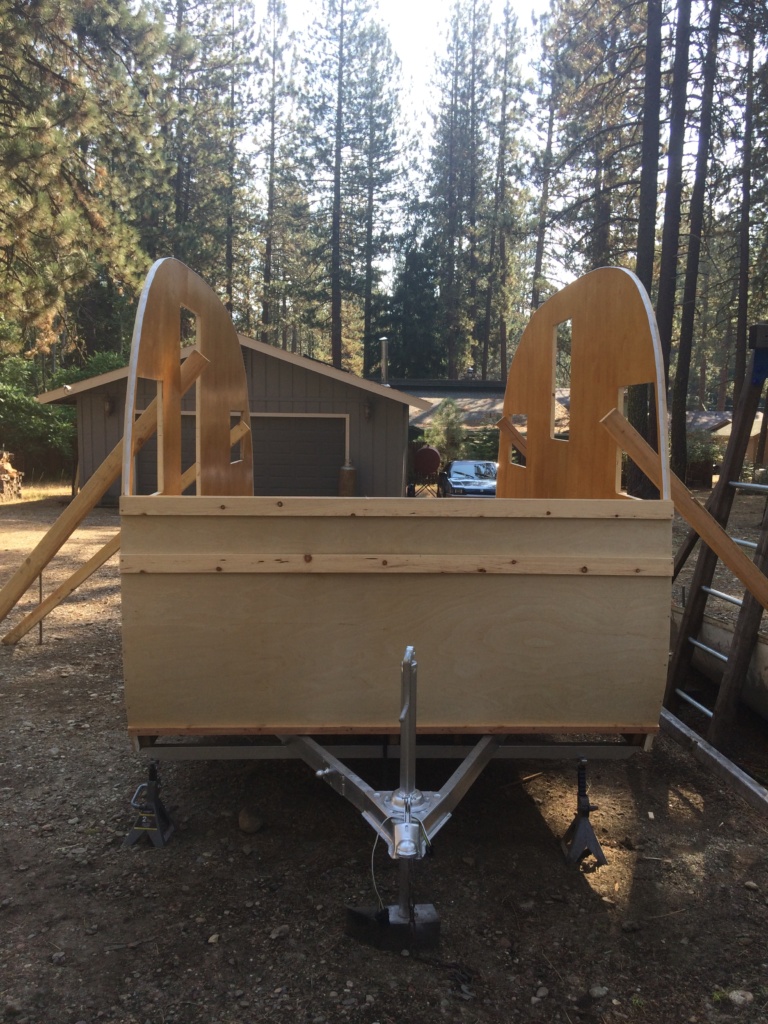
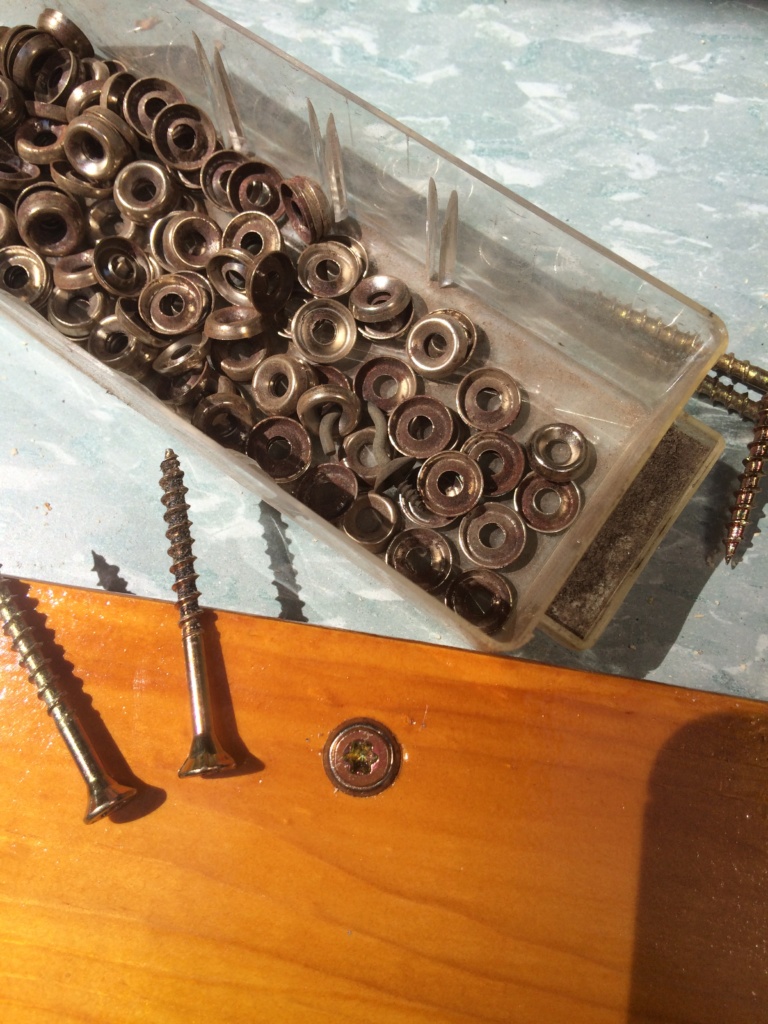
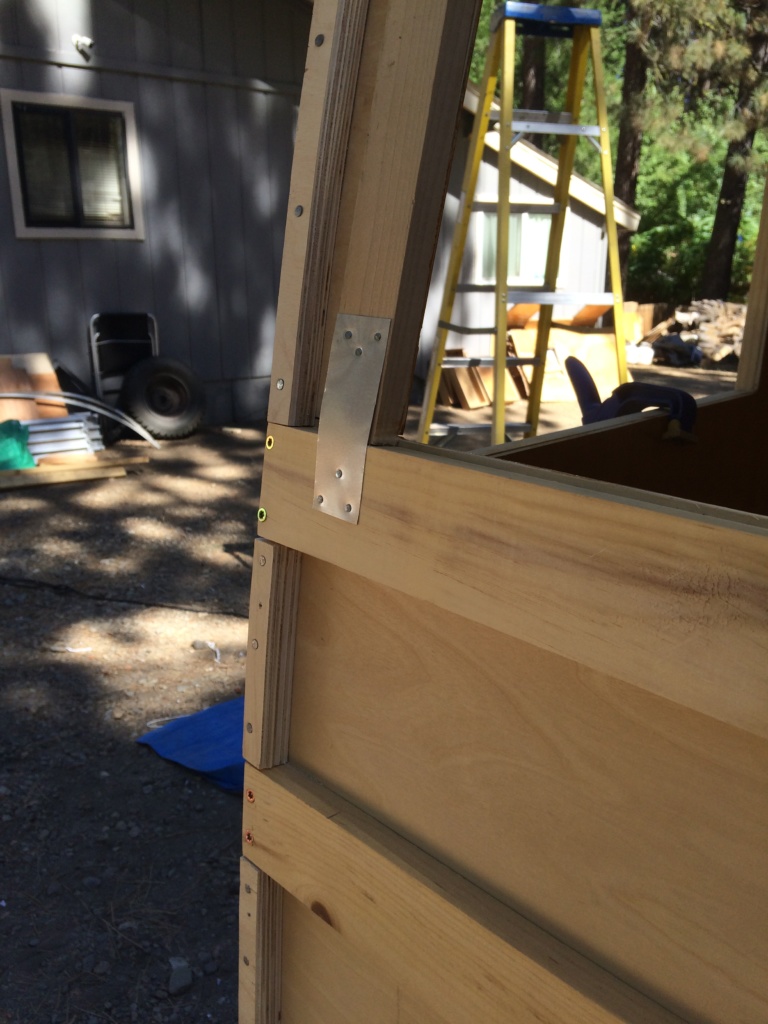
Next, I built the front end.  I used the old pieces of the trailer as patterns for the new ones.  I really liked using these cup washers on the screws that would be exposed on the interior of the camper.  On both the front and rear ends there is a piece of 1x3 pine that supports the paneling and frames the floor.  These took screws to attach them to the sub-floor.  You can countersink the screws or simply use a cup washer (also known as a finish washer) to make them look pretty. 🙂

See my post on Tips and Tricks to Dismantle Your Vintage Camper

The font piece of paneling was cut to size and screwed in place.

Post-Project Tip: I used 1/8 inch birch paneling for the walls AND ceiling.  If I had to do it again I would opt for the 1/8 inch for the walls but use 3/32 inch on the ceiling.  It bends much easier. 

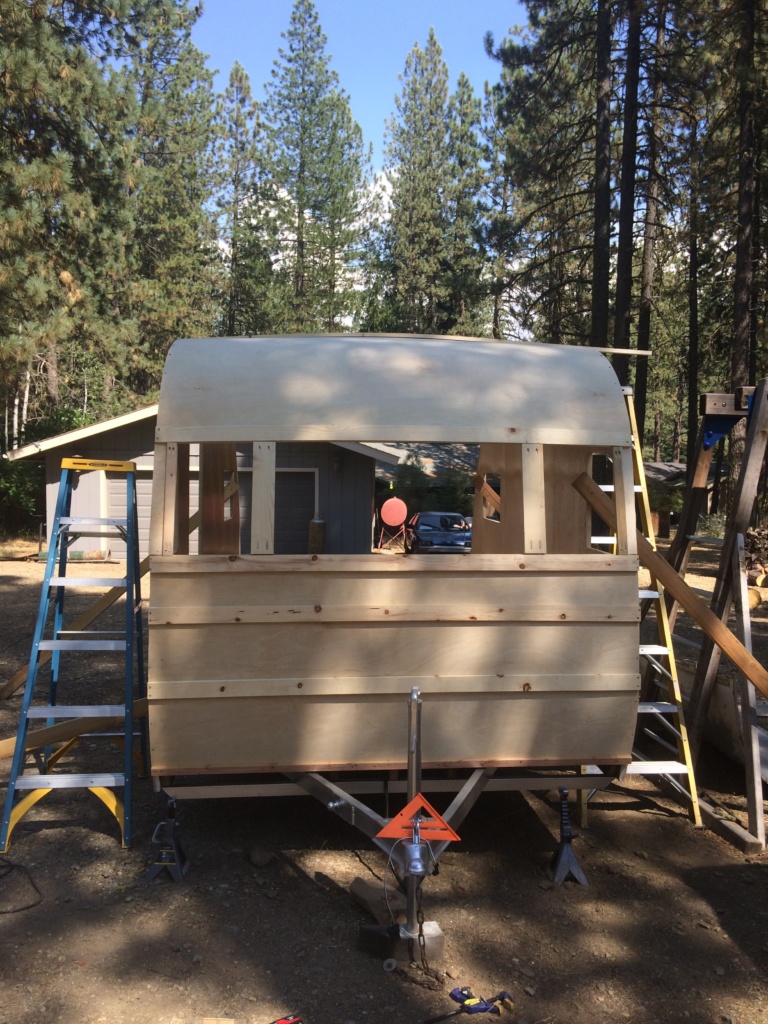
Then the 1x3 and 1x4 rib pieces where screwed in place over the paneling. I carefully measured out my window height and openings and framed them.  I used the pocket hole jig for the framing.  The old framing had aluminum patches over the window-frame seams so I replicated that as well…it couldn’t hurt.

I lightly sanded the new paneling pieces and Schlacked them. (2-3 coats of amber Schlack.)  Don’t forget to tape off the welting so the Schlack won’t stain it.

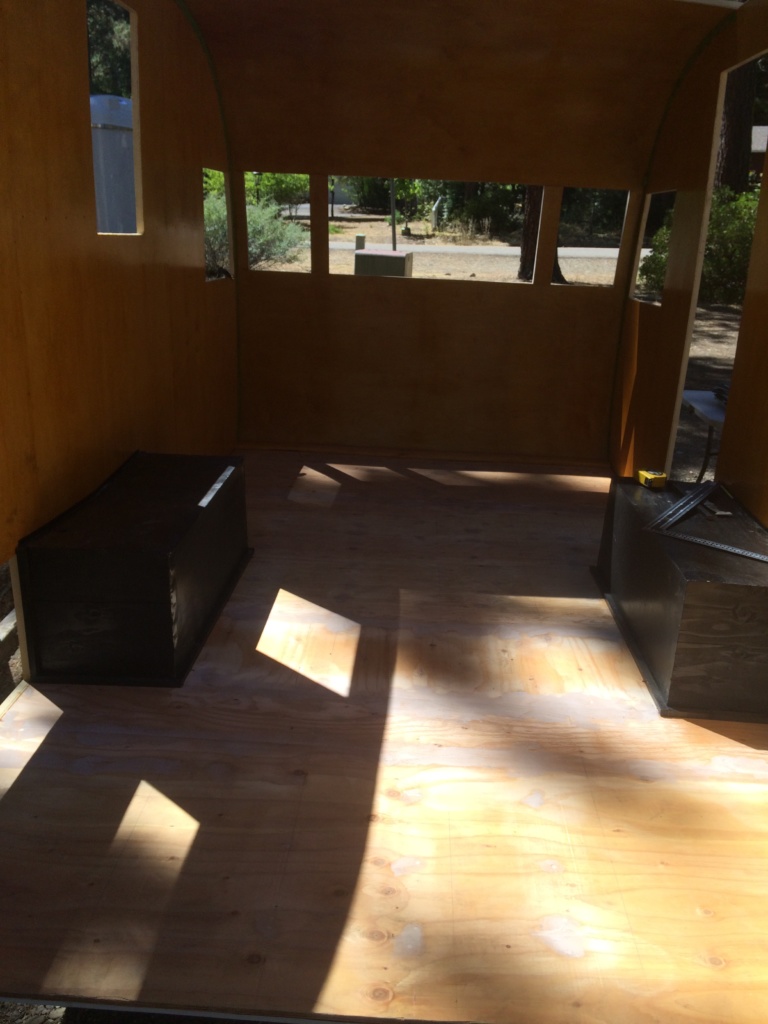
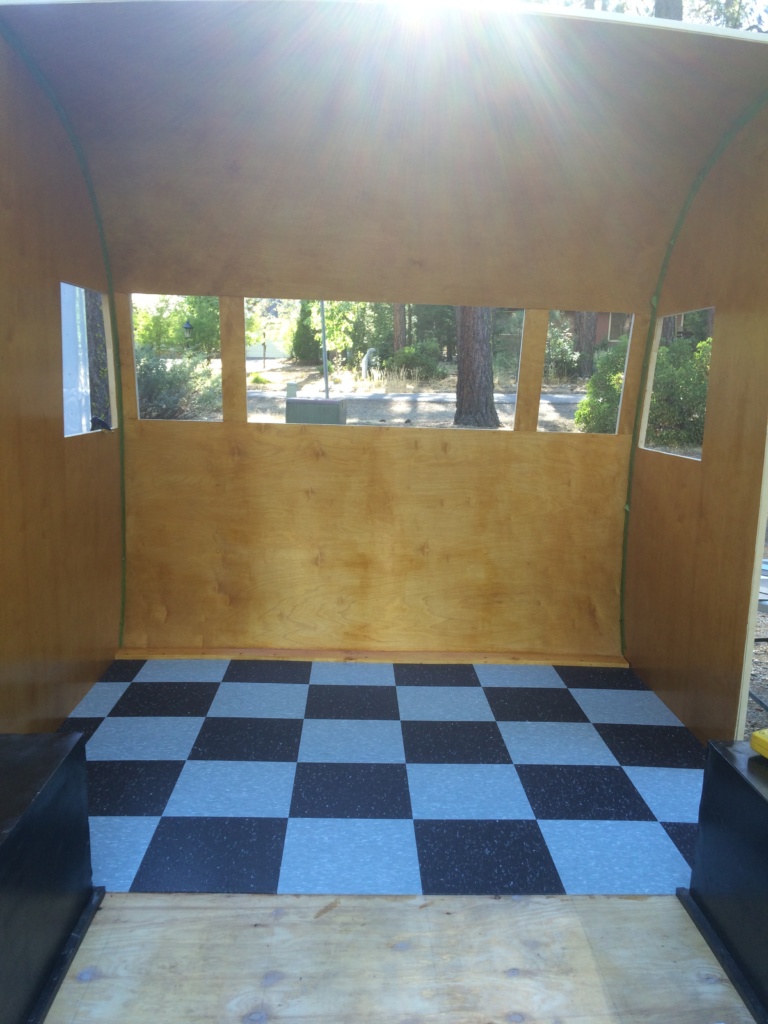
It’s finally time to lay the new flooring.  Originally the flooring didn’t extend under the cabinetry.  So, if you looked inside the lower cabinets and wardrobe you saw raw plywood.  I wanted my flooring to go all the way under the cabinets so it was easy to keep clean. For this reason, I needed to install the floor before I went any further in the project.

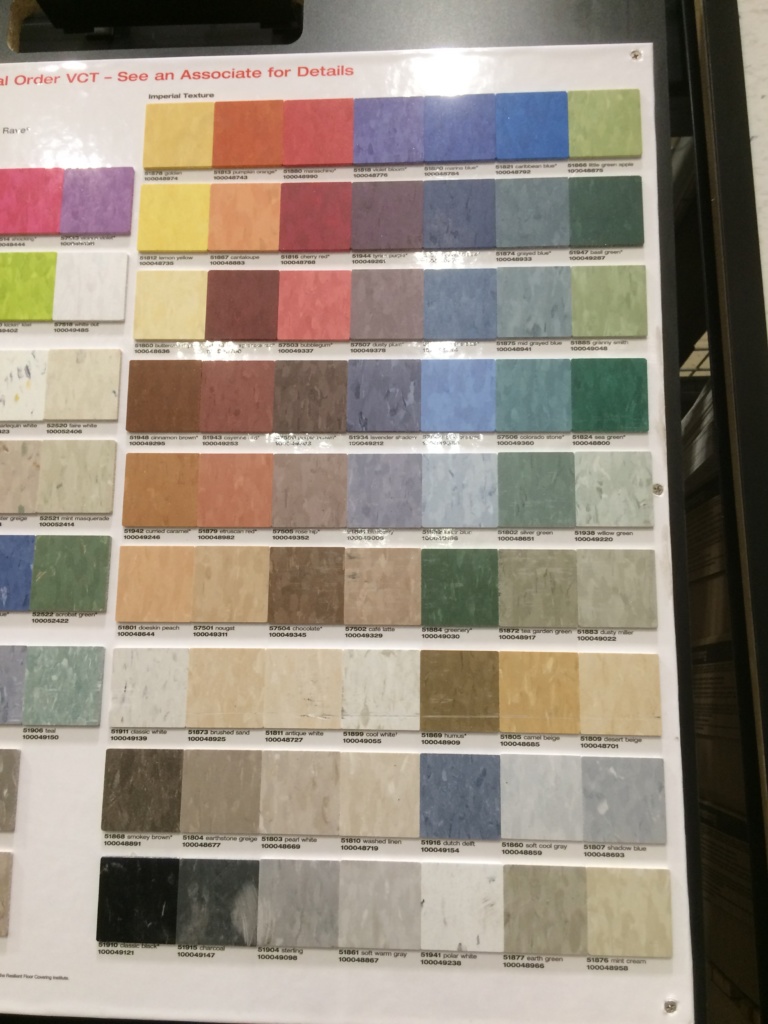
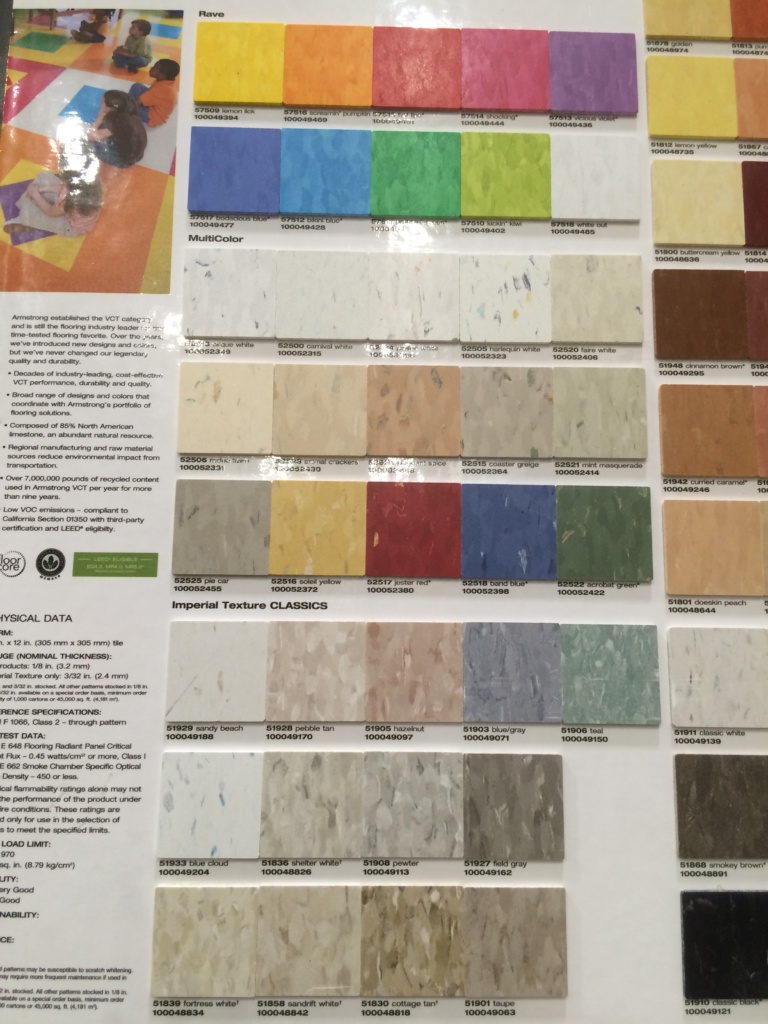
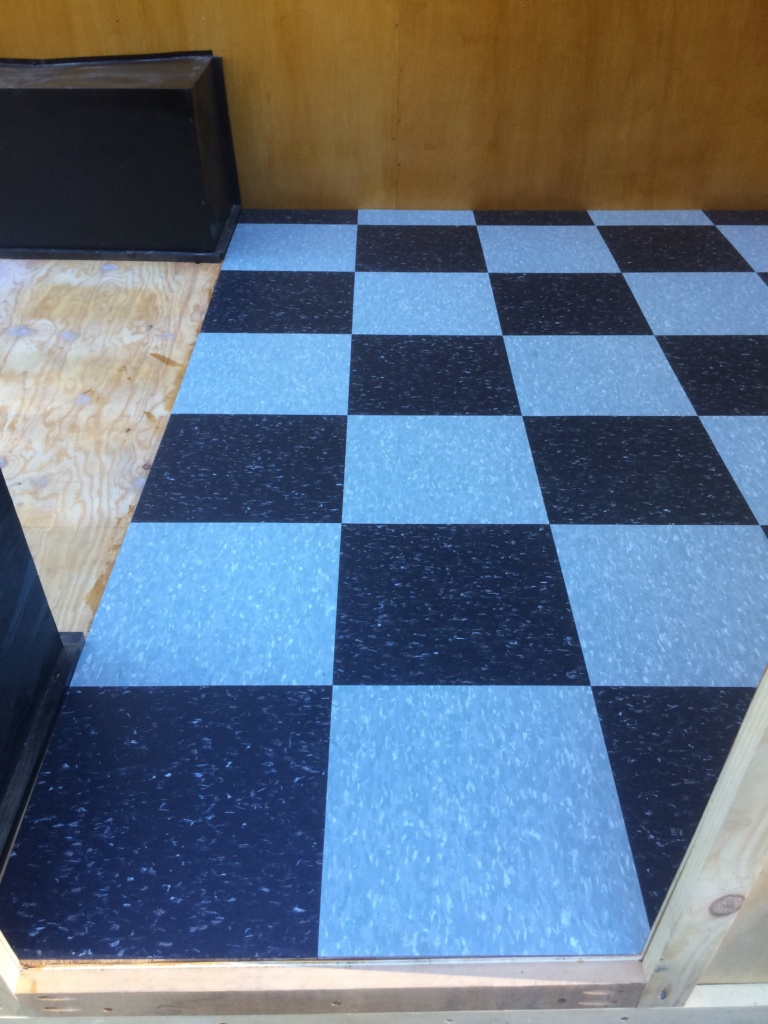
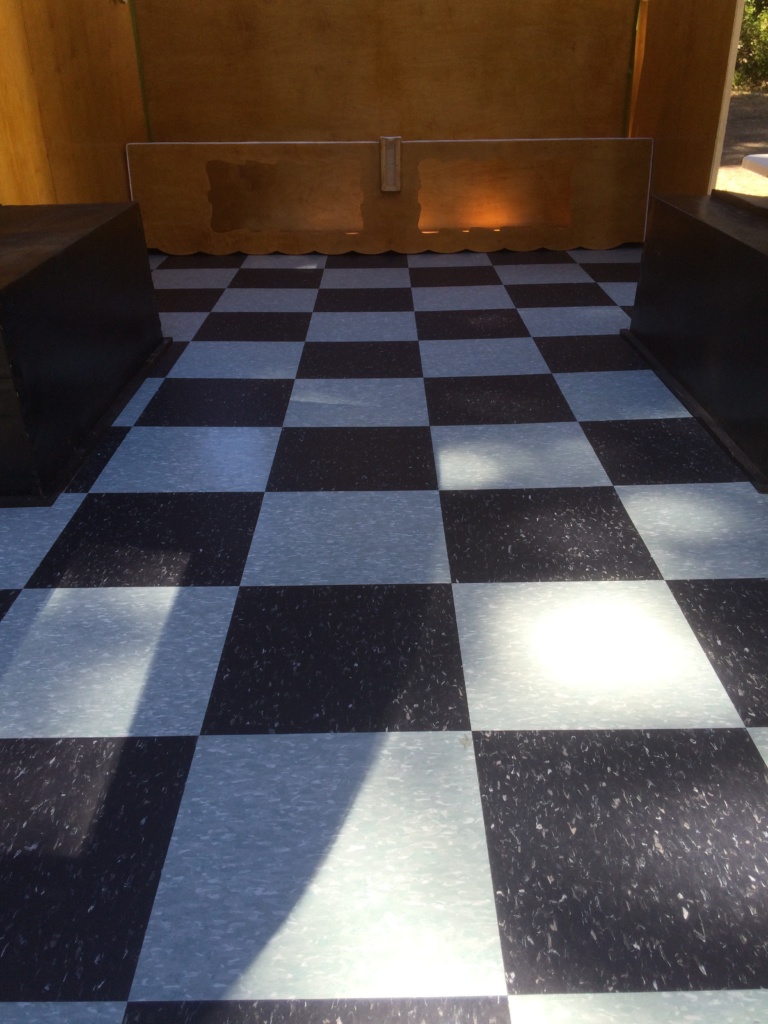
I chose a VCT tile in black and teal.  I like the look of the checkerboard but didn’t want a solid linoleum product.  Also, the durability of the VCT tile appealed to me.  After all, it is in every elementary and high school cafeteria in America!  It must be good.

I purchased my tile from Home Depot.  The adhesive and black tile was in stock but they don’t carry all of the colors in their store so I had to order the teal online. It comes in a rainbow of colors. I snapped these photos at my local store and it helped with what shade to order.

There were lots of videos on YouTube to help with installation instructions too.  Here’s the one I watched. He has great tips on layout and all the other skills need to use this product. https://youtu.be/86ja1L7zjew

I laid out a grid on the sub-floor. I cut all the tiles and laid them out without adhesive. They cut very easily.  Just use a straight edge and a utility knife to score the tile, then snap it.

You can see the grid I laid out for my tile placement

You can see the grid I laid out for my tile placement


You can see the grid I laid out for my tile placement

tile placement grid


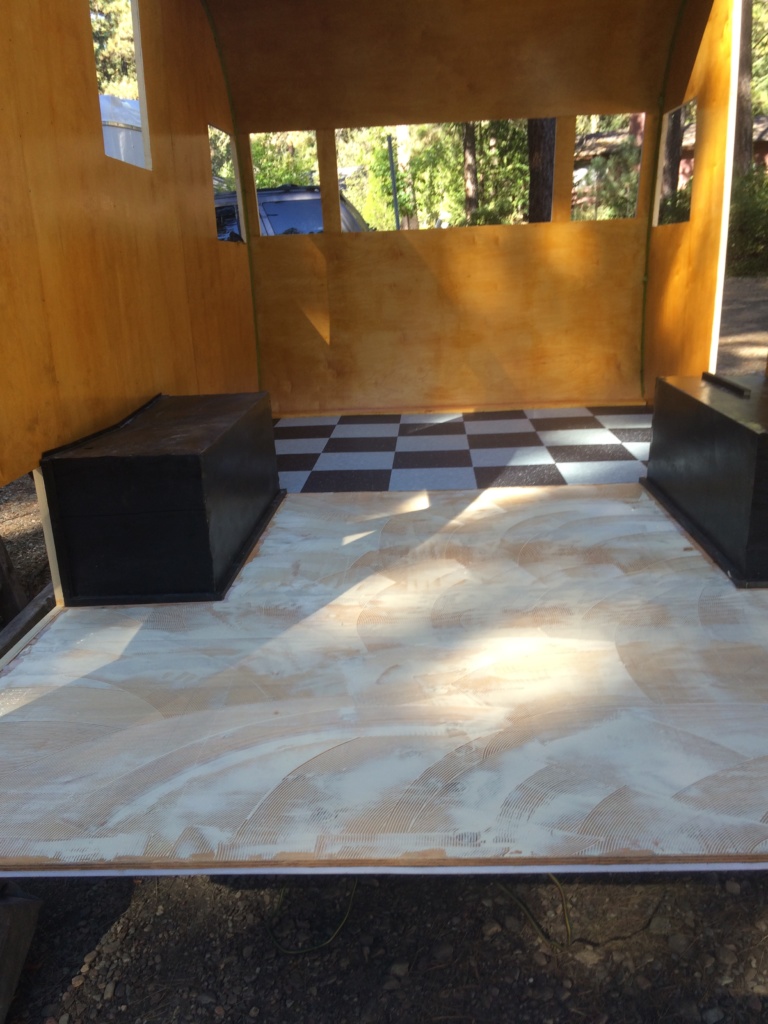
Then the adhesive is applied.  I worked in sections. It has to set up and become tacky before you lay the tile.  It is spread on with a small-notched trowel. When the product turns clear you can set the tile.  (Read all the information on your actual product for specific instructions.)

VCT tile adhesive setting up

Here's my first course.

I started at the door because I wanted a full tile there

I started at the door because I wanted a full tile there


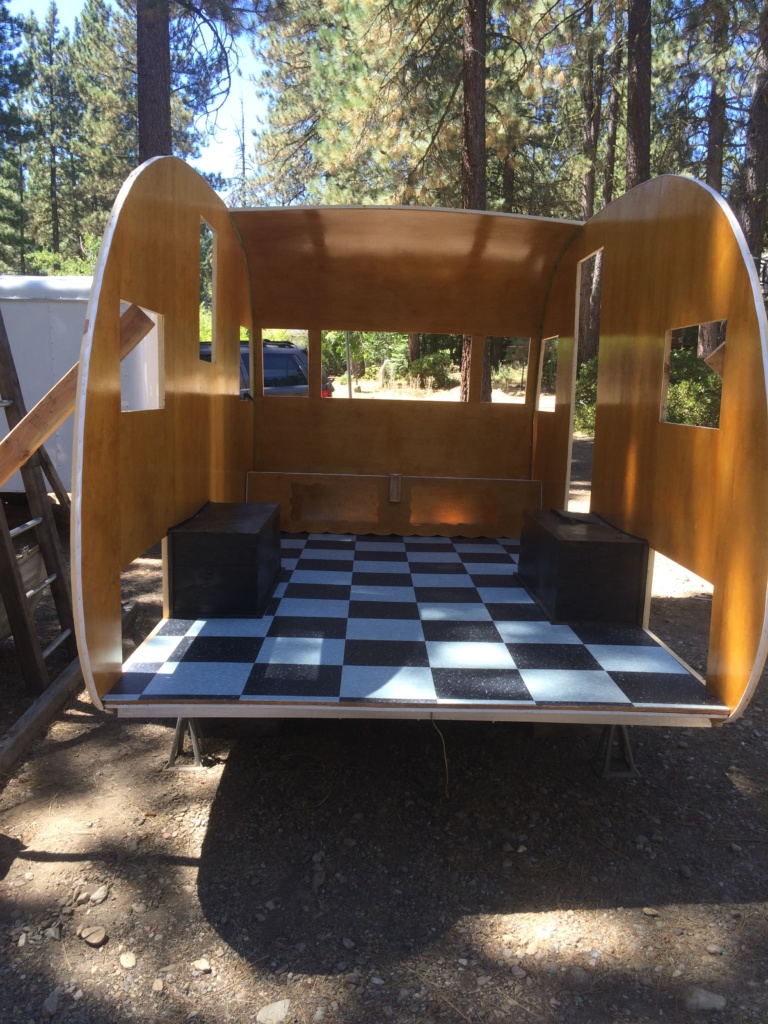
The front half is done.

The front half is done.


VCT tile

It's so pretty!


The back section has it adhesive applied. Now I'm waiting for it to turn clear.

The back section has it adhesive applied. Now I'm waiting for it to turn clear.

All Done!

The install process was pretty easy and went very quickly. I guess I was nervous about it for nothing! Now I need to get the roof on.  Something new to worry about I guess.

...AND I have to protect the floor while I complete the rest of the project.

kiss and signature

Related Posts

vintage camper trailer restoration framing

Framing Your Vintage Camper; Part 1 The Walls

vintage camper trailer restoration framing

The framing and paneling on my 1956 Shasta camper suffered the most damage over the years.  The windows and corners leaked and caused wood rot. This is a common problem with campers of this age.  Along with the walls, parts of the sub-floor were soft and rotten as well.

Exterior trim pieces are falling off

upper cabinet and table bracket; water damaged wood paneling

Upper dinette cabinet and table bracket; water damaged wood paneling.

Bed support/wheel well

I was hoping that I could just repair the damage but it was like pulling a thread on a sweater; the damage went too deep.

For this reason, I decided to rebuild the camper from the trailer frame up. After it was completely dismantled, I got to work on replacing the old frame.

(See my post on how to dismantle your vintage camper for tips and tricks on how you can do it too.)

Here are the tools I used:

  • Safety glasses
  • Chop saw
  • Clamps
  • Tape measure
  • Pencil
  • Kreg Jig
  • Drill and bits
  • Air compressor
  • Finish nailer and nails
  • Router with cut off bit
  • Hammer

Supplies:

  • 1x2 pine boards
  • 1x3 pine boards
  • 1x4 pine boards
  • 1/4 in birch paneling
  • Screw nails 3/4 inch
  • Finish nails for nail gun or regular 3/4 inch wire nails
  • Kreg jig screws
  • PL Fast Grab Premium adhesive
  • Amber Schlack
  • Small roller and brush

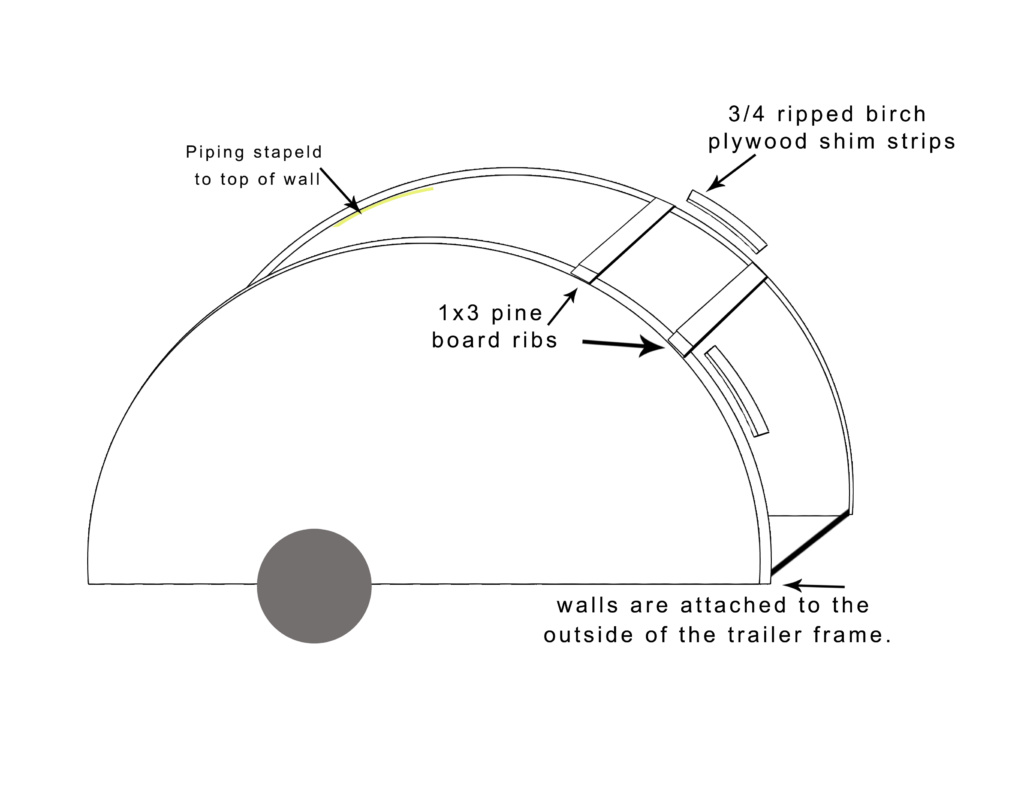
Here’s how the 1956 Shasta is assembled.  Other campers may be different.

  • The sides are framed and paneling is applied.
  • The framing is ¾ inch smaller than the aluminum siding. This allowance is for the ribs that will run along the top and ends of the camper.   Remember that 1x lumber isn’t really 1 inch thick.  It’s actually ¾ in thick.
  • The sides are then screwed to the outside edge of the trailer frame/joist.
  • Ribs are screwed in place along the top and ends.
  • ¾ shim strips are nailed along the edges to fill the gap between the ribs.

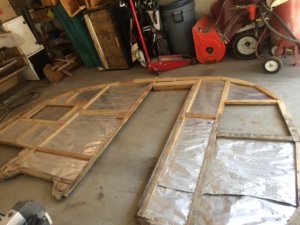
I used the old frame as a template.

Originally, the side wall frames were built out of 1x2 and 1x3 pine boards that were stapled together. (Very large staples.) I use my Kreg jig pocket-hole tool for the rebuild.  I felt this was a stronger joint.

I know this might look or sound intimidating but I assure you that it was easy and really fun.  I enjoyed this part of the project and I totally recommend getting a Kreg jig for this and many other projects.  I can’t live without this tool! (And they don’t pay me to say this!) There are lots of YouTube videos on how to use the tool and it comes with instructions that are very easy to follow.

Kreg jig...and my shoe. 🙂


I took lots of photos of how the old pieces were assembled...And, in my dismantling post, I talk about how to mark your old camper pieces so it’s easier to reassemble them later. Check it out.

Tips and trick  to dismantle your vintage Camper

I used the floor of my garage for a work surface.  (I tried putting folding tables together but just couldn’t work around it.)

First I laid the aluminum siding down, then I placed the old framing on top of that and matched up all the sides and openings.

One by one I cut and laid out the new pieces of 1x pine. You can use wider lumber but not thicker.  The walls have to be 1” thick.  Remember to keep your openings exactly the same!

It’s important that you copy the pattern exactly.  Otherwise, your door, window or other openings won’t match up later.

POST PROJECT TIP: The frame is ¾ in smaller than the aluminum siding.  Sometimes things move or shift while building.  At least it happened to me. It’s better for your framing to be slightly smaller than your aluminum siding.  If it’s the same size or bigger, you’ll never get it all to fit back together.  You can always shave off a bit of aluminum but you can never get it to stretch.  🙂

My sweet daughter helping me move the frames.

My sweet daughter helping me move the frames.

One side complete

Laying out the paneling before glue and nails.

Next, I placed the sheets of birch paneling on top of the framing and laid everything out.  I tried to use the same layout as the original paneling.  The seams are strategically placed behind the wardrobe and cabinets so there is minimal trim used to cover them.  (The ceiling will have trim that runs from side to side.)

Once I was happy with the layout I removed the aluminum siding from the bottom of the stack. (I didn't want to put excessive pressure on it and dent it.) I placed the frame back on the ground and applied PL adhesive to the frame.  I put the paneling back down and pressed in place.  Then I used my finish nail gun to make it permanent. I was careful to space my nails evenly, especially in areas that would show.  I placed them every 6 inches. You’ll learn why in just a bit.

PL Adhesive of the frame

PL Adhesive on the frame

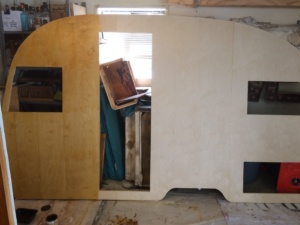
Cutting out the openings and trimming around the frame was really fun!

Find the window, cargo door, and front door openings. Make a pilot hole with a drill and large bit.

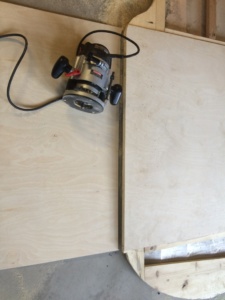
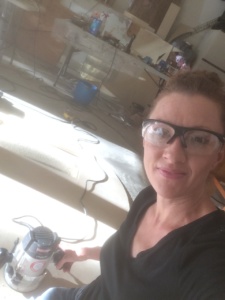
Set up your router with a cut-off bit.  Adjust your router depth so that the bearing runs along the frame and the cutting edge of the bit runs along the paneling. With safety glasses on, place the router in the pilot hole and run along the framing. Do this for each opening and around the outside edge of the frame.

Save these scraps for use later.

Finally, I sanded the birch paneling with 220 grit sandpaper and an orbital sander.

Here’s the reason why you’ll want to pay attention to your nailing. 

Use 3/4in screw-nails to finish off the paneling. These are only placed on the paneling where the framing is there to support them. Don’t put screw nails in the paneling where there isn’t frame behind it.  AND The seams will get a piece of ¾ ripped birch trim later when you install the cabinetry so don’t use them there either.

I sand everything first, before the screw-nails because the orbital sander and sandpaper get caught on them.  (Lessons I’ve learned along the way. 🙂

Now everything is ready for amber Schlack...three coats to be exact.


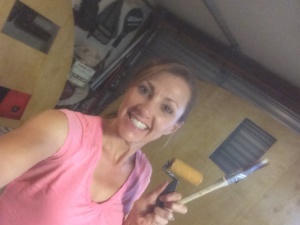
I stood the walls up to Schlack them.  This stuff dries fast and is not the easiest to work with but I was determined to restore the camper to the original look.  I used a small roller in one hand and a brush to catch the drips in another.  “Wax-on…wax-off Daniel-san”.

Next order of business…Installing them!

See the Behind the Scenes Look at My Vintage Camper Flooring Install for more information.

See Framing your Vintage Camper Part 2 for how to frame the top and ends.

kiss and signature

Related Posts

Tips and Tricks to Dismantle Your Vintage Camper

dismantling camper

So, you have to completely rebuild your vintage camper. It can be like pulling a thread on a sweater... The more you tear into it, the further you have to go. I know from experience! Sometimes you just don't know the extent of your project until you start the demolition process.

I found out quickly that I was in for a total rebuild when I started the demo process of my vintage 1956 Shasta camper.

I thought I was going to be able to replace some of the sub-floor and the interior paneling.  What I wound up doing was tearing the whole thing apart...down to the trailer frame. The further I dug, the worse she looked, so I went for it!

Here's how I did it;

1. My first bit of advice is to document your project. It's extremely important to take photos. Take lots and LOTS of photos. Take them at every stage of demolition and from every angle.

2. Keep all the parts and pieces for use as templates. The old pieces will also help you to reassemble your camper later. I referred to my camper parts many many times over the course of the project.

Here you can see that I marked where each rib was located. This will make it easier when reassembling.

Here you can see that I marked where each rib was located. This will make it easier when reassembling.

3. Carefully number and label your parts. I stored all my parts and templates in one place and as I rebuilt the camper I would move the old parts and templates to a separate location.

It took over a week to dismantle my camper and I used a variety of tools.

Safety Equipment
Eye protection
Gloves
Respirator

Hand tools
hammer
screwdrivers
vice grips
pliers
wrenches
crowbar

Power tools
Impact drill
drill & drill bits
reciprocating saw

Products I used
PB Blaster


After I cleaned out the camper (see... "How to safely clean out your vintage trailer find."), I removed all of the curtains, rods, table, and seats.

Then I removed the battery, pump, water tank, fuses, and propane tanks. I carefully removed all of the light fixtures, mirror, and exterior lights, wrapping them up for safekeeping. I was lucky enough to have a camper that was complete; all of the fixtures and appliances were intact.

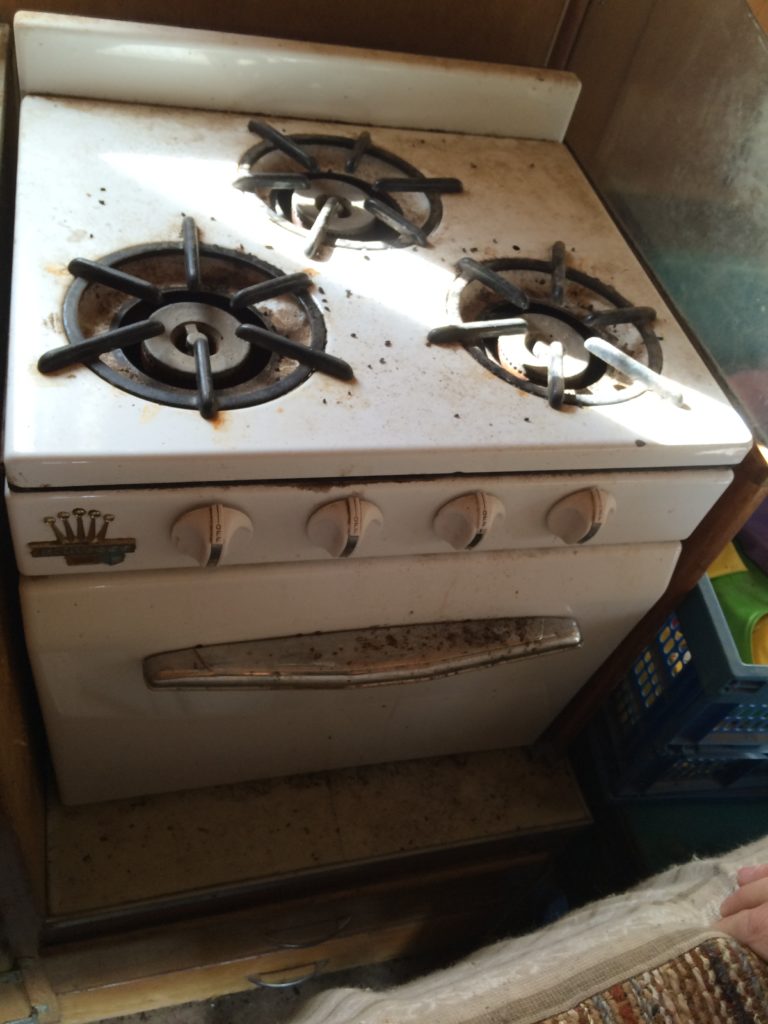
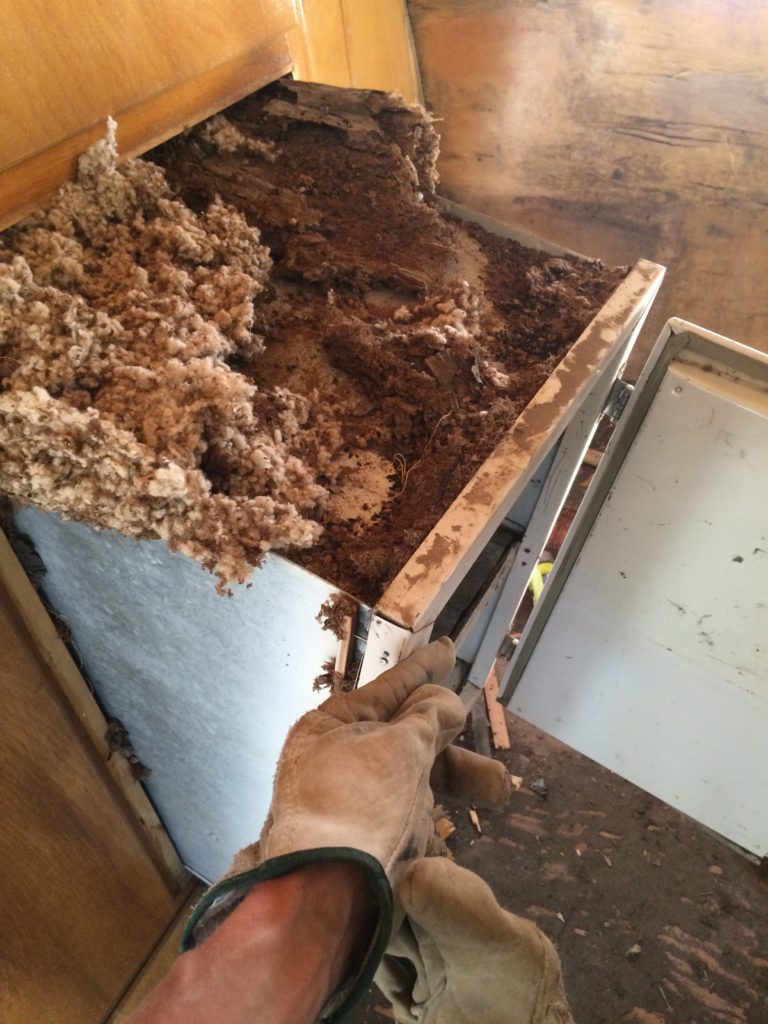
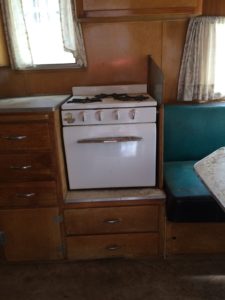
Next was the stove and icebox. The stove looked pretty good but the icebox had a giant mouse nest lodged between the top and the cabinet.  GROSS! I had to use the reciprocating saw to cut the screws that held the icebox in place.

From there I began to unscrew all of the cabinetry.  It was tougher than it sounds because in the 50s they used flat head screws.  UGH!

The dinette and bed bases were mostly built in place, so taking them apart meant that I had to be extremely careful about labeling them.

Tip:  When labeling your parts and pieces use the terms "curbside" and "roadside".  Example; "curbside dinette seat base" or "roadside cargo door."  If you use the terms right and left you'll be easily confused...right and left can mean different things depending on which end of the camper you are standing in and which direction you are facing.  (I learned this quickly. lol)

The sink base was next.  All of the water lines and pump were removed as well as the drain line. I was able to get the sink base cabinet out of the narrow door.

Unfortunately, that isn't the case for the wardrobe cabinet. It has to be removed by taking it out the rear of the camper...which means you have to remove the siding and framing.  Remember that the wardrobe is structural so I don't recommend taking it out until you can brace the walls.

So on the exterior.....

Trim pieces were removed. (hundreds of stainless screws!!!) I ordered new screws from my local Ace Hardware.  I wound up going through at least 8 boxes of 100.
The windows had an interior frame that was screw-nailed in place as well as an exterior frame and glass that was screwed on. Firing strips were used to shim each window frame.  All of that wood was rotten.

The exception is the front/side windows.  These had the interior aluminum frame but were held in place with wood trim pieces and silicone caulking.  It was as if they were "glued" in place.  Terrible design!  They were destined to leak!  I will add a gasket to these when I rebuild!

No gasket was present in the front/side windows.

No gasket was present on the front/side windows.

After the windows are out I moved on to the aluminum siding.  I needed some help supporting the large flexible pieces as they came off.  I didn't want to bend or crease them.  The roof was the hardest.  It was such a large piece that it took three of us to support it.

The sub-floor is attached to the trailer frame with large lag bolts.  These were rusted and inaccessible with a reciprocating saw.  I used a product called PB-blaster to loosen them.  Just spray it on, (use goggles) and wait.  Sometimes it takes a couple of hours to really penetrate.

I'm under the trailer removing the sub-floor lag bolts

I'm under the trailer removing the sub-floor lag bolts

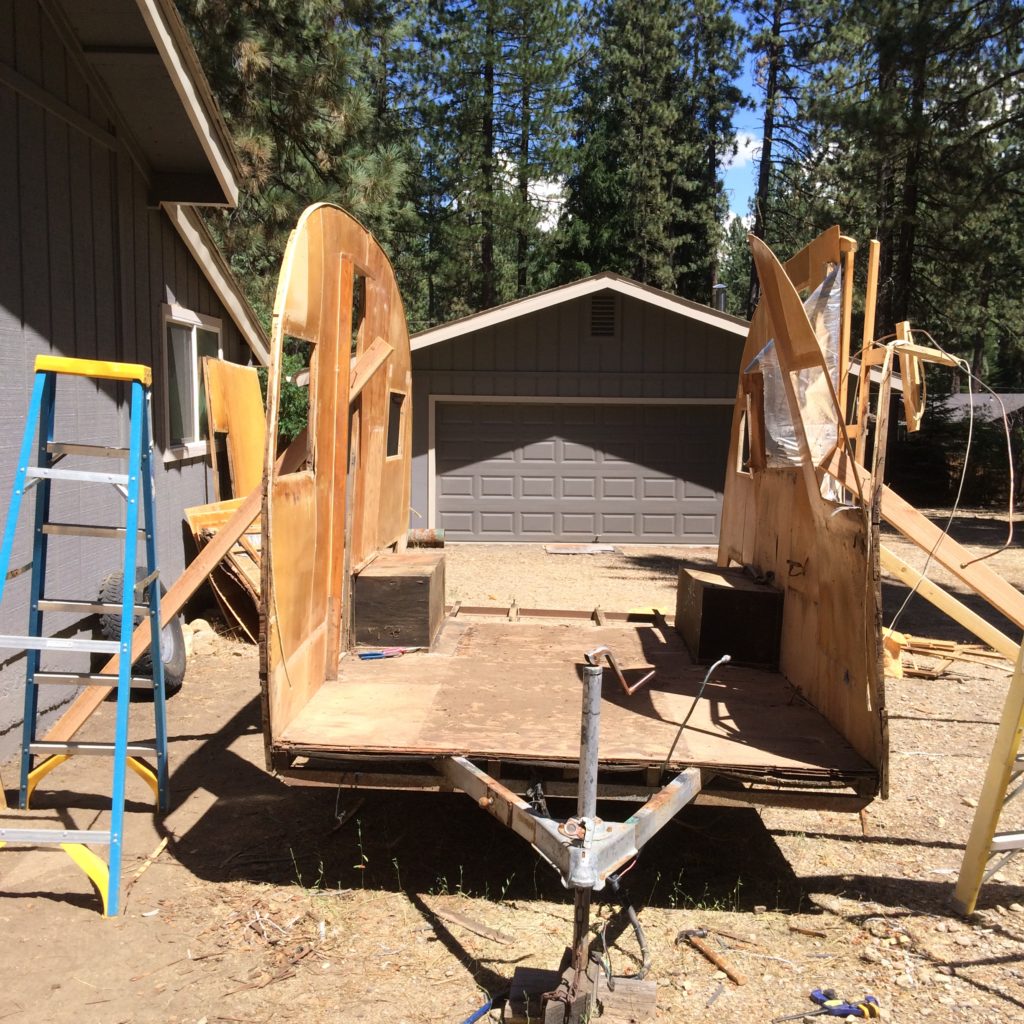
Now the trailer looks a bit NAKED!  The side walls were braced with 2x4s and metal stakes. Then I began to remove the front and rear panels.  Again, lots of screws and nails.

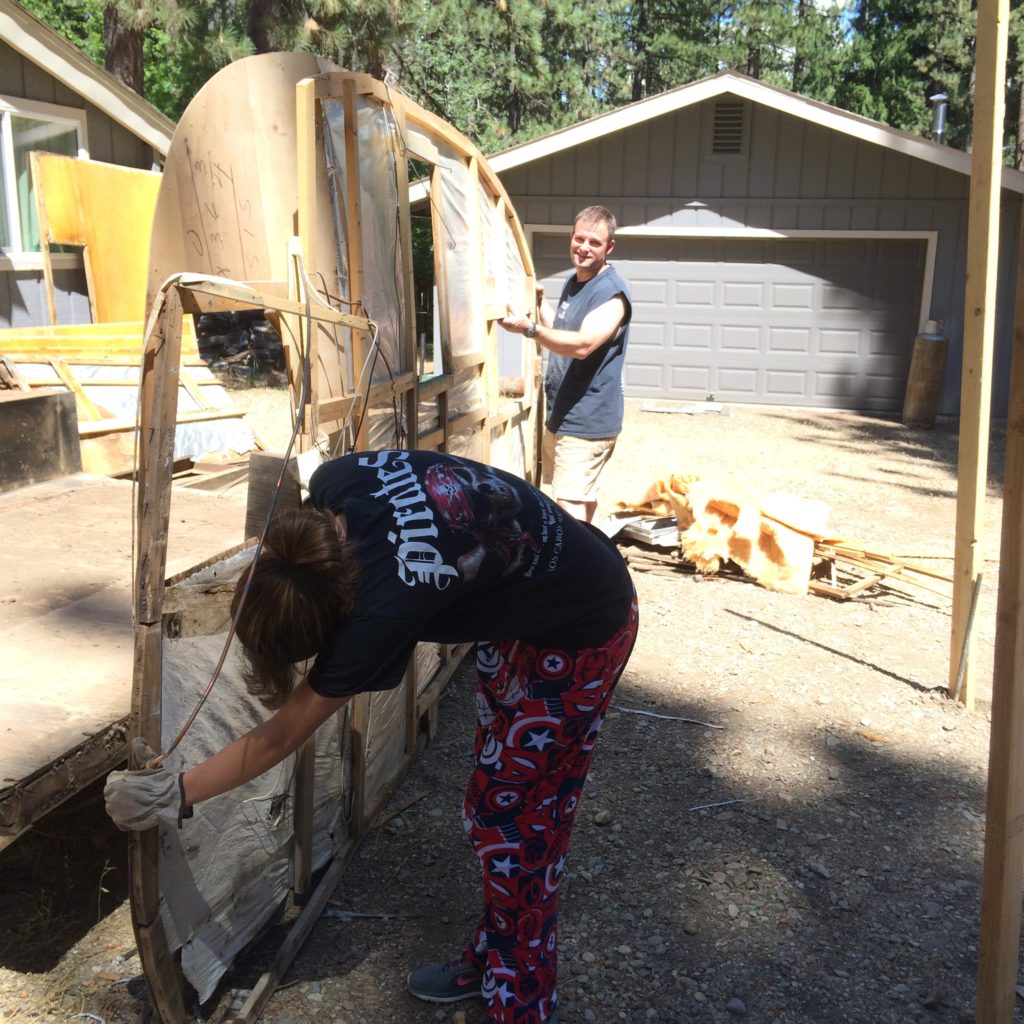
The top sections were taken off along with the insulation and wiring.

Finally, the sides were unscrewed and lifted off.  This took a few extra hands as well.

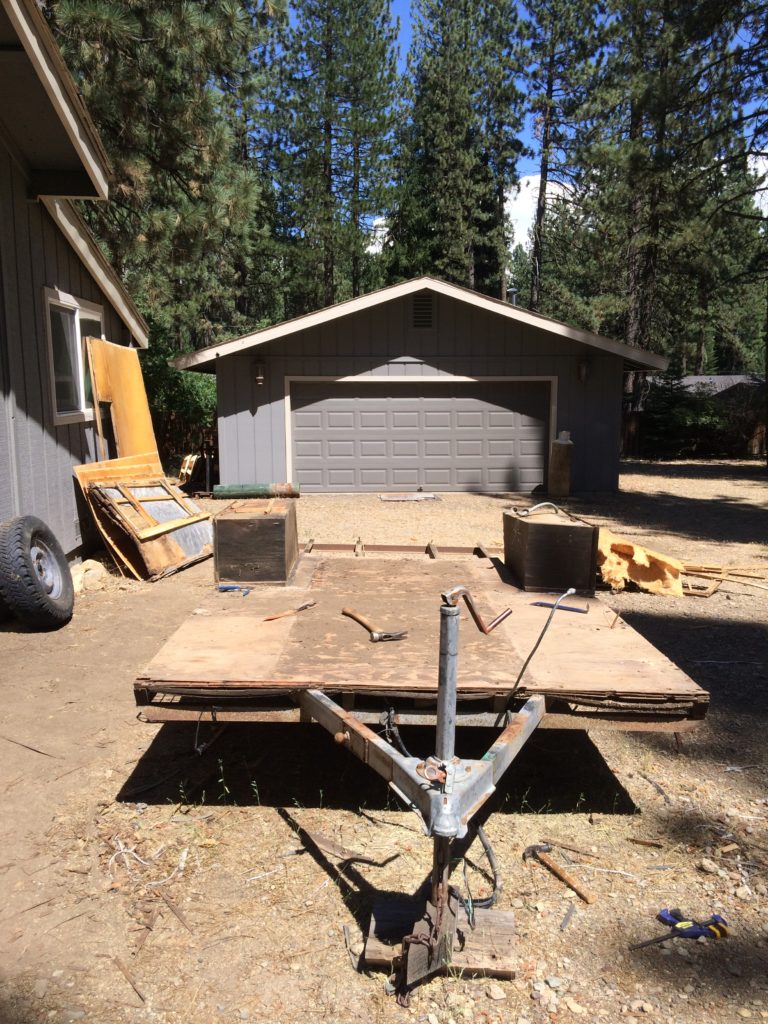
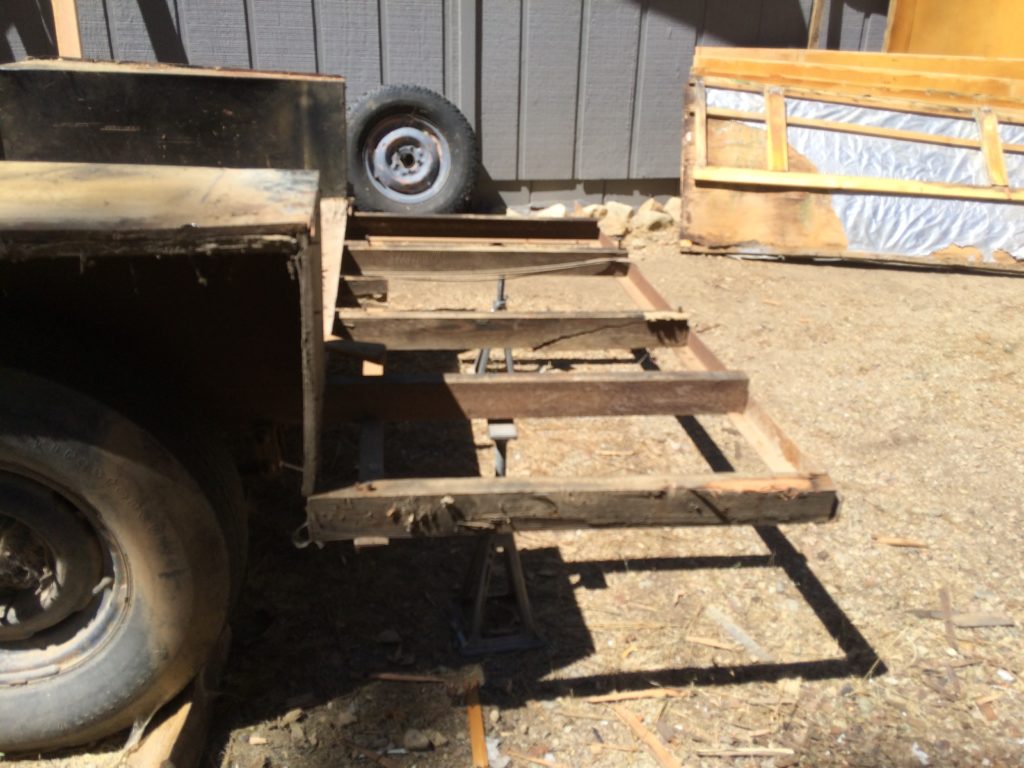
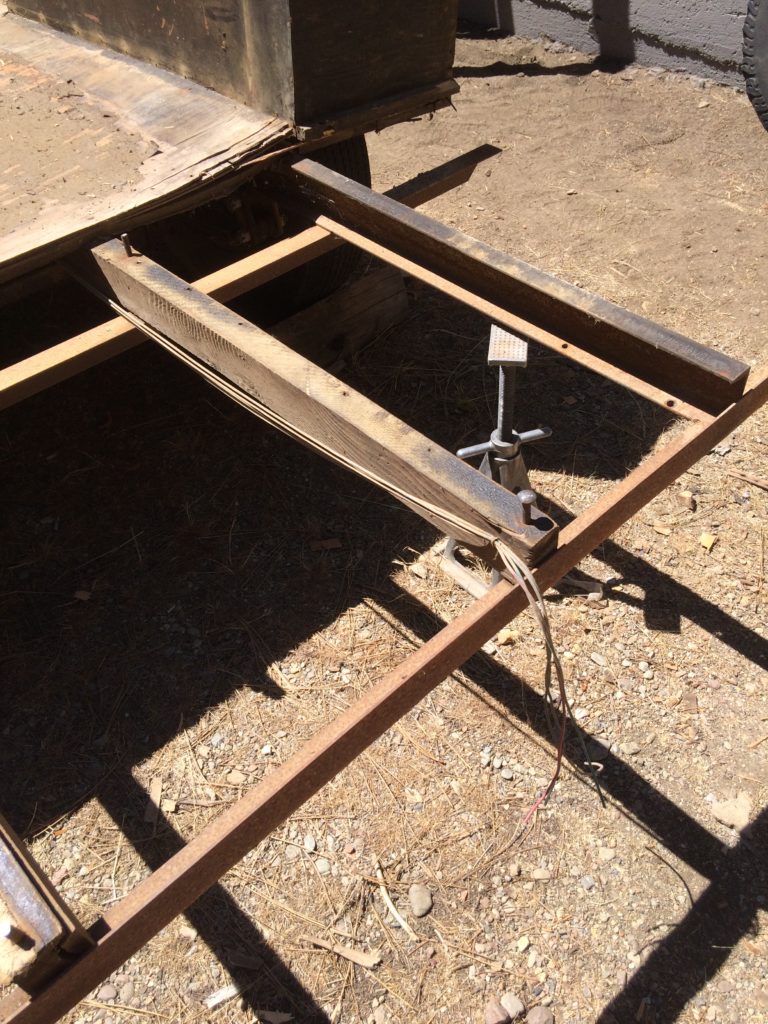
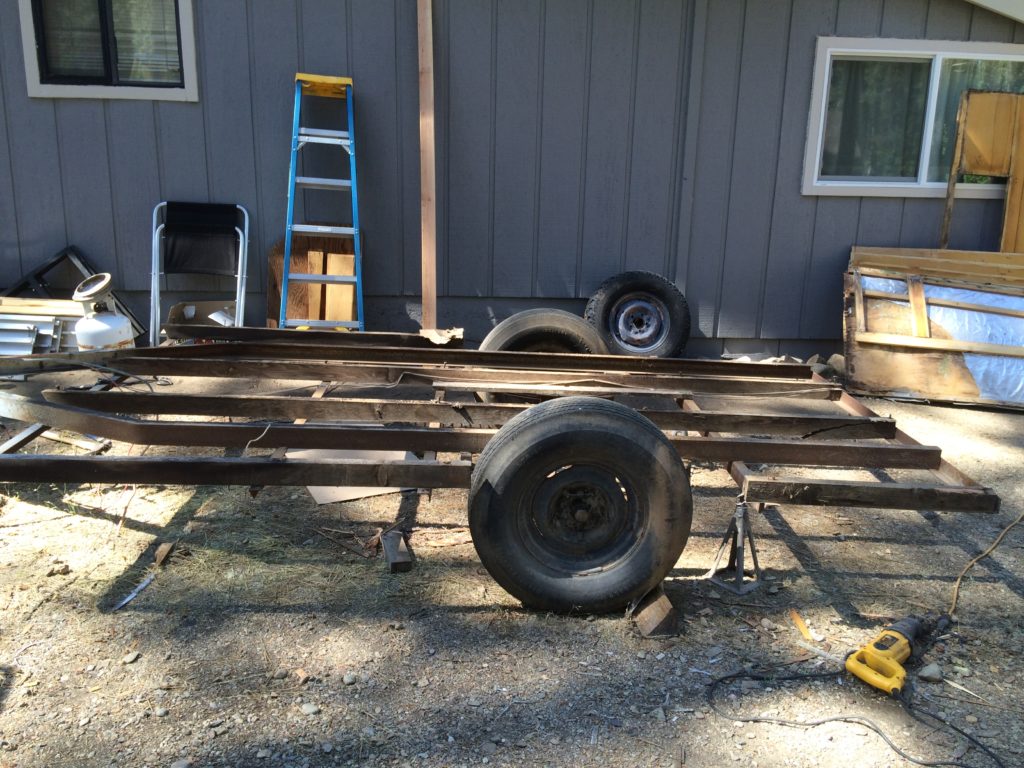
The sub-floor and wheel wells were dismantled and now all that's left is the metal trailer frame.

The neighbors came out and asked where my camper had gone.  I pointed to the flat trailer frame and said, "There it is!"  Their eyes widened and I know they were thinking that I was crazy.  I knew they were skeptical about my ability to rebuild it.  I was a bit skeptical myself. lol.

Bare Trailer Frame

Bare Trailer Frame

Deep breaths! Deep breaths! That's what I kept telling myself.  One step at a time...You can do this!

kiss and signature
vintage camper trailer restoration cleaning

How to Safely Clean Out Your Vintage Trailer Find; The Essential Guide

how to safely clean out your vintage camper

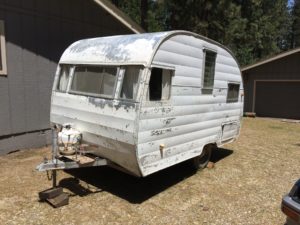
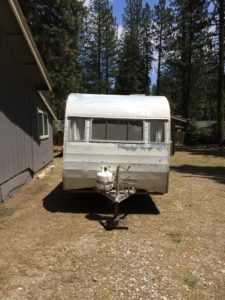
My friend towed the Shasta to my house today. I'm lucky in many ways!

1. Front door delivery is GREAT!

2. The Shasta made it 30 miles on its current tires. They held air so we took a gamble!

3. Lucky to have great friends.

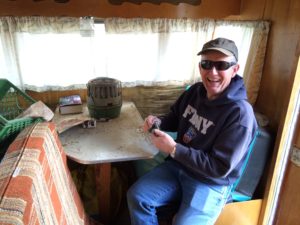
Here's Greg sitting at the dinette. I can't believe he'd touch anything in that camper! Eeeww!

Now to clean it out and access what needs to be done!

AQ phone 7-6-16 139
AQ phone 7-6-16 138

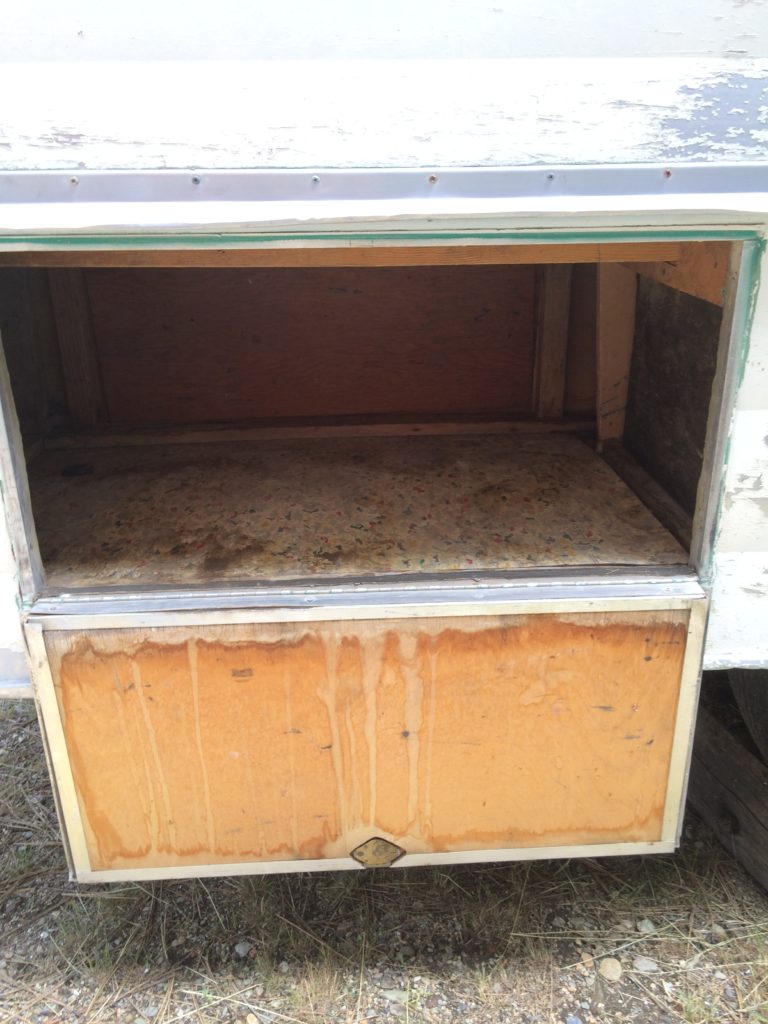
My friend, Greg backed the camper into the side yard and unhitched. Now I had an opportunity to inspect the camper more closely, (Remember the last time I saw it, it was in the middle of a field.) As he opened the outside cargo hatch something caught my eye...A MOUSE!!! And it was living in the camper... and traveled 30 miles...and...and...and...It must go! Fist order of business...evict the current tenants!!!

cargo door

Now the real work/fun begins.

Side Note: This is when you need to start taking photos. It's important to document how things are put together AND how you took them apart. I can't emphasize this enough. Take pics of EVERYTHING! Take them from every angle and every stage.

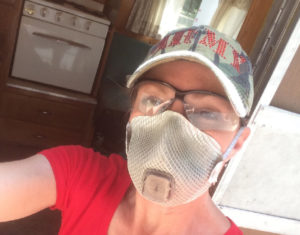
Ok, here's what you'll need to be safe and healthy.

1. Safety Glasses

2. Work gloves (latex, leather or any work glove will do)

3. Respirator or dust mask. I used the dust mask this day but use a respirator when painting.

4. Bleach/water solution in a spray bottle. (1 part bleach to 10 parts water.)

5. Trash bags

wear a respirator


After a thorough inspection, it's clear to see that my gem is in rough shape; The sub-floor is rotten, the walls are crumbling and the smell....oh the smell!

1. Open up all the windows and door and let the camper air out for 30 minutes.

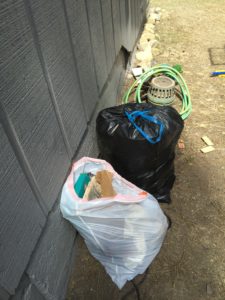
2. Clear out all the trash and put in the trash bags.

3. Spray the bleach/water solution on any droppings you find. Let soak for 5 minutes and clean with paper towels or disposable rags. You can use a wet/dry shop vac for the job just remember that you'll want to clean it out with the bleach/water solution and replace the filter.

4. Clean any surfaces with the bleach/water solution.

Princess propane stove

5. Seal up the trash bags to prevent dust and particles from escaping.

For detailed instructions on rodent clean/up, you can check out the CDC website.
https://www.cdc.gov/rodents/cleaning/index.html

Here are some photos of my cleaning experience. I found several nests. Mice had pulled the stuffing out of the seats and used them to build little cozy homes. (And probably had their babies on them as well. GROSS!) For that reason, I knew I was going to have to replace all the fabric, vinyl and anything else that had a porous surface that bacteria could live on.
Large nest filled with droppings and seeds above the ice box

Mice droppings were everywhere!

The battery compartment. Rotten wood and mildew.

On another sad note...There's not one piece of paneling that is salvageable. Next order of business...DEMOLITION!

And she needs a name!

kiss and signature

Related Posts

vintage camper trailer restoration paneling

10 Things you need to know before you buy your first vintage camper

before you buy

Have you ever had a conversation with someone and mentioned something you were interested in and that person had that exact same thing you were wanting? Well, that's how my passion (obsession) for vintage campers began. I have been seeing all of these cute campers on Pinterest for several months.  I mentioned my findings to a friend and he said he knew of one that was available.  Within the week I was standing in a field looking at my first camper project.
If you in the market to purchase a vintage camper project download my free shopping checklist. I'll tell you the things to look for and what to ask a potential seller....and it free.  Click Here to download.

SHE IS BEAUTIFUL!!!  Ok...maybe this is the kind of love only a mother has.  To be honest she is in rough shape.  But she's FREE!!  And that's the perfect way to test your skills, right?

I spent a year restoring this 14-foot camper and have learned a lot. That's the whole point of a project like this. I get asked often about how much a vintage camper is worth in its unrestored state. And the answer I always give is, "What's it worth to you?"

This rotten 1956 Shasta was invaluable to me as a learning tool, but maybe you aren't looking for a complete "frame-up" restoration. (Yes, I took it down all the way to the bare metal trailer frame.)
See my post on Tips and tricks to dismantle your vintage camper.

Here are some things to look for when shopping for a vintage camper project. ( In no particular order)   Click Here to download my free vintage camper shopping checklist.

1. Does it have a title?
2. Consider the age of the camper.
3. Does it have character and desirability?
4. Size; How big will your project be?
5. Is it structurally sound? (framing)
6. Do the systems work? (Electric, Propane, Water)
7. Is it water tight?
8. What condition is the undercarriage in? (leaf springs, brakes, tires, bearings, tow-ability, etc.)
9. What condition is the exterior siding in?
10. How complete is it? (windows, appliances, light fixtures, hardware, cabinetry, etc.)


  • 1. Does it have a title?

    It's much easier to deal with a camper that has a clean title. I really don't like to deal with any other situation. Each state has its own set of rules when it comes to this so I have little advice except to do your research. I don't recommend staring any work on a camper unless you've secured the title in your name.

  • 2. Age of the camper

    This is a question of preference and opinion. There is some debate on how old a camper has to be in order to be considered "Vintage". Some enthusiast says 1973 is the cut-off while others will accept camper up until the late 1970s. If you plan on belonging to a specific vintage trailer club, then you might want to research their specific guidelines. Other than that, you should use your own judgment....If you like it, then age doesn't' matter.

  • 3. Does it have character and desirability?

    Again...do you like it? Many vintage camper models have a large following. There are websites and social media sites devoted to them. The more popular the make and model is, the more you can sell your restored camper for. But...sometimes that means you'll pay more for the unrestored camper as well. The important thing is to buy what you like, have a vision for the completed project and have fun with it.

  • 4. Size (How big is the camper/trailer?)

    Consider the scope of your potential project. I don't recommend starting off with a 24-foot aluminum camper that needs a complete frame-up restoration. You could get discouraged and overwhelmed before you even start. Start with a small, 14-16 foot trailer. Maybe consider one that doesn't have a bathroom so you don't have to deal with a black-water tank for your first project. Just a thought....

  • 5. Is it structurally sound?

    Look for bowing sides or sagging roof lines. This is a good indication that a piece of the framing has been compromised. Don't get me wrong, it can be fixed, just know that you'll be taking the aluminum siding off to access the damage. By the way, if the siding is off you might as well access the electrical and insulation. 🙂

  • 6. Do the systems work?

    Speaking of electrical..... Maybe you are very comfortable with this but I wasn't. I learned A LOT! If running or fixing electrical systems is your thing then you're my hero! Remember that most campers have 12v and 110 power along with a trailer tail light system. You'll need the tail/brake lights to work when towing your project home. (Or you can put your camper on an auto trailer.)
    Propane lines should be tested with leak detector fluid before using them long term.
    Water systems are fairly simple but I can tell you that I went to the hardware store more times when installing mine than any other thing. Typically a new faucet and/or pump may be required.

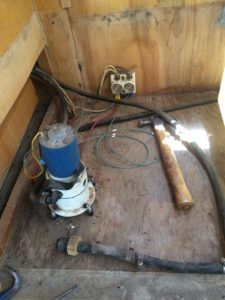
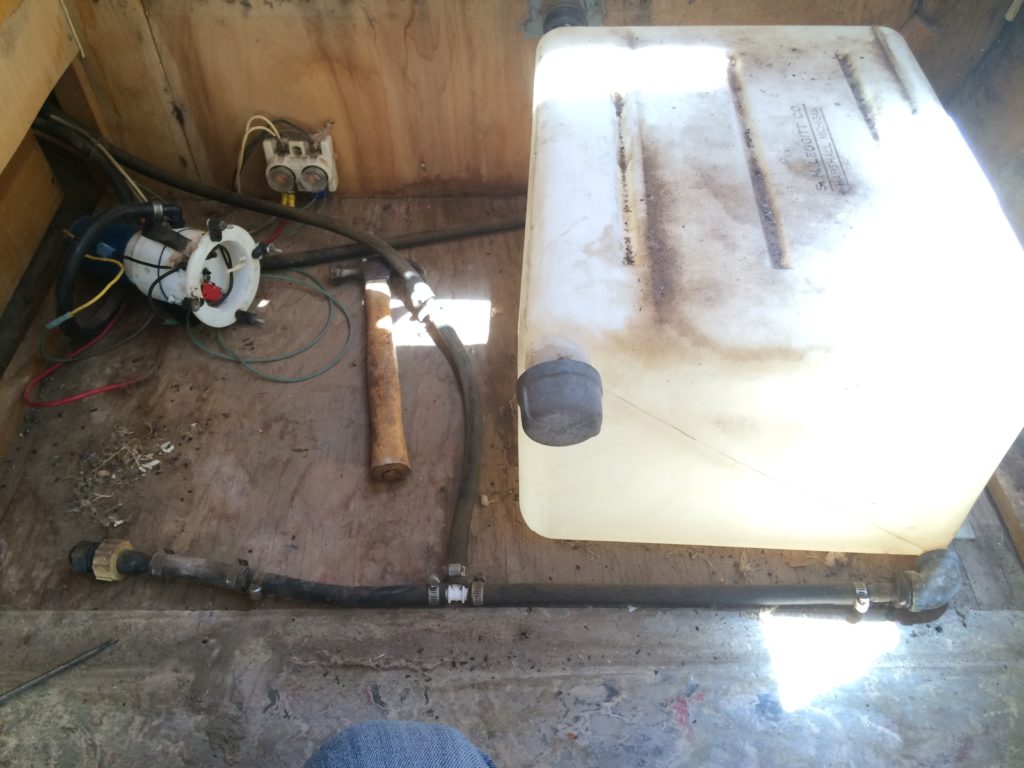
    Water pump and fuses. I'm going to need to upgrade that.

  • 7. Is it water tight?

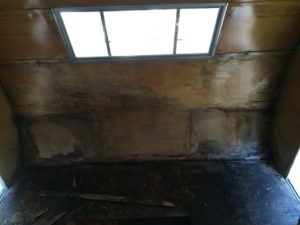
    Most of them are NOT! If the wood paneling has watermarks, discoloration or delamination then it's been wet. This happens most frequently around the roof vent, windows and corners. The good news is the wood can be repaired. But first, you need to stop the leak.

  • 8. What conditon is the undercarriage in?

    Check for broken leaf springs. (Yep, you'll have to put your head under there and shine a flashlight on them.) Leaf-springs can be replaced but it's not something I'd like to tackle.
    The same goes for brakes. Lots of people do them but I'd probably take it to a repair shop.
    Most of the time tires will need to be replaced. Trailer tires are only good for 10 years regardless of their wear.
    Wheel bearings are easy to replace or repack. There are lots of YouTube videos on how to do this. Pretty simple.
    After you access the lights, tires, and brakes you'll have to decide if you can safely tow the camper to your project site. Maybe putting it on an auto trailer a better option.

  • 9. What condition is the exterior siding in?

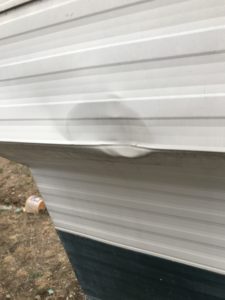
    Check for dents, damage, and missing siding. You can still purchase siding for vintage campers and some repairs are possible. Bondo and a lot of sanding can make siding look better but holes WILL lead to water damage if you don't repair them.

  • 10. How complete is it?

    There are lots of sites that sell vintage trailer parts and appliances so it's possible to find replacements, but a complete camper will save you $$.

After you've examined the potential project it's important to think about how many of the above list items you are capable of doing yourself. I've learned a lot by reading, watching YouTube videos, and consulting with friends in the construction industry. You just have to be willing to learn and possibly fail a few times until you get it right...I know I did!

How much of the work can you do yourself? Parts and supplies add up quickly. Is this project for your own personal enjoyment or are your trying to sell it for a profit?

The bottom line is....What's it worth to you?

Remember that a free camper could cost your THOUSANDS of dollars!! ...and that's ok as long as you are aware of what you're getting into.

If you in the market to purchase a vintage camper project download my free shopping checklist. I'll tell you the things to look for and what to ask a potential seller....and it free.  Click Here to download.

kiss and signature

Related Posts