Everything is happening all at once! The project has come to a place where I’m working on so many things simultaneously. One thing leads to another or I get ready to install something and remember that I still have a part I need to make or refinish.
This post is about tying up all those loose ends and getting all the parts and pieces ready for installation.
Cabinets
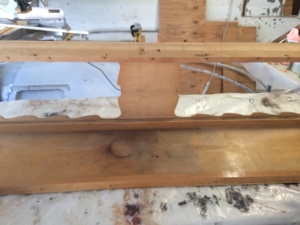
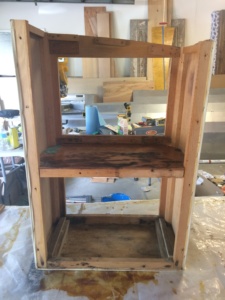
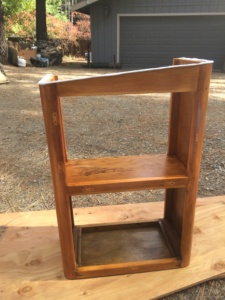
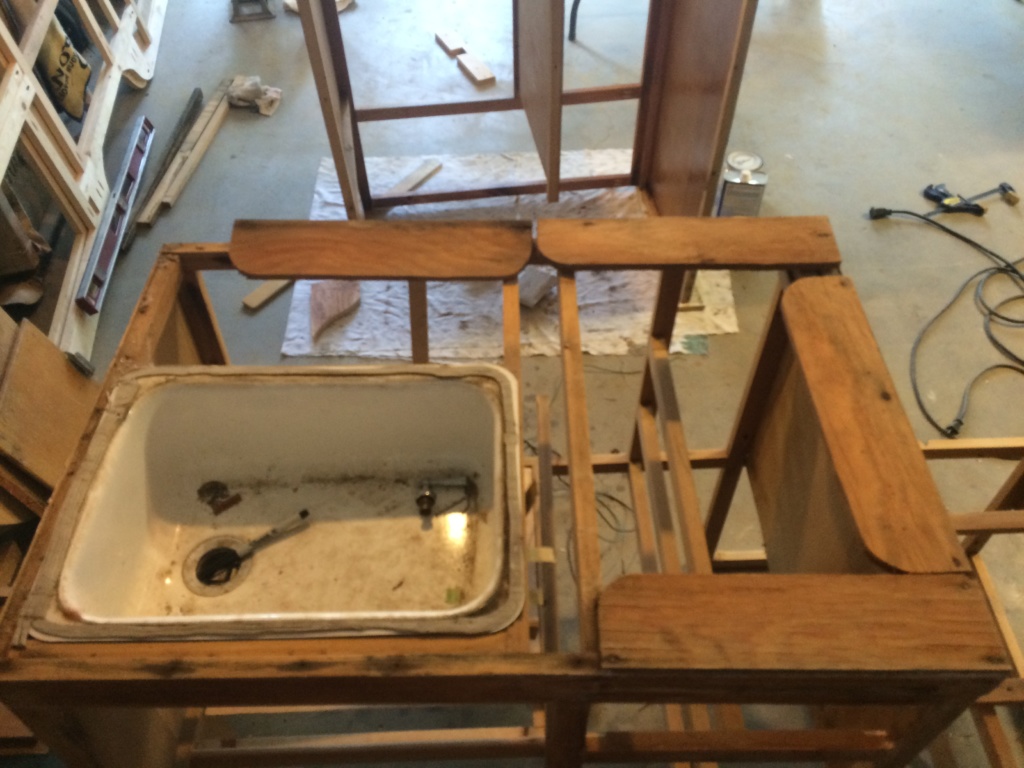
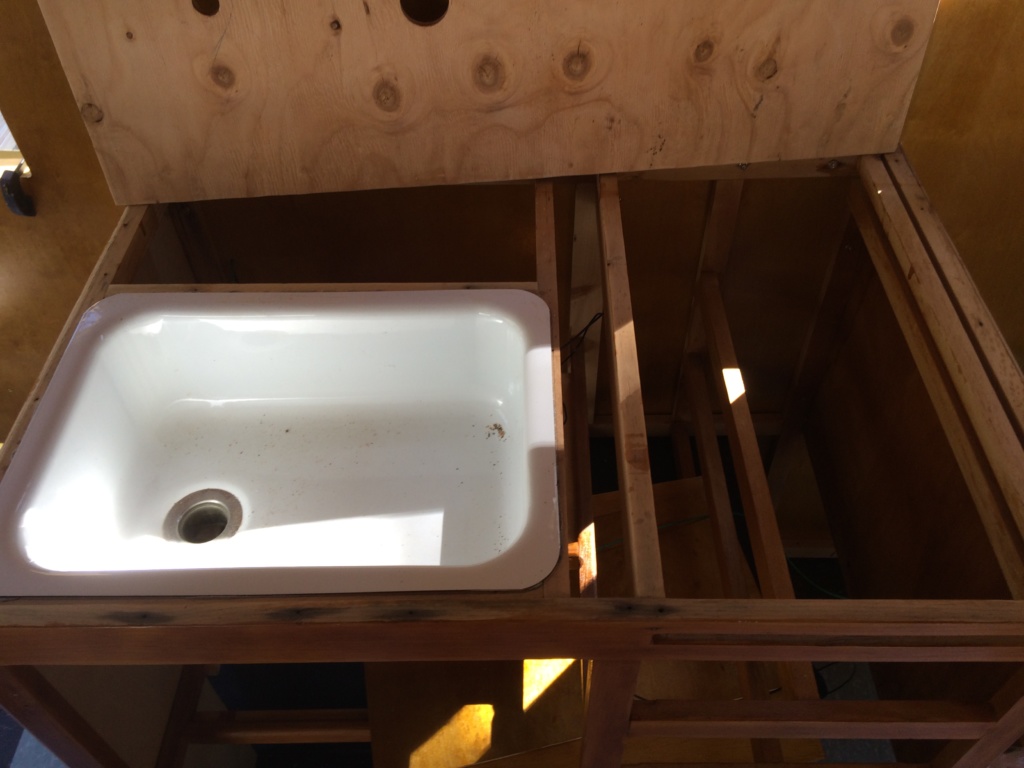
I was so lucky that all the cabinets in my 1956 Shasta were in great shape. They were solid and only needed to be sanded and re-Schlacked. The sink cabinet had one member that was cracked so I replaced it along with putting new plywood down on the top. When I removed the Formica I was surprised to see that there were only scraps of plywood used for the underlayment. I thought it would be better if it were a solid piece. I used the old piece of Formica as a template to cut the hole for the sink.

The sink base didn't have much in the way of countertop support.
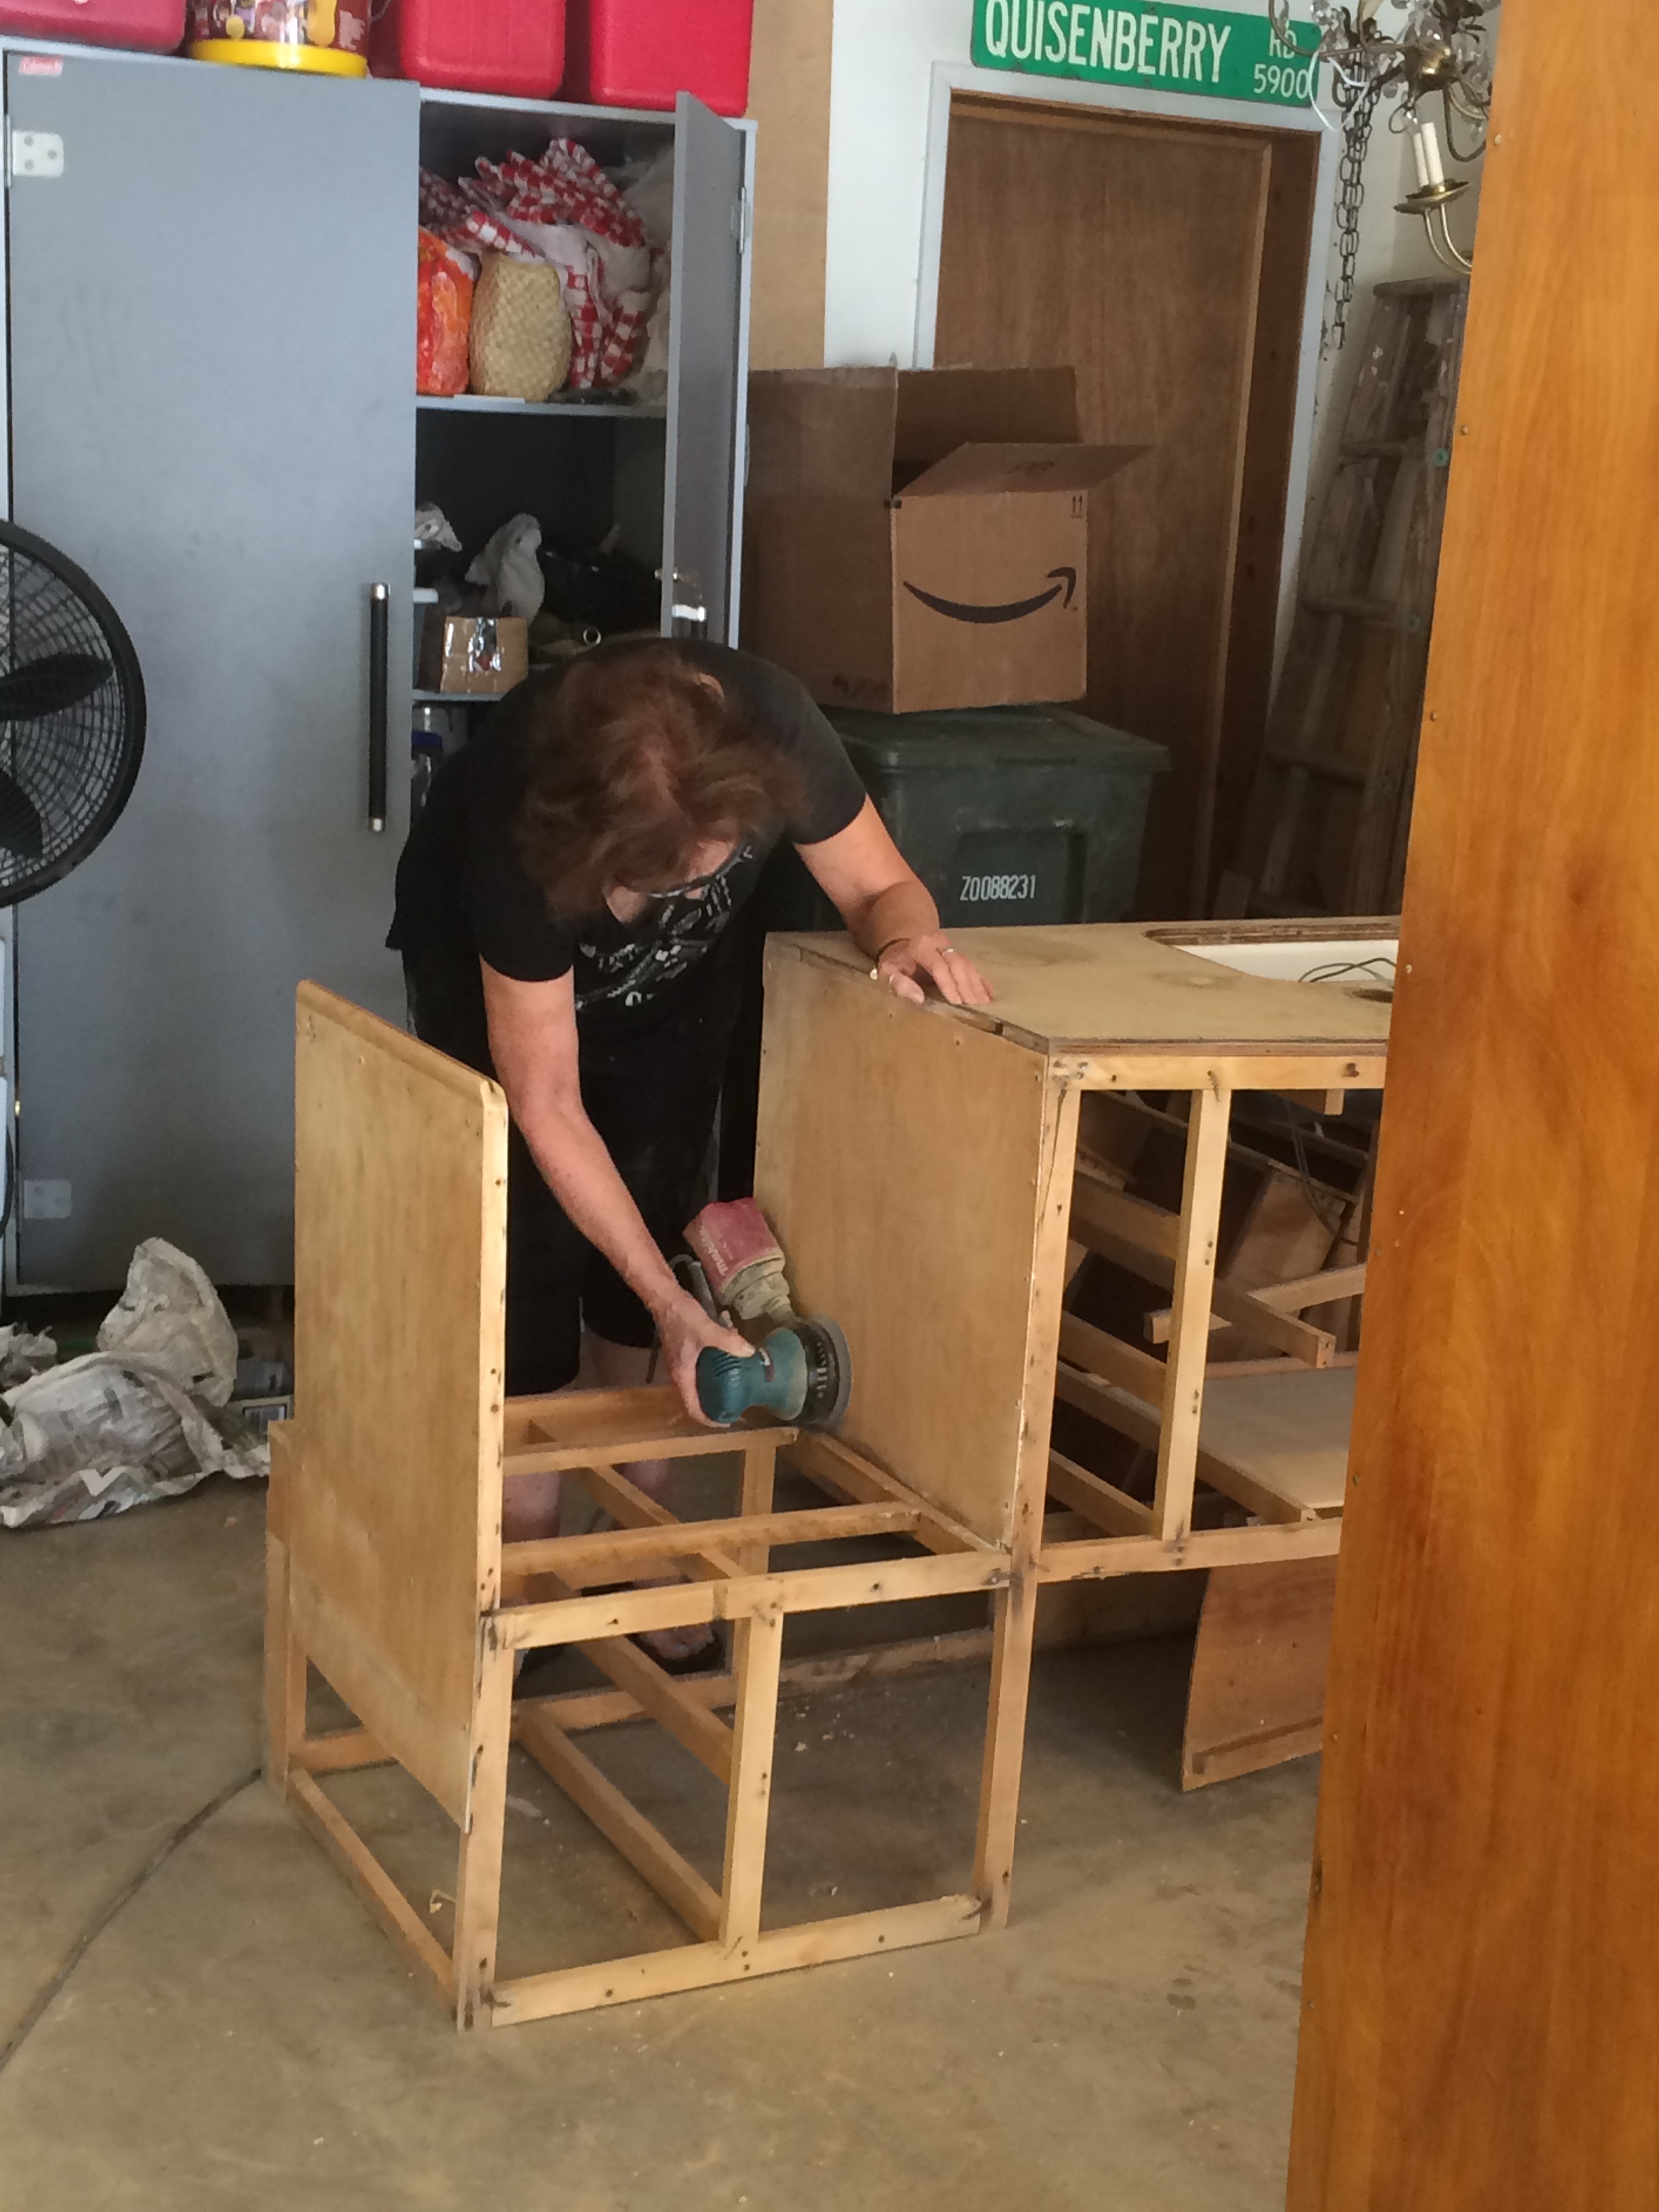
My mother-in-law came to visit and was a great help. She helped me sand cabinets and I'm so lucky to have her.
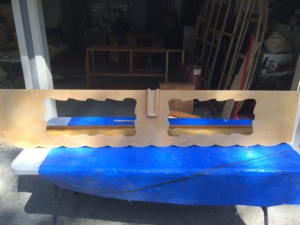
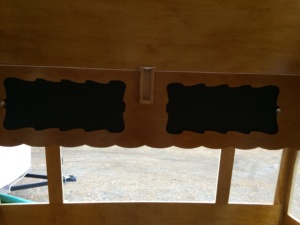
The upper cabinet above the dinette just needed some sanding, schlack, and something different for the sliding doors. They were covered with sticky green contact paper. I decided to remove that and paint them with black chalkboard paint. Not original to the ‘56 Shasta but I thought it was fun and much better than contact paper.
Upper dinette cabinet

The cabinet doors were covered with contact paper. Yuck!

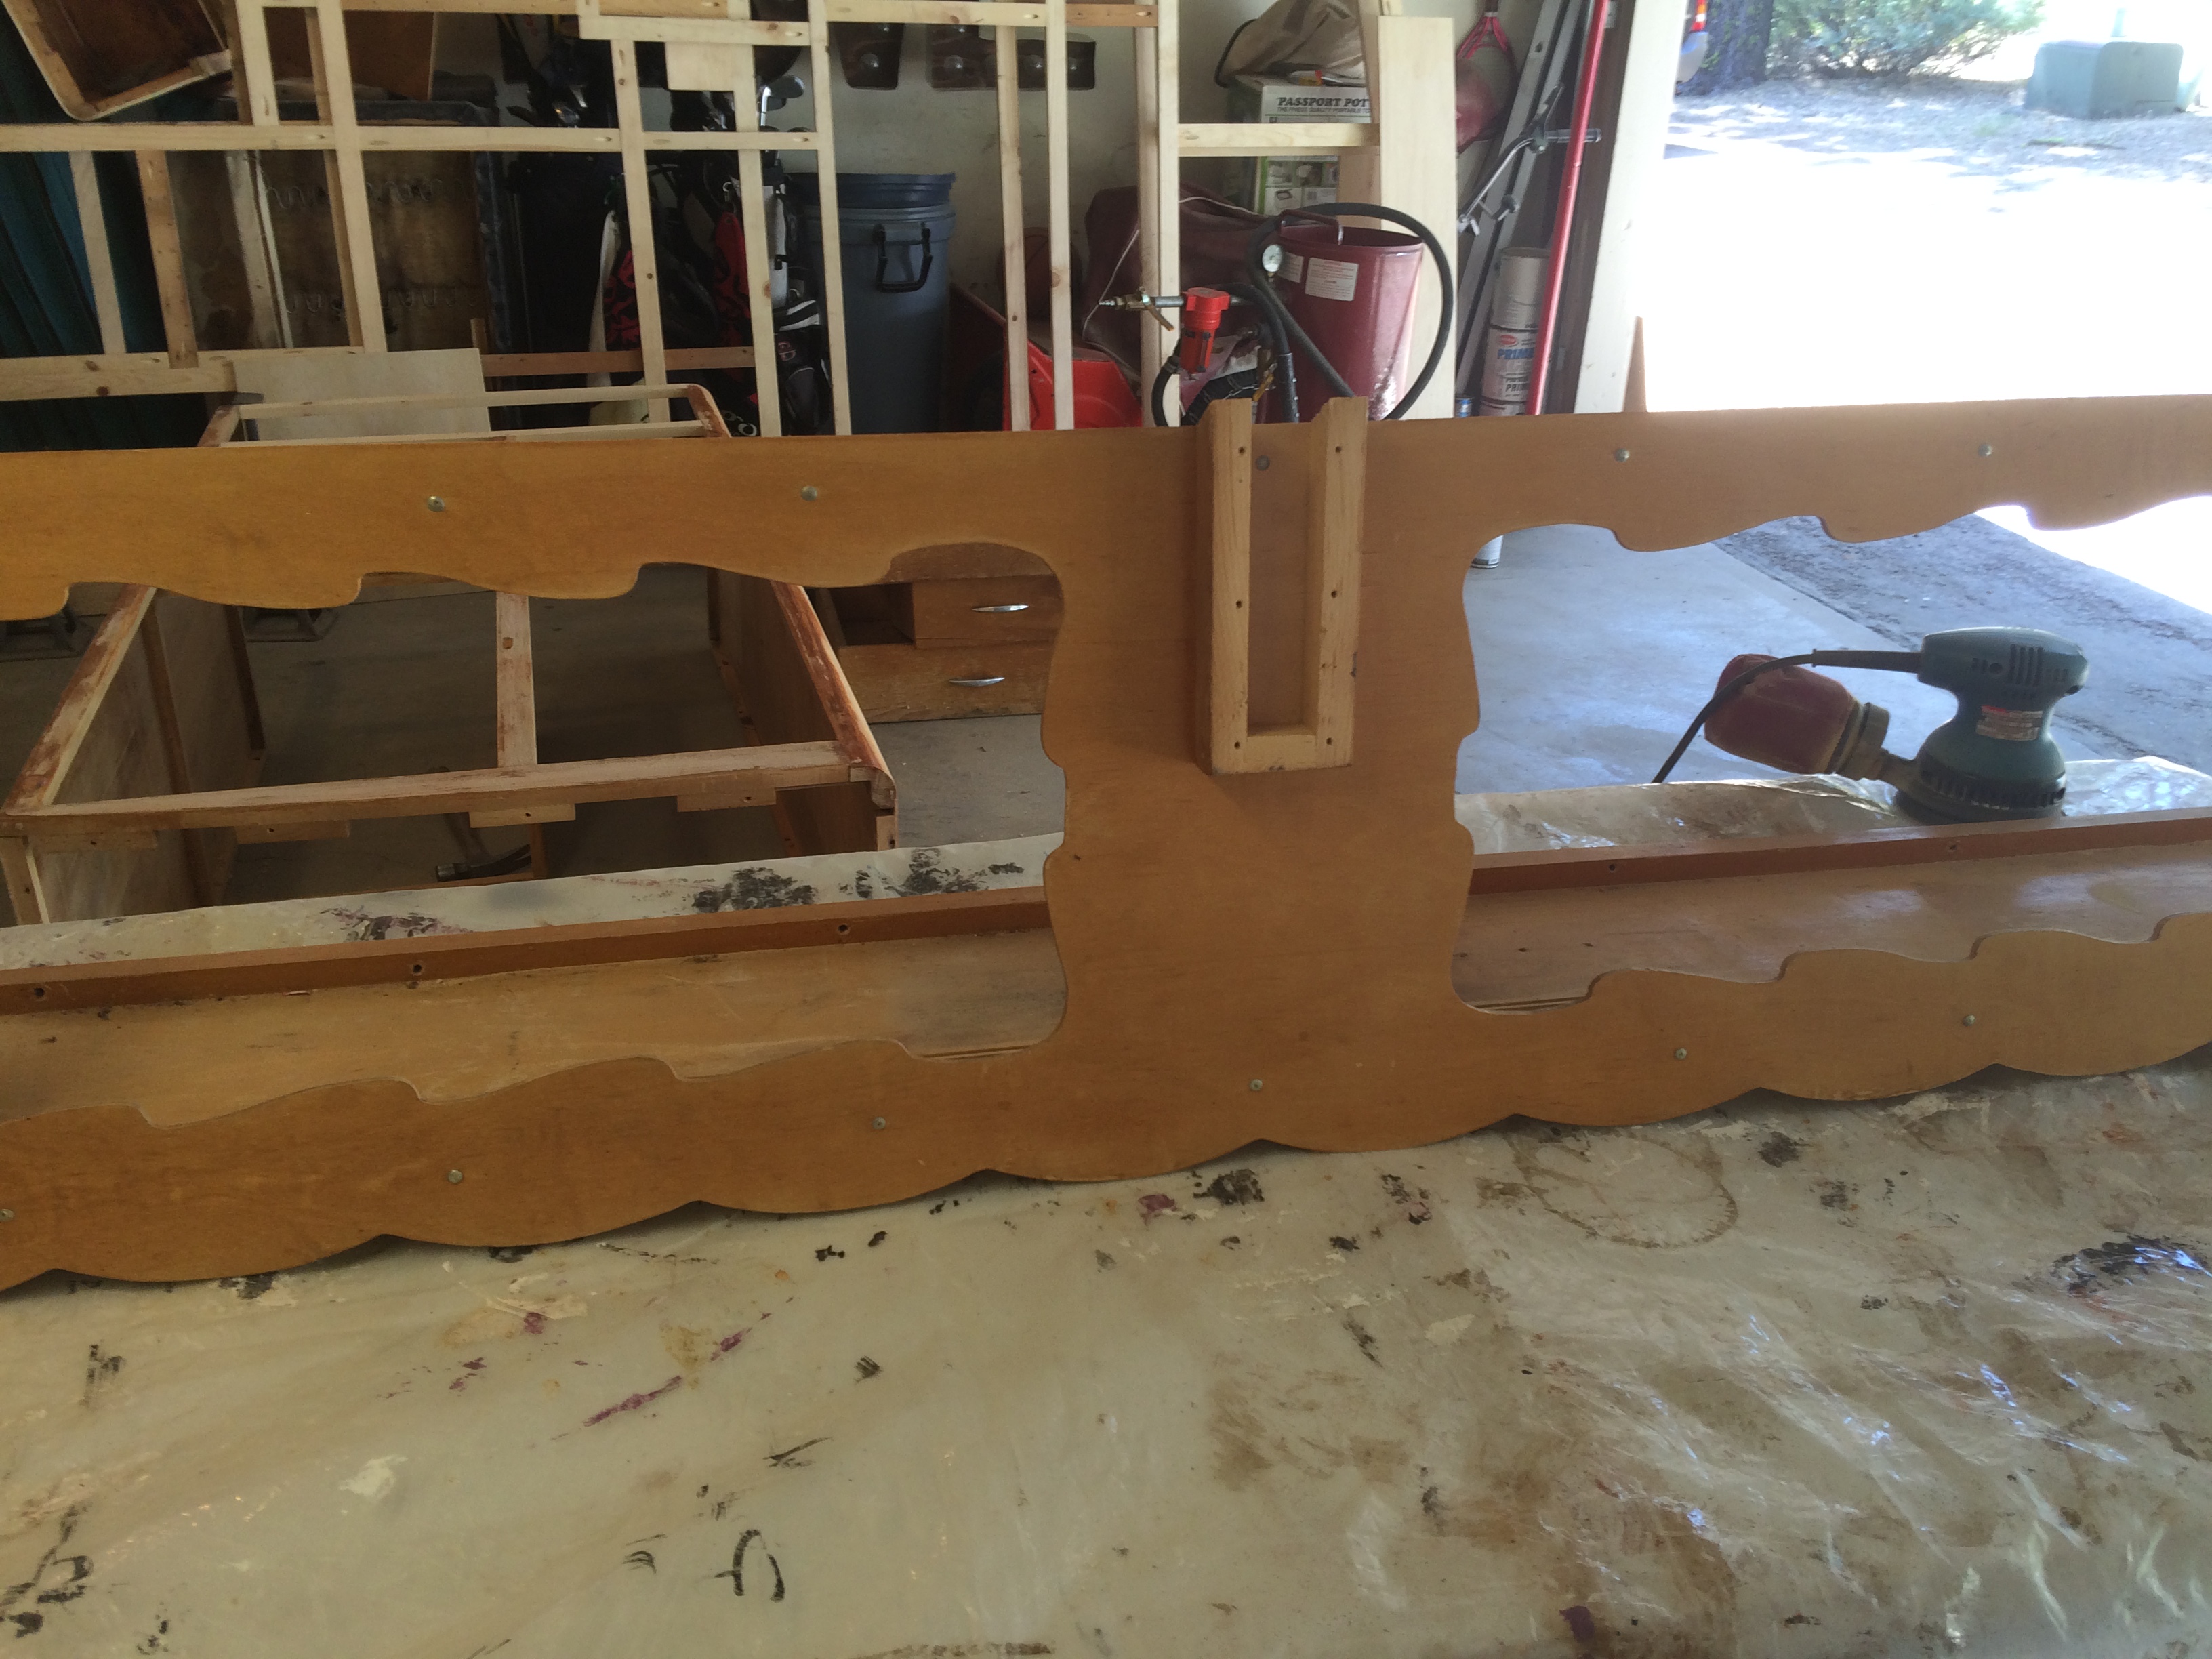
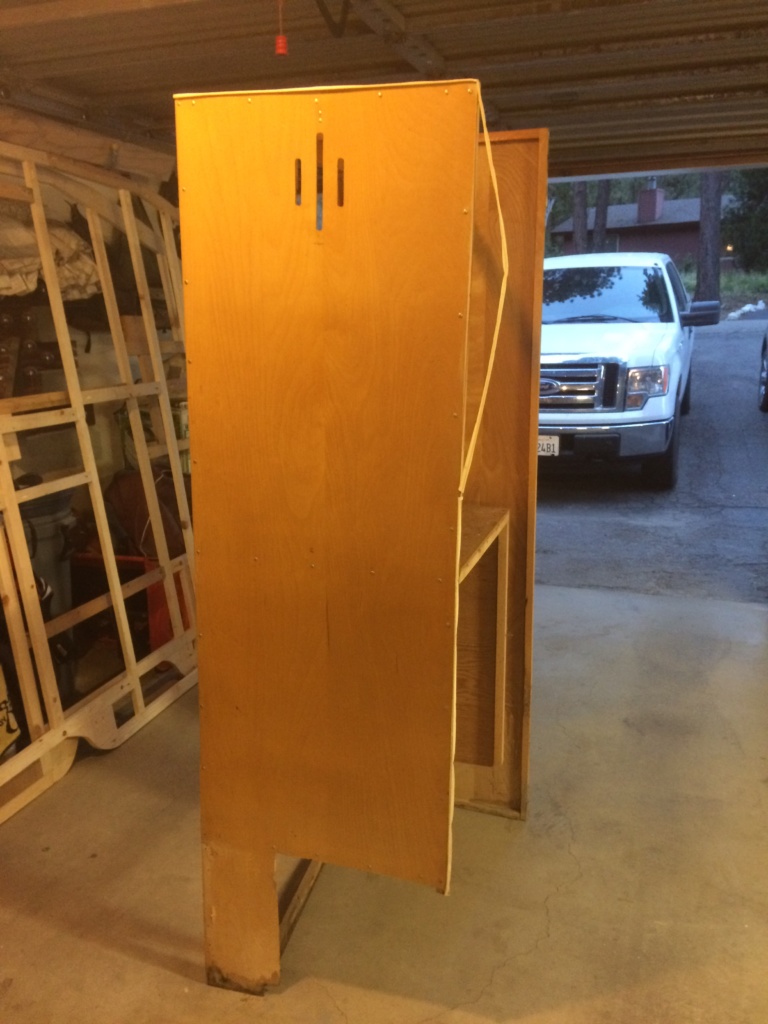
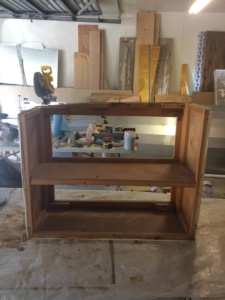
The lower cabinets that hold the dinette seats were in bad shape. Because they were on the floor there was some water damage. I used the old pieces as a template and beefed up the framework a bit. I cut new paneling pieces for the sides and sliding doors. (I keep all my scrap paneling for this reason. Just make sure the grain is all going the same direction.)
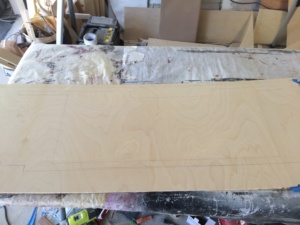
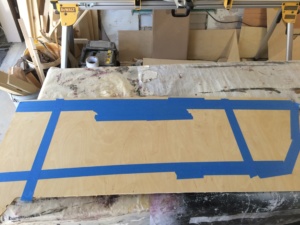
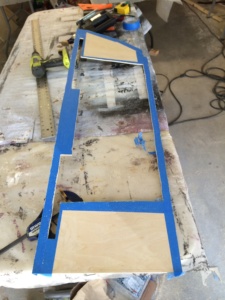
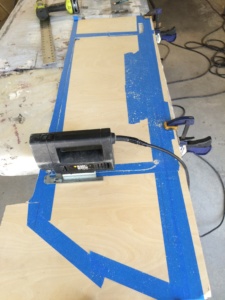
Tip: The paneling has a tendency to chip out when you cut it with a jigsaw or circular saw; especially if you’re doing cross-grain cuts. The table saw and chop saw are a bit better for this. Unfortunately, sometimes you just have to use a jig or circular saw. When I do, I lay painter's tape on the cut line and use a utility knife to score the paneling first. This keeps the chip-out to a minimum.
If your vintage camper has any amount of water damage then chances are the wood has mold or mildew stains. This was the case for me. I sprayed everything with a bleach/water solution. This was to kill the mildew AND clean any germs from rodents.
You can do this several times. Then let it dry and proceeded with sanding and varnishing. You can also use vinegar to remove mildew stains and get rid of smells.
See my post on How to Safely Clean You Vintage Trailer Find; The Essential Guide.

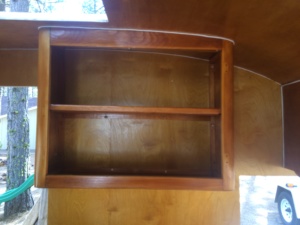
I put new welting on all of the cabinets and polished up the hardware. Again, all the hardware was intact…Lucky girl!
-

- After
Check out my post on applying welting.
Here’s how I got all my hardware to look brand new.
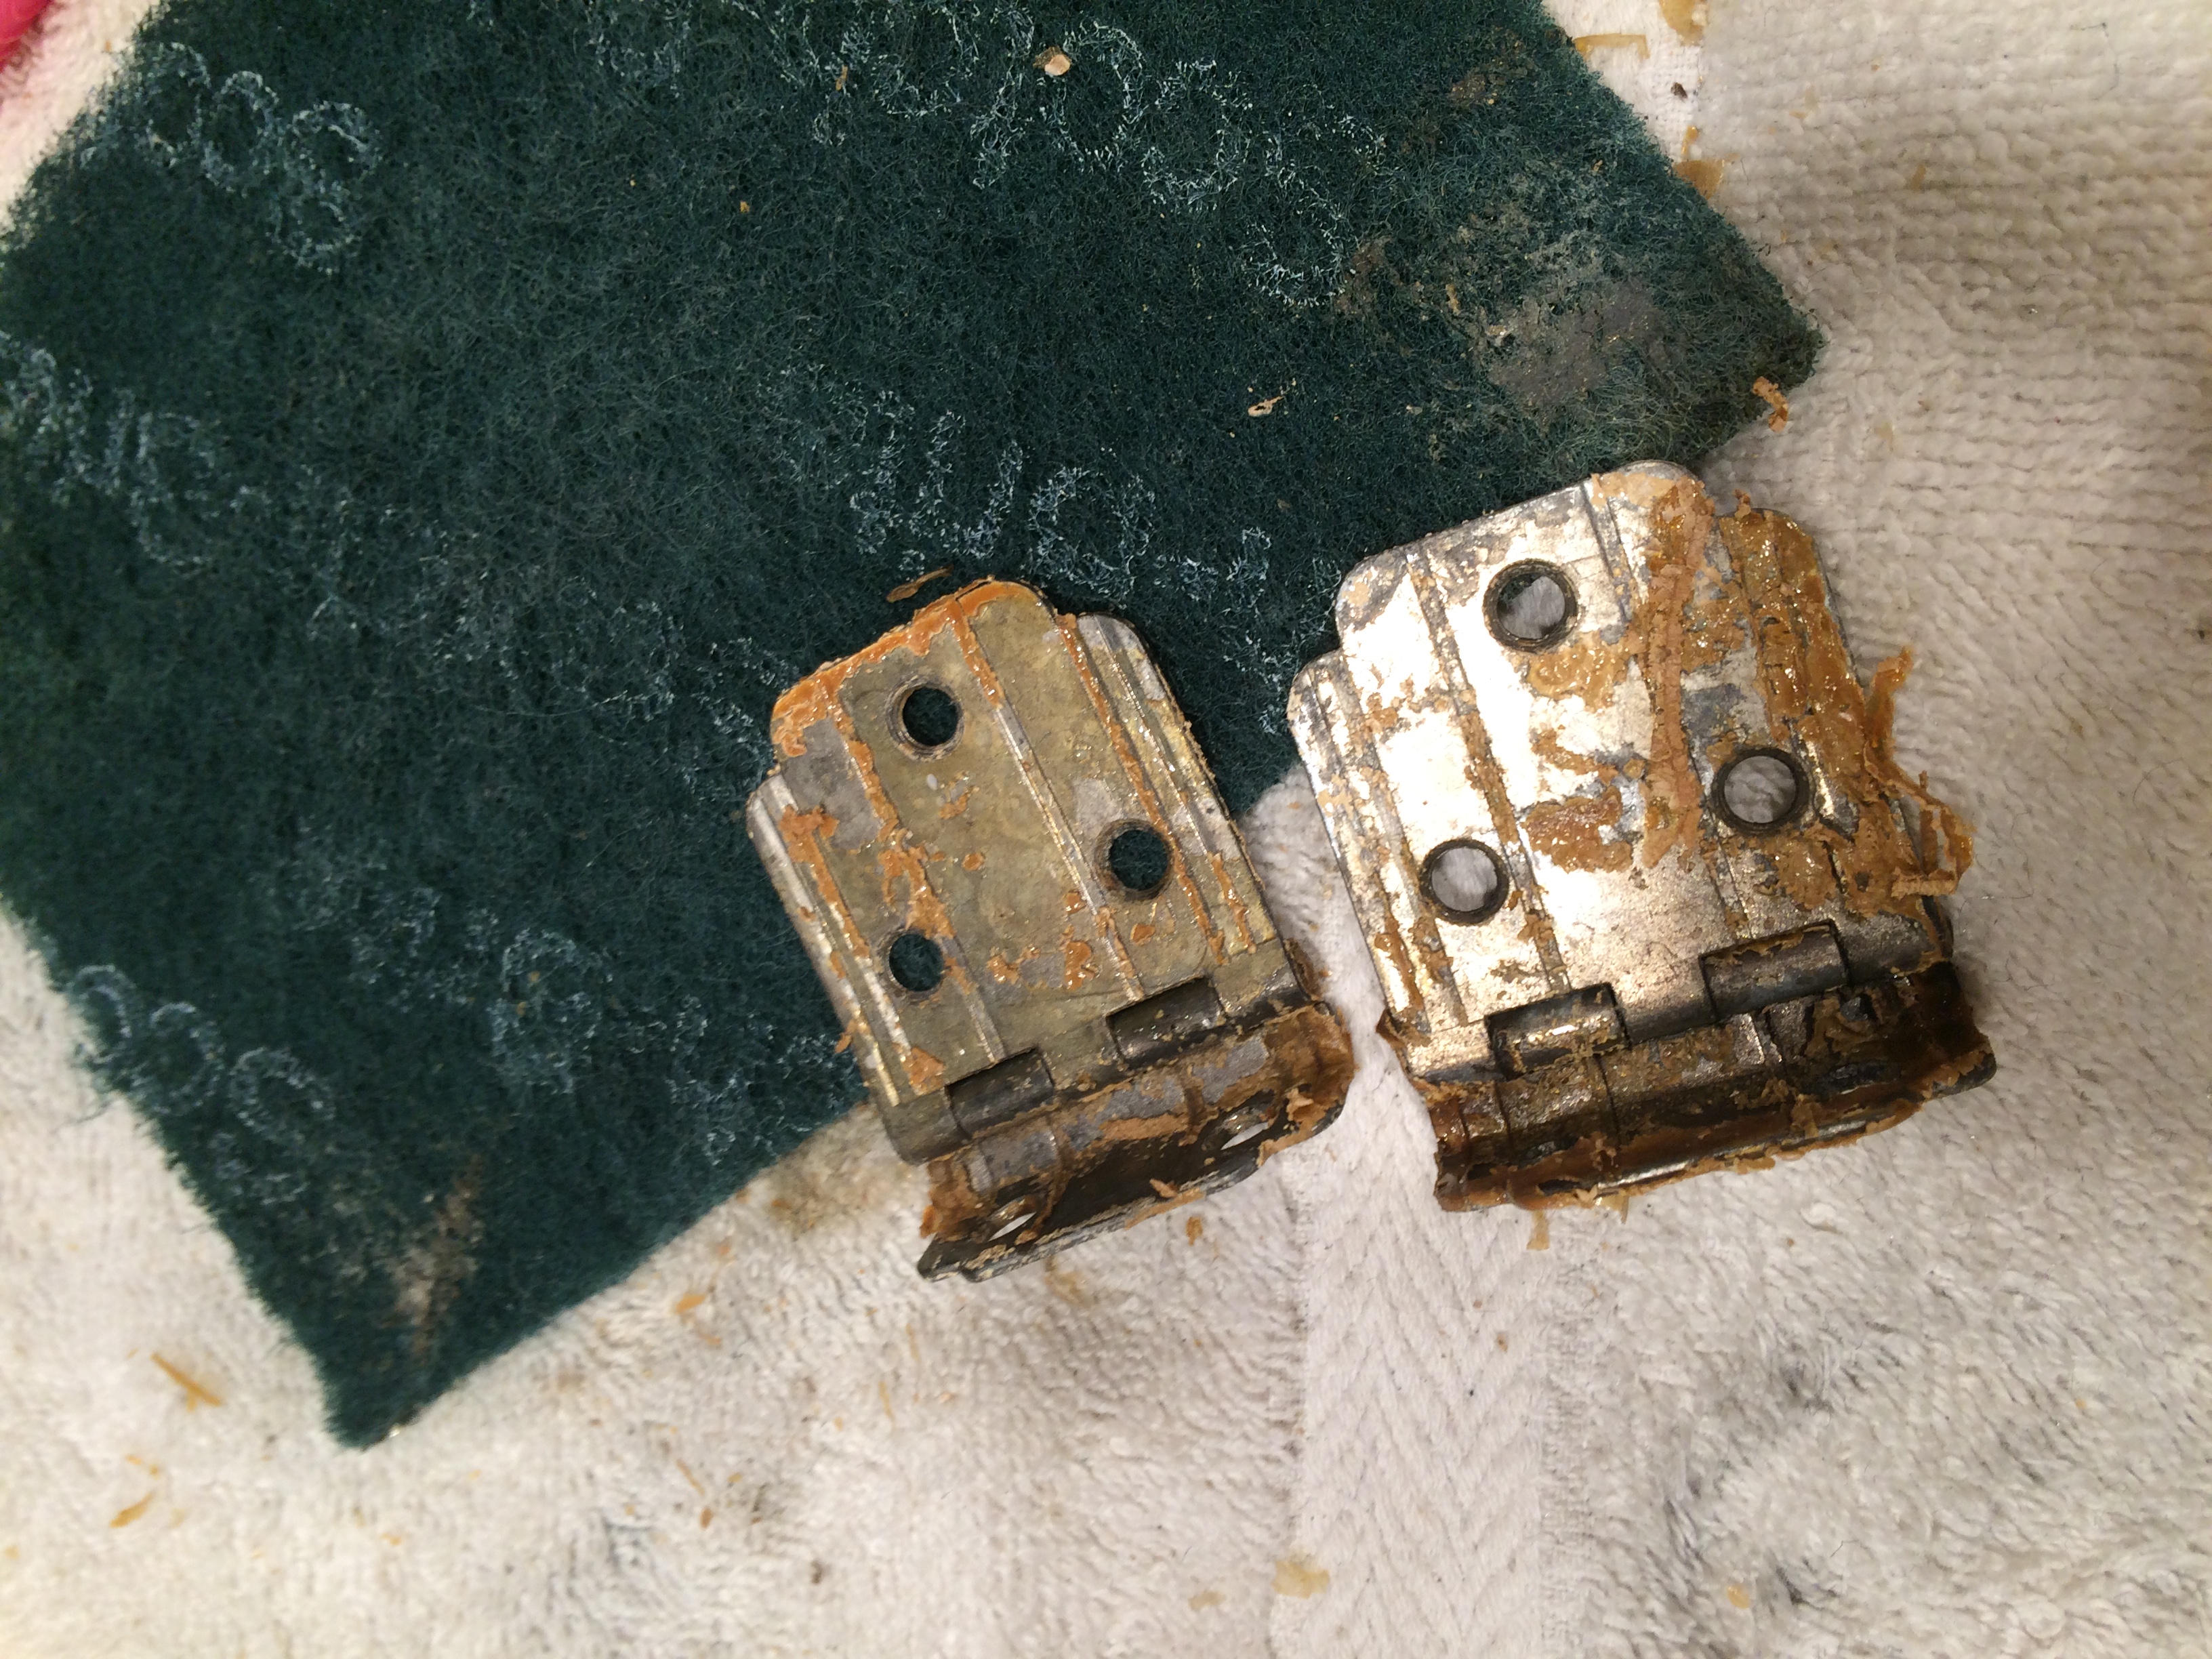
Most of the handles and hinges were covered in grime and old Schlack. When these campers were originally built, they were assembled and then schlack was sprayed over EVERYTHING. Well…everything except the INSIDES of the cabinets. So the hardware, welting, and outsides of the cabinetry were covered, but the insides of the doors and cabinets were not. My mama taught me to paint the insides of my closets. She was always annoyed when contractors skipped this step. So…everything was Schlacked…inside and out!

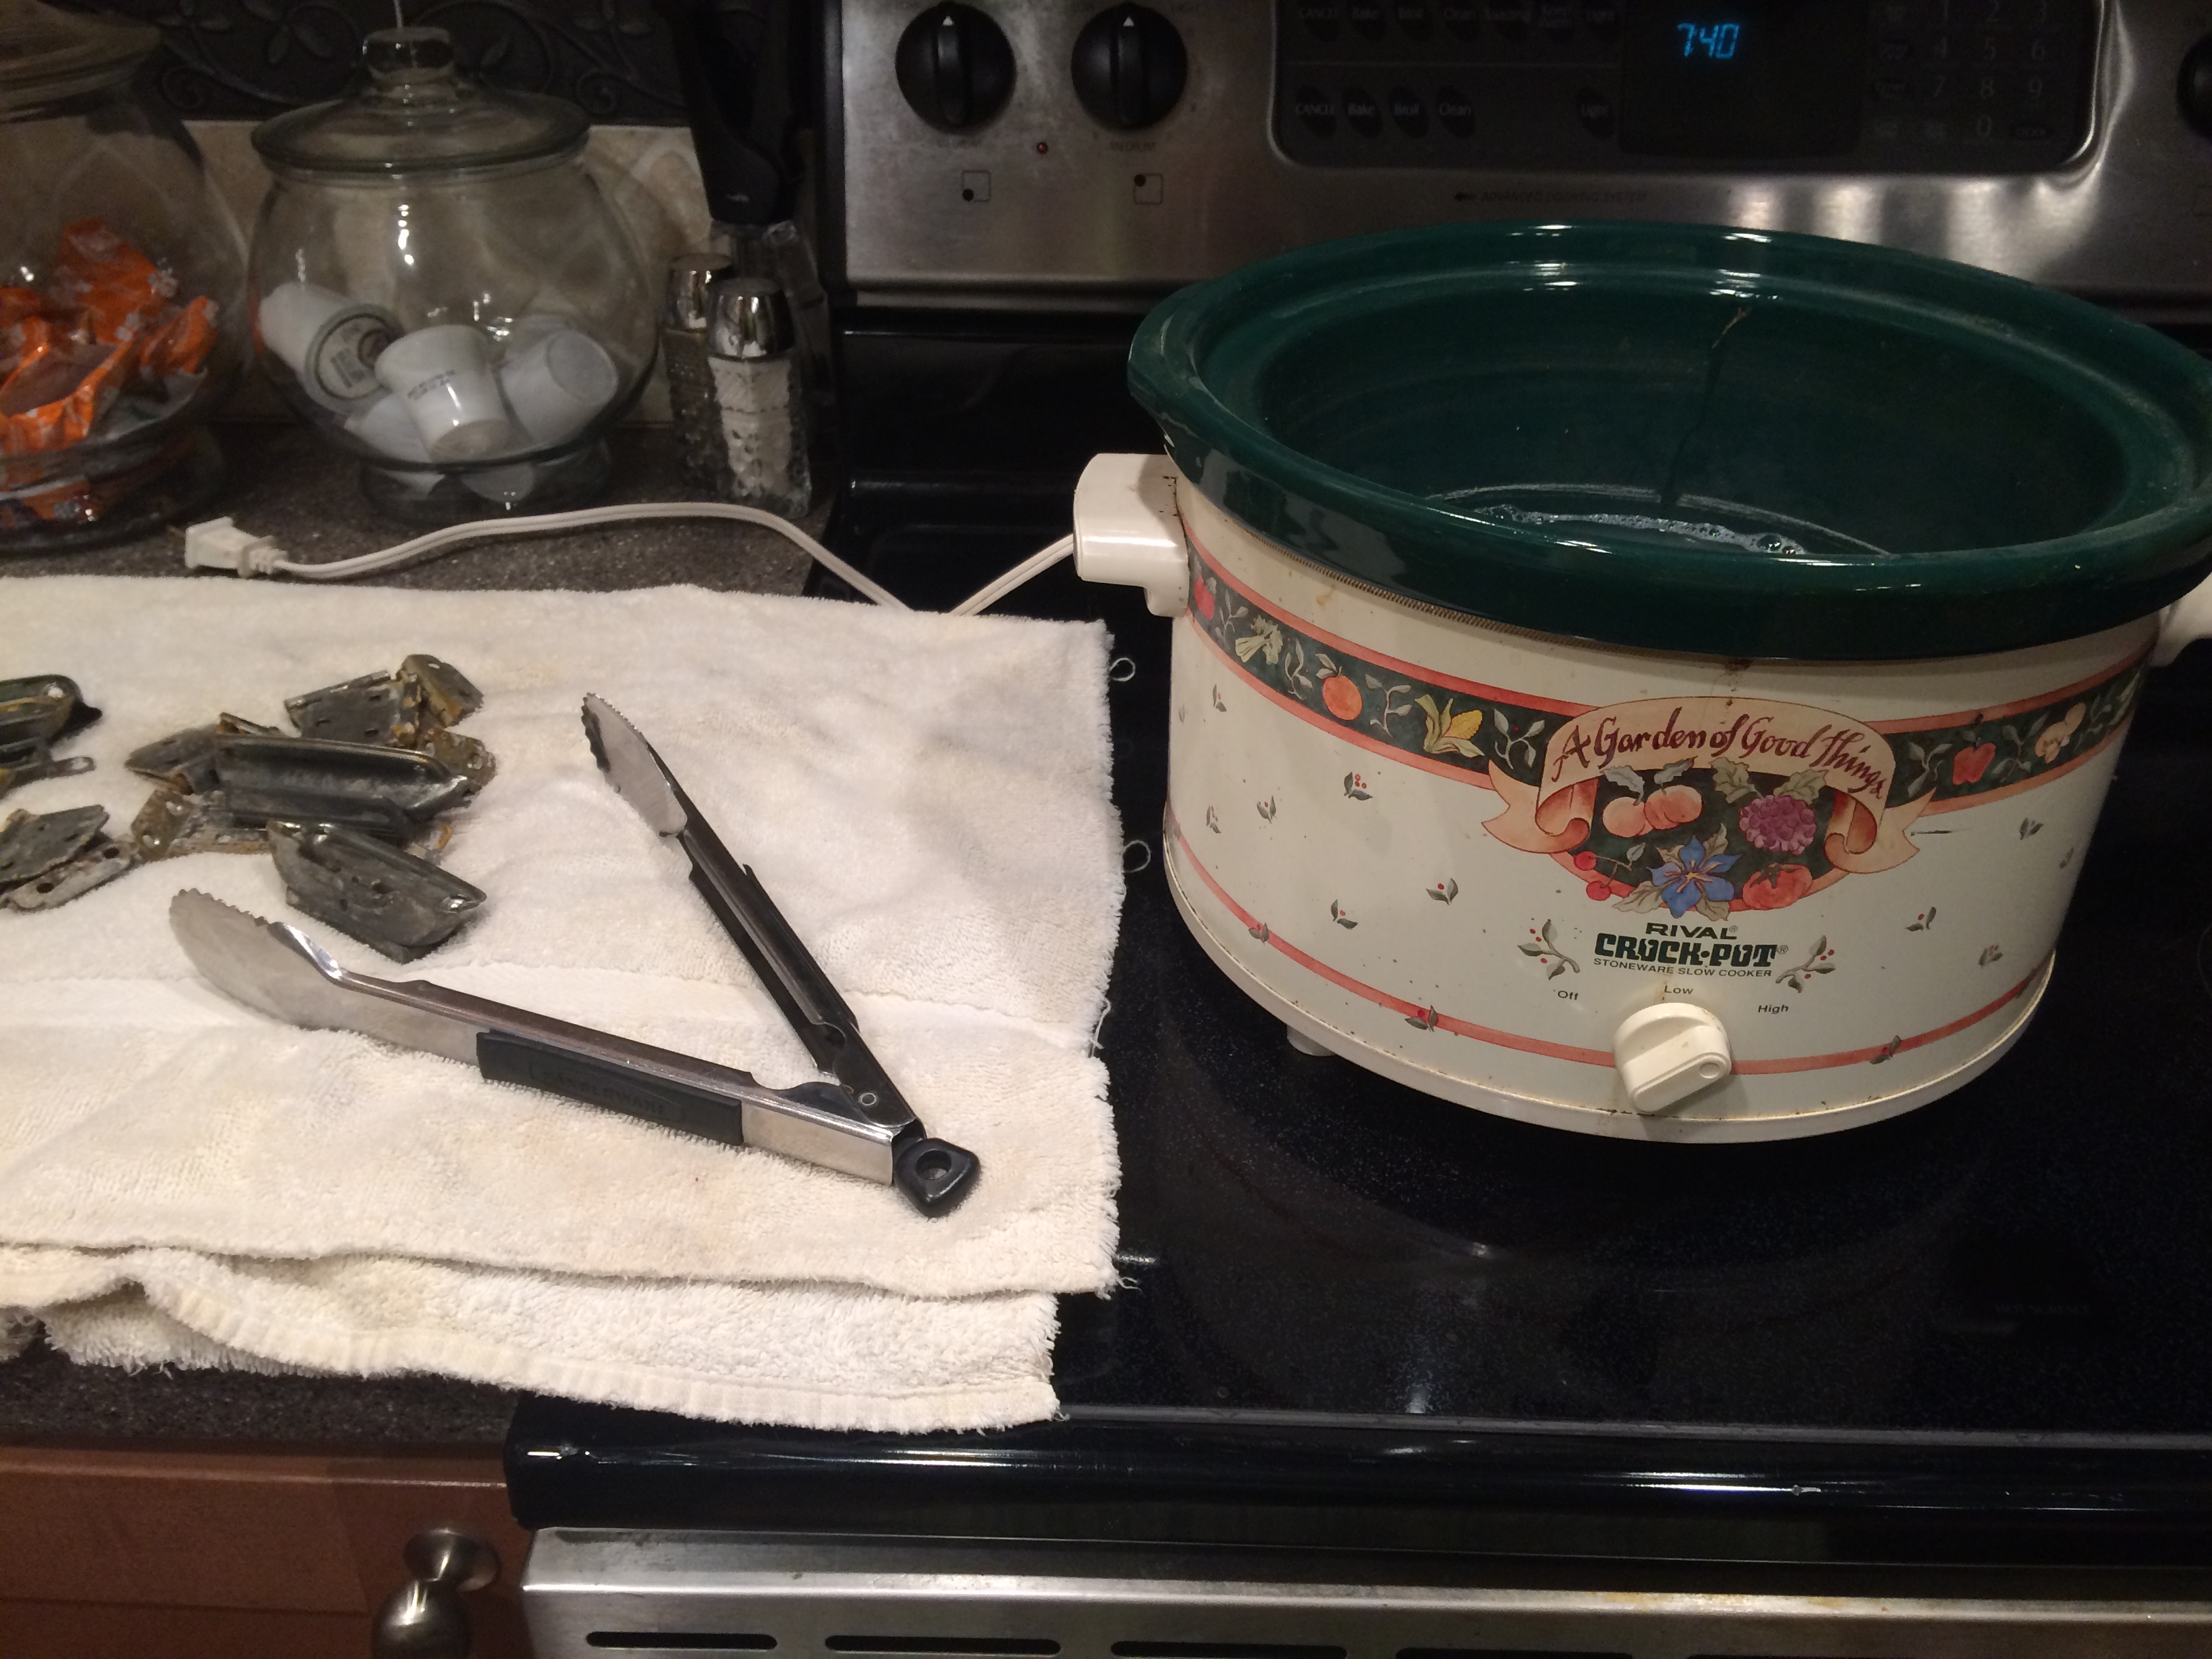
Now to get the gunk off of the hardware! Here’s a trick that my contractor friend, Dean, taught me. Use an old crock pot to loosen paint and varnish. You can find one at a local thrift shop for cheap and designate it for this use only. (No more pot roasts in this one!)
- Put a couple of inches of water in the old crock-pot.
- Add a few drops of liquid dish soap.
- Turn on high and let your hardware soak for a few hours.
- Then use a Scotch-bright pad or old toothbrush to remove the loosened bits.
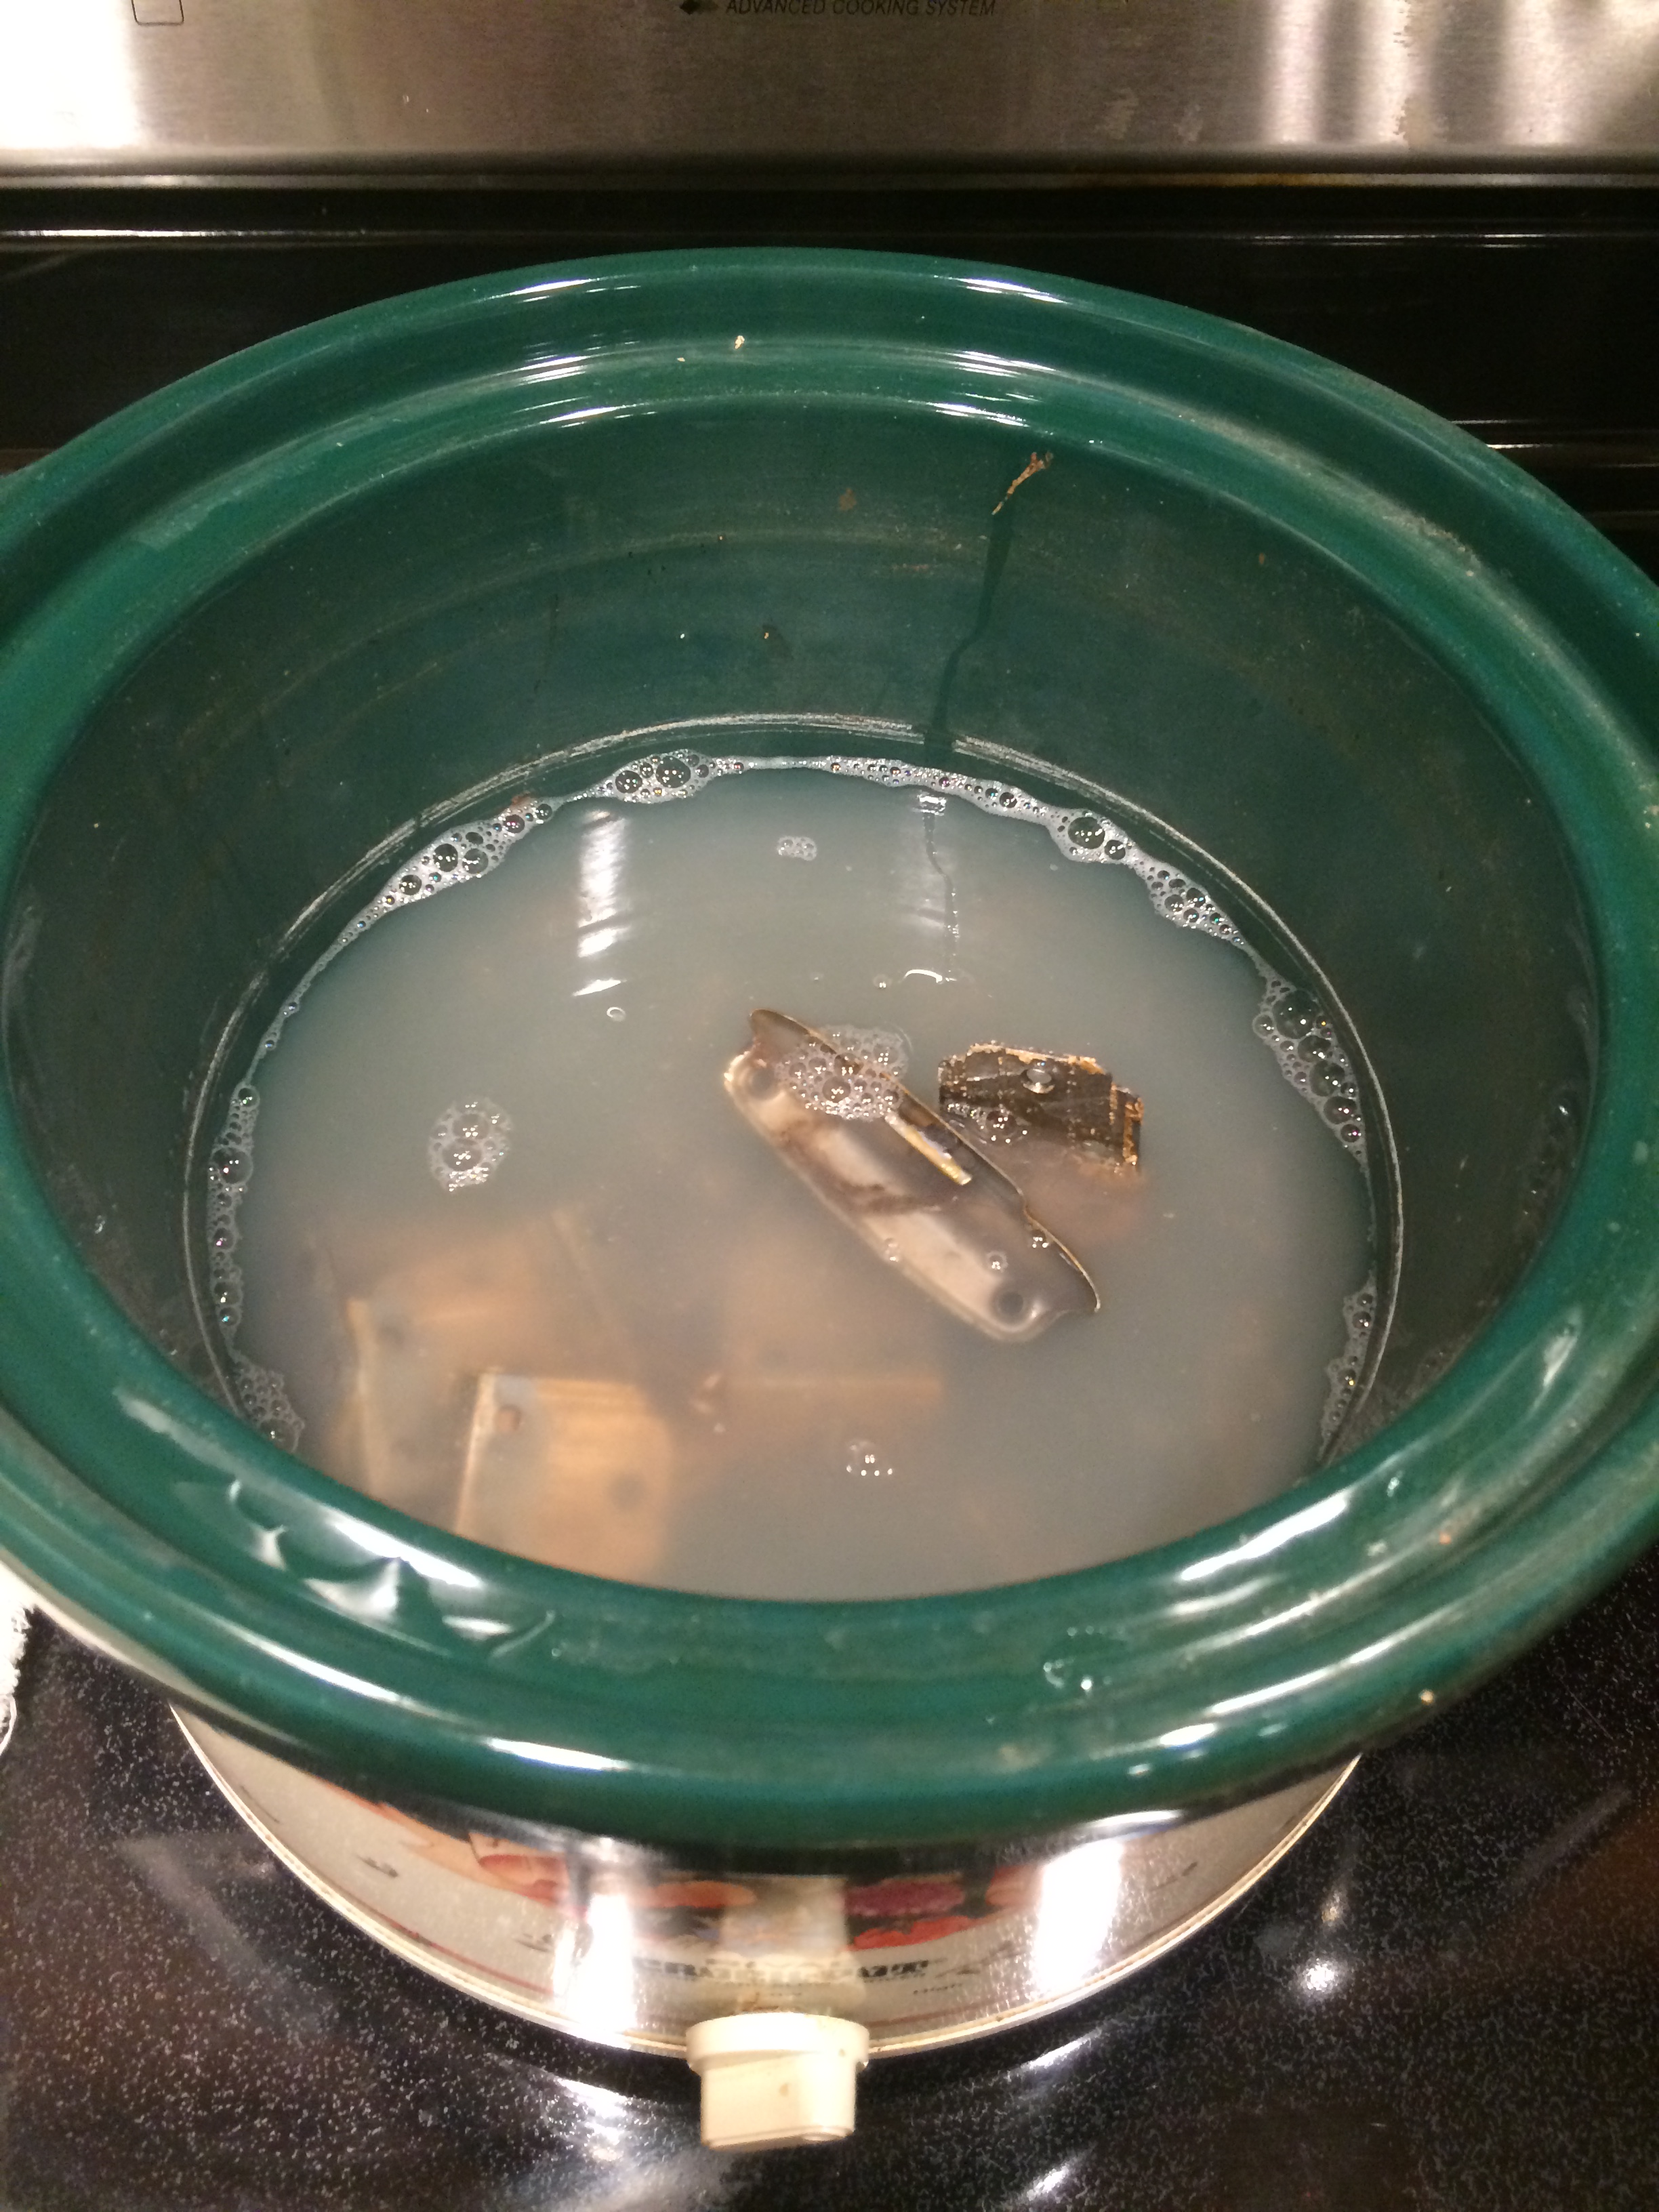
It’s MAGIC!! Thanks, Deno! (I just love that guy!)
To shine them up I had some industrial help. My husband is a very talented knife-maker so I’m lucky to have access to some pretty nice tools and machinery. I used his TW-90 belt sander with a Scotch-bright belt to polish the handles, hinges, and latches. You can achieve the same results it will just take some time and lots elbow grease.
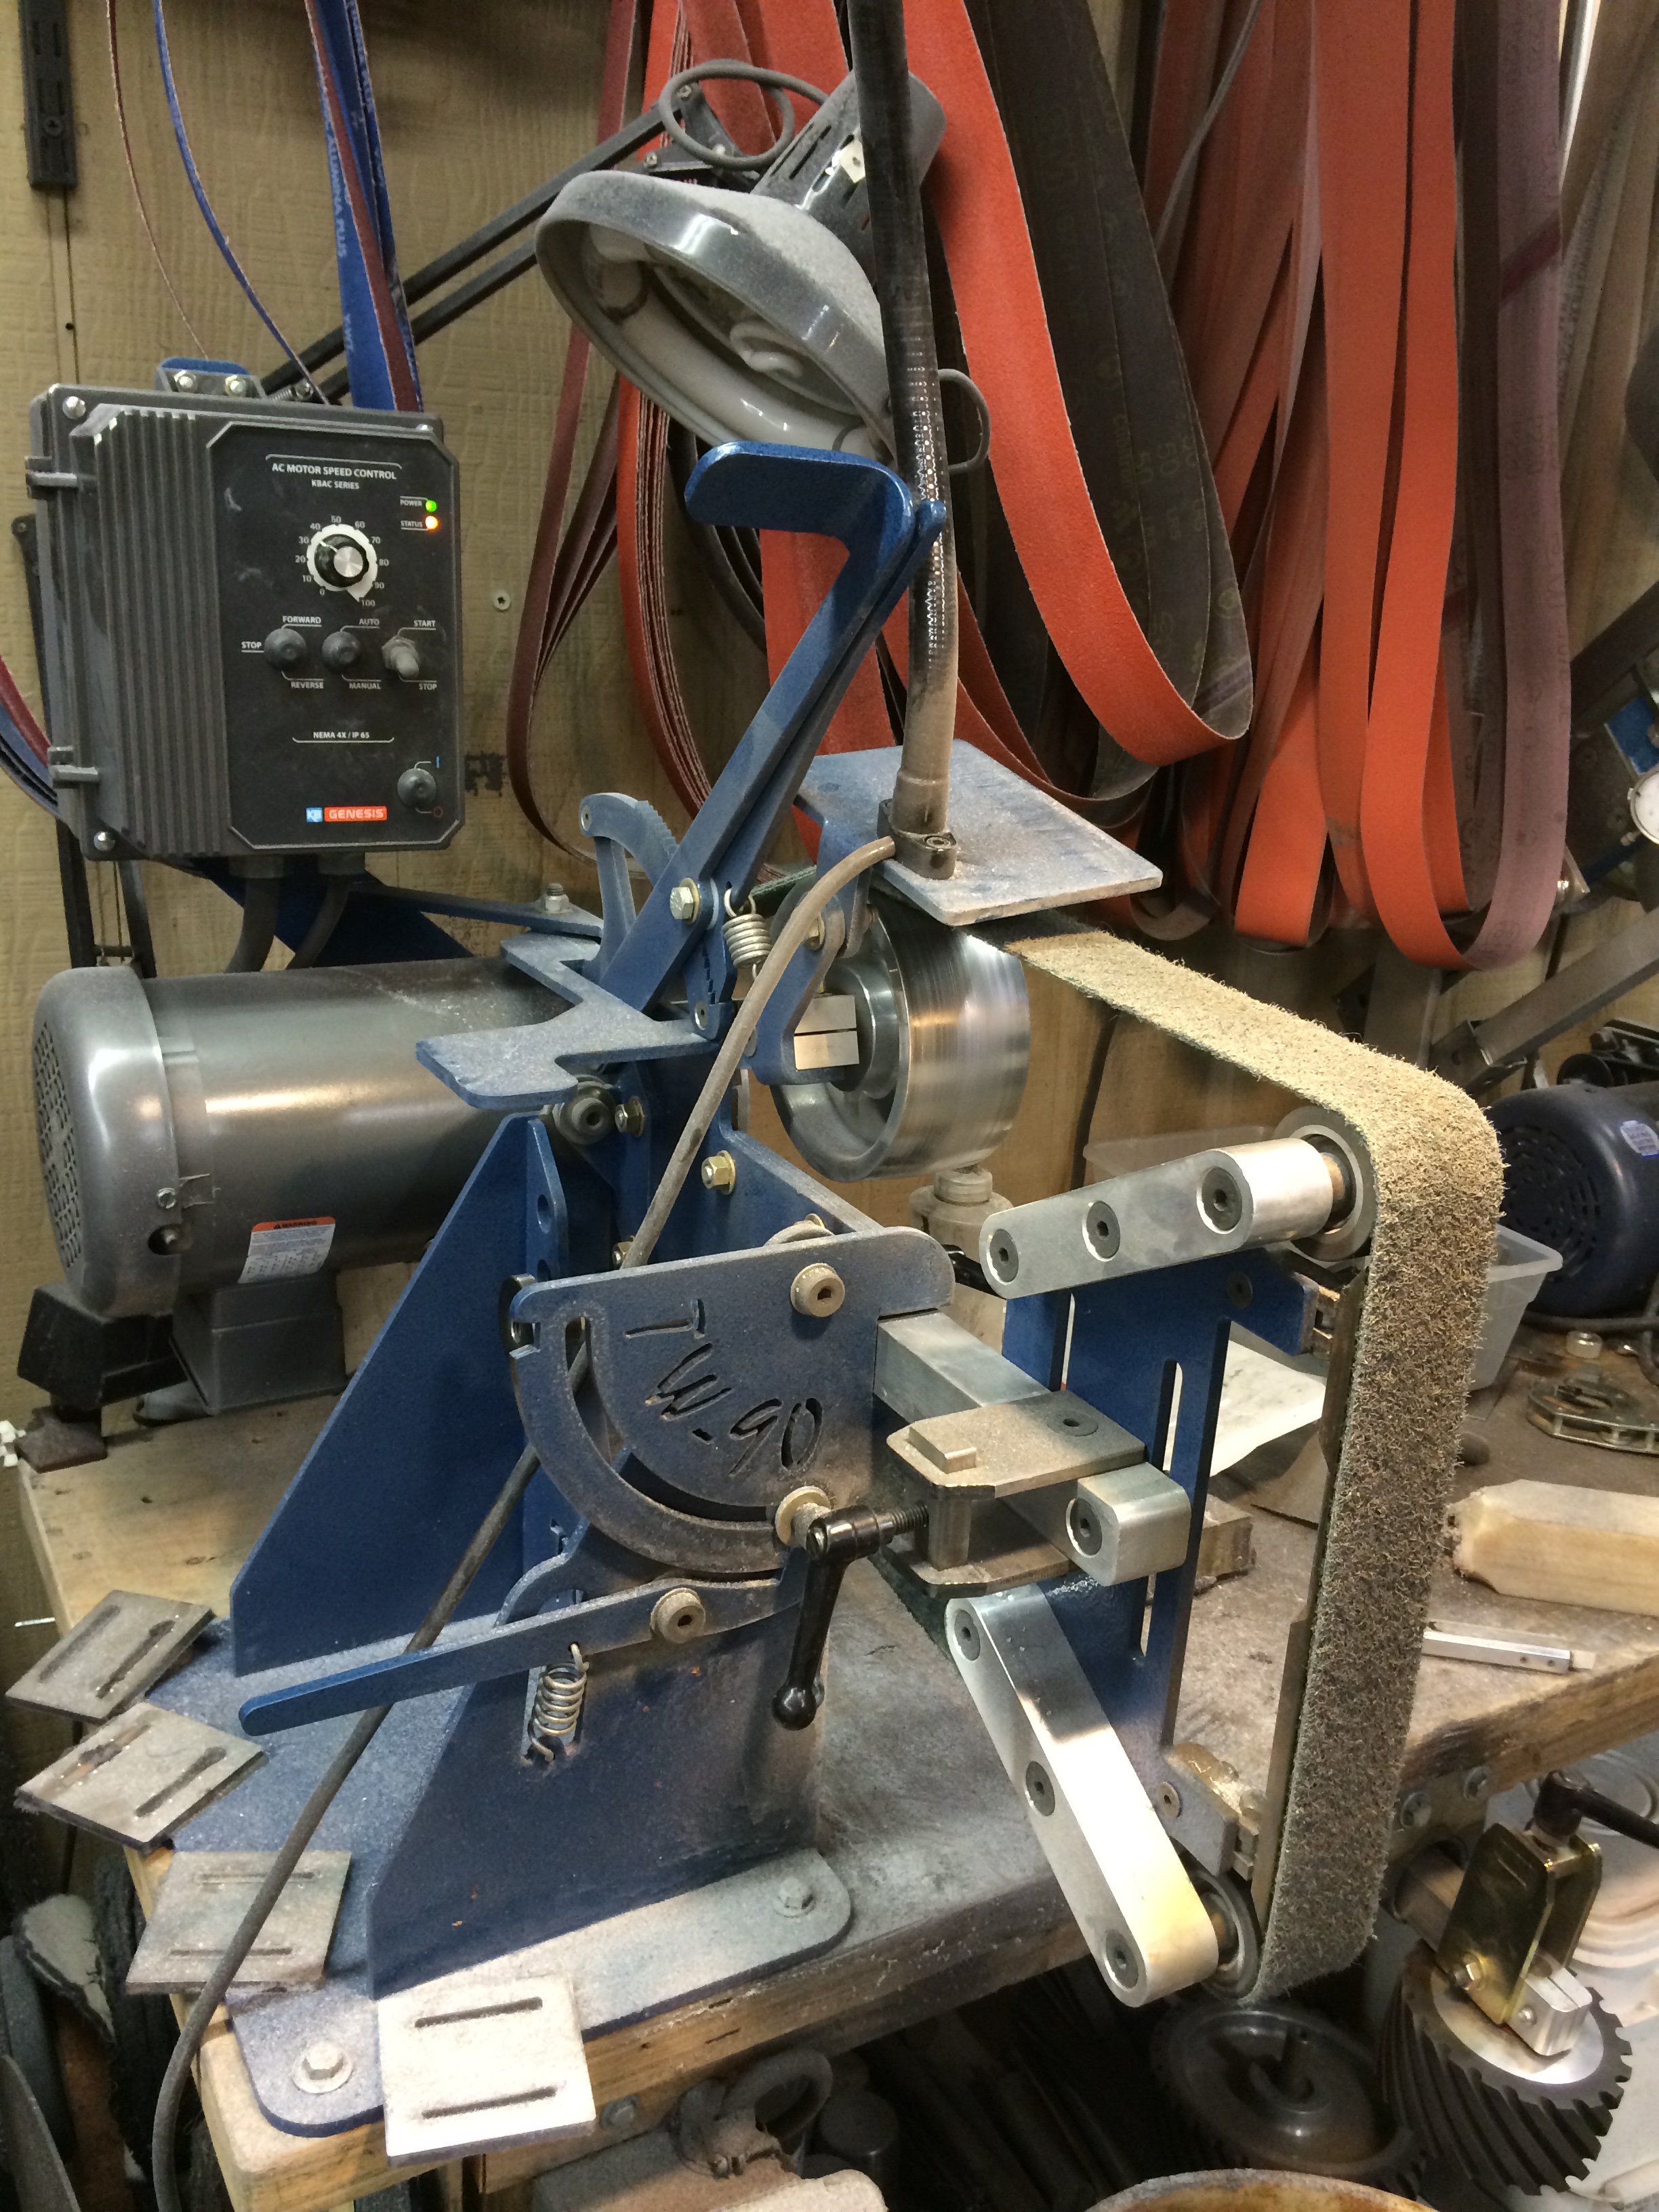
TW-90...I love this thing! No affiliate link here. Just a great piece of machinery.
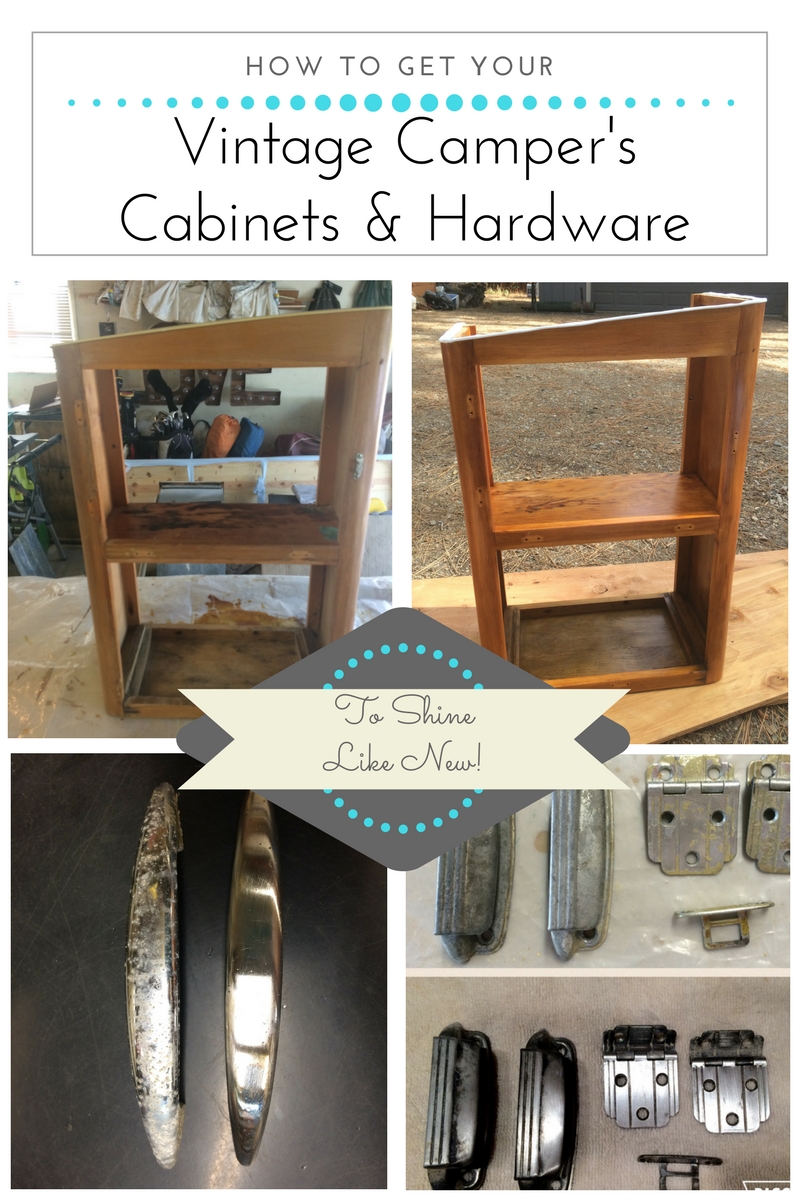
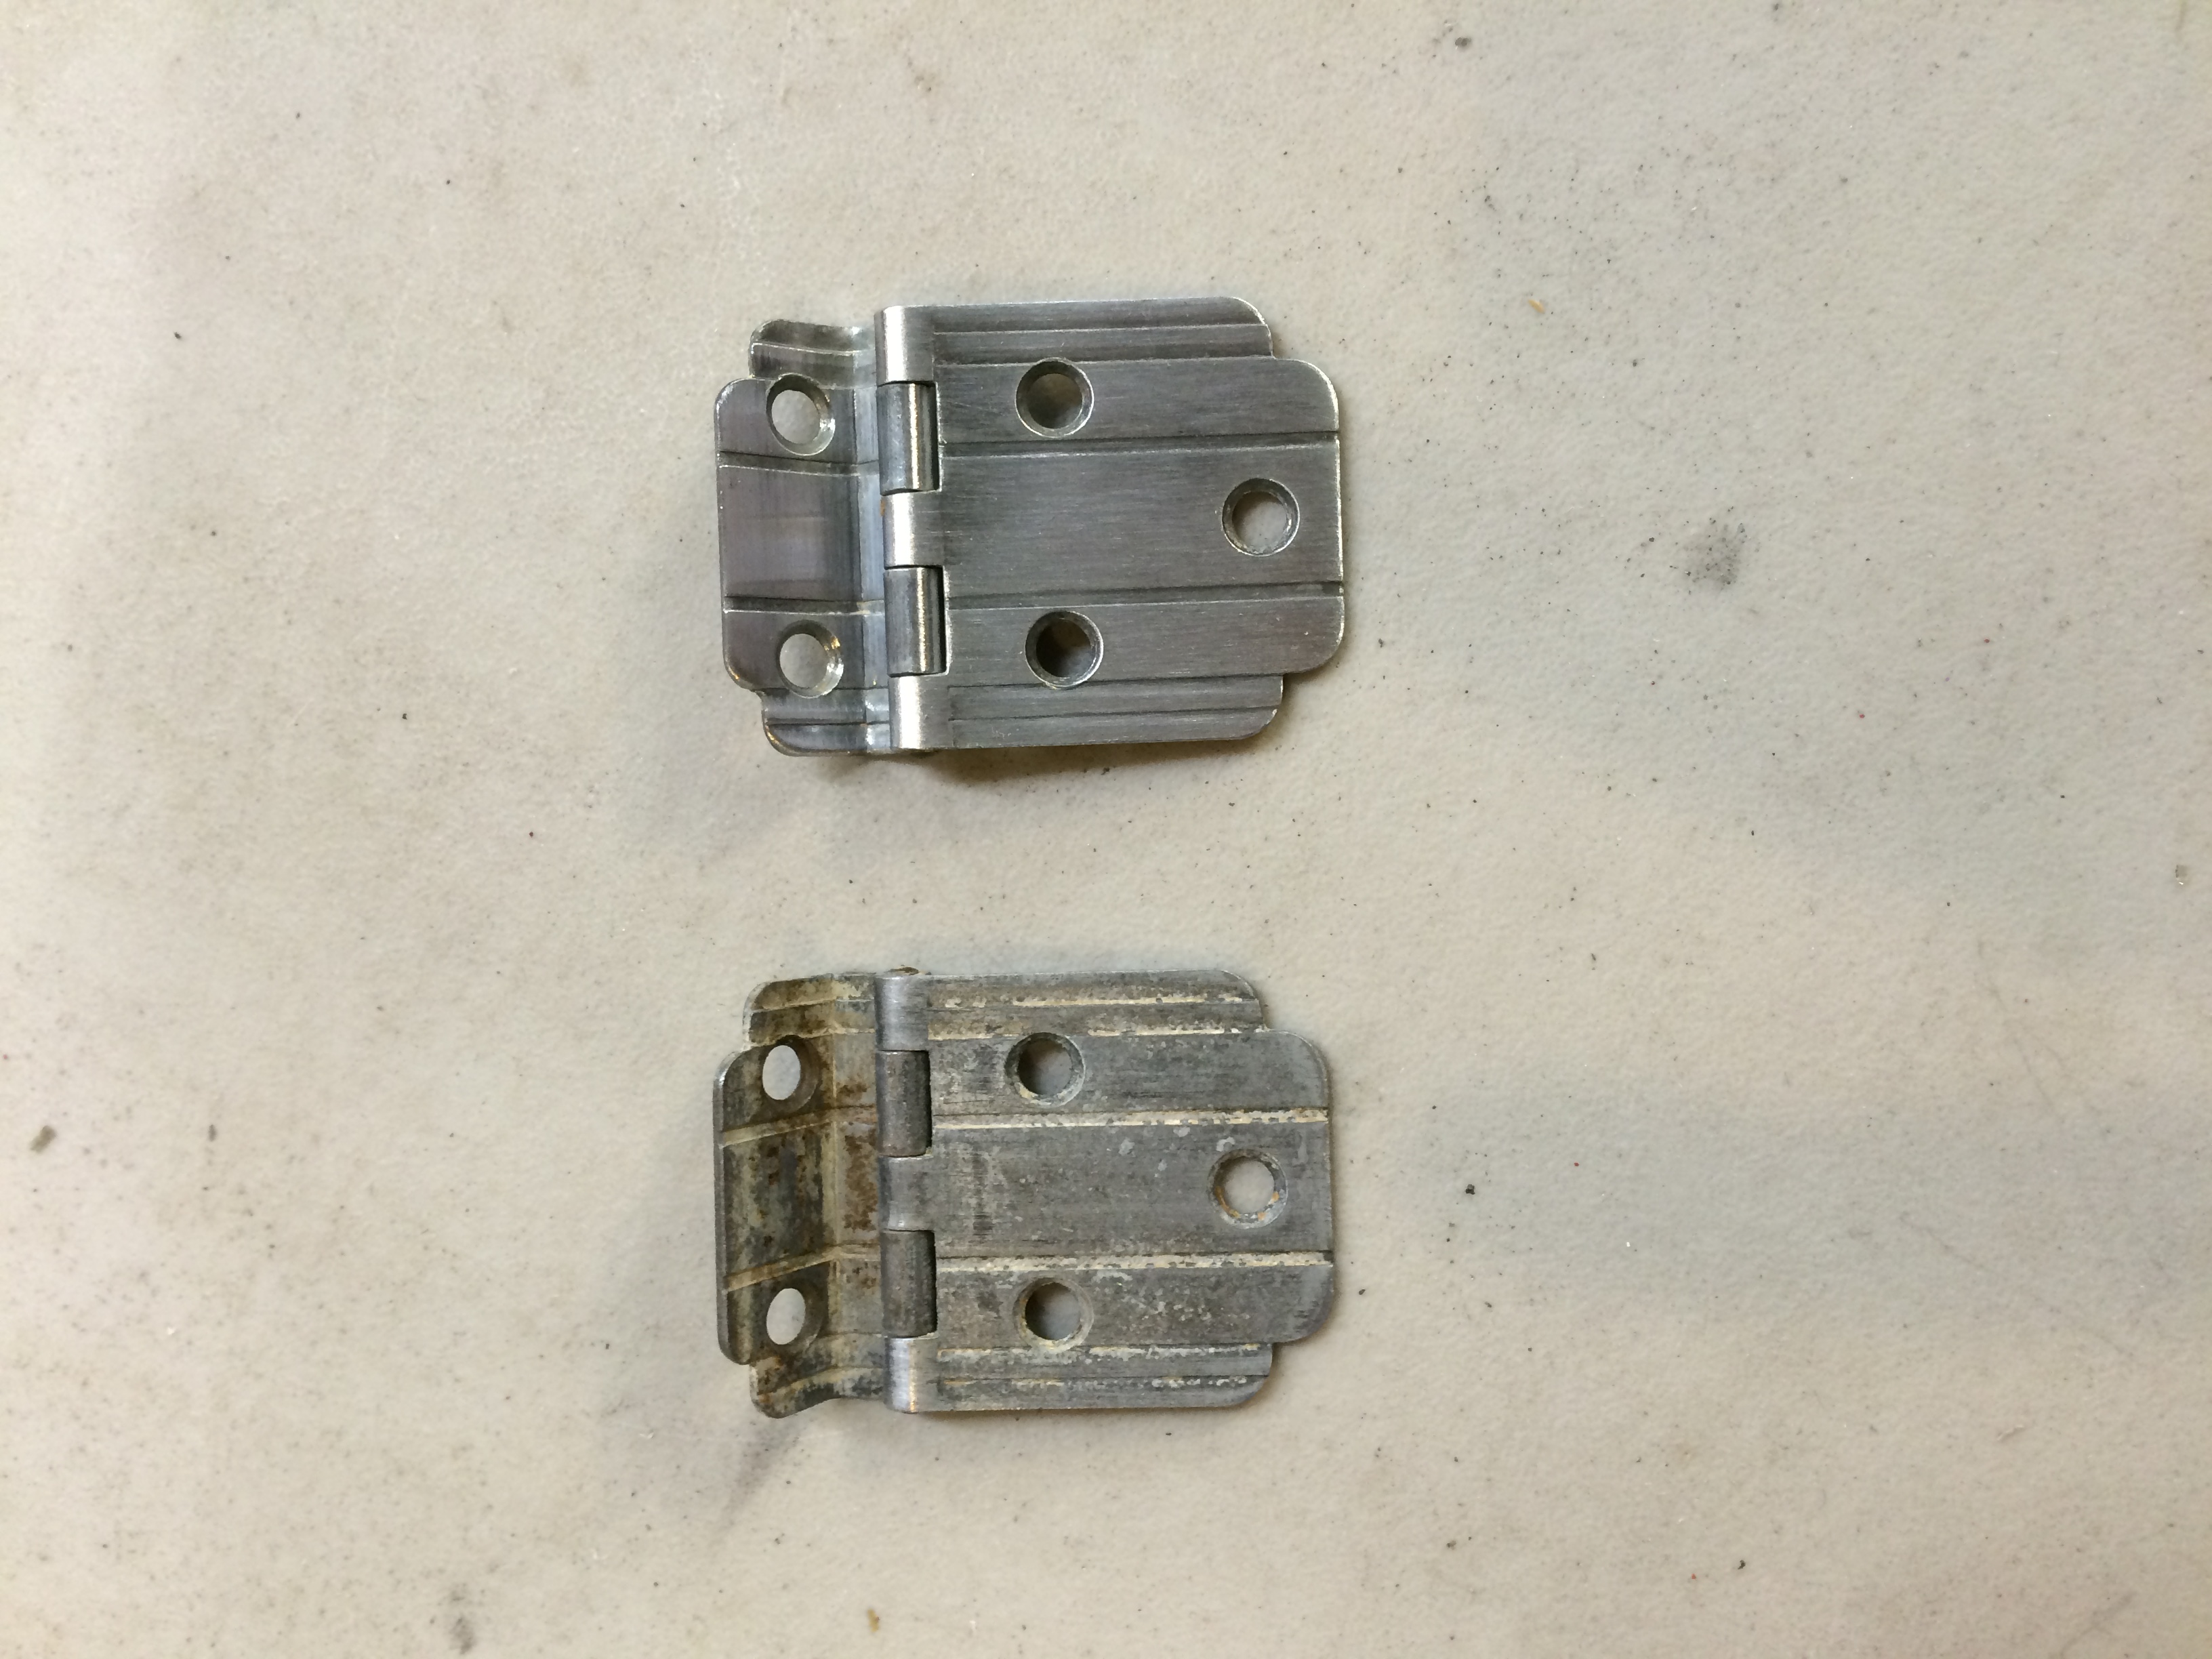
WARNING! ...I'm about to brag! Here are my "Before" and "After" pics.
-
- Before
-
- after sanding
-
- after
-
- Before
-
- After
-
- Before-This one was sooo gross
-
- After
(Heavy sigh!) Lots of work and elbow grease went into this phase of the rebuild. Now that all of the cabinets and drawers are refinished it's time to install them.
I hope yours turn out great too. Happy building!

Related Posts
Related Posts
Copy of Retro Epoxy Counter Top

For the 1954 Airlight 1954 Airlight Bar Trailer Isn’t she…
Retro Epoxy Counter Top
For the 1954 Airlight 1954 Airlight Bar Trailer Isn’t she…
Flamingo Santa Hat DIY

I know my kids will think I’ve absolutely lost my…
Vintage Light Restoration

This is my favorite part of my work shop communication…
How to Wire Your Vintage Camper

Vintage Camper Restoration DIY Did you know that there are…